Setting up a beta fish tank can be a rewarding experience, but the cost of commercially available dividers can quickly add up. Many bettas thrive in a peaceful, solitary existence, but if you're looking to house multiple bettas – or perhaps separate a breeding pair – a tank divider is essential. Unfortunately, pre-made dividers often carry a hefty price tag, potentially outweighing the initial cost of the tank itself. This is where a DIY approach proves invaluable. Creating your own budget-friendly divider not only saves you money but also allows for customization to fit your specific tank dimensions.
This article will guide you through a simple yet effective method for building your own beta tank divider using readily accessible materials. We'll focus on a straightforward design that prioritizes practicality and affordability, ensuring your betta remains safe and comfortable without breaking the bank. Ready to get started? Let's dive into the step-by-step instructions below.
Preparation and Safety Guidelines
- Sharpie
- Sheet of plastic mesh (black preferred)
- Report covers
- Pair of scissors
- Ruler
- Always ensure the divider is securely fastened and cannot be easily dislodged by the fish. A poorly secured divider can injure or trap your fish.
- Thoroughly clean and cure any new materials (like acrylic or wood) before introducing them to the tank to avoid leaching harmful chemicals into the water.
- Monitor fish closely after introducing a divider. Observe for signs of stress, aggression, or injury. Be prepared to remove the divider if necessary.
Step-by-Step Instructions
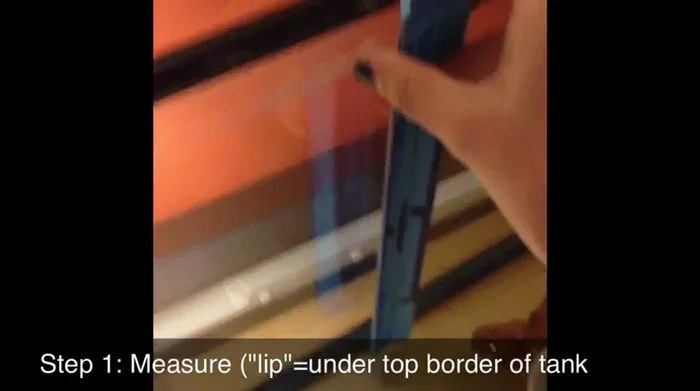
Measure Tank Dimensions
- Measure your tank's dimensions. Measure the height from under the lip of the tank straight down to the silicone, and then measure the width from lip to lip.

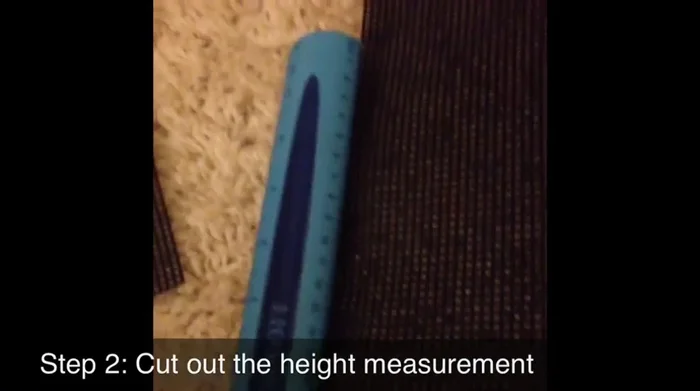
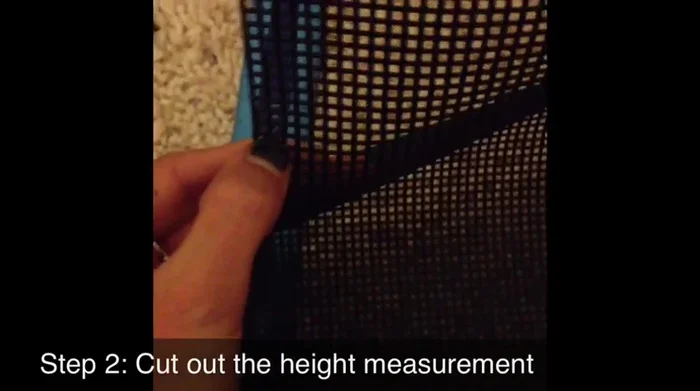
Measure Tank Dimensions Cut Mesh to Height
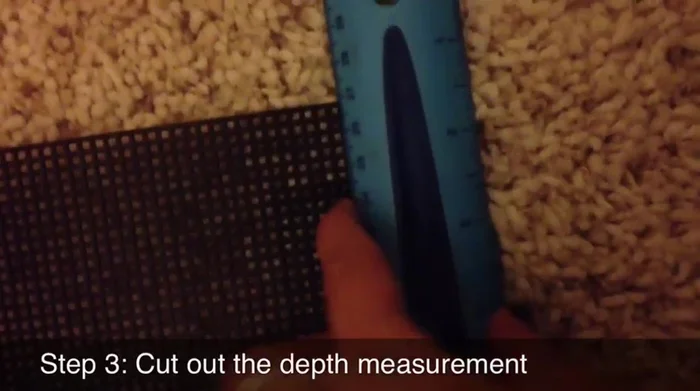
- Measure the height of your tank and mark it on the plastic mesh using a pen.
- Cut along the marked line on the mesh to create the divider's height.
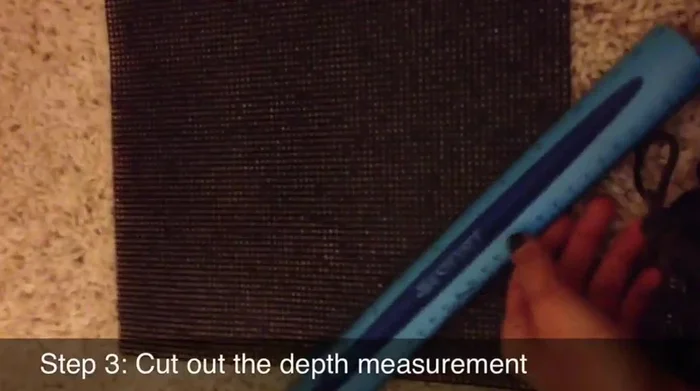
Cut Mesh to Height Cut Mesh to Width
- Measure the width of your tank and mark it on the plastic mesh.
- Cut along the marked line to create the divider's width.
Cut Mesh to Width Assemble and Adjust Divider
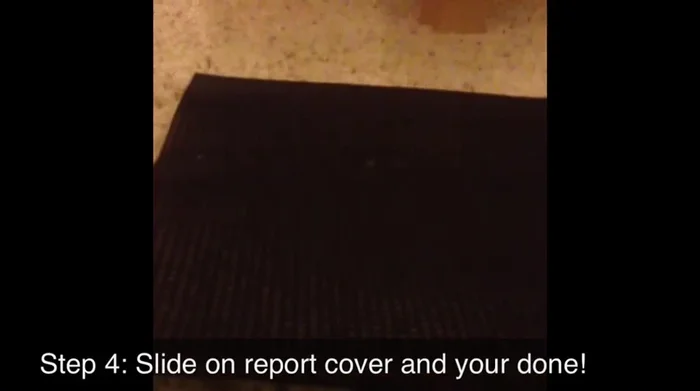
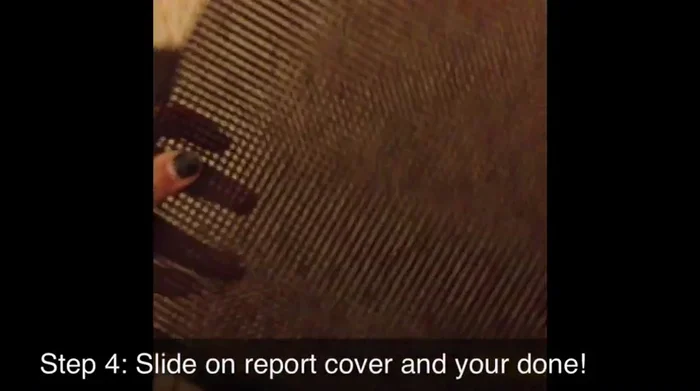
- Slide the cut mesh into the report covers to create a sturdy divider.
- Adjust the divider as needed by trimming the mesh. Add at least two inches of gravel to help keep the divider in place.
Assemble and Adjust Divider
Read more: Setting Up a Multi-Betta Fish Tank: A Simple, Step-by-Step Guide
Tips
- Use black mesh for better privacy for the bettas.
- Use a gold pen if you're using black mesh to make the markings easier to see.
- It's okay if the report covers don't go all the way to the top of the divider.