Creating a stunning aquarium setup can be expensive, but what if you could achieve professional-looking results without breaking the bank? This guide explores a surprisingly effective and affordable method for building a custom aquarium divider using readily available corrugated plastic sheets. Forget pricey glass or acrylic; this DIY project offers a budget-friendly alternative that delivers surprising sturdiness and allows for creative customization, perfect for breeding, separating aggressive fish, or simply enhancing your tank's aesthetic appeal. You'll be amazed at the transformation a simple divider can make.
This inexpensive and surprisingly durable divider utilizes readily available materials and simple tools, making it a perfect project for aquarists of all skill levels. We'll guide you through a step-by-step process, from selecting the right materials to securing the divider safely within your tank. Get ready to dive into the details and learn how to build your own custom corrugated plastic aquarium divider, a solution that's both kind to your wallet and your aquatic inhabitants.
Preparation and Safety Guidelines
- Foam whiteboard (dollar store)
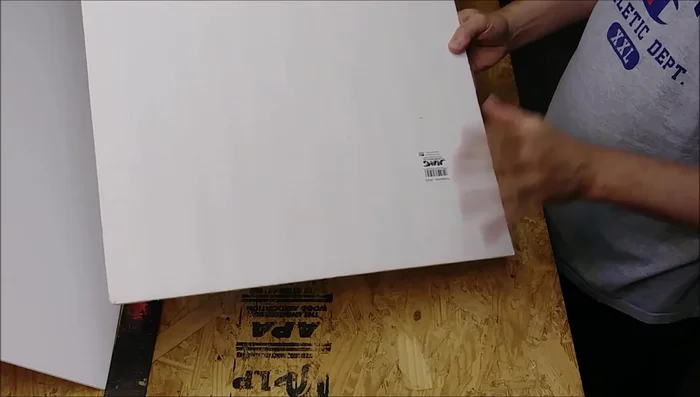
- Corrugated plastic sheet (Lowe's or similar)
- Razor blade/Utility knife
- Carpenter's square
- Tape measure
- Pencil
- 3/4" hole saw (or drill bit appropriate for fish size)
- Drill
- Sanding block/Sandpaper
- Suction cups
- Ensure the corrugated plastic is food-safe and free of any chemicals that could leach into the water, harming your fish. Thoroughly clean the plastic before use.
- Use a strong and secure adhesive suitable for underwater use to attach the divider. Silicone sealant designed for aquariums is recommended. Improper adhesion can lead to the divider collapsing, injuring your fish.
- Carefully consider the weight and potential stress on the divider. Use sufficient support, potentially bracing the divider against the aquarium walls, to prevent structural failure.
Step-by-Step Instructions
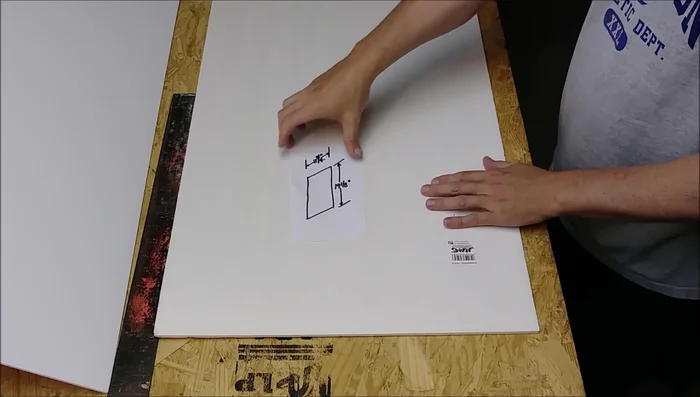
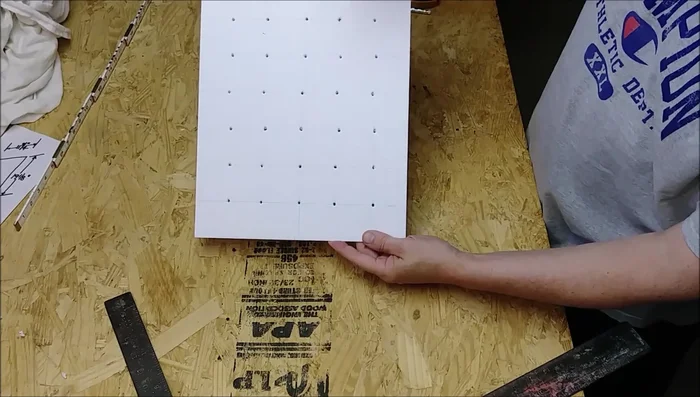
Create the Template
- Create a template using foam whiteboard.
- Measure and mark the desired dimensions (11 3/4" x 19 8/8" in this example) on the foam board using a tape measure and carpenter's square.
- Cut the foam board template using a razor blade and carpenter's square for straight cuts.

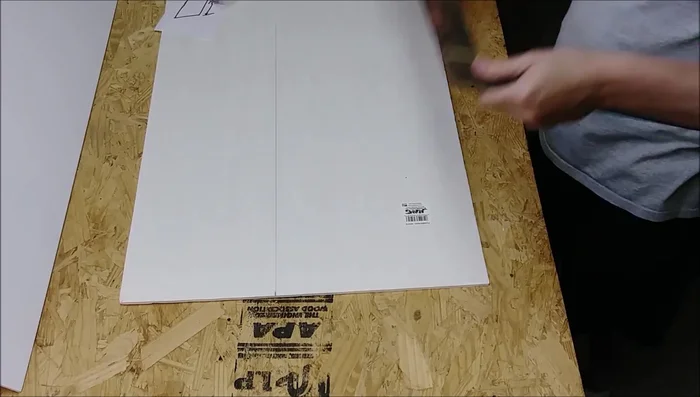
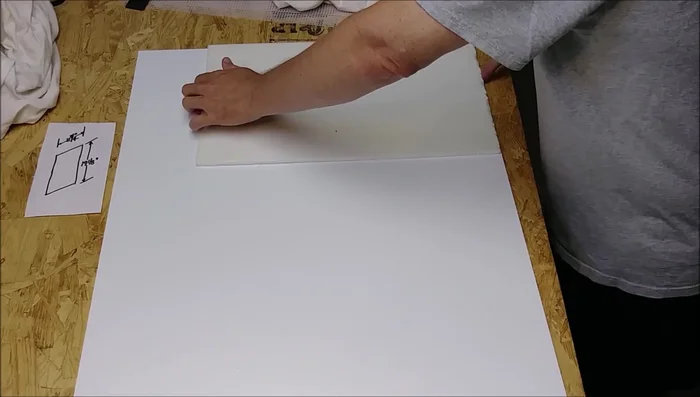
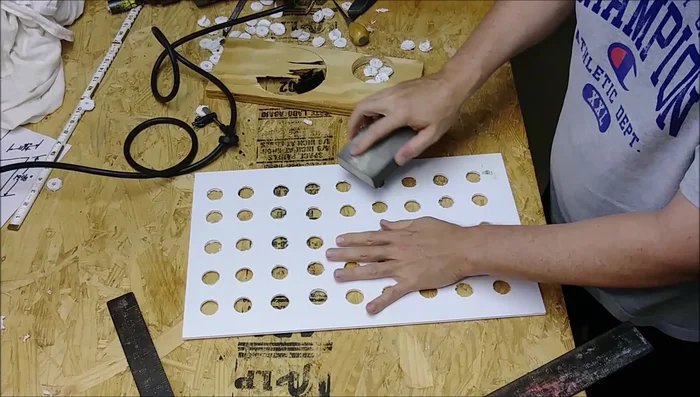
Create the Template Cut the Corrugated Plastic
- Use the template to mark the dimensions on the corrugated plastic sheet.
- Cut the corrugated plastic sheet using a razor blade or heavy-duty scissors, following the markings from the template. Account for a slight reduction in size (e.g., 1/4 inch) to ensure a snug fit against the aquarium glass.
Cut the Corrugated Plastic Prepare the Divider for Water Flow
- Plan and punch/drill holes in a checkered pattern (roughly 2 inches apart) to allow water flow, using a hole saw for larger fish.
- Smooth any rough edges around the holes with sandpaper to prevent injury to fish.
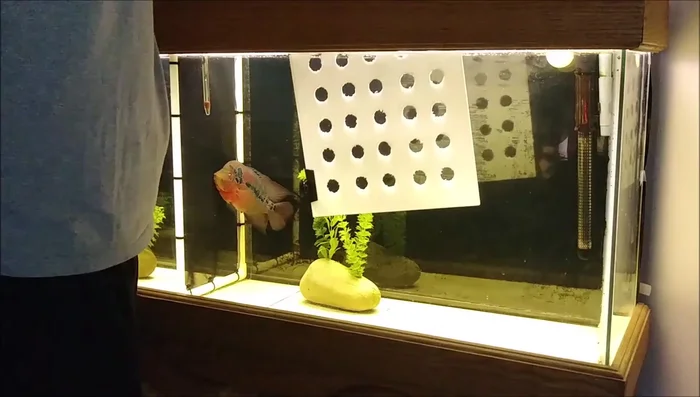
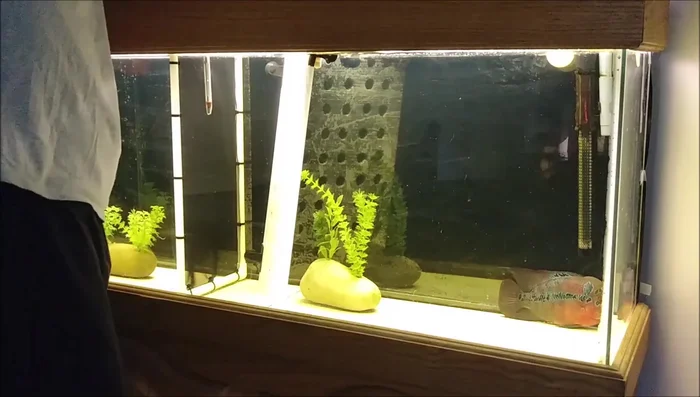
Prepare the Divider for Water Flow Assemble and Install the Divider
- Attach suction cups to one side of the divider. Slide the divider into the aquarium and attach to the opposing side.
- Attach the remaining suction cups to the other edges of the divider, ensuring a tight fit.
Assemble and Install the Divider

Read more: Setting Up a Multi-Betta Fish Tank: A Simple, Step-by-Step Guide
Tips
- Use a foam board template to avoid wasting expensive corrugated plastic.
- Make holes large enough for adequate water flow, considering the size of your fish.
- Smooth any rough edges after cutting and drilling to ensure fish safety.
- Attach suction cups securely to prevent dislodgement.