Keeping multiple fish species together can be a rewarding experience, but it often presents challenges. Aggression, territorial disputes, and breeding conflicts are common issues that can leave your finned friends stressed and injured. A reliable aquarium divider offers a practical solution, preventing unwanted interactions while allowing visual stimulation between tanks. However, commercially available dividers can be expensive and lack the customization options you might need for your specific tank setup. This is where a DIY approach shines! Building your own fry-proof divider is not only cost-effective but also allows for complete control over size, materials, and design, ensuring a perfect fit for your aquarium.
This comprehensive guide provides you with everything you need to construct a strong, reliable, and aesthetically pleasing aquarium divider, all without breaking the bank. Forget flimsy, unreliable dividers that fail at the crucial moment; this step-by-step guide will walk you through the entire process, from selecting the right materials to the final installation, guaranteeing a safe and secure environment for your fish. Let's dive in and start building!
Preparation and Safety Guidelines
- Acrylic Divider (Amazon)
- Crazy Glue Gel
- Window Screening
- Rubber Hose
- Razor Blade
- Rocks
- Sand
- Always ensure the divider is securely fastened and cannot be easily dislodged by your fish. A poorly secured divider can lead to injury or escape.
- Thoroughly clean and cure any silicone sealant used before introducing fish. Uncured silicone can be toxic to aquatic life.
- Do not use materials that may leach harmful chemicals into the water. Prioritize aquarium-safe silicone and plastics.
Step-by-Step Instructions
Prepare the Divider
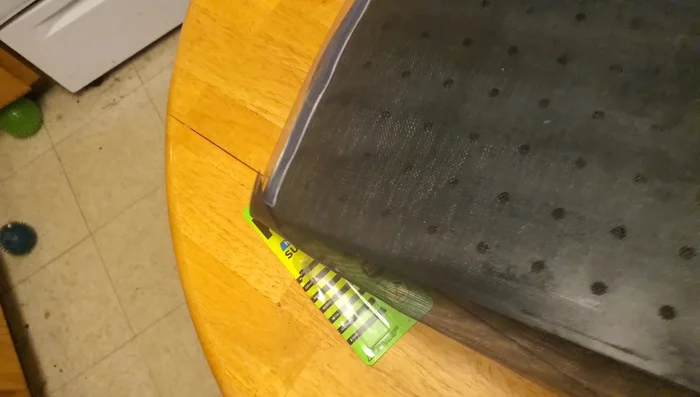
- Clean the acrylic divider.
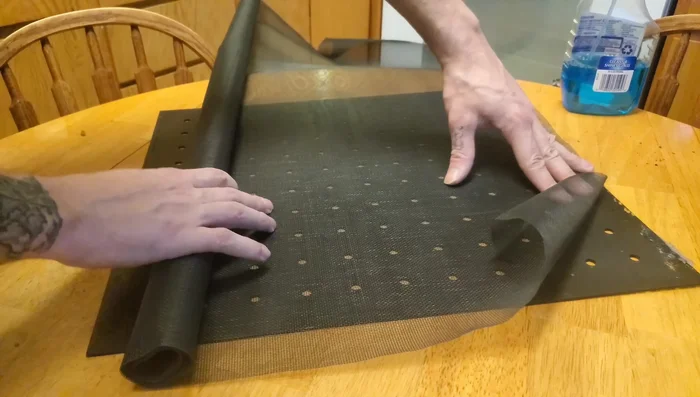
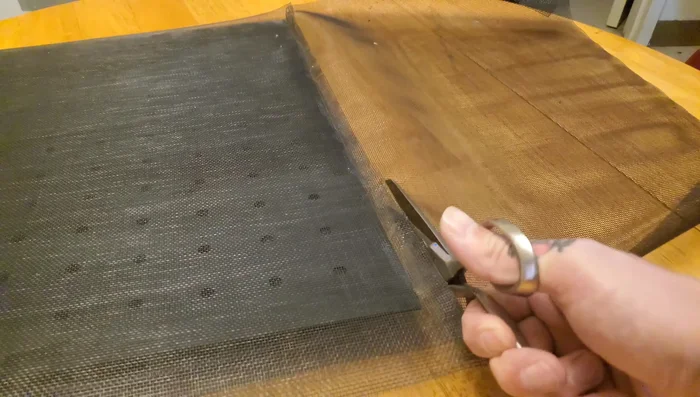
Prepare the Screening
- Cut the window screening slightly larger than the divider.

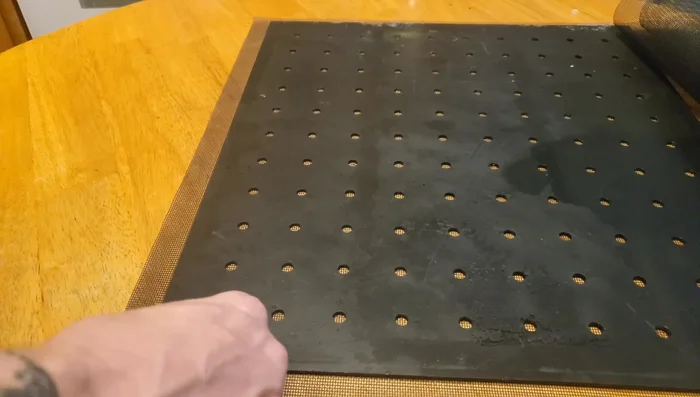
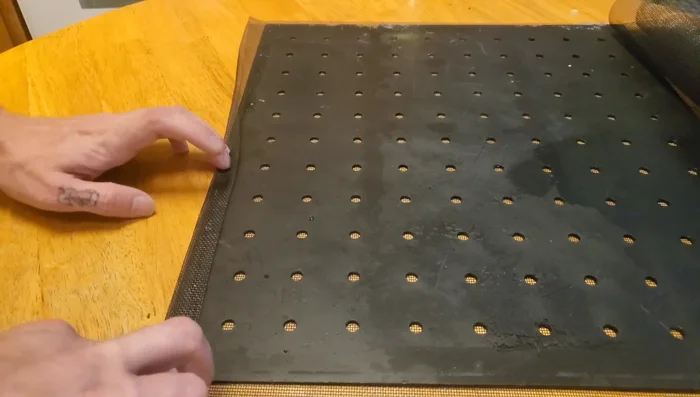
Prepare the Screening Attach Screening to Divider
- Apply a bead of Crazy Glue along the divider's length.
- Press the window screening onto the glue, ensuring a good overlap on the bottom and sides.
- Add more glue to secure any loose areas of the screening.
Attach Screening to Divider Prepare and Attach the Hose
- Slice the rubber hose lengthwise with a razor blade.
- Slide the rubber hose onto the edges of the divider.
Prepare and Attach the Hose Install the Divider
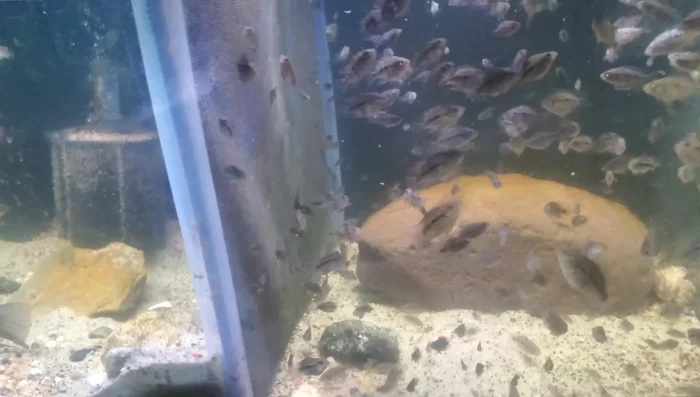
- Position the divider in the aquarium.
- Weight down the excess screening with rocks and bury it with sand.
Install the Divider
Read more: Setting Up a Multi-Betta Fish Tank: A Simple, Step-by-Step Guide
Tips
- Use a straight cut for the window screening to ensure a neat finish.
- Leave a generous overlap of screening on the bottom for a secure seal.
- Keep the cut on the hose straight to prevent it from wrapping around.
- The bottom overlay prevents fry from escaping underneath.