Setting up an aquarium can be a rewarding experience, but the costs can quickly add up. One common expense is the need for dividers, especially when trying to separate different species of fish or isolate a sick individual. Fortunately, there’s a surprisingly effective and affordable alternative to expensive store-bought dividers: a simple DIY solution using readily available straws. This method allows for easy customization and offers a cost-effective way to manage your aquarium environment without compromising its aesthetic appeal. No need to break the bank for effective aquarium separation!
This guide details a cheap and easy method for creating a functional aquarium divider using only common household straws. We’ll walk you through each step, from material gathering to the final placement and securing of your straw divider. Ready to build your own budget-friendly, surprisingly sturdy aquarium separator? Let's dive in!
Preparation and Safety Guidelines
- Aquarium
- Straws
- Knife
- Silicone sealant (aquarium safe)
- Marker
- Plastic mesh or crafting mesh
- Ensure straws are food-safe and non-toxic. Avoid using recycled or potentially contaminated straws.
- Secure the divider very well; a poorly secured divider can collapse, trapping or injuring fish.
- Regularly inspect the divider for damage or deterioration. Replace if necessary to prevent fish injury or escape.
Step-by-Step Instructions
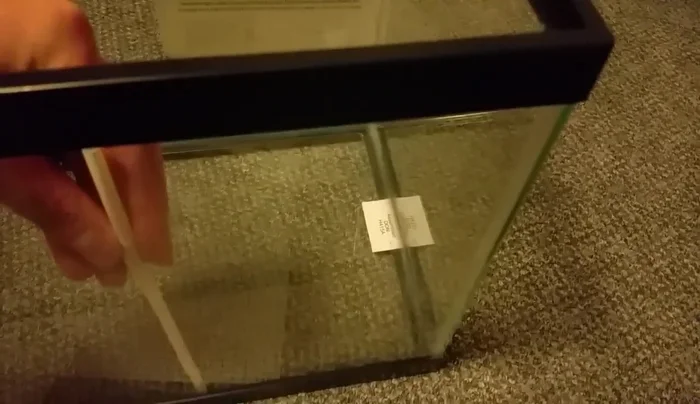
Marking and Preparation
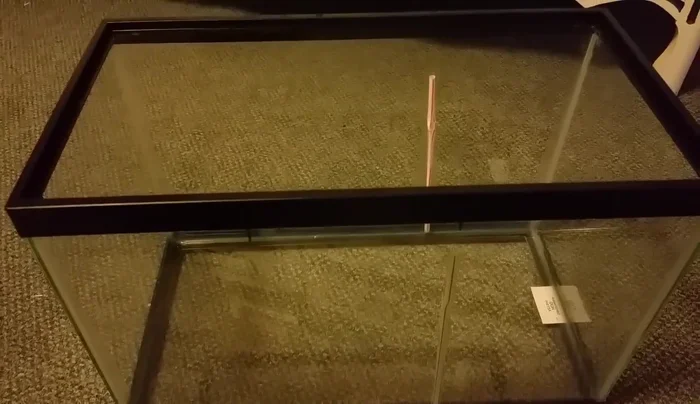
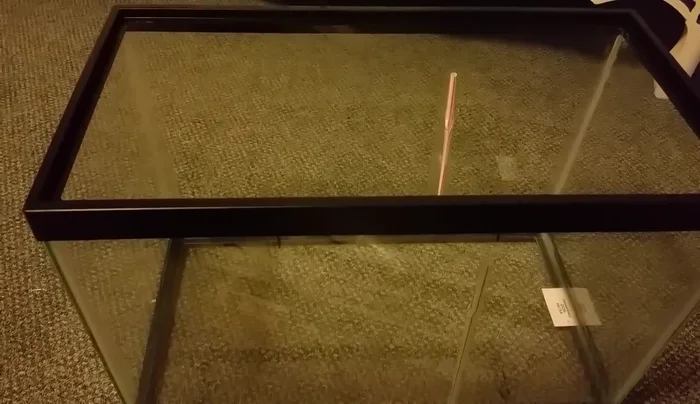
- Mark the desired locations for the dividers on your aquarium using a marker.
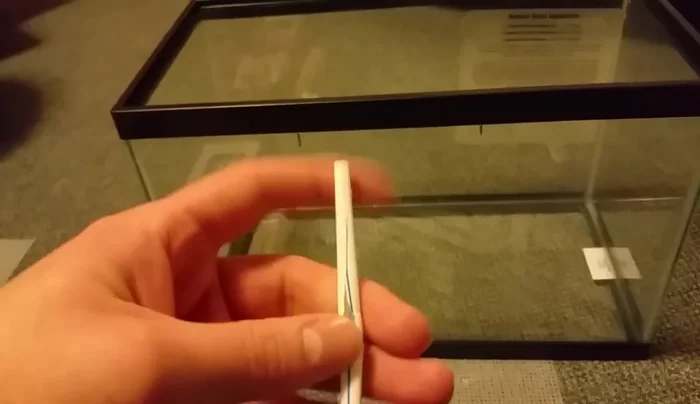
Preparing the Straws
- Cut slits along one side of the straws, going all the way to the bottom.

Preparing the Straws Preparing the Mesh
- Cut a piece of plastic mesh to fit inside the aquarium divider.
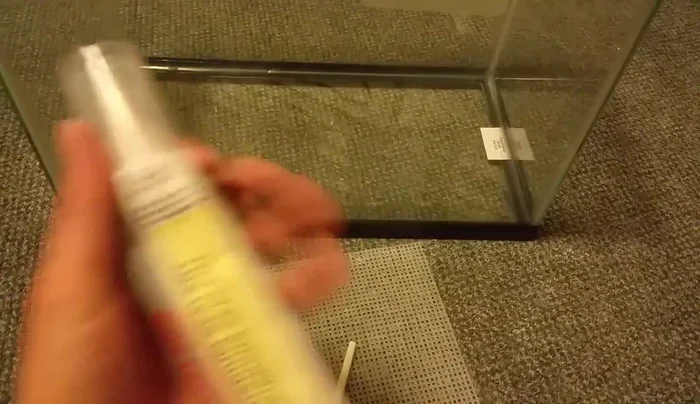
Preparing the Mesh Applying Sealant
- Apply silicone sealant to one side of the slits in the straws.
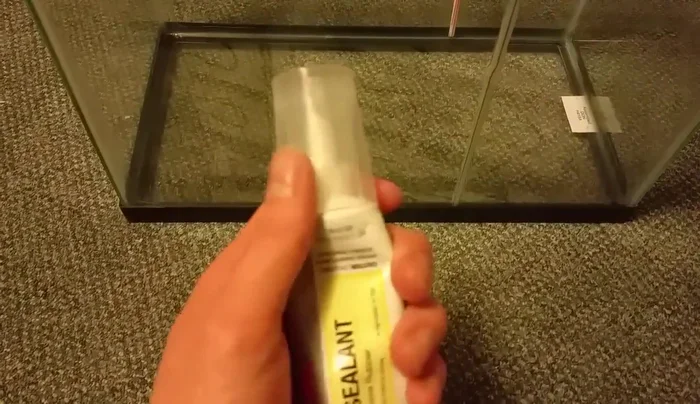
Applying Sealant Installing the Straw Dividers
- Insert the straws (with sealant) into the aquarium at the marked locations.
- Immediately replace the top of the sealant container to prevent hardening.
Installing the Straw Dividers Curing the Sealant
- Let the sealant cure for approximately 24 hours undisturbed.
Curing the Sealant Final Assembly and Water Addition
- After 48 hours, add water to the aquarium and insert the mesh into the straw dividers.
Final Assembly and Water Addition

Read more: Setting Up a Multi-Betta Fish Tank: A Simple, Step-by-Step Guide
Tips
- Use aquarium-safe silicone sealant to ensure the safety of your fish.
- Work quickly with the sealant to avoid premature hardening.
- Adding gravel helps to keep the mesh in place.
- Wait 48 hours before adding water to allow for complete curing of the sealant.