Want to create a stunning multi-compartment aquarium without breaking the bank? This guide shows you how to build a DIY aquarium divider, transforming a single tank into a three-compartment marvel, perfect for breeding, quarantine, or simply showcasing a diverse aquatic ecosystem. Forget expensive pre-made dividers; this budget-friendly solution uses readily available materials and simple techniques, offering a fantastic way to expand your aquarium's functionality and aesthetic appeal. You'll be amazed at how easy it is to achieve professional-looking results.
This project is ideal for both beginner and experienced aquarists, requiring minimal tools and a modest investment. We'll walk you through selecting appropriate materials, measuring and cutting accurately, and safely securing the divider within your existing aquarium. Ready to dive in? Let's get started with the step-by-step instructions below.
Preparation and Safety Guidelines
- Ring binders
- Corrugated plastic
- Ensure all silicone sealant is 100% aquarium-safe and fully cured before adding water. Incomplete curing can release toxins harmful to your fish.
- Thoroughly clean all materials before assembly to prevent the introduction of harmful bacteria or chemicals into the aquarium.
- Always test the divider's stability before adding fish. A poorly constructed divider could collapse, causing injury or death to your aquatic life.
Step-by-Step Instructions
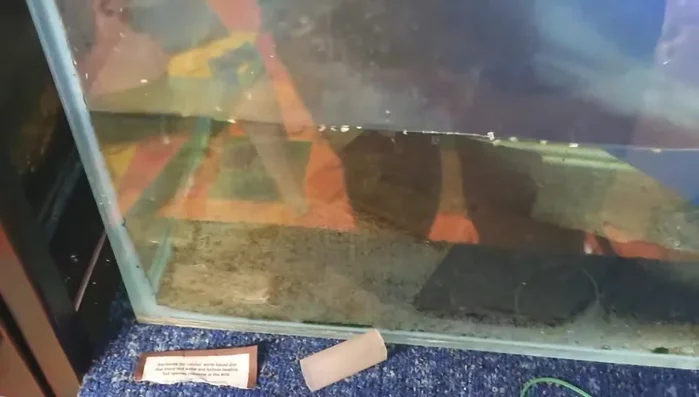
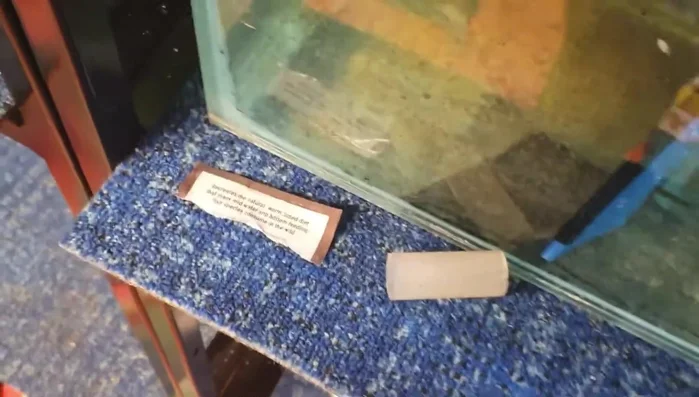
Gather Materials
- ring binders and a piece of corrugated plastic.
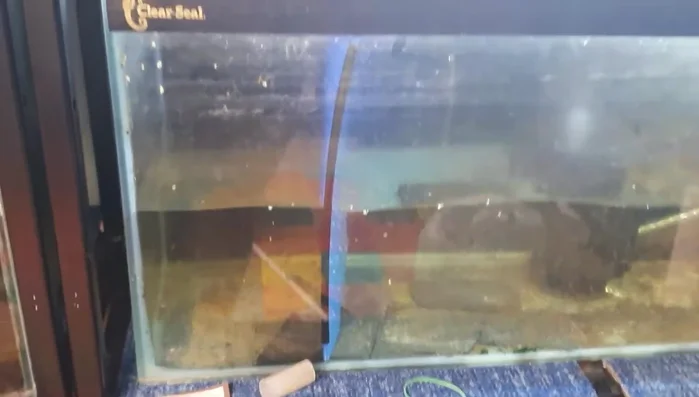
Prepare Divider Frames
- Measure and cut the corrugated plastic to fit the desired height of your tank dividers. You may need to adjust the height to accommodate existing tank features (like heaters).
- Insert the cut pieces of corrugated plastic into the ring binders to create the divider frames.

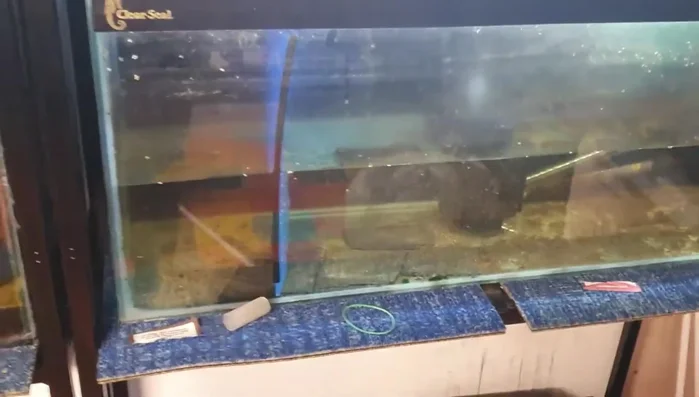
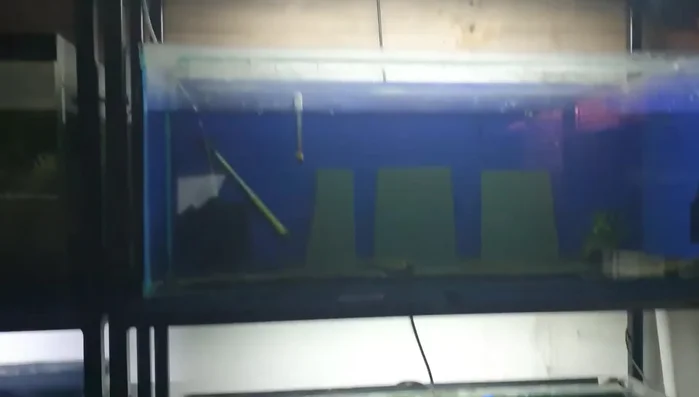
Prepare Divider Frames Install Dividers
- Place the dividers into your aquarium, ensuring they are positioned correctly and securely.
- Adjust the dividers as needed to ensure a snug fit and straight alignment.
Install Dividers Add Filtration
- Add individual sponge filters to each compartment to ensure proper water filtration.
Add Filtration
Read more: Setting Up a Multi-Betta Fish Tank: A Simple, Step-by-Step Guide
Tips
- Consider the placement of tank features (heaters, filters) when measuring and cutting the plastic.
- It's easier to work with a helper when installing the dividers.
- Individual sponge filters should be used in each compartment despite the water flow through the dividers.