Acrylic aquariums offer stunning clarity, showcasing the beauty of their aquatic inhabitants in unparalleled detail. However, the smooth, transparent surface is susceptible to scratches and hazing, diminishing its aesthetic appeal and potentially impacting the health of your fish through reduced light penetration. These imperfections, often caused by accidental contact with hard objects or the buildup of mineral deposits, can be frustrating, but thankfully, they aren't necessarily permanent. Even deep scratches can often be significantly improved or even completely removed.
This guide provides a comprehensive, step-by-step process for restoring your scratched and hazed acrylic aquarium to its original pristine condition. We'll walk you through various techniques, from simple cleaning methods to more advanced polishing techniques using readily available materials, ensuring you regain the crystal-clear viewing experience you deserve. Let's dive in and learn how to revive your aquarium's brilliance.
Preparation and Safety Guidelines
- Wet/dry sandpaper (1000 grit, 1500 grit, 2000 grit)
- Palm sander or electric sander
- Hose with slow water flow
- Microfiber cloths
- Foam sponge
- Novus plastic polish kit (No. 3, No. 2, No. 1)
- Electric drill with polishing bonnet attachment
- Level surface
- Always disconnect the aquarium from power sources before cleaning or working on it.
- Never use abrasive cleaners or scouring pads on acrylic, as they will scratch the surface further. Use only soft cloths and appropriate cleaning solutions.
- Wear appropriate safety glasses and gloves to protect yourself from potential chemical splashes and sharp objects during the cleaning process.
Step-by-Step Instructions
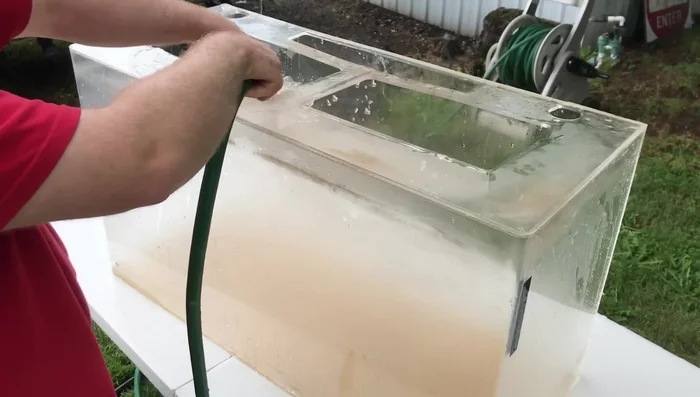
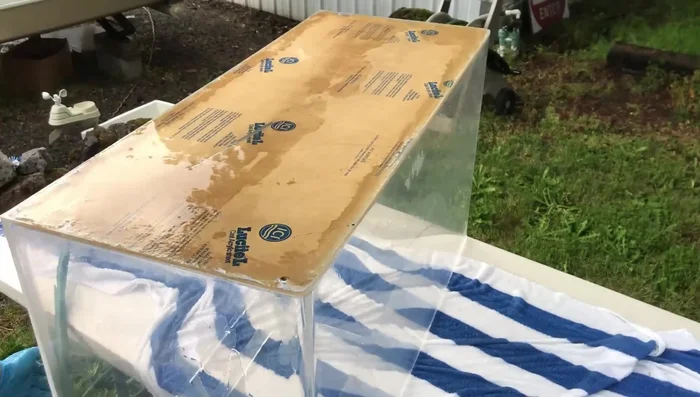
Initial Cleaning
- Rinse the aquarium thoroughly to remove dust and grime.

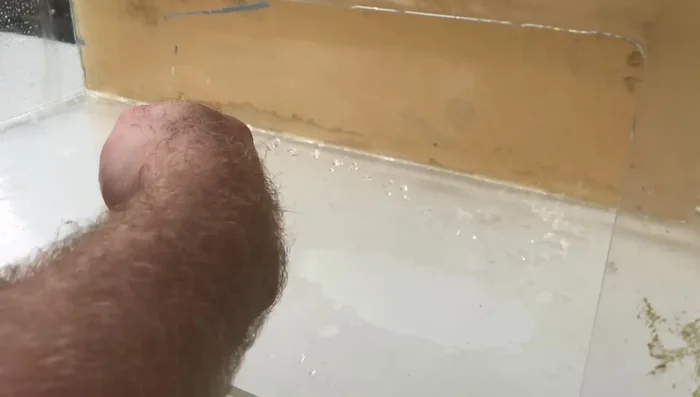
Initial Cleaning Wet Sanding (Interior)
- Wet sand the inside of the aquarium with 1000 grit sandpaper, then 2000 grit sandpaper. Keep the acrylic wet throughout the process.
- Rinse the aquarium thoroughly after sanding.
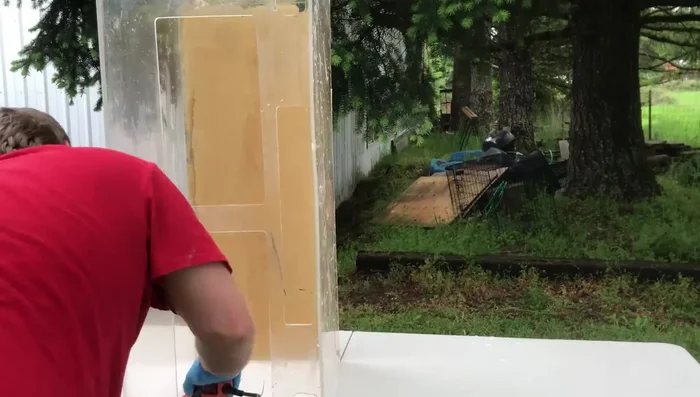
Wet Sanding (Interior) Wet Sanding (Exterior)
- Wet sand the outside of the aquarium with 1000 grit sandpaper, then 2000 grit sandpaper. Keep the acrylic wet.
Wet Sanding (Exterior) Cleaning After Sanding
- Wash the aquarium thoroughly with a foam sponge to remove sanding residue.
- Dry the aquarium with microfiber cloths.
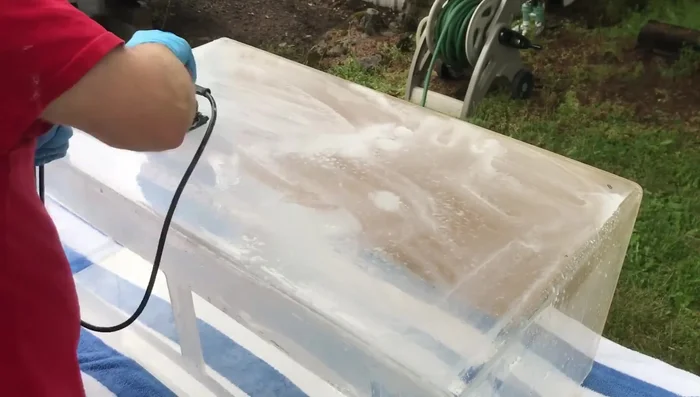
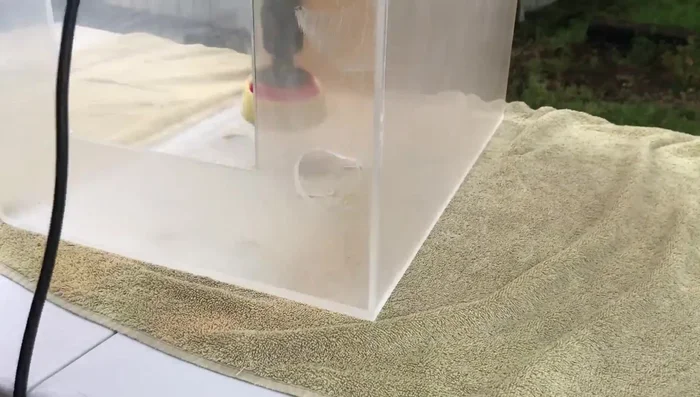
Cleaning After Sanding Polishing
- Apply Novus plastic polish (start with No. 3, then No. 2, then No. 1) using an electric drill with a polishing bonnet. Work in circular motions for No. 2 and No. 1.
- Thoroughly wipe away the polish residue with microfiber cloths.
Polishing Final Treatment
- inside as well).
Final Treatment

Read more: DIY 3D Aquarium Background: A Step-by-Step Guide Using Styrofoam
Tips
- Ensure a level surface to prevent water pooling during sanding.
- Buy enough sandpaper to complete the entire project.
- Keep the acrylic wet throughout the sanding process.
- Start sanding from the inside and work your way to the outside.
- Remove any residue or gunk before sanding.