Tired of battling cloudy water and struggling to maintain a pristine aquarium environment? Upgrading your aquarium filtration is often the key to resolving these issues, but expensive filter replacements aren't always necessary. A simple yet incredibly effective solution lies within the power of DIY: upgrading your existing sponge filter! This surprisingly straightforward modification can dramatically improve water clarity and overall tank health, essentially doubling your filtration power without breaking the bank. A stronger filter means a healthier environment for your fish, less frequent water changes, and a more enjoyable aquarium-keeping experience.
This guide will walk you through a step-by-step process to easily double the filtration capacity of your sponge filter, using readily available materials. We'll cover everything from selecting the right sponge to the crucial assembly and installation, ensuring a seamless upgrade that maximizes your filter's performance. Get ready to unlock a cleaner, healthier, and more vibrant aquarium with this simple yet impactful DIY project!
Preparation and Safety Guidelines
- Sponge filter
- Spare filter parts
- Thick tubing
- Knife/Scissors
- Always disconnect the power to your aquarium filter before performing any maintenance or modifications.
- Ensure all components are thoroughly cleaned and rinsed before reassembly to avoid introducing harmful bacteria or chemicals into your aquarium.
- Avoid using harsh chemicals or abrasive cleaners on the sponge filter material, as this can damage the beneficial bacteria colonies essential for biological filtration.
Step-by-Step Instructions
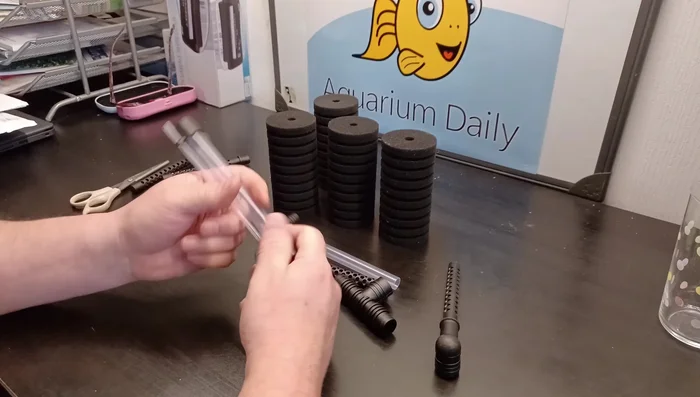
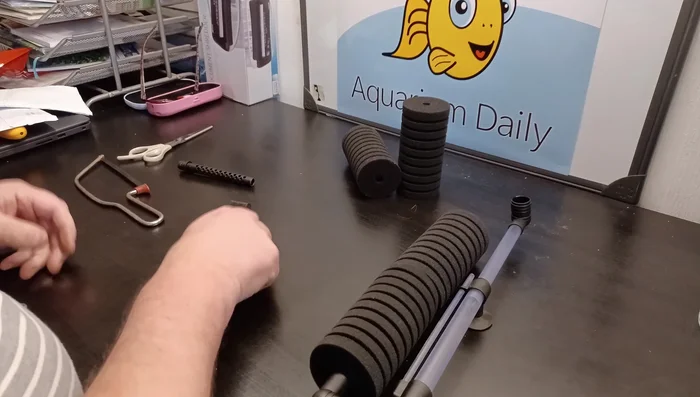
Disassemble Existing Filter
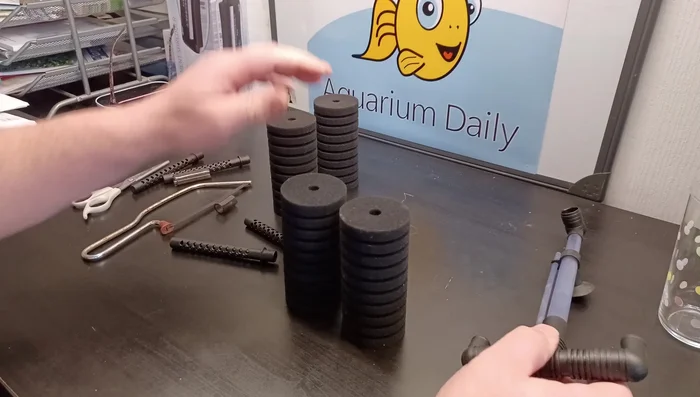
- Disassemble the existing sponge filter. Separate the filter parts, including the uprights and sponges.

Disassemble Existing Filter Prepare Additional Uprights
- Prepare additional uprights. Use spare filter parts to create additional vertical supports for the sponges. The video uses parts from a spare filter.
Prepare Additional Uprights Extend Filter Uprights
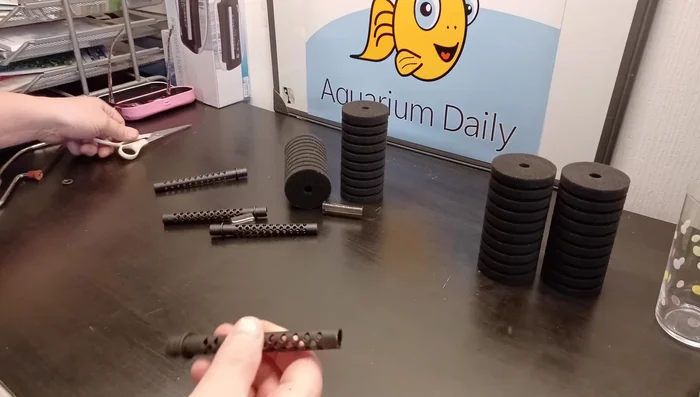
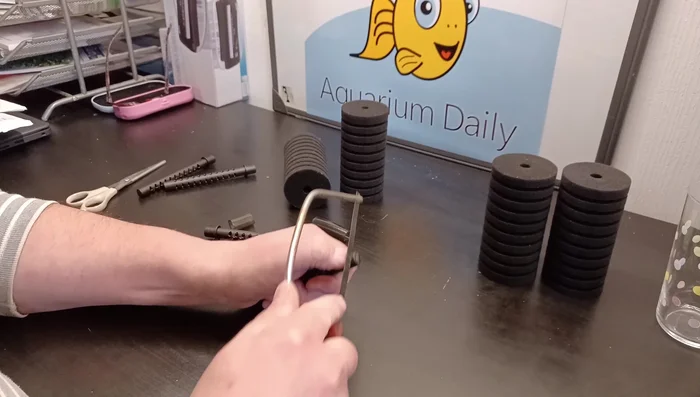
- Extend the uprights. Cut pieces of thick tubing to extend the filter's height. Attach these extensions to the existing filter uprights to support the extra sponges.
Extend Filter Uprights Modify Top Filter Piece
- Modify top filter piece. Cut off the top of one filter piece to create a snug fit around the extended uprights. (Clean off any loose plastic bits.)
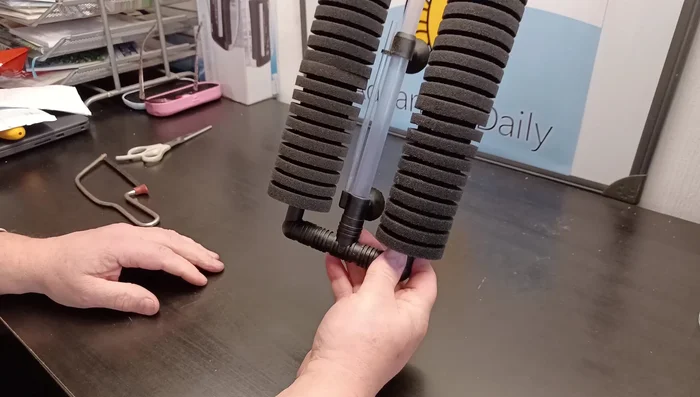
Modify Top Filter Piece Assemble Modified Filter
- Assemble the modified filter. Carefully assemble the filter components with extended uprights and the modified top piece.
Assemble Modified Filter Add Extra Sponges
- Add extra sponges. Place the additional sponges on top of the existing ones, creating double the filtration area.
Reassemble and Install
- Reassemble and install.
Reassemble and Install
Read more: DIY Sponge Filter Modification for Quieter and More Efficient Aquarium Filtration
Tips
- Rinse all parts thoroughly before reassembly to remove any loose plastic particles.
- Ensure a tight fit for the extended uprights and the modified top piece to maintain filter integrity.