Maintaining a clean and healthy aquarium environment is crucial for the well-being of its inhabitants. A vital component of this process is effective filtration, and among the many options available, dual sponge filters stand out for their simplicity, affordability, and surprising efficiency. These filters, utilizing two interconnected sponges, provide superior mechanical and biological filtration, removing both visible debris and harmful waste products, contributing to a thriving aquatic ecosystem. They're particularly well-suited for smaller tanks and breeding setups.
The benefits of a dual sponge filter system are undeniable, but proper installation and maintenance are key to realizing their full potential. This comprehensive guide will walk you through a step-by-step process, ensuring you can confidently set up your own efficient and reliable dual sponge filter.
Preparation and Safety Guidelines
- Dual sponge filter
- Air pump
- Air line tubing
- Aquarium
- Always rinse new filter sponges in aquarium water only, never tap water. Tap water contains chlorine and chloramine that can harm beneficial bacteria.
- Never clean both sponges simultaneously. Clean one sponge while the other maintains biological filtration to prevent a harmful bacteria crash.
- Ensure proper placement of the sponges to allow sufficient water flow through both. Incorrect placement can lead to reduced filtration efficiency.
Step-by-Step Instructions
Prepare the Filter
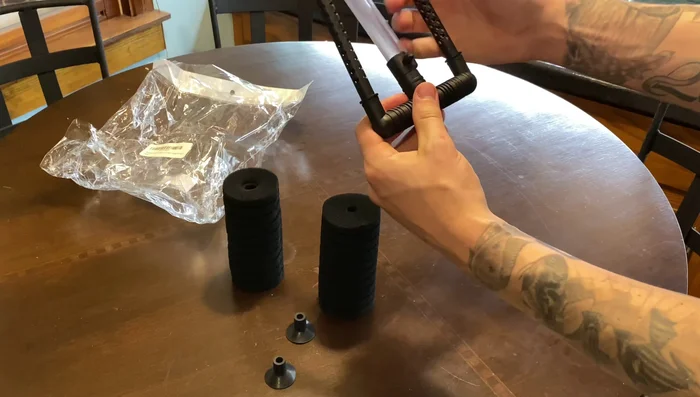
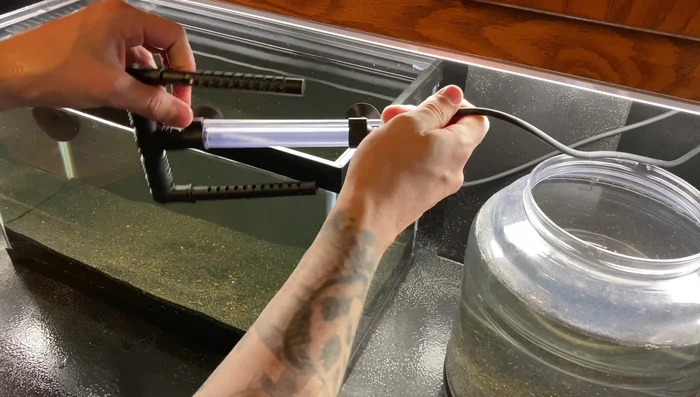
- Prepare the dual sponge filter. Straighten any crooked parts.

Prepare the Filter Attach Suction Cups
- Attach the suction cups to the filter's niblets.
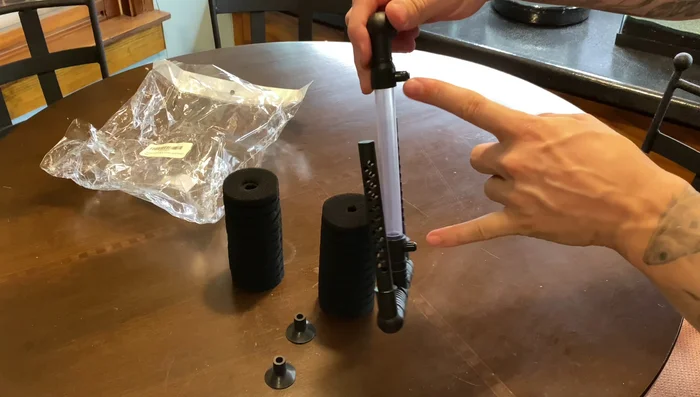
Attach Suction Cups Mount Filter to Aquarium
- Position the suction cups on the aquarium glass, ensuring the filter is upright.
Mount Filter to Aquarium Prepare Sponges
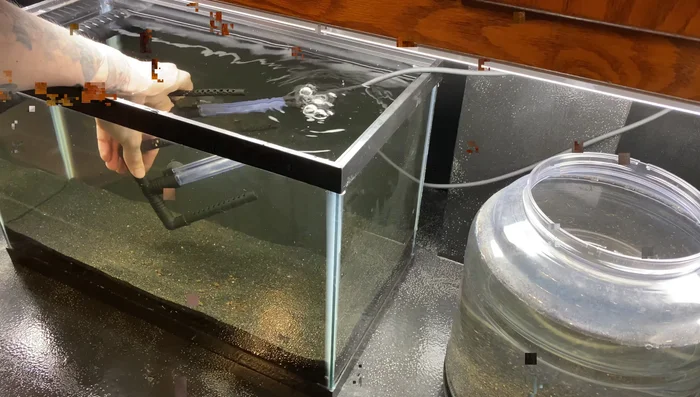
- Place the filter sponges in the aquarium, squeezing out all trapped air to make them sink easily.
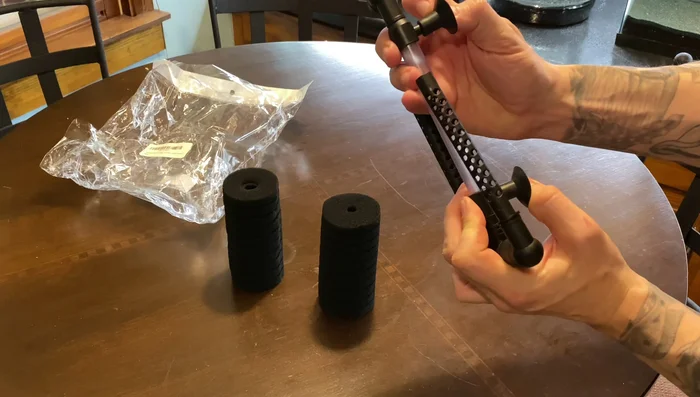
Prepare Sponges Connect Airline
- Connect the airline tubing to the filter's air intake.
Connect Airline Attach Sponges to Filter
- Attach the sponges to the filter intakes, taking care not to damage them.
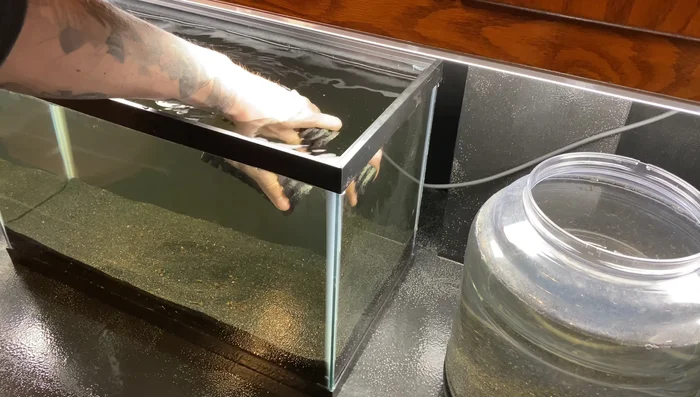
Attach Sponges to Filter Final Placement and Adjustment
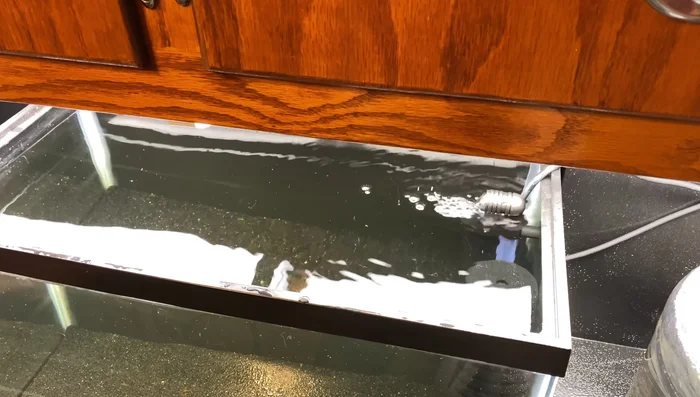
- Press the filter against the aquarium glass, adjusting the height for optimal surface agitation.
Final Placement and Adjustment
Read more: DIY Sponge Filter Modification for Quieter and More Efficient Aquarium Filtration
Tips
- Squeeze out all air from the sponges before placing them in the aquarium to prevent them from floating.
- Adjust the filter height to achieve desired surface agitation, preventing scum buildup.
- Dual sponge filters work best for smaller tanks. For larger tanks, consider more powerful filtration systems.