Breeding fish can be a rewarding but challenging hobby. Maintaining pristine water quality is paramount for successful hatching and fry survival, demanding efficient and reliable filtration. While commercial filters are readily available, they often lack the gentle flow and large surface area crucial for delicate fish eggs and newly hatched fry. This is where the DIY ultimate sponge filter comes in – a cost-effective and incredibly effective solution tailored specifically to the needs of your breeding tanks. This simple design maximizes biological filtration without the risk of fry being sucked into the filter intake.
Building your own sponge filter is surprisingly straightforward, offering significant cost savings compared to buying a pre-made equivalent. This comprehensive guide will walk you through each step, providing detailed instructions and helpful tips to ensure you create a high-performing filter that will drastically improve your fish breeding success rate. Ready to get started? Let's dive into the step-by-step process of building your very own DIY ultimate sponge filter!
Preparation and Safety Guidelines
- 10-gallon tank
- Sponge filter
- Undergravel filter (for parts)
- Air line hosing
- Activated carbon
- Air pump (30-gallon)
- Heater
- Always thoroughly clean and disinfect all materials before use to prevent the introduction of harmful bacteria or parasites into your breeding tank.
- Ensure the sponge filter is appropriately sized for your breeding tank to provide adequate filtration without creating excessive water flow that could harm eggs or fry.
- Regularly inspect and clean the sponge filter to avoid clogging and maintain water quality. Avoid squeezing the sponge too forcefully, as this can damage beneficial bacteria colonies.
Step-by-Step Instructions
Tank Setup and Preparation
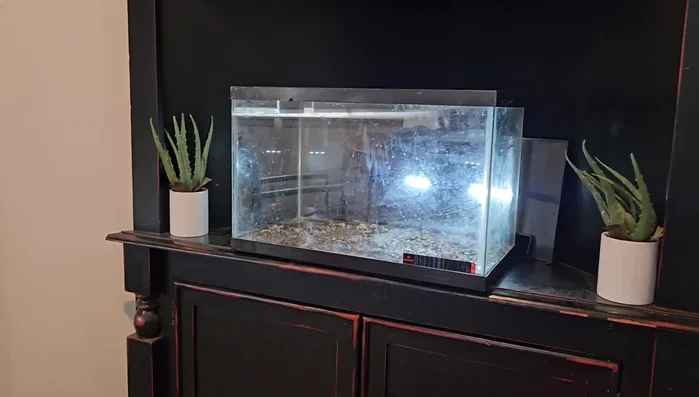
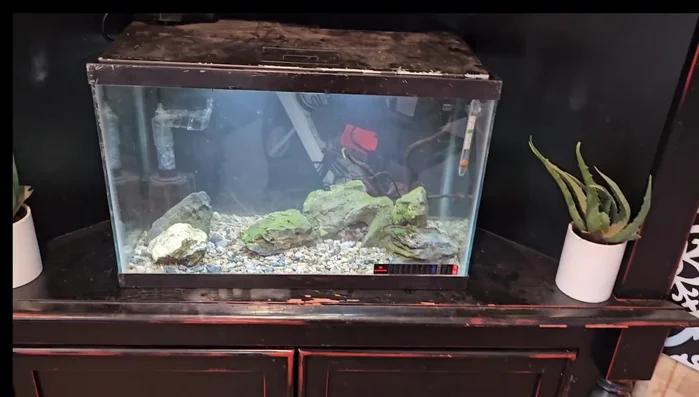
- Set up a 10-gallon breeding tank.
- Place the heater and filter in the tank. Fill the tank with water.
- Condition the water using a water conditioner (like API's Aqua Central).
- Add plants from an established tank to introduce beneficial bacteria.

Tank Setup and Preparation - Use a pre-established sponge filter to provide immediate beneficial bacteria.
Tank Setup and Preparation DIY Sponge Filter Construction
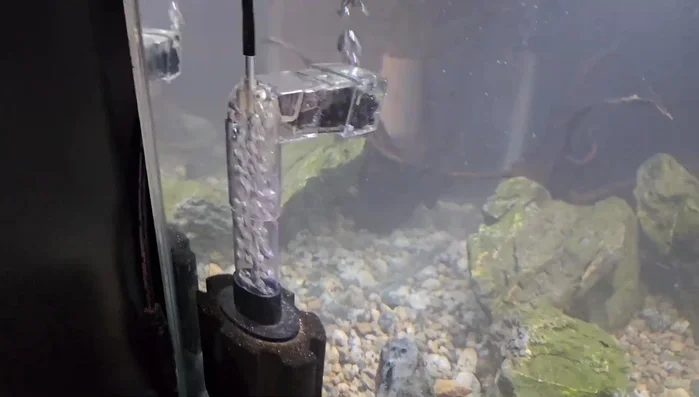
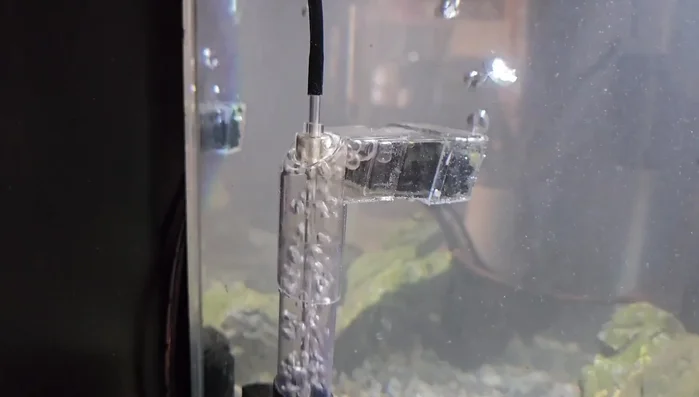
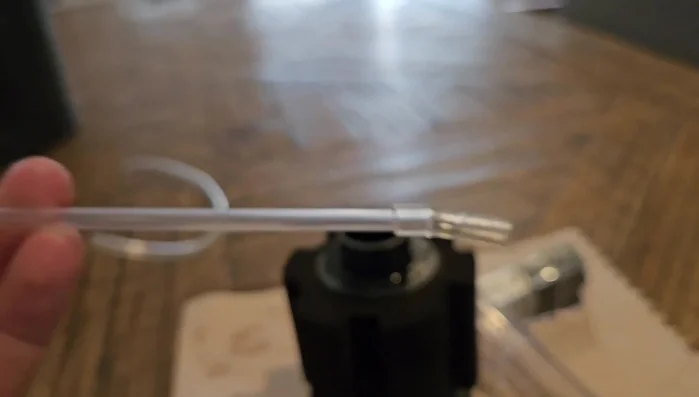
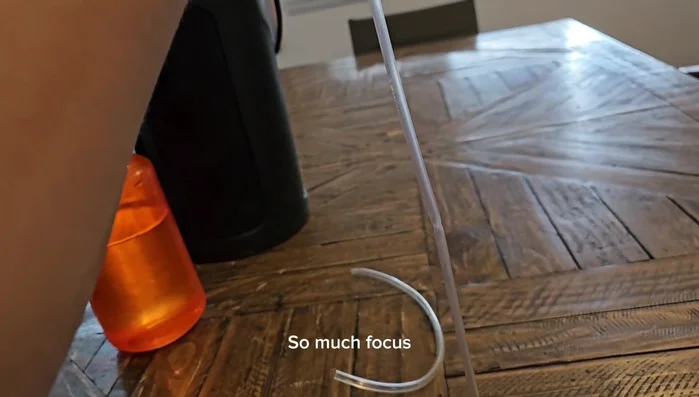
- Cut a piece of airline hosing and attach it to the stiff plastic line from a disassembled undergravel filter.
- Run the airline hosing through the undergravel filter neck and into the sponge filter.
- Cut a straw to size and attach it to the airline to adjust airflow.
- Add activated carbon to the sponge filter to absorb impurities.
DIY Sponge Filter Construction Filter Installation and Testing
- Connect the sponge filter to a 30-gallon air pump.
Filter Installation and Testing


Read more: DIY Sponge Filter Modification for Quieter and More Efficient Aquarium Filtration
Tips
- Use a pre-established sponge filter to jumpstart the nitrogen cycle and provide beneficial bacteria immediately.
- Transfer plants from an established tank to introduce beneficial bacteria and boost filtration.
- Condition the water before adding fish to protect them from chlorine and other harmful chemicals.