Maintaining a healthy aquarium environment is crucial for the well-being of your fish, and choosing the right filtration system is a key component. For beginners on a budget, finding a reliable and effective filter can feel daunting, but there's a solution that might just surprise you: the Bio Plunge Filter. This affordable option offers a surprisingly effective way to keep your tank clean and your fish thriving, without breaking the bank. It's a simple yet powerful system, perfect for smaller aquariums and those just starting their aquatic journey.
This review dives deep into the Bio Plunge Filter, exploring its features, setup, performance, and overall value. We'll guide you through a step-by-step process of setting up and maintaining your Bio Plunge Filter, ensuring you have everything you need to create a thriving underwater ecosystem. Whether you’re a complete novice or simply looking for a cost-effective solution, read on to see if the Bio Plunge Filter is the right fit for your aquarium needs.
Preparation and Safety Guidelines
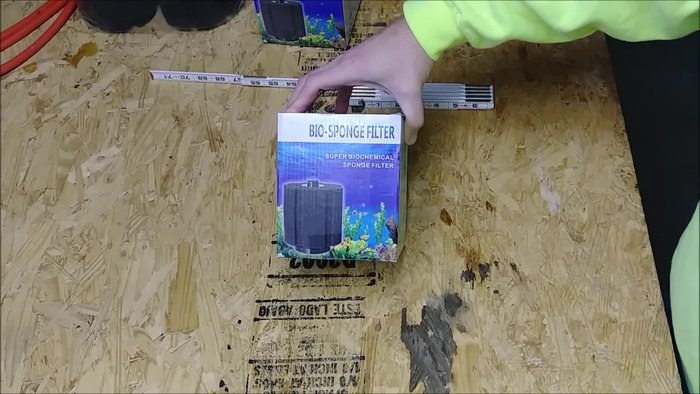
- Bio Plunge Filter (XY 380 model)
- Air Pump
- Airline Tubing
- Air Check Valve (recommended)
- Always rinse the filter media gently under aquarium water before installation. Using tap water can introduce harmful chemicals to your tank.
- Regularly clean or replace the filter media according to the manufacturer's instructions. Clogged filters reduce water quality and can harm your fish.
- Monitor your aquarium water parameters closely after installing the filter. Sudden changes can stress your fish, so be prepared to make adjustments as needed.
Step-by-Step Instructions
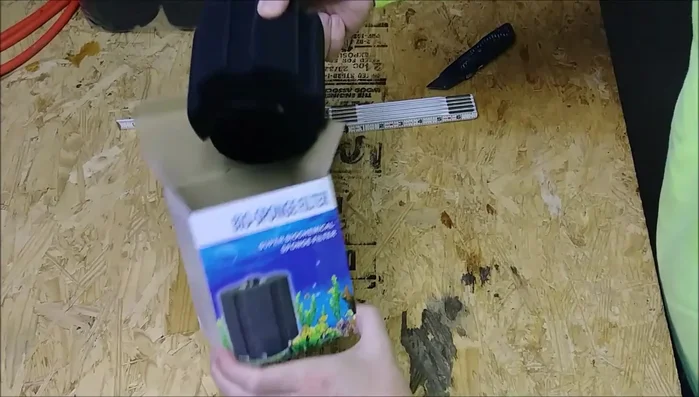
Unboxing and Inspection
- Unboxing and initial inspection of the Bio Plunge Filter.
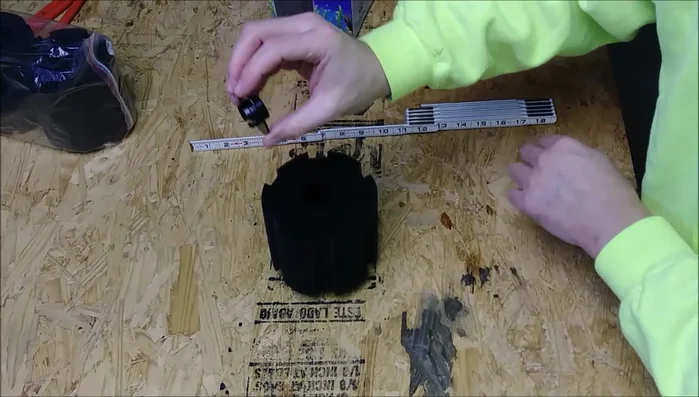
- weighted base, filter sponge, diffuser, air intake tube.

Unboxing and Inspection Filter Assembly
- attach sponge, diffuser cap, and air intake tube.
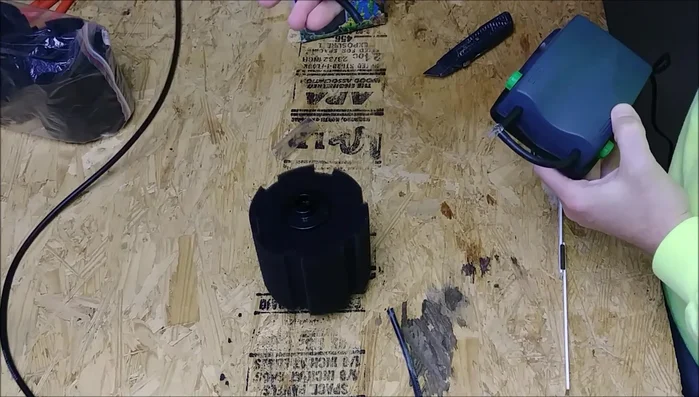
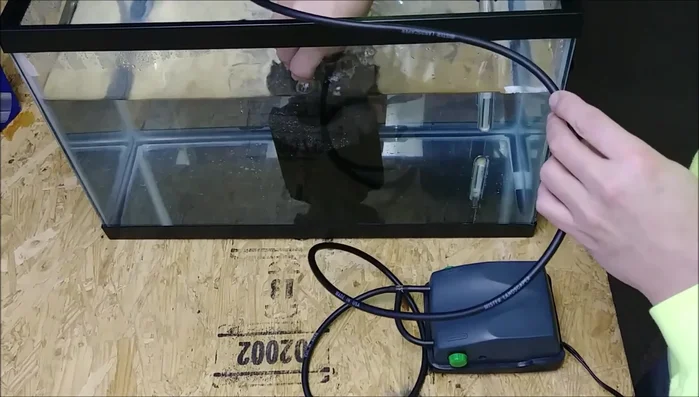
Filter Assembly Connecting to Air Pump
- Connect the filter to the air pump via airline tubing.
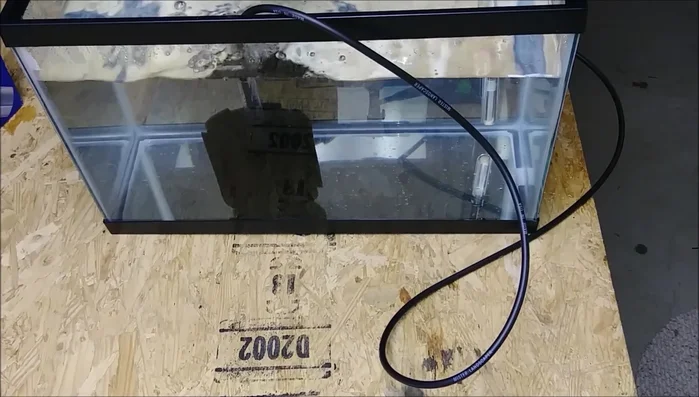
Connecting to Air Pump Placing in Aquarium
- Place the filter in the aquarium; gently squeeze the air out of the filter sponge to ensure it sinks to the bottom.
Placing in Aquarium Testing and Initial Operation
- Turn on the air pump; observe the bubbles rising to the surface, indicating proper function.
Testing and Initial Operation Maintenance
- periodically remove and rinse the filter sponge in aquarium water to remove debris.
Maintenance

Read more: DIY Sponge Filter Modification for Quieter and More Efficient Aquarium Filtration
Tips
- Consider using an air check valve to prevent back siphoning.
- Use black airline tubing to prevent algae growth.
- Rinse the filter sponge in aquarium water to preserve beneficial bacteria.
- One filter may be insufficient for larger tanks; multiple filters might be needed.