Aquarium sponge filters are the unsung heroes of a healthy tank, silently working to keep your fish thriving. These porous powerhouses remove waste, trap debris, and cultivate beneficial bacteria crucial for biological filtration. However, their tireless work comes at a cost: over time, these sponges become clogged, reducing their efficiency and potentially harming your aquatic companions. A dirty filter means compromised water quality, leading to stressed fish and a higher risk of disease. Neglecting regular maintenance significantly shortens their lifespan, requiring more frequent and costly replacements. Investing a little time in proper cleaning maximizes both the filter's effectiveness and its longevity.
This article provides a comprehensive, step-by-step guide to deep cleaning your aquarium sponge filters, ensuring they continue to perform their vital role in maintaining a pristine and healthy environment for your fish. Let's dive in and learn how to revitalize your filter, extending its life and safeguarding the wellbeing of your aquatic friends.
Preparation and Safety Guidelines
- Sponge Filters
- Nail
- Bottle brush
- Scouring pad
- Zip ties (optional)
- PVC pipe or rock (optional)
- Always rinse your filter sponge in aquarium water only. Tap water contains chlorine and other chemicals that can kill beneficial bacteria essential for your aquarium's health.
- Never squeeze or wring out the sponge excessively. This damages the delicate structure and removes too much beneficial bacteria. Gently squeeze and swish the sponge instead.
- Before cleaning, ensure you have a replacement filter media ready. This ensures your biological filtration remains active during the cleaning process, preventing ammonia spikes.
Step-by-Step Instructions
Preparation and Removal
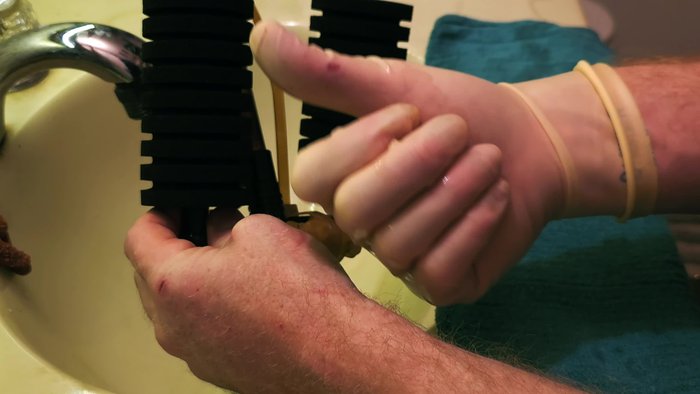
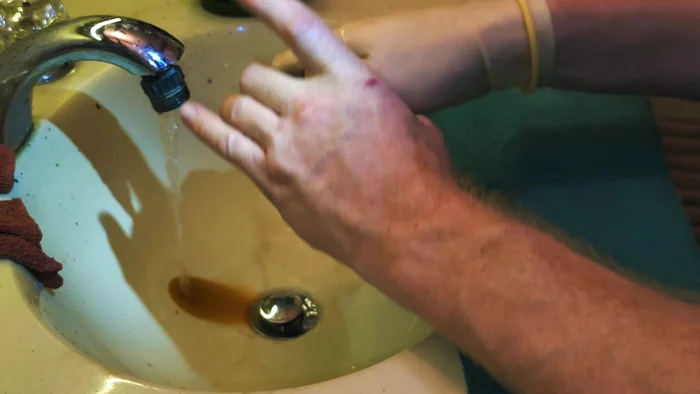
- Remove the sponge filter from the aquarium and turn off the pump.

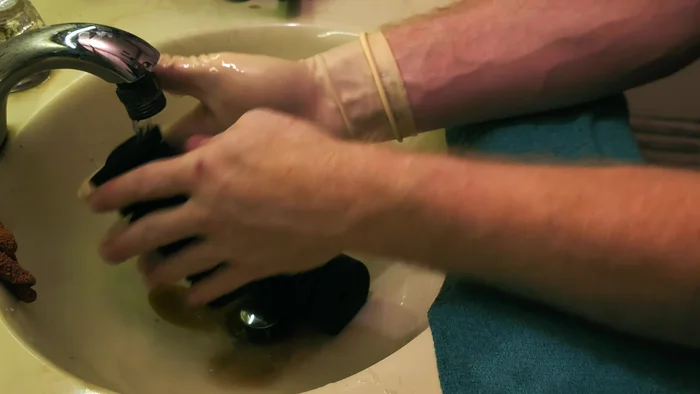
Preparation and Removal Initial Sponge Cleaning
- Rinse the sponge filter under running water, squeezing it repeatedly to remove loose debris. Continue until the water runs mostly clear.
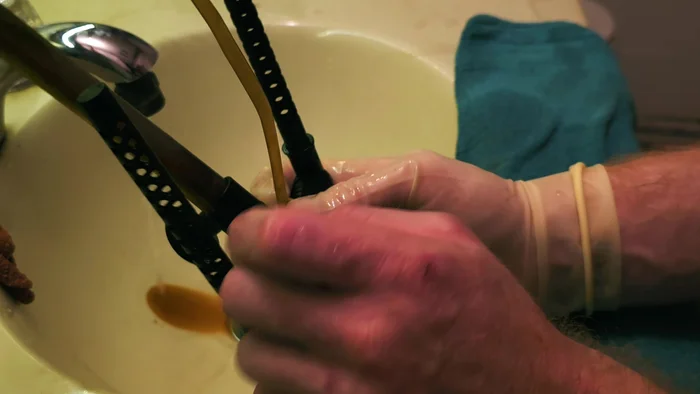
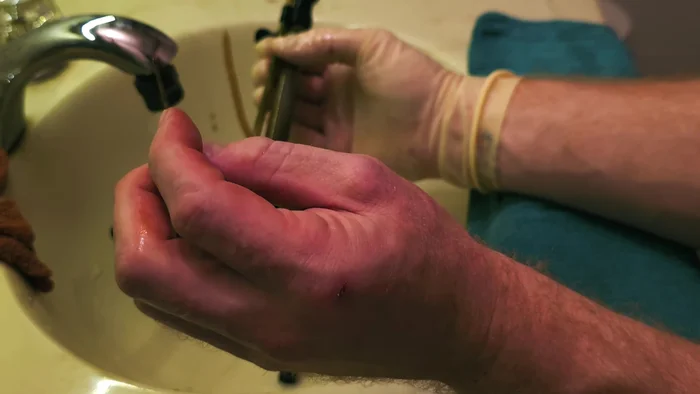
Initial Sponge Cleaning Disassembly and Tubing Cleaning
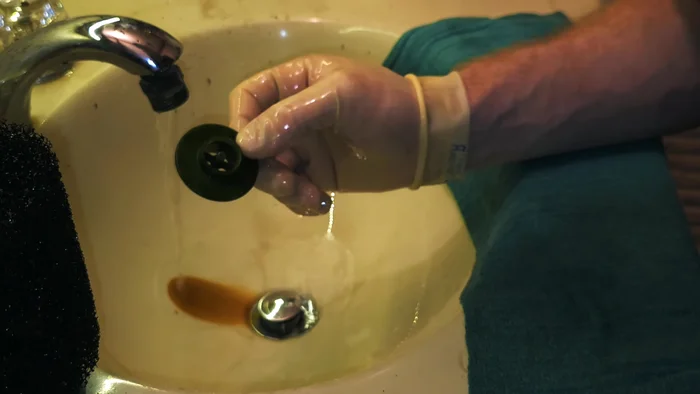
- Separate the clear tubing from the black base.
- Use a small tool (like a nail) to clear any clogs in the small air passages within the tubing and the valve.
Disassembly and Tubing Cleaning Base and Attachment Cleaning
- If using the scouring pad, use it on the base of the filter. If a zip tie/PVC is used for weight, clean the added component as well.
Base and Attachment Cleaning Reassembly and Reattachment
- Reassemble the filter components and reattach it to the aquarium. Ensure the air valve is free of clogs.
Reassembly and Reattachment
Read more: DIY Sponge Filter Modification for Quieter and More Efficient Aquarium Filtration
Tips
- Rub the sponge back and forth vigorously while rinsing to help break up stubborn debris.
- Don't rush the cleaning process. Take your time to ensure thorough cleaning.
- Pay close attention to the small air passages within the filter base and valve—these are often overlooked and can severely restrict airflow.
- Maintain a consistent water temperature when rinsing.