Creating a captivating aquarium landscape often involves the artful arrangement of rocks and wood, mimicking the natural beauty of underwater environments. This unique blend of hardscape elements, however, requires a secure and reliable bonding method to prevent collapse and ensure the safety of your aquatic inhabitants. Many aquarium enthusiasts struggle with finding the perfect adhesive, and even more so with mastering the application for a truly natural-looking result. Improper bonding can lead to messy leaks, dislodged structures, and even harm to your fish.
This ultimate guide to aquarium rock and wood fusion will equip you with the knowledge and techniques necessary to create stunning and durable underwater scenes. We'll explore the best adhesives available, discuss essential preparation steps, and provide expert tips for achieving a seamless, long-lasting bond. Ready to transform your aquarium into a breathtaking underwater paradise? Let's dive into the step-by-step process!
Preparation and Safety Guidelines
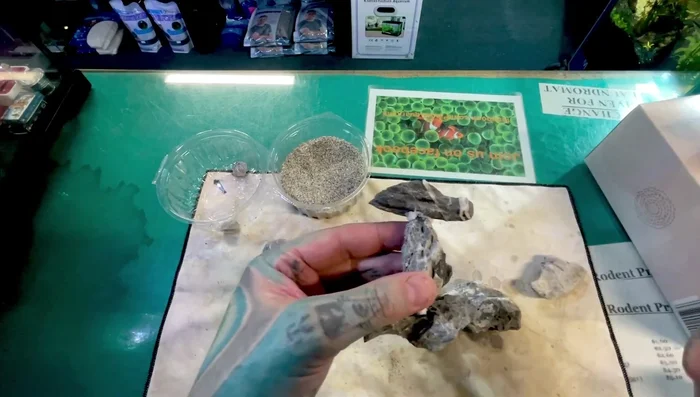
- Aquarium-safe rocks
- Aquarium-safe sand or fine gravel
- Liquid superglue (for hard-to-hard bonding)
- Gel superglue (for plants and less-porous surfaces)
- Tissue paper or toilet paper
- Always work in a well-ventilated area. Many glues release fumes that can be harmful if inhaled.
- Wear appropriate safety gear, including gloves and eye protection. Some glues can irritate skin and eyes.
- Thoroughly research the type of glue you are using and follow its instructions precisely. Using the wrong glue or improper application can lead to a weak bond or damage to your aquarium and inhabitants.
Step-by-Step Instructions
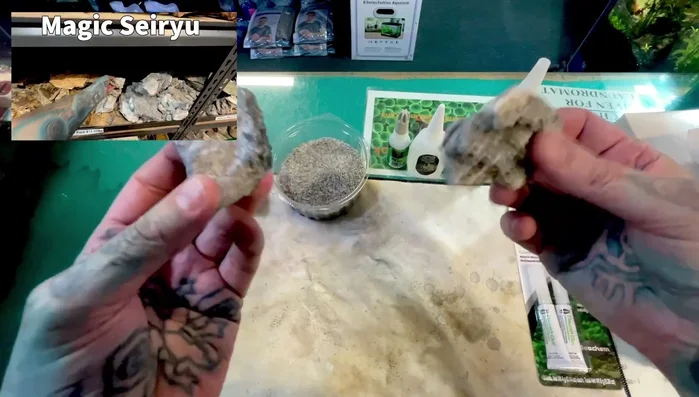
Prepare Materials
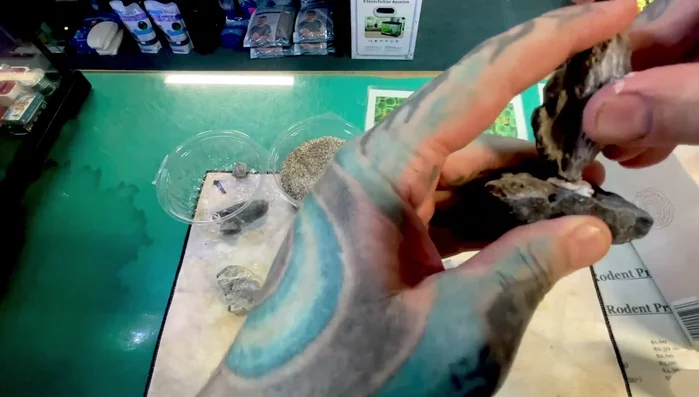
- Prepare your rocks and wood. Ensure they are aquarium safe.
- Prepare tissue paper. Crumple it into a small ball to create surface area for better adhesion.

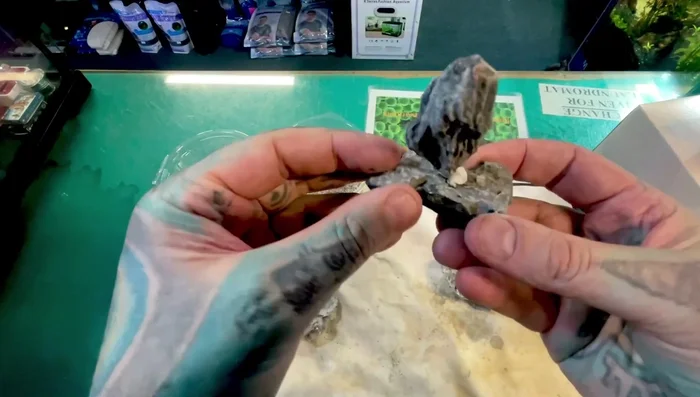
Prepare Materials Apply Liquid Superglue and Fuse Rocks
- Apply liquid superglue to the tissue paper ball, ensuring full saturation.
- Place the glue-saturated tissue between the rocks, pressing firmly to create a strong bond. A chemical reaction will occur, producing bubbles and possibly a little smoke (well-ventilated area recommended).
Apply Liquid Superglue and Fuse Rocks Reinforce and Fill Gaps
- Allow the glue to set completely. You can add extra tissue paper and glue for added strength and to fill gaps.
Reinforce and Fill Gaps Seal and Camouflage
- Apply gel superglue to any remaining gaps or exposed areas to hide the tissue paper and further secure the bond.
- Add aquarium-safe sand or gravel to camouflage any visible glue or tissue paper.
Seal and Camouflage


Read more: Aquascaping: Building a Majestic Cave Hardscape
Tips
- Wear gloves to avoid gluing your fingers together.
- Work in a well-ventilated area due to fumes produced by the superglue.
- Use liquid superglue for hard-to-hard bonding (rocks to wood, rocks to rocks). Gel superglue is better for gluing plants or less porous materials.
- Tissue paper significantly increases the surface area for glue adhesion, creating a much stronger bond.