The allure of a naturally beautiful aquarium is undeniable, and sourcing unique rocks from local parks seems like a tempting shortcut to achieving that authentic, wild look. However, bringing elements from the natural world into your carefully balanced aquatic ecosystem requires careful consideration. Uncleaned rocks can introduce unwanted parasites, bacteria, and even harmful chemicals into your tank, potentially devastating your fish and plants. This means that the seemingly simple act of collecting rocks for your aquarium demands a rigorous cleaning and preparation process.
This article will guide you through the safe and responsible method of collecting and treating rocks from parks for your aquarium, ensuring both a stunning aesthetic and a healthy environment for your aquatic life. We'll explore the best types of rocks to collect, how to safely gather them, and most importantly, a step-by-step guide to effectively sterilizing them, eliminating any potential threats before they ever reach your tank.
Preparation and Safety Guidelines
- Bucket
- Garden Hose
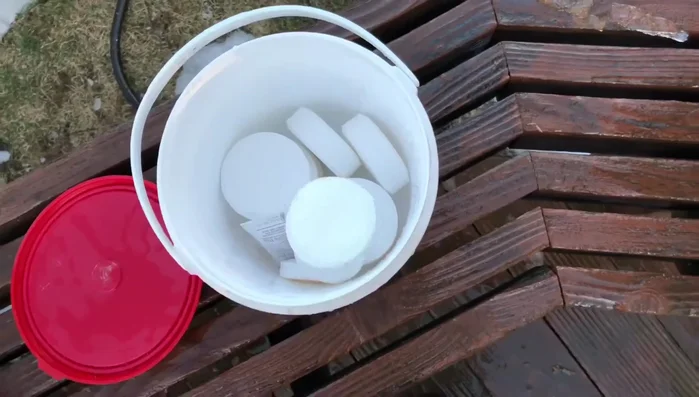
- Chlorine tablets (or bleach solution - use cautiously)
- Gloves
- Always obtain permission before collecting rocks from any park or protected area. Unauthorized collection is often illegal and can harm the environment.
- Thoroughly clean and sterilize all collected rocks before placing them in your aquarium. Scrub them with a brush and a solution of aquarium-safe bleach (follow dilution instructions carefully) to kill harmful bacteria, parasites, and algae. Rinse extensively afterward.
- Avoid rocks with visible cracks, porous surfaces, or signs of mineral leaching (discoloring water) as these may contaminate your aquarium water and are more likely to harbor harmful organisms.
Step-by-Step Instructions
Rock Selection
- Locate rocks in a park or natural area free from fertilizers and pesticides.
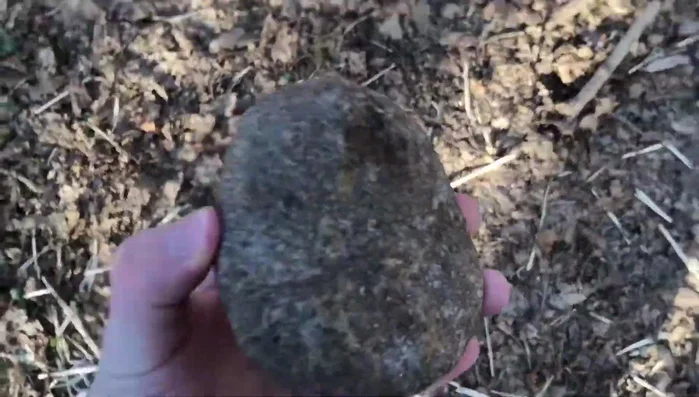
- Collect rocks; prioritize rocks with interesting shapes and sizes.

Rock Selection Initial Cleaning
- Rinse rocks thoroughly with a garden hose to remove dirt and debris.
Initial Cleaning Chlorine Treatment
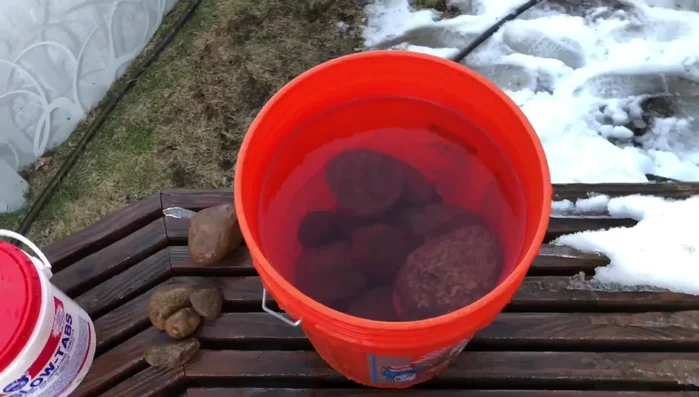
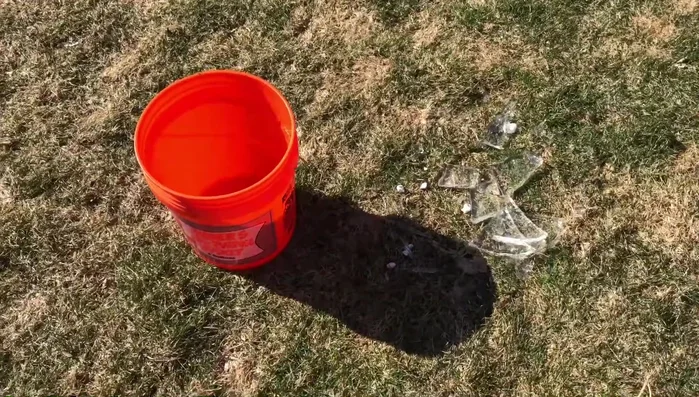
- Place rocks in a bucket.
- Add a chlorine tablet (or a small amount of bleach solution – proceed with caution and research appropriate dilution).
- Let the rocks soak in the chlorine solution for 24 hours (or overnight).
Chlorine Treatment Final Cleaning & Drying
- Remove rocks and rinse thoroughly with clean water.
- Allow rocks to air dry completely (a few hours in a sunny spot).
Final Cleaning & Drying Aquarium Placement
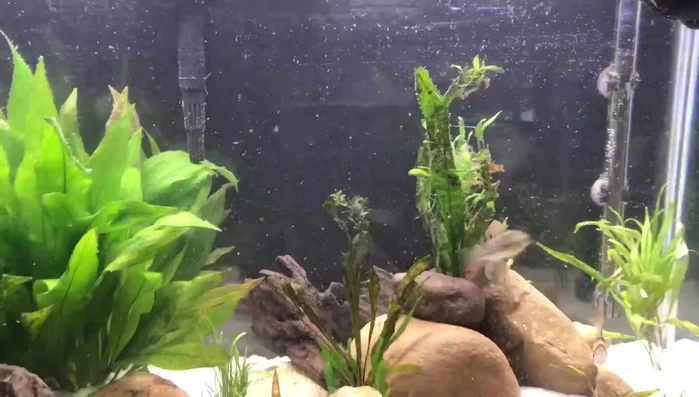
- Once completely dry and free of chlorine smell, add the rocks to your aquarium.
Aquarium Placement


Read more: Aquascaping: Building a Majestic Cave Hardscape
Tips
- Avoid using wood from parks, as it tends to rot in aquariums.
- Thorough rinsing and chlorine treatment are crucial for eliminating harmful substances and organisms.
- Using chlorine tablets is safer than using bleach. If using bleach, research the correct dilution rate carefully.