Aquarium caves provide crucial hiding places and breeding grounds for shy fish and invertebrates, enhancing the overall health and wellbeing of your underwater ecosystem. Commercially available caves can be expensive, however, limiting the options for budget-conscious aquarists. This is where the ingenious DIY approach comes in! Using readily available materials like terracotta flower pots, you can create stunning and effective aquarium caves for a fraction of the cost. This simple, yet rewarding, project allows for creative customization, enabling you to build caves perfectly suited to your tank's aesthetic and your fish's needs.
This article will guide you through a step-by-step process of crafting your own unique aquarium caves using terracotta flower pots, offering various tips and techniques for creating a safe and attractive habitat for your aquatic companions. Let’s get started and transform those humble flower pots into magnificent underwater dwellings!
Preparation and Safety Guidelines
- Flower pots
- Cordless drill
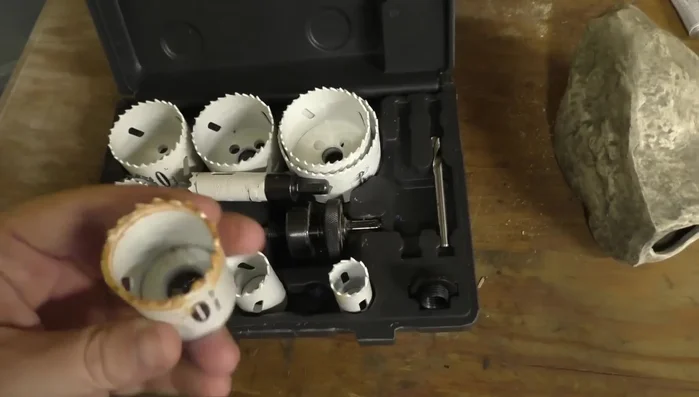
- Hole saw kit (with pilot bit)
- Bucket of water
- Super glue gel
- Plants (e.g., Anubias, Java fern)
- Towel
- Thoroughly clean and bake unglazed clay pots in a 350°F (175°C) oven for at least 30 minutes to kill any bacteria or parasites that may be present. Allow to cool completely before placing in the aquarium.
- Avoid using glazed or painted pots, as the glazes and paints can leach harmful chemicals into the water, harming your fish.
- Ensure the pot is stable and won't easily topple over, potentially crushing or injuring your fish. Use aquarium-safe silicone or other appropriate adhesive if necessary to secure it to the bottom or other structures.
Step-by-Step Instructions
Prepare the Flower Pot
- Soak flower pots overnight in a bucket of water to soften the clay.

Prepare the Flower Pot Choose and Prepare Drill Bit
- Choose a hole saw bit from your kit. A smaller bit is recommended for smaller fish.
Choose and Prepare Drill Bit Secure the Pot and Begin Drilling
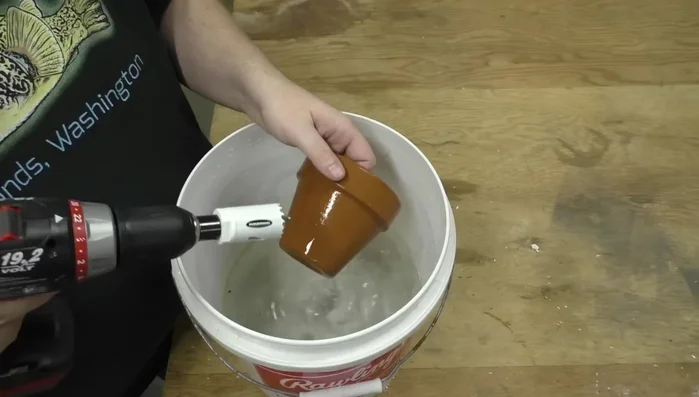
- Secure the flower pot. Use a tripod or other method to keep the pot steady while drilling.
- Start drilling slowly, using the pilot bit to guide the hole saw, frequently dipping the bit in water to prevent overheating.
Secure the Pot and Begin Drilling Drill the Hole Evenly
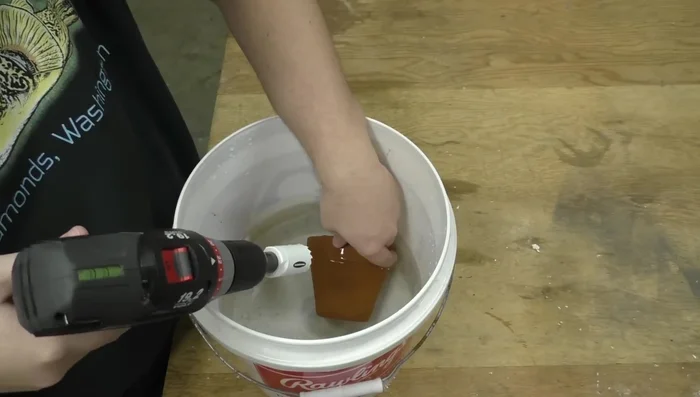
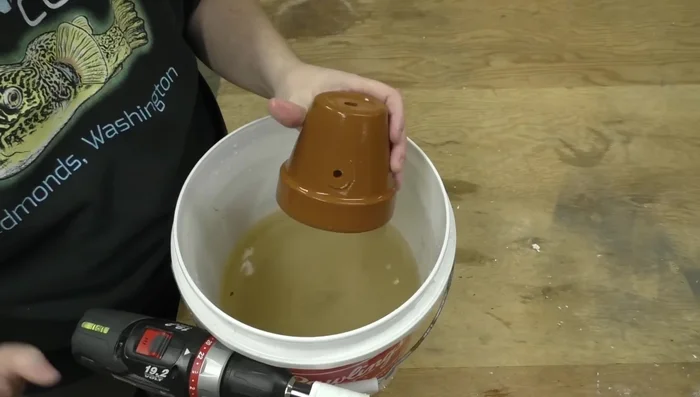
- Apply even pressure to ensure a clean cut. If one side cuts through faster, adjust the angle to cut evenly on both sides.
- Continue drilling until the hole is complete. Keep the bit wet throughout the process.
Drill the Hole Evenly Prepare the Plants
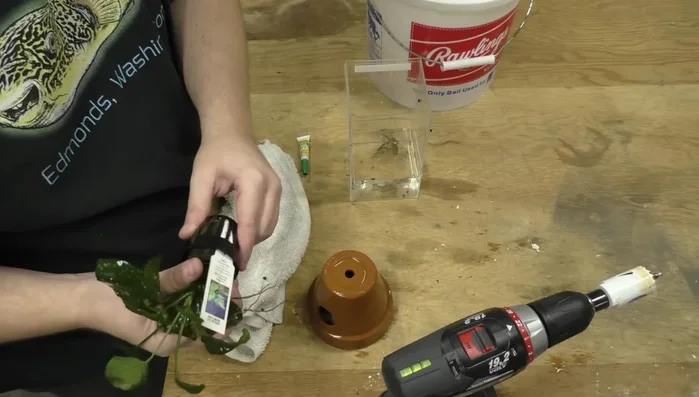
- Prepare the plants by removing excess soil and roots, leaving shorter roots for easier attachment.
Prepare the Plants Attach Plants with Super Glue
- Apply a generous amount of super glue gel to the inside of the hole in the flower pot and to the base of the plant.
- Carefully press the plant into the pot, ensuring good contact with the glue. Hold for a few seconds to secure.
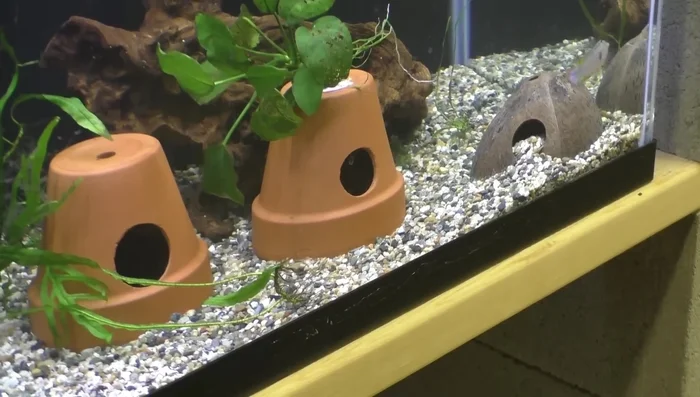
Final Steps
- Allow the glue to dry completely before placing the cave in the aquarium.
Final Steps


Read more: Aquascaping: Building a Majestic Cave Hardscape
Tips
- Soaking the pots overnight makes them easier to drill and reduces the risk of cracking.
- Using a pilot bit prevents the hole saw from jumping around and makes drilling easier and more precise.
- Keep the drill bit wet to prevent overheating and damage to the flower pot.
- Drill slowly and apply even pressure to avoid cracking the pot.
- Use super glue gel, not liquid super glue, for attaching plants to ensure a strong and secure bond.