This detailed guide chronicles my recent acquisition and setup of a 25+ SPS coral haul, transforming my mixed reef tank. Initially dominated by LPS corals, my uneven rockwork and subsequent coral bleaching highlighted the need for a more balanced approach. A year and a half into my reef tank journey, I felt the system's stability could support the delicate beauty of small polyp stony (SPS) corals. This upgrade involved a significant investment in high-end SPS frags, requiring meticulous preparation and careful handling.The process, from the initial purchase and thorough multi-stage dipping to mounting the often tiny frags onto new plugs, is documented step-by-step. Challenges encountered, such as frag breakage during removal and the time-consuming nature of the cleaning process, are openly shared. This guide offers valuable insights for reef tank enthusiasts looking to integrate SPS corals, emphasizing the importance of careful preparation and patience for successful growth, even with the smallest of frags. Follow along as I share my journey and the exciting progress of my thriving SPS coral collection.
Read more: Top 5 Green Aquarium Corals
My SPS Journey and Tank Setup
My reef tank journey began with a predominantly LPS setup, but the uneven rockwork prompted a shift towards SPS corals about a year ago. The top of my tank was bare, while the bottom was heavily populated. Attempts to place LPS corals at the top resulted in bleaching.
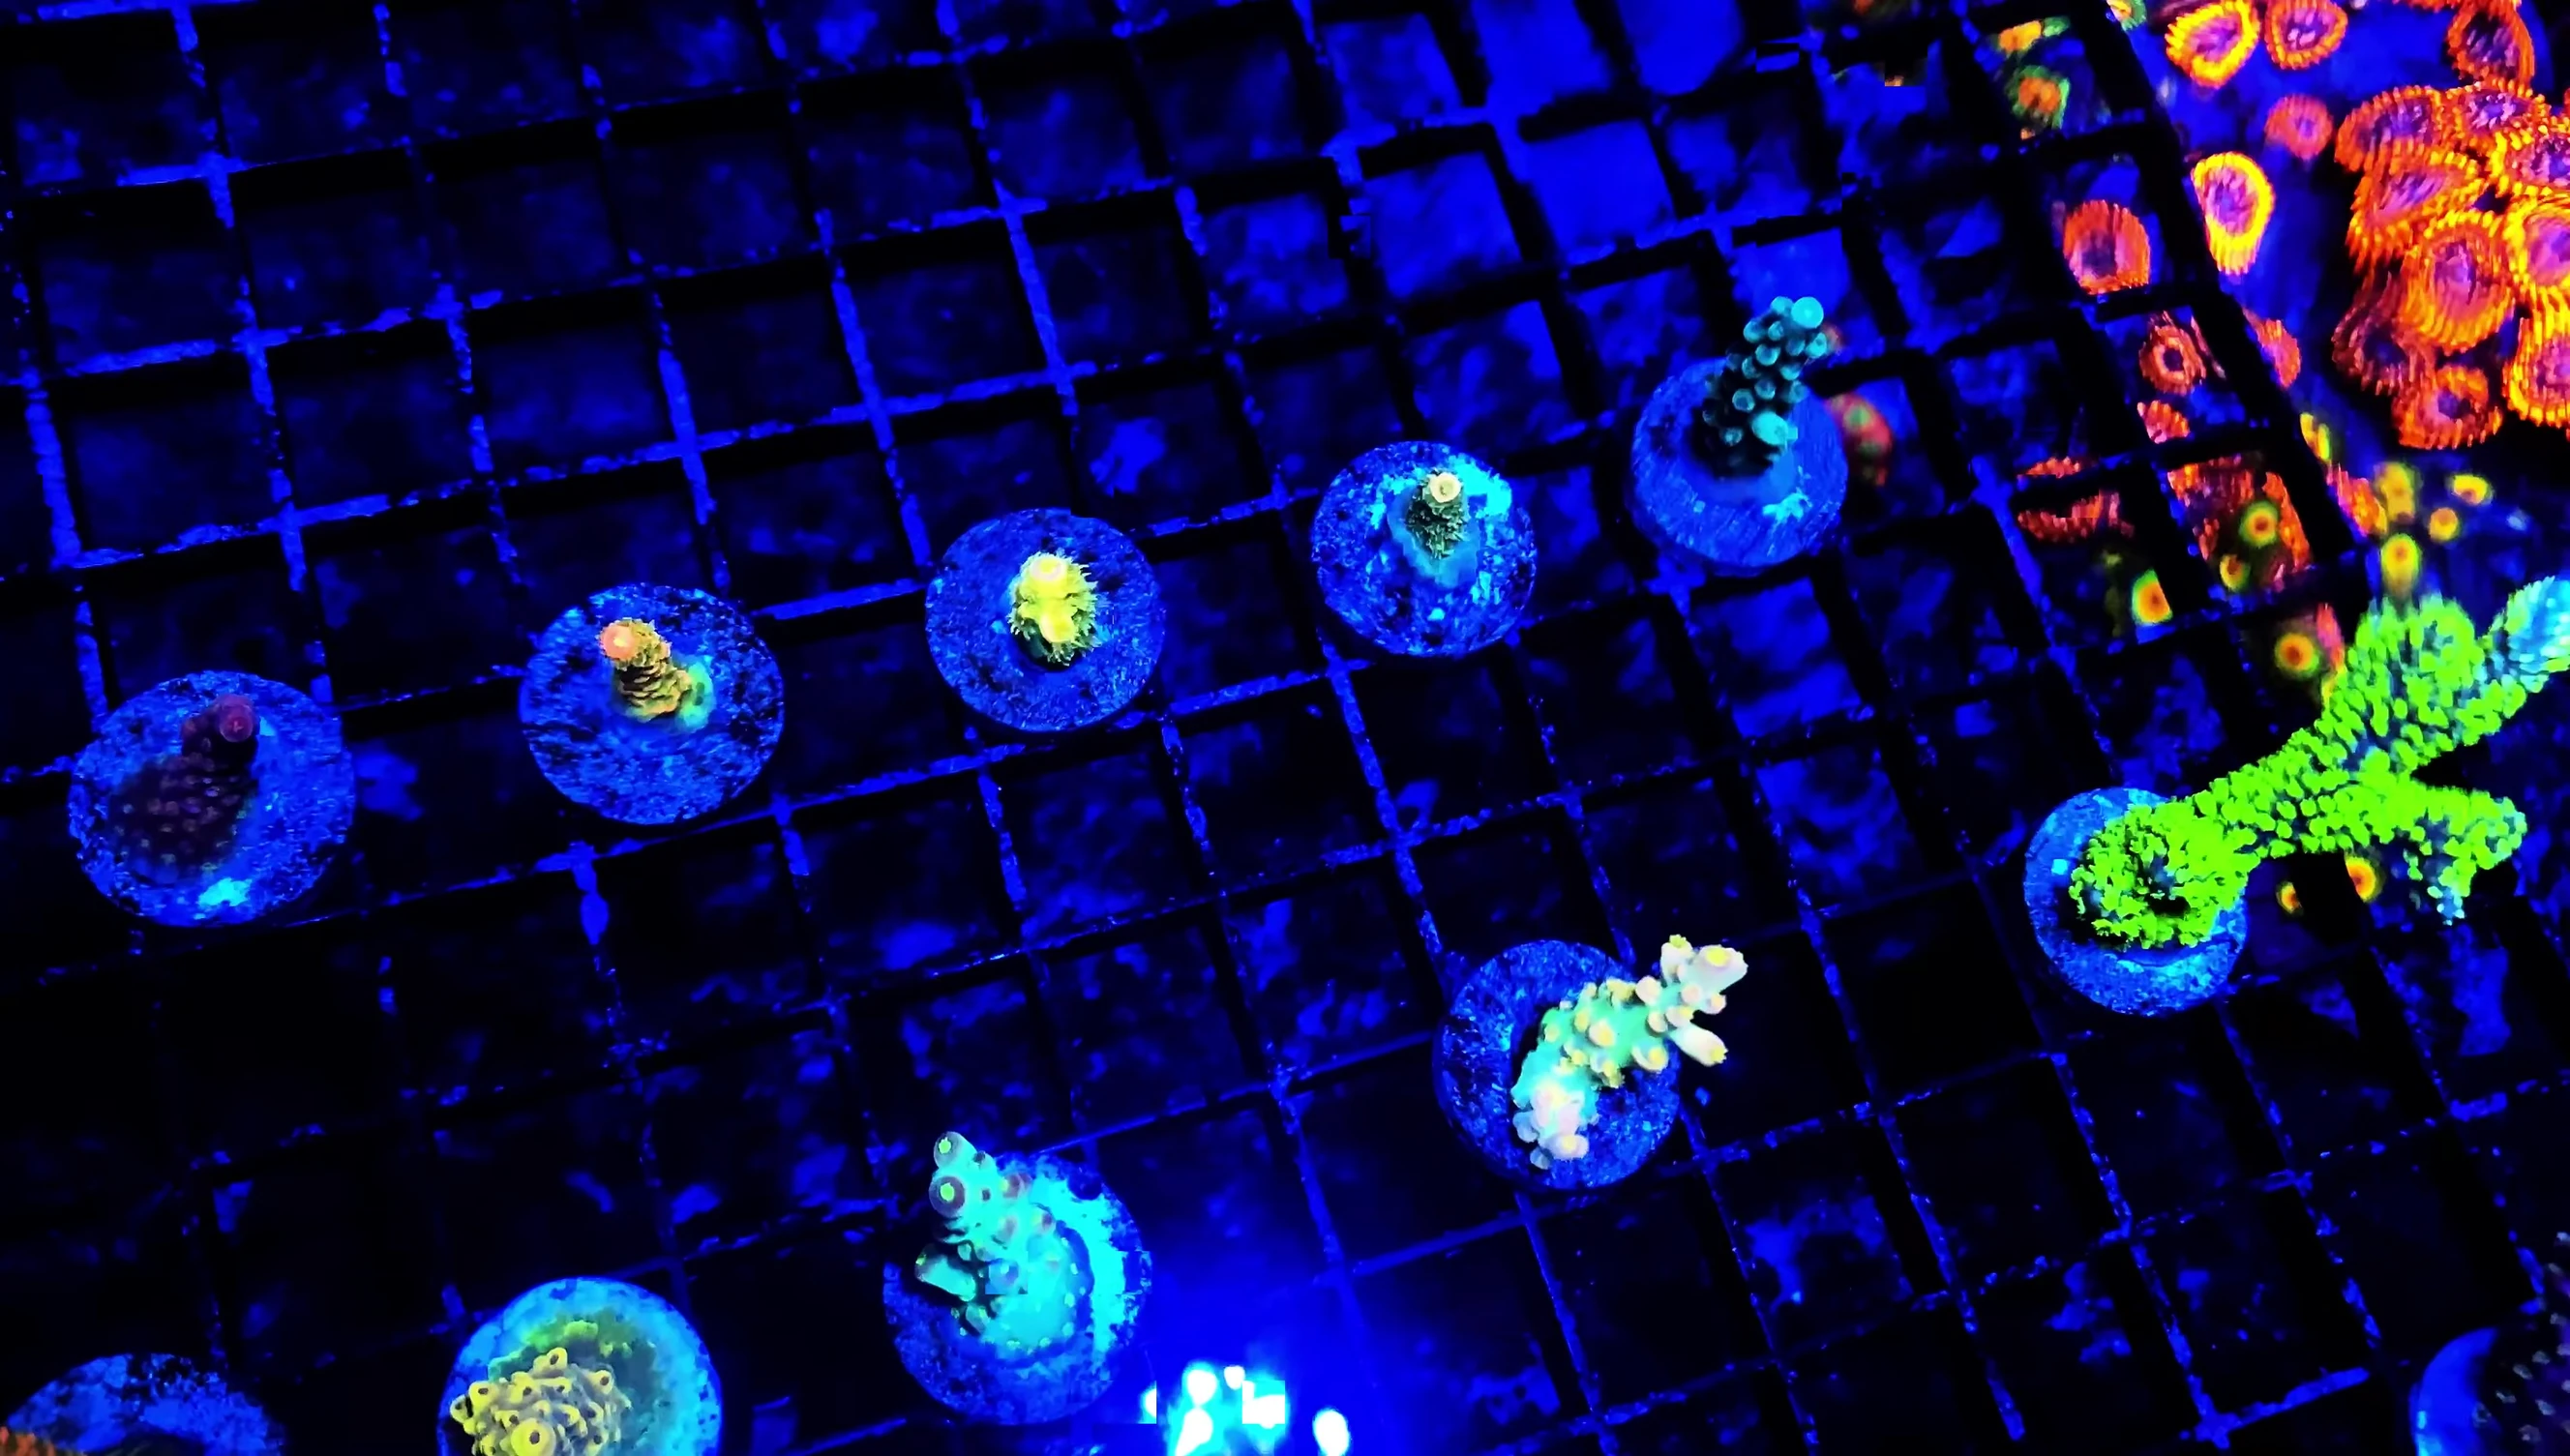
To achieve a fuller, more balanced look, I decided to incorporate SPS corals into my mixed reef tank. My tank is now a year and a half old, providing a more stable environment for the corals to thrive. The SPS corals, along with other corals, have grown significantly over this time.
The Coral Dip and Cleaning Process
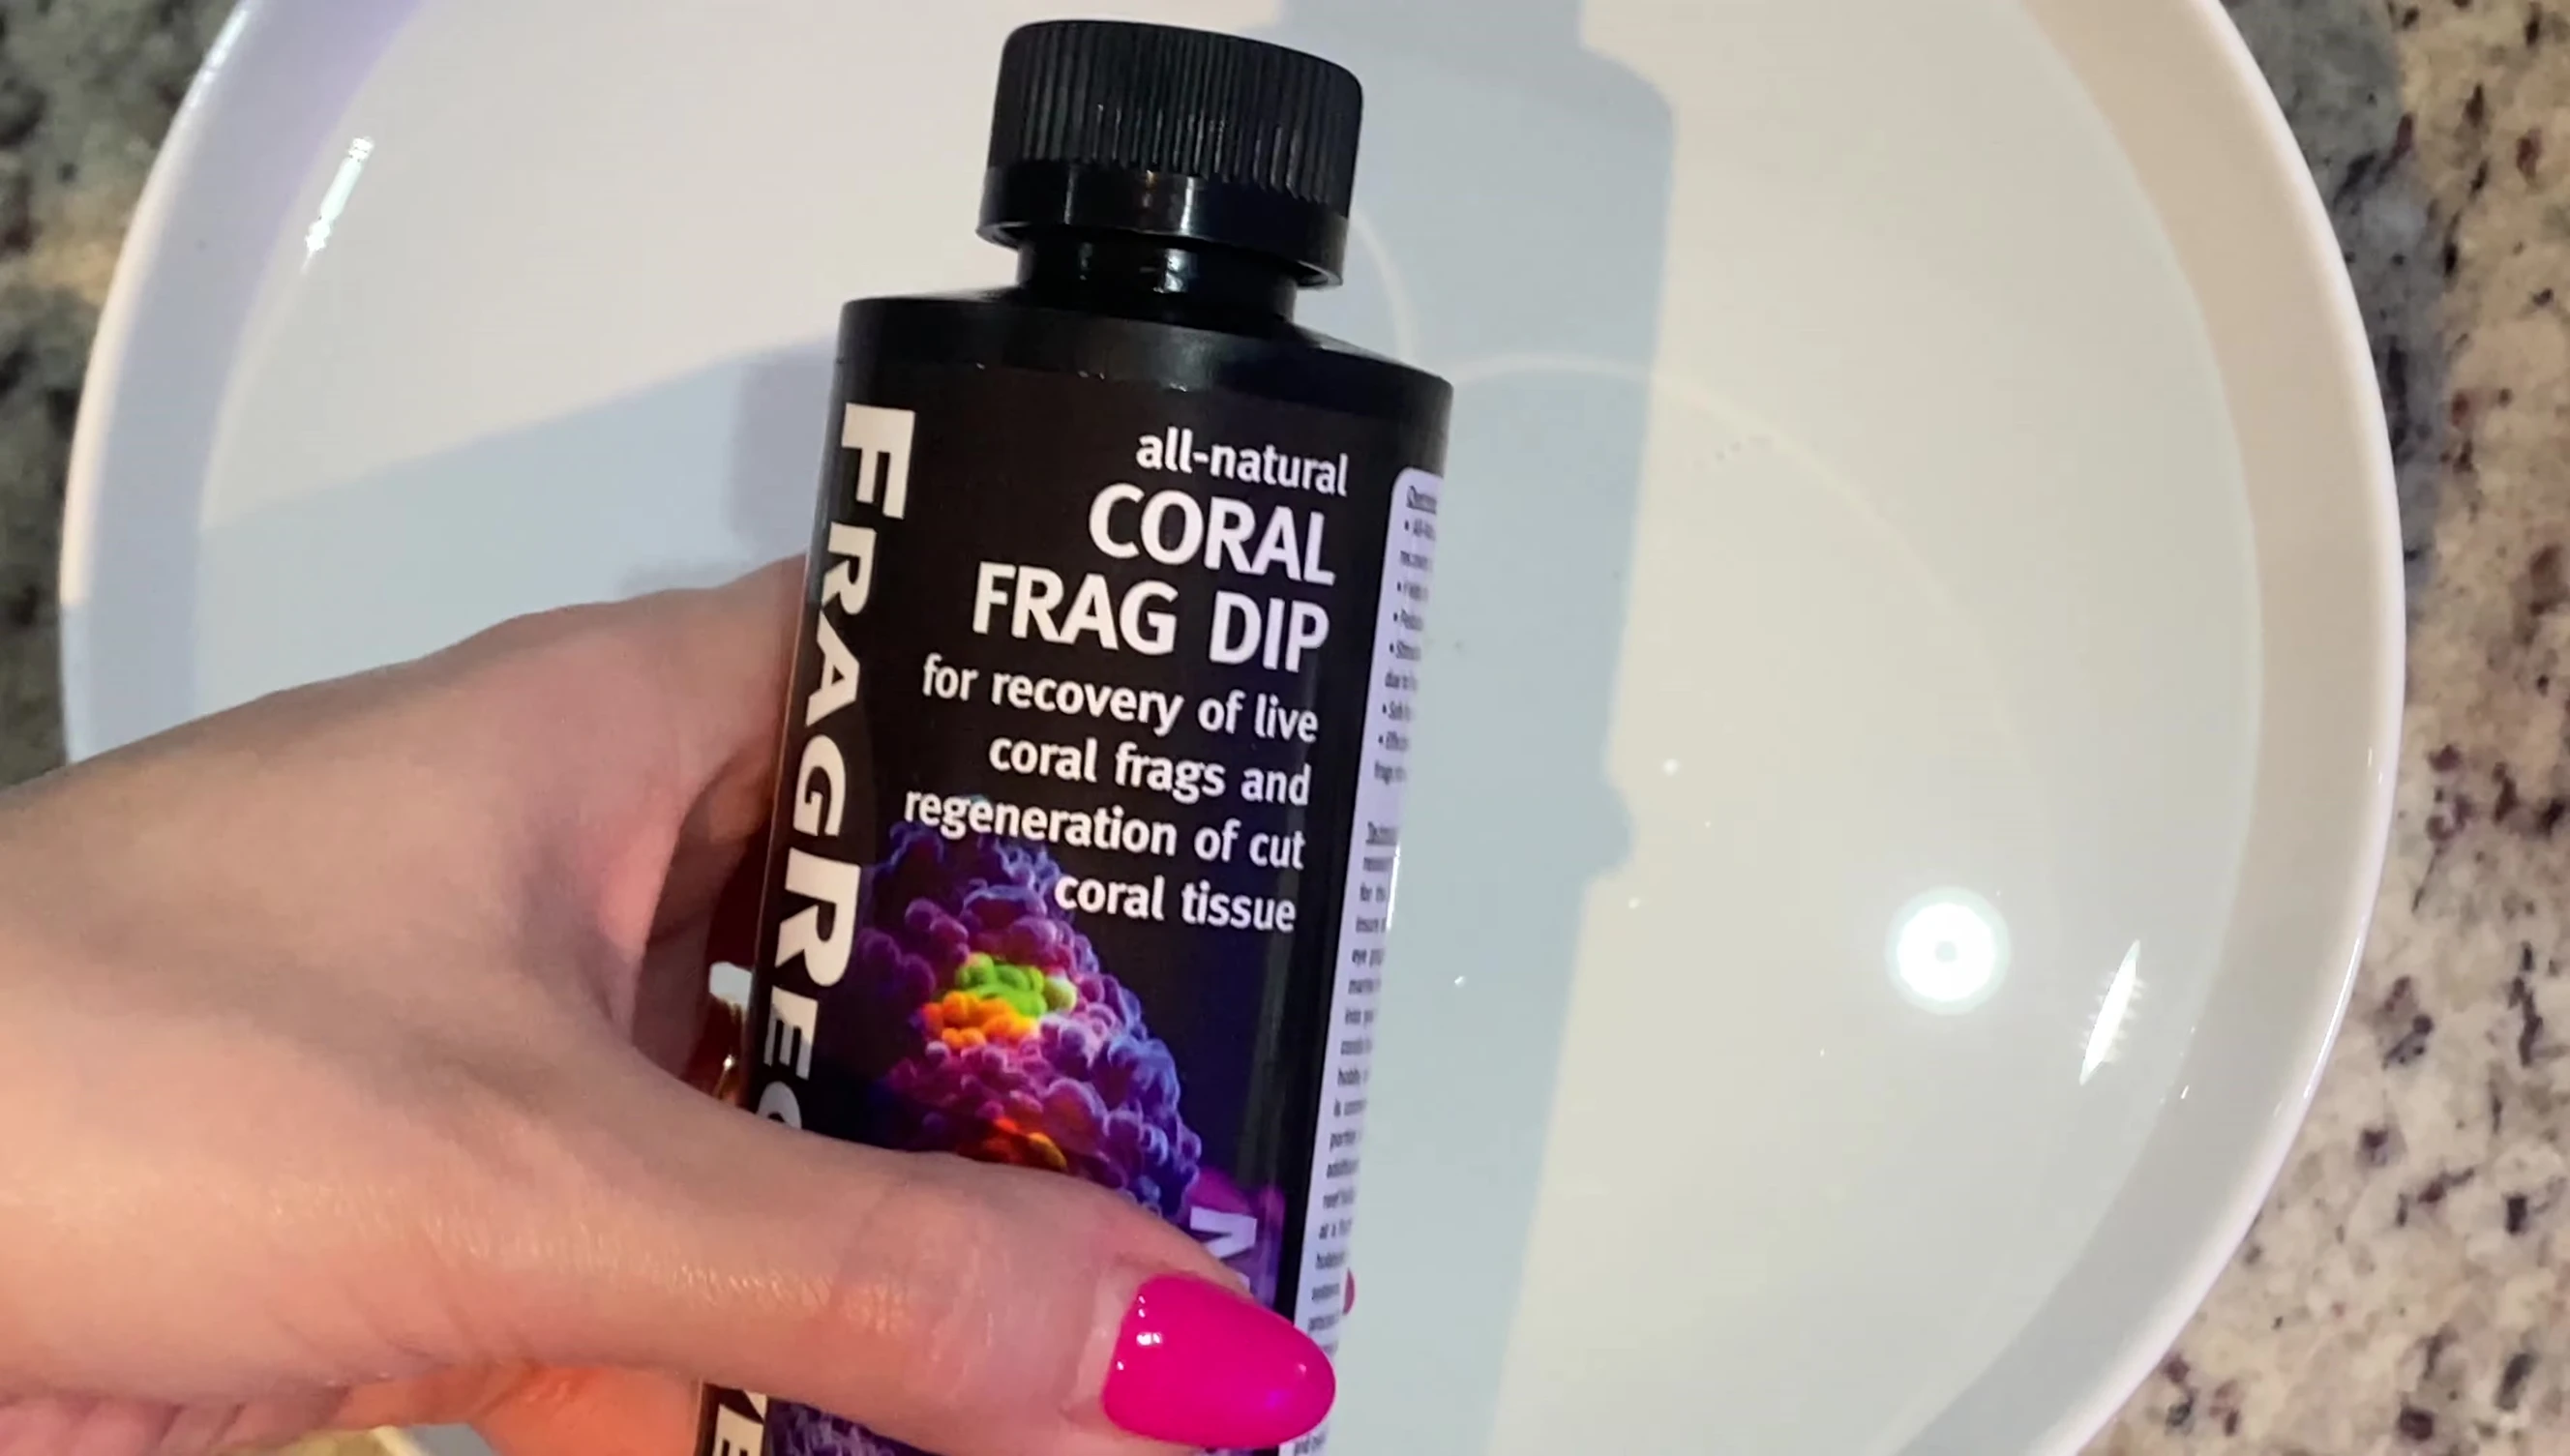
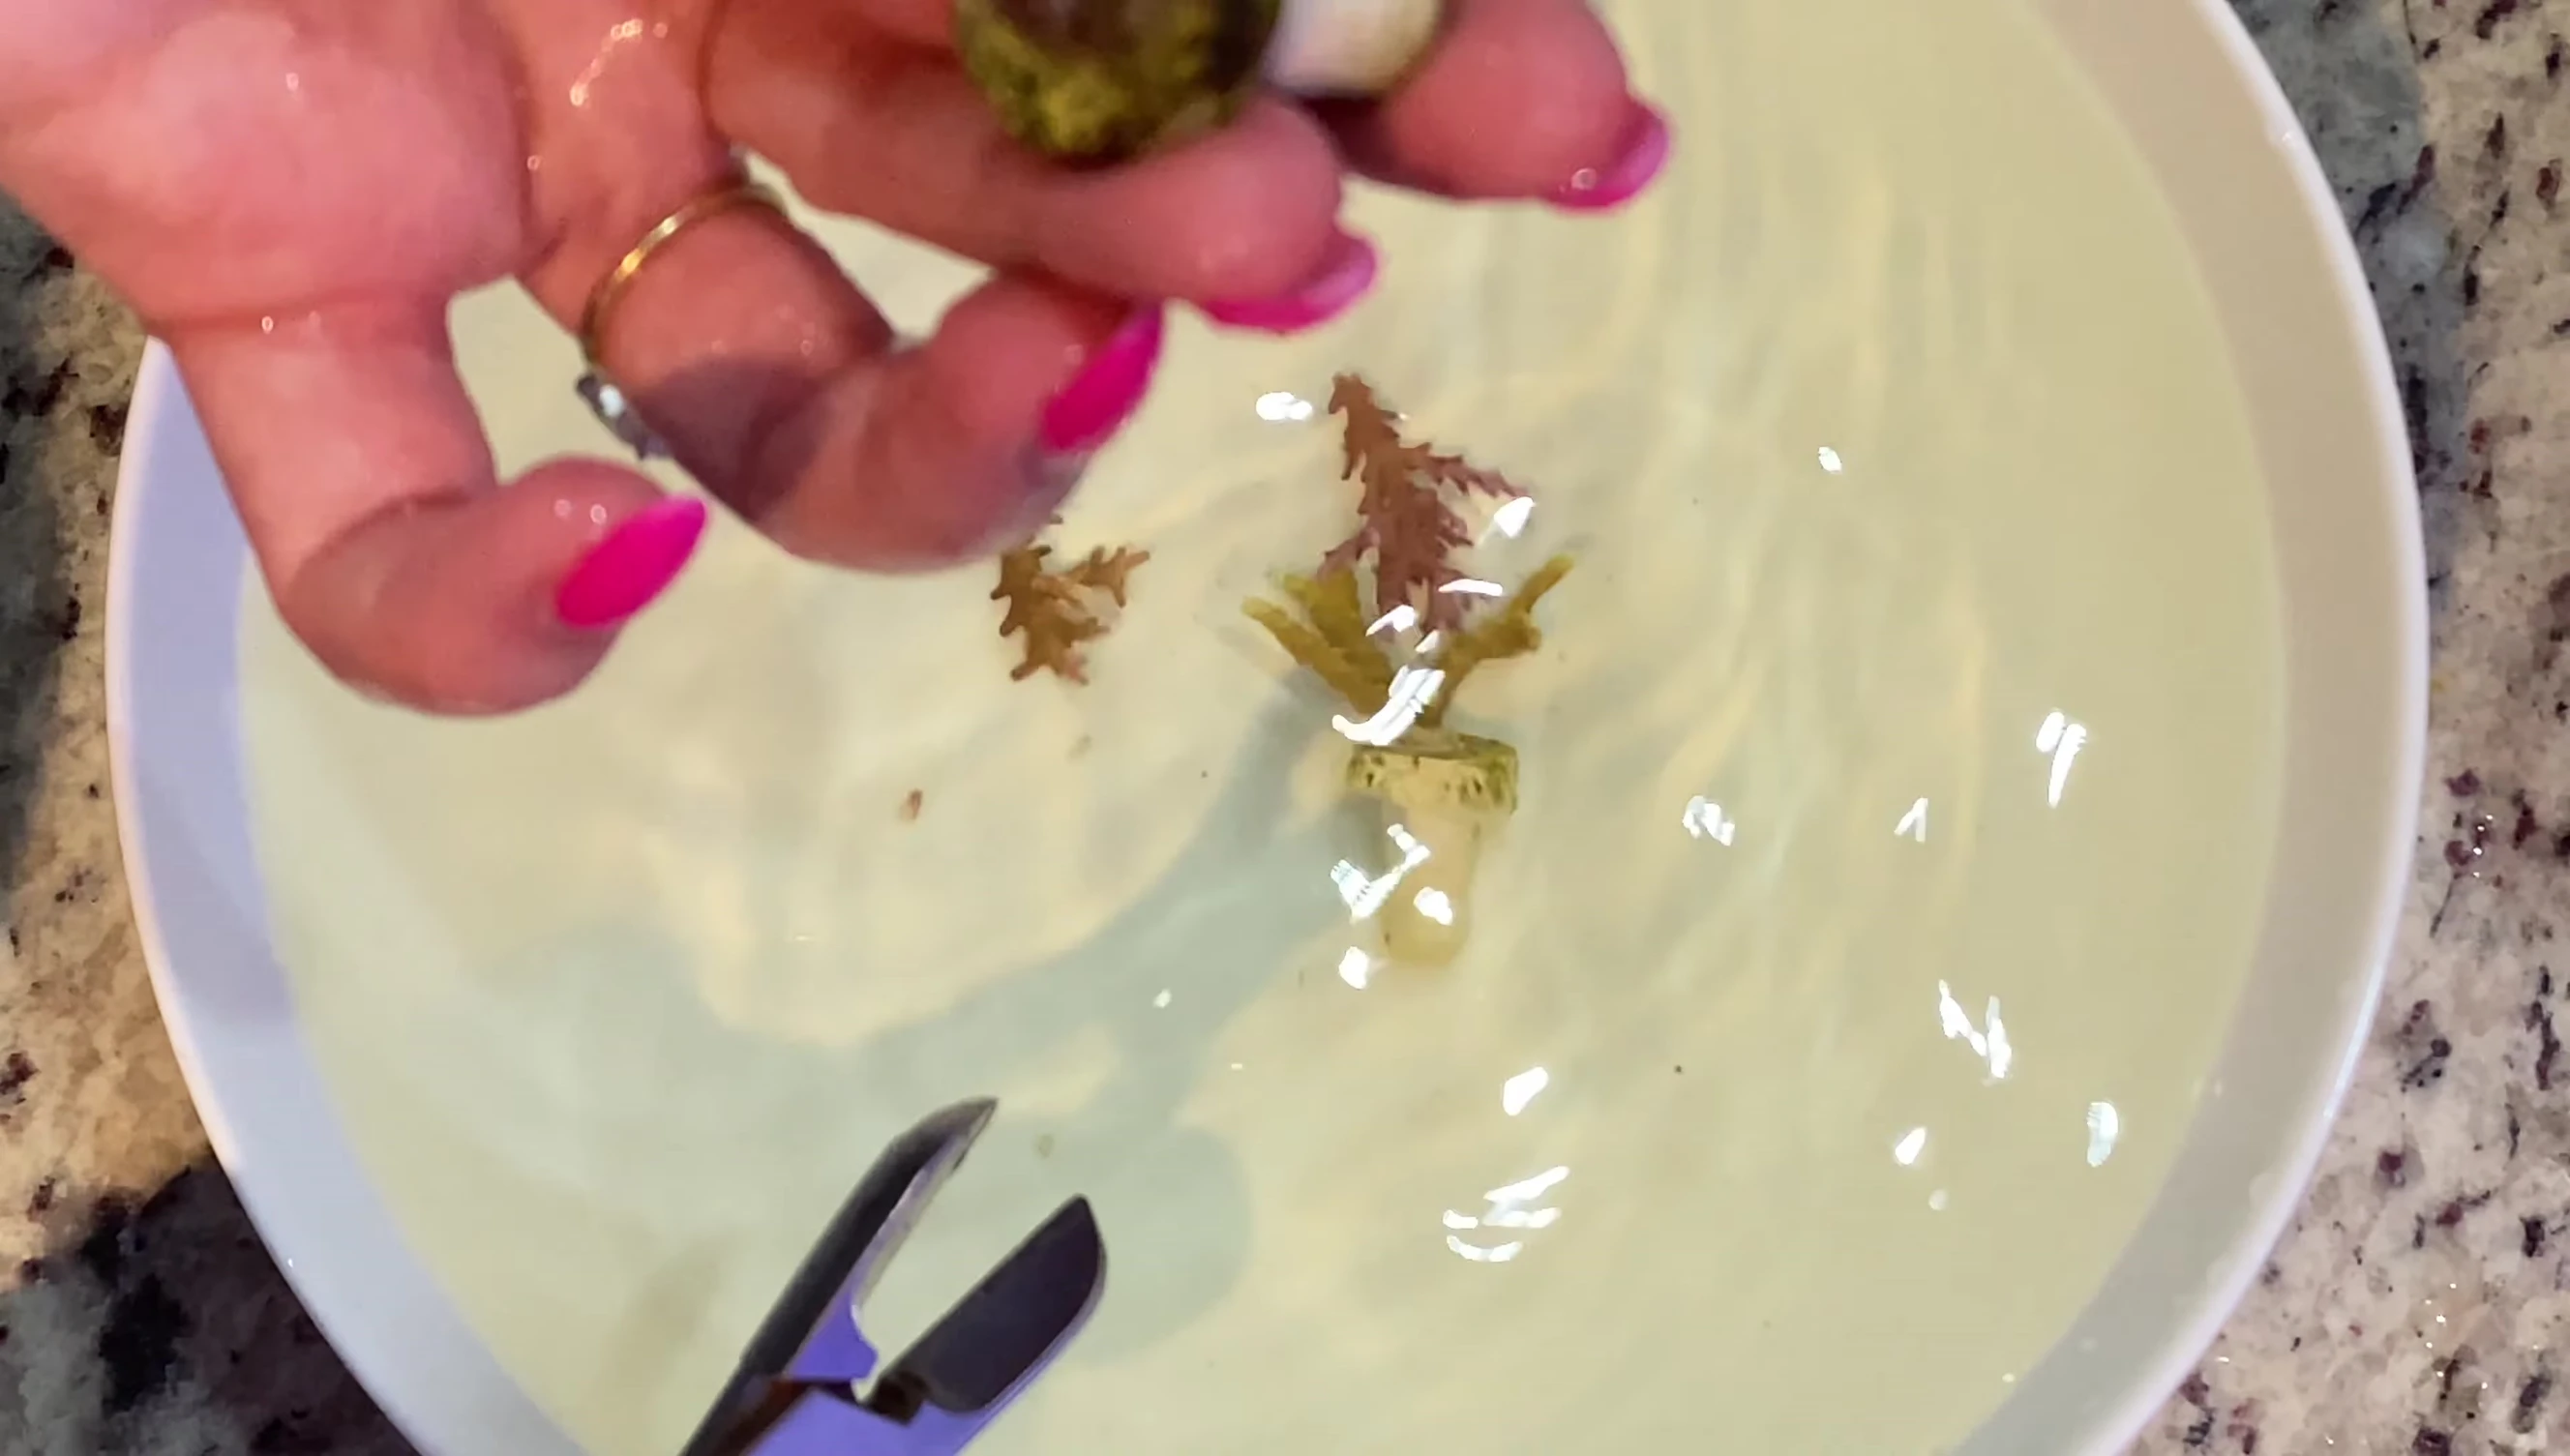
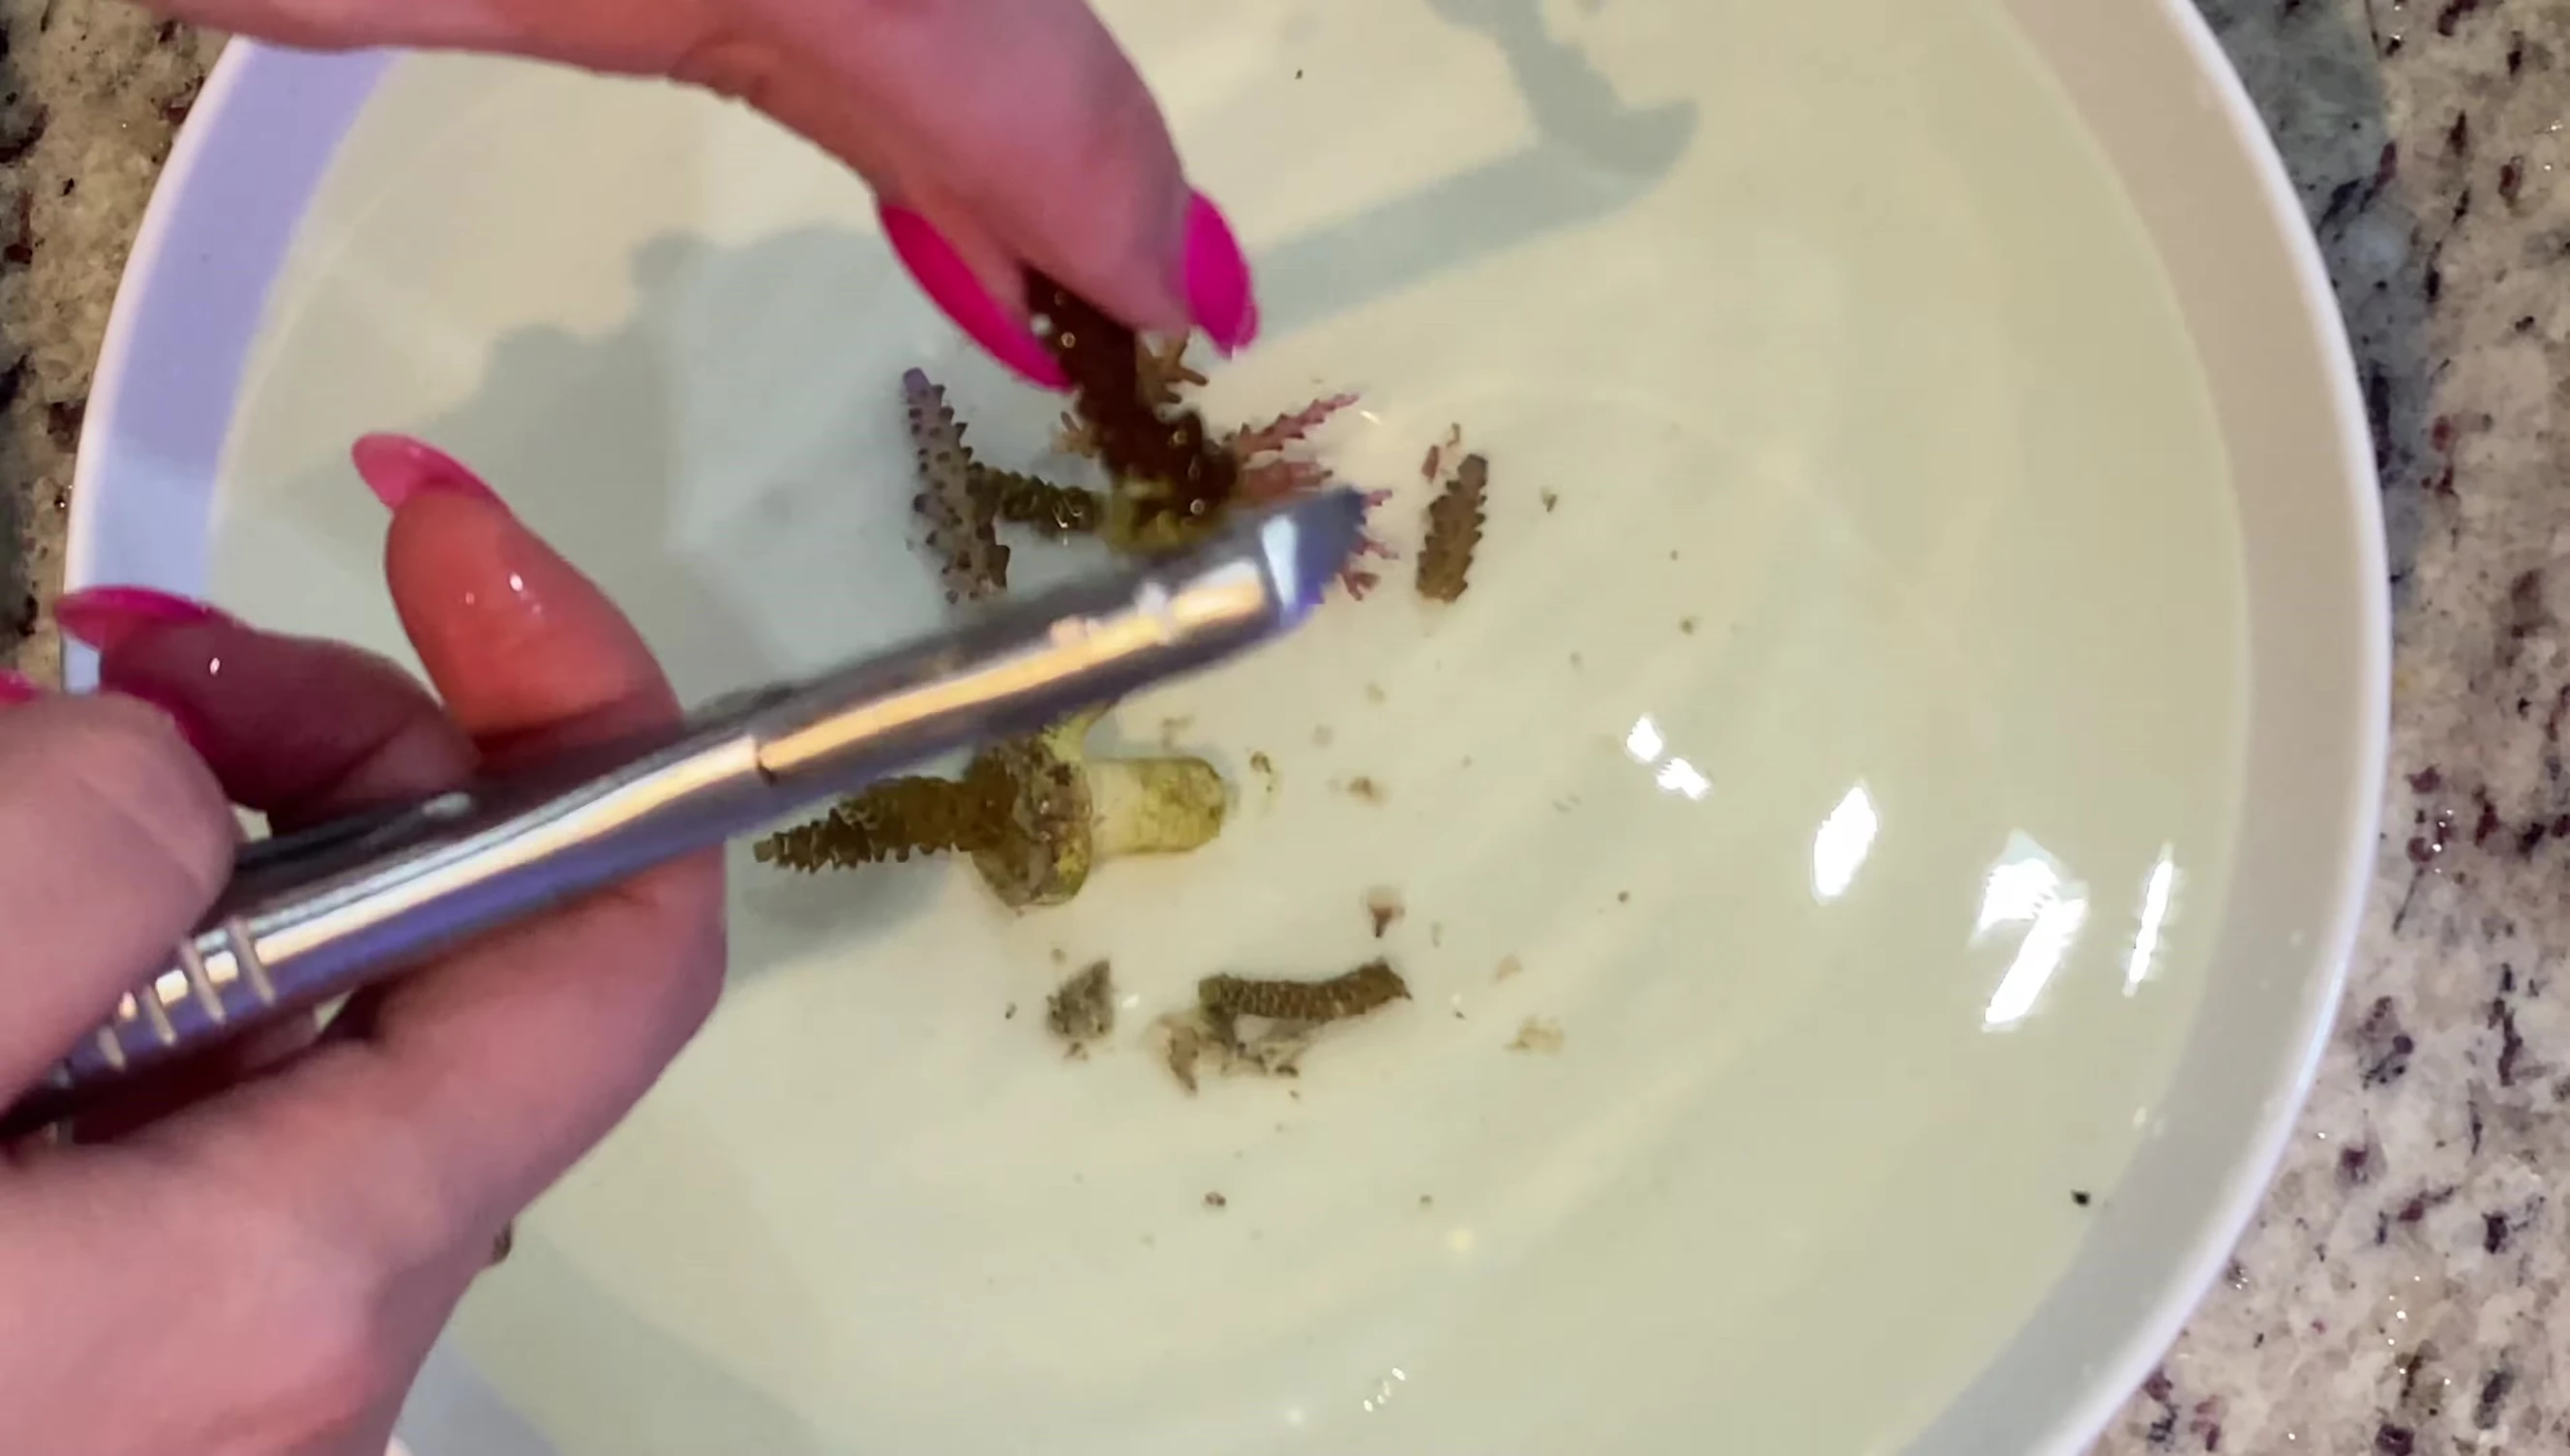
I purchased over 25 high-end SPS corals from a local seller. Upon arrival, I immediately began the crucial process of dipping and cleaning each coral. This involved using Revive Coral dip, followed by a Seachem Reef Dip solution and Brightwell Frag Recover Coral Dip for optimal health and pest prevention.
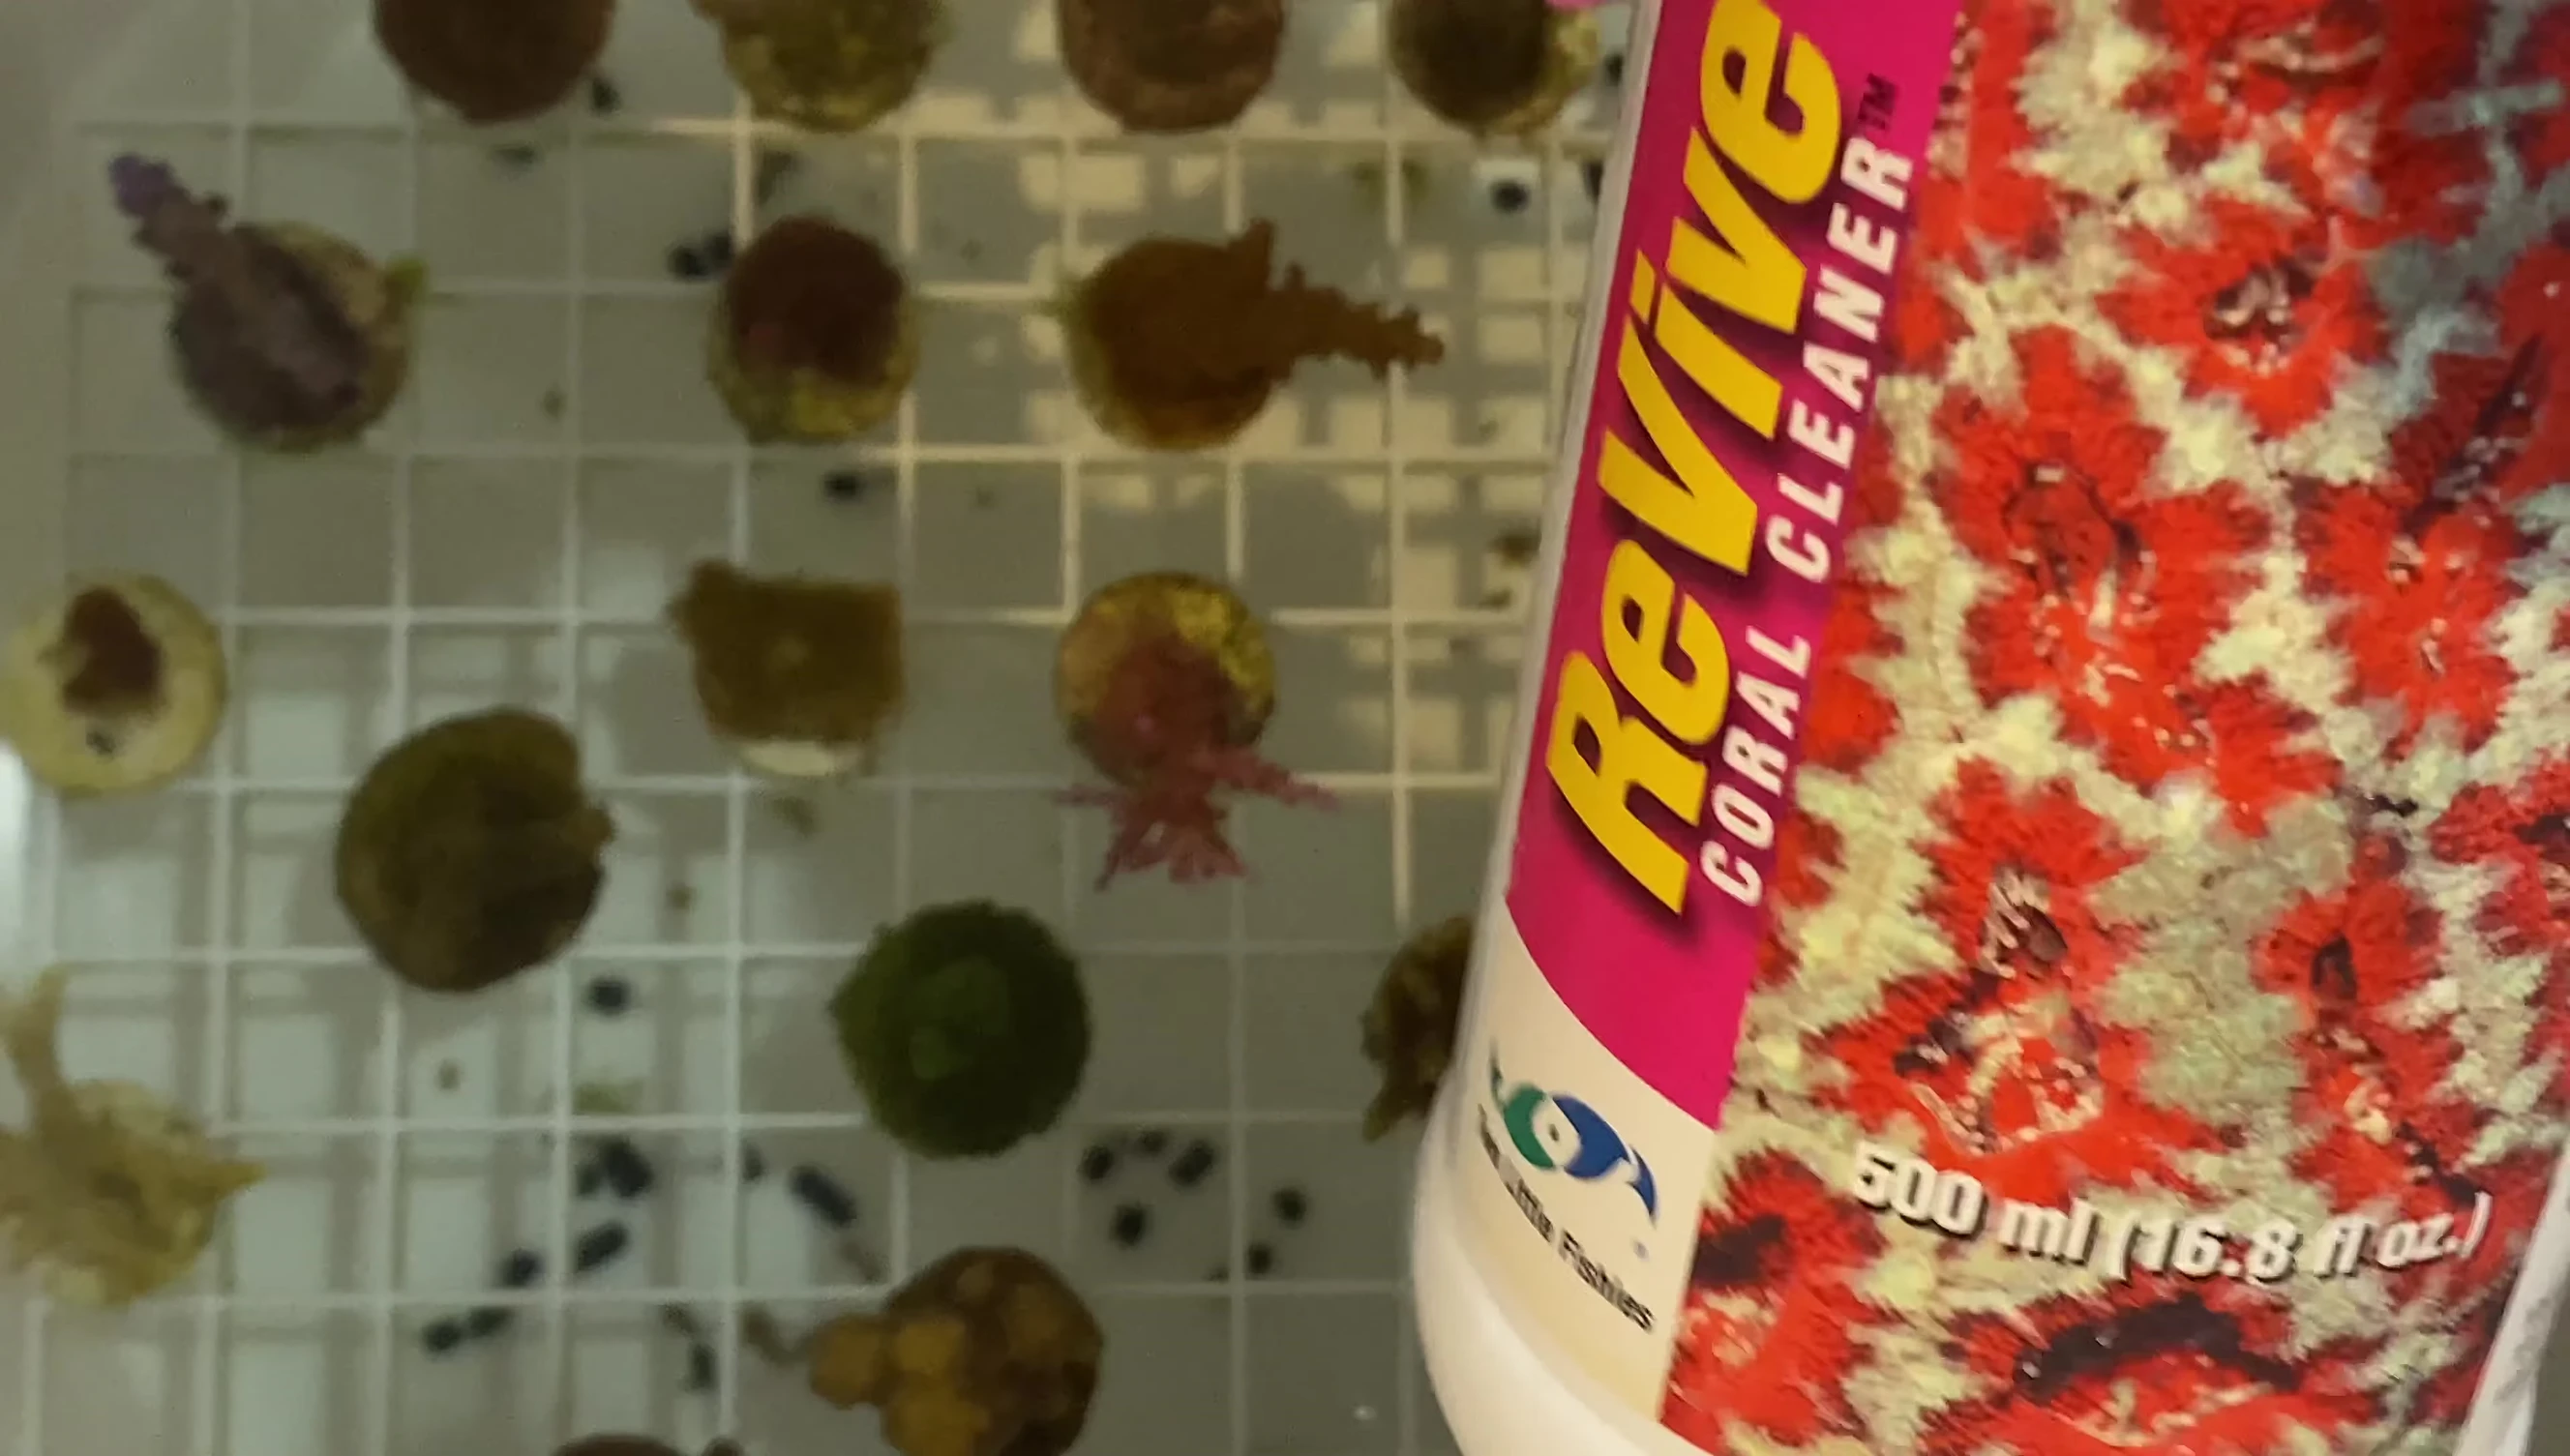
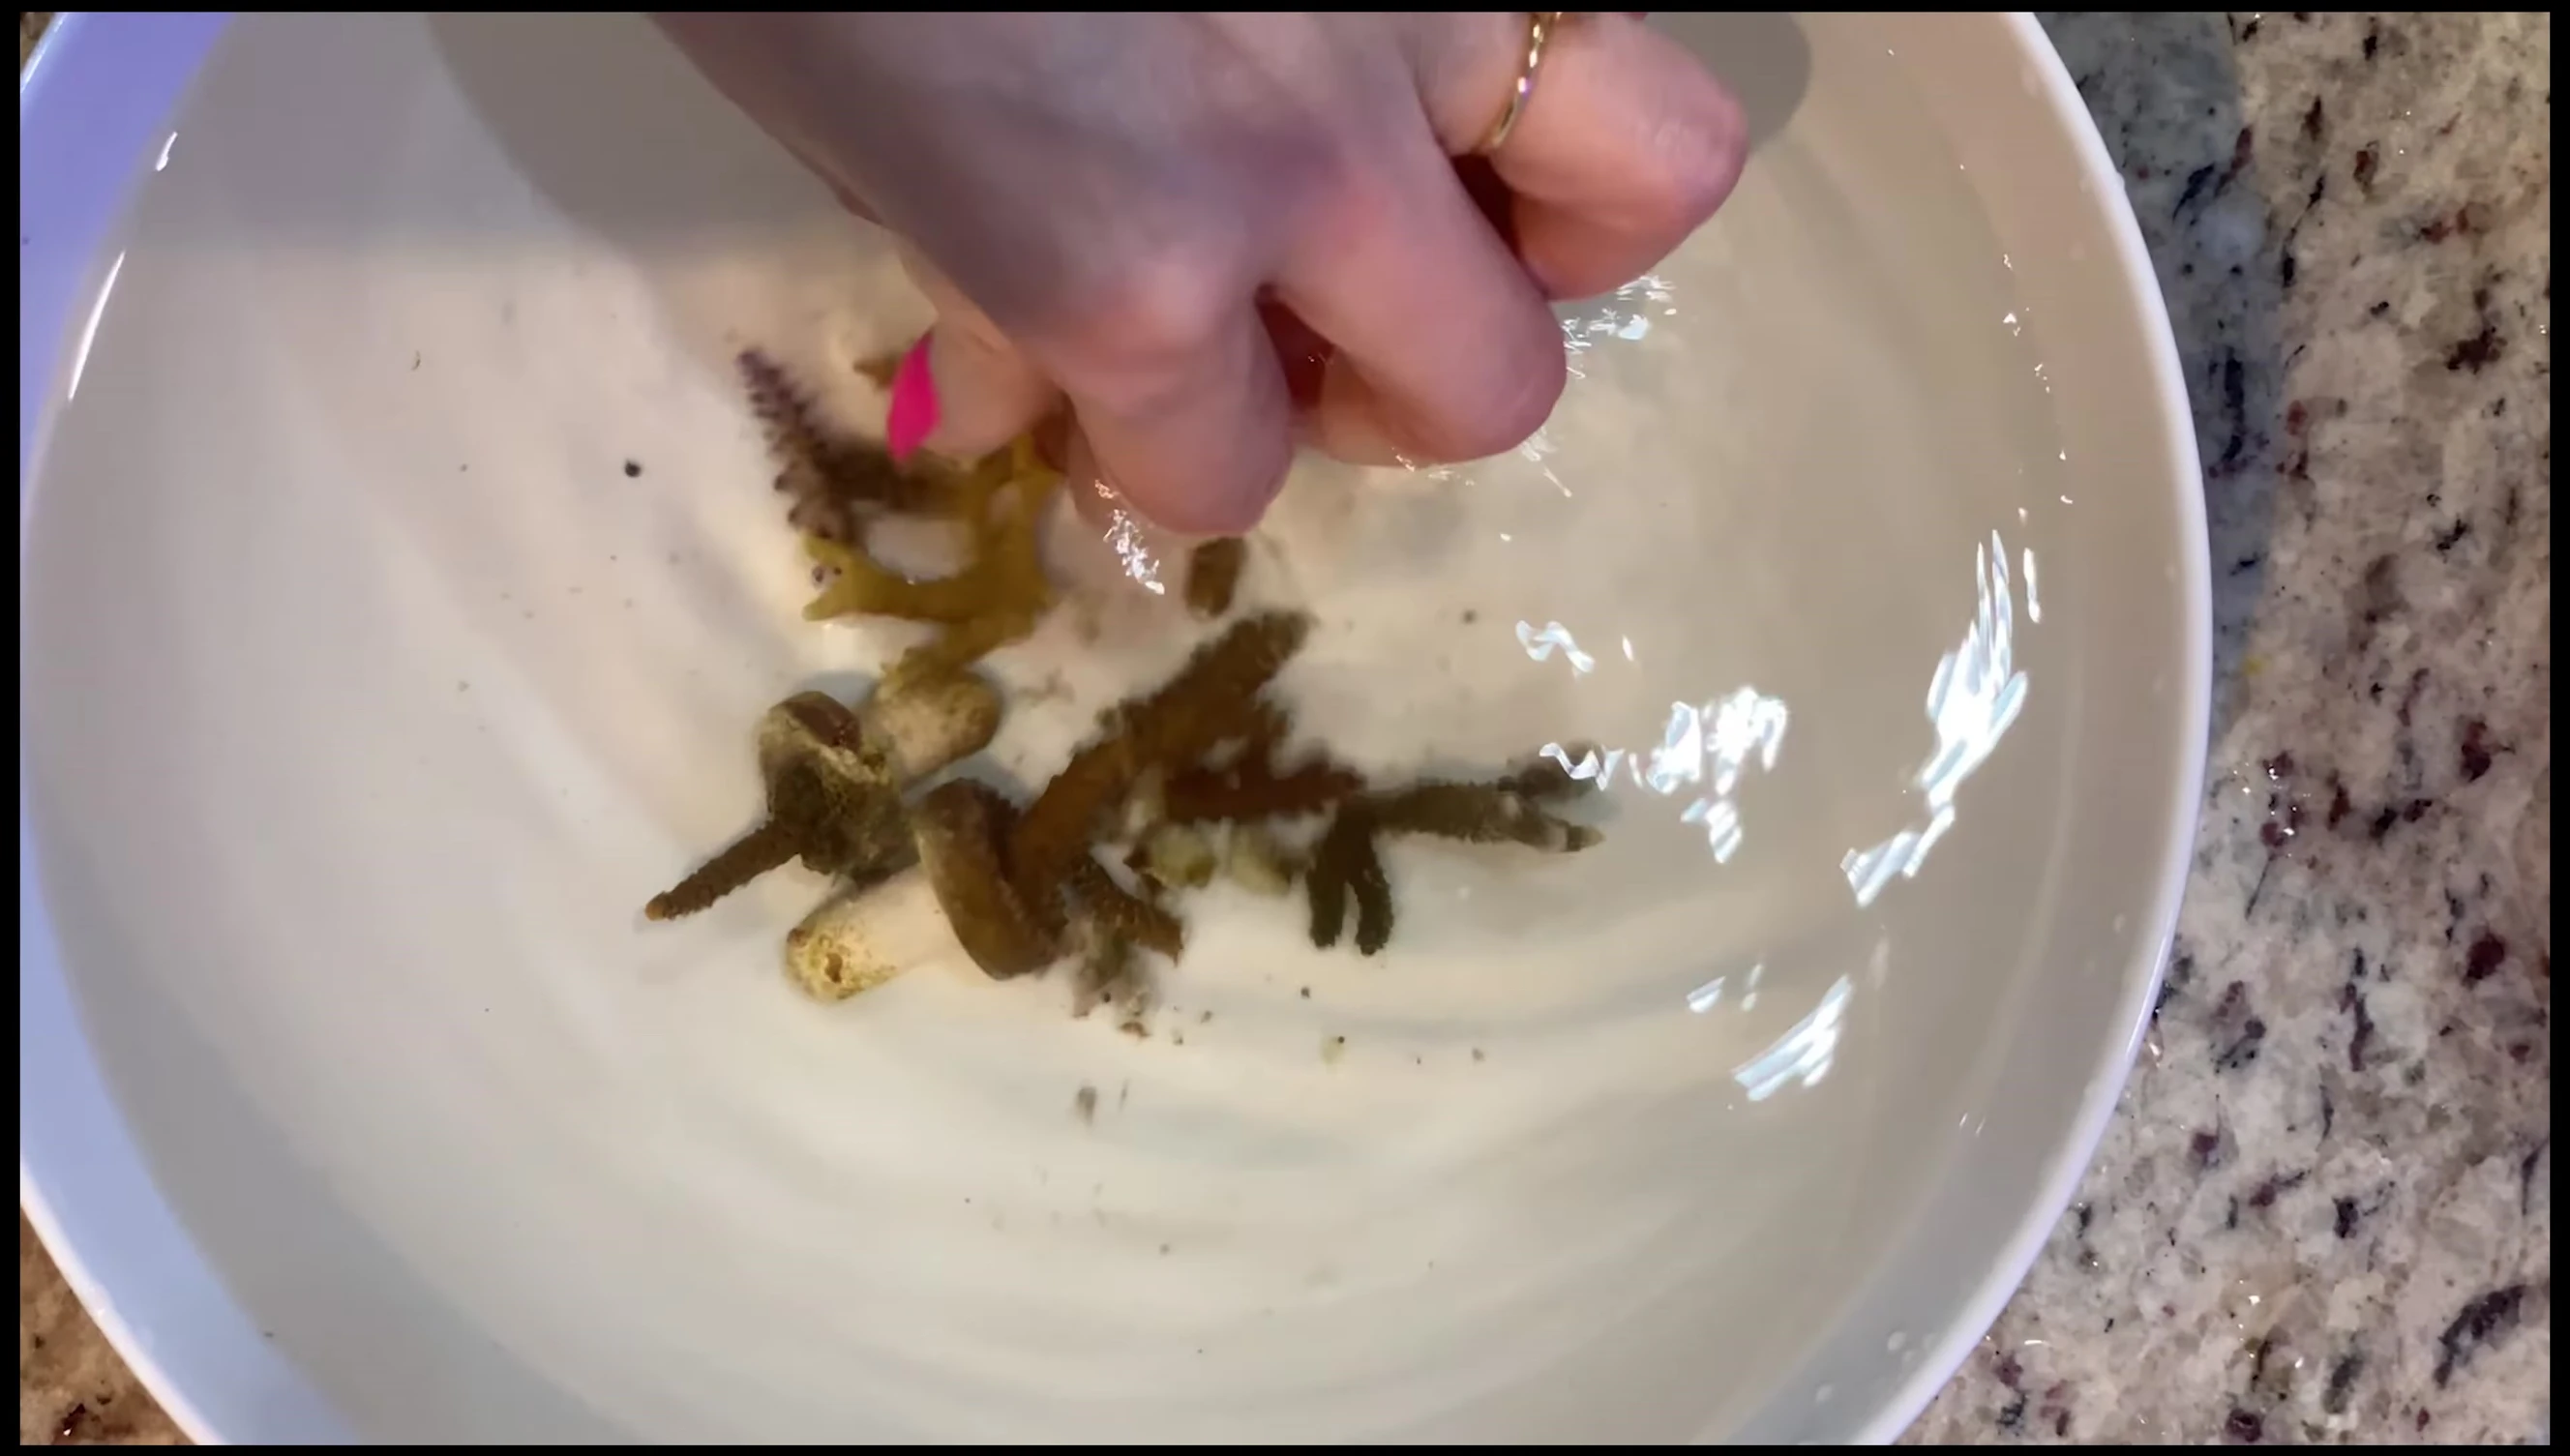
Removing the corals from their original frag plugs was a time-consuming task (several hours!). Many corals broke into smaller frags during this process, requiring careful handling and preparation for mounting onto new frag plugs. I sacrificed some coral growth to ensure pest removal, particularly asterina starfish, often found hidden beneath the frag plugs.
Frag Placement and Future Plans
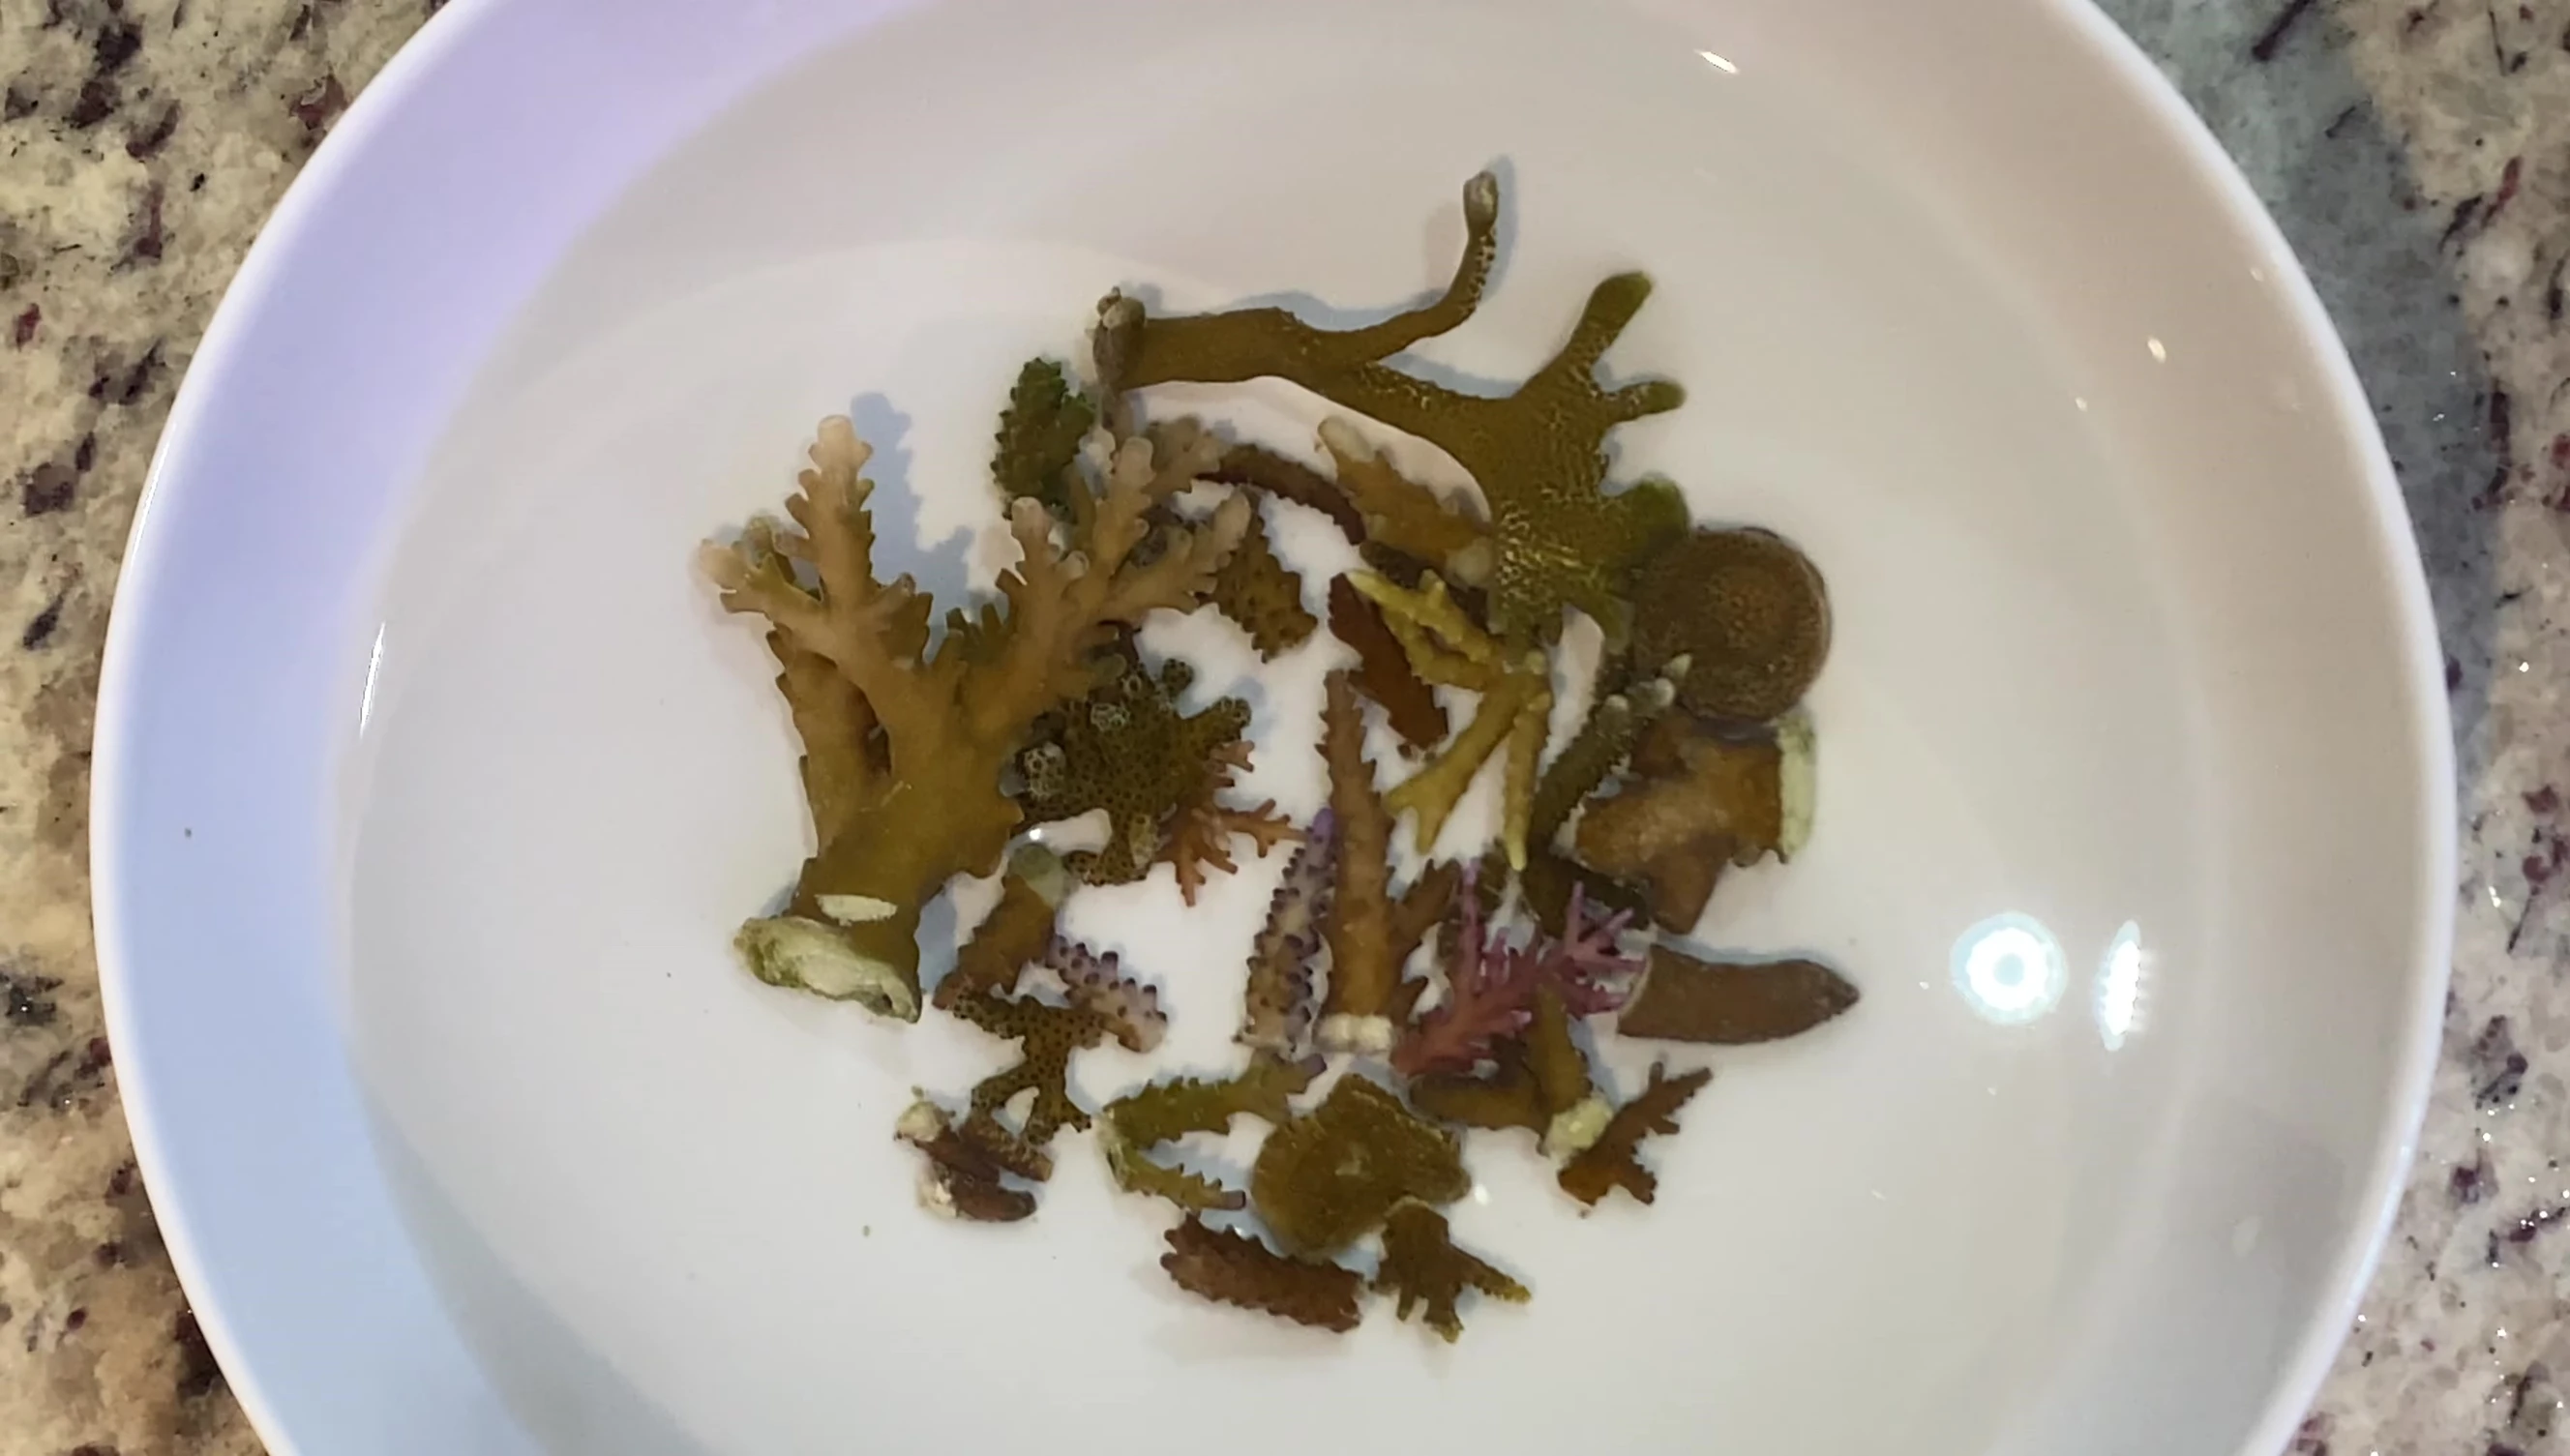
After cleaning and preparing the frags, I mounted them onto new frag plugs. Many of the frags were quite small, even down to a quarter-inch. However, I've had success with small frags in the past, so I remain optimistic about their growth.
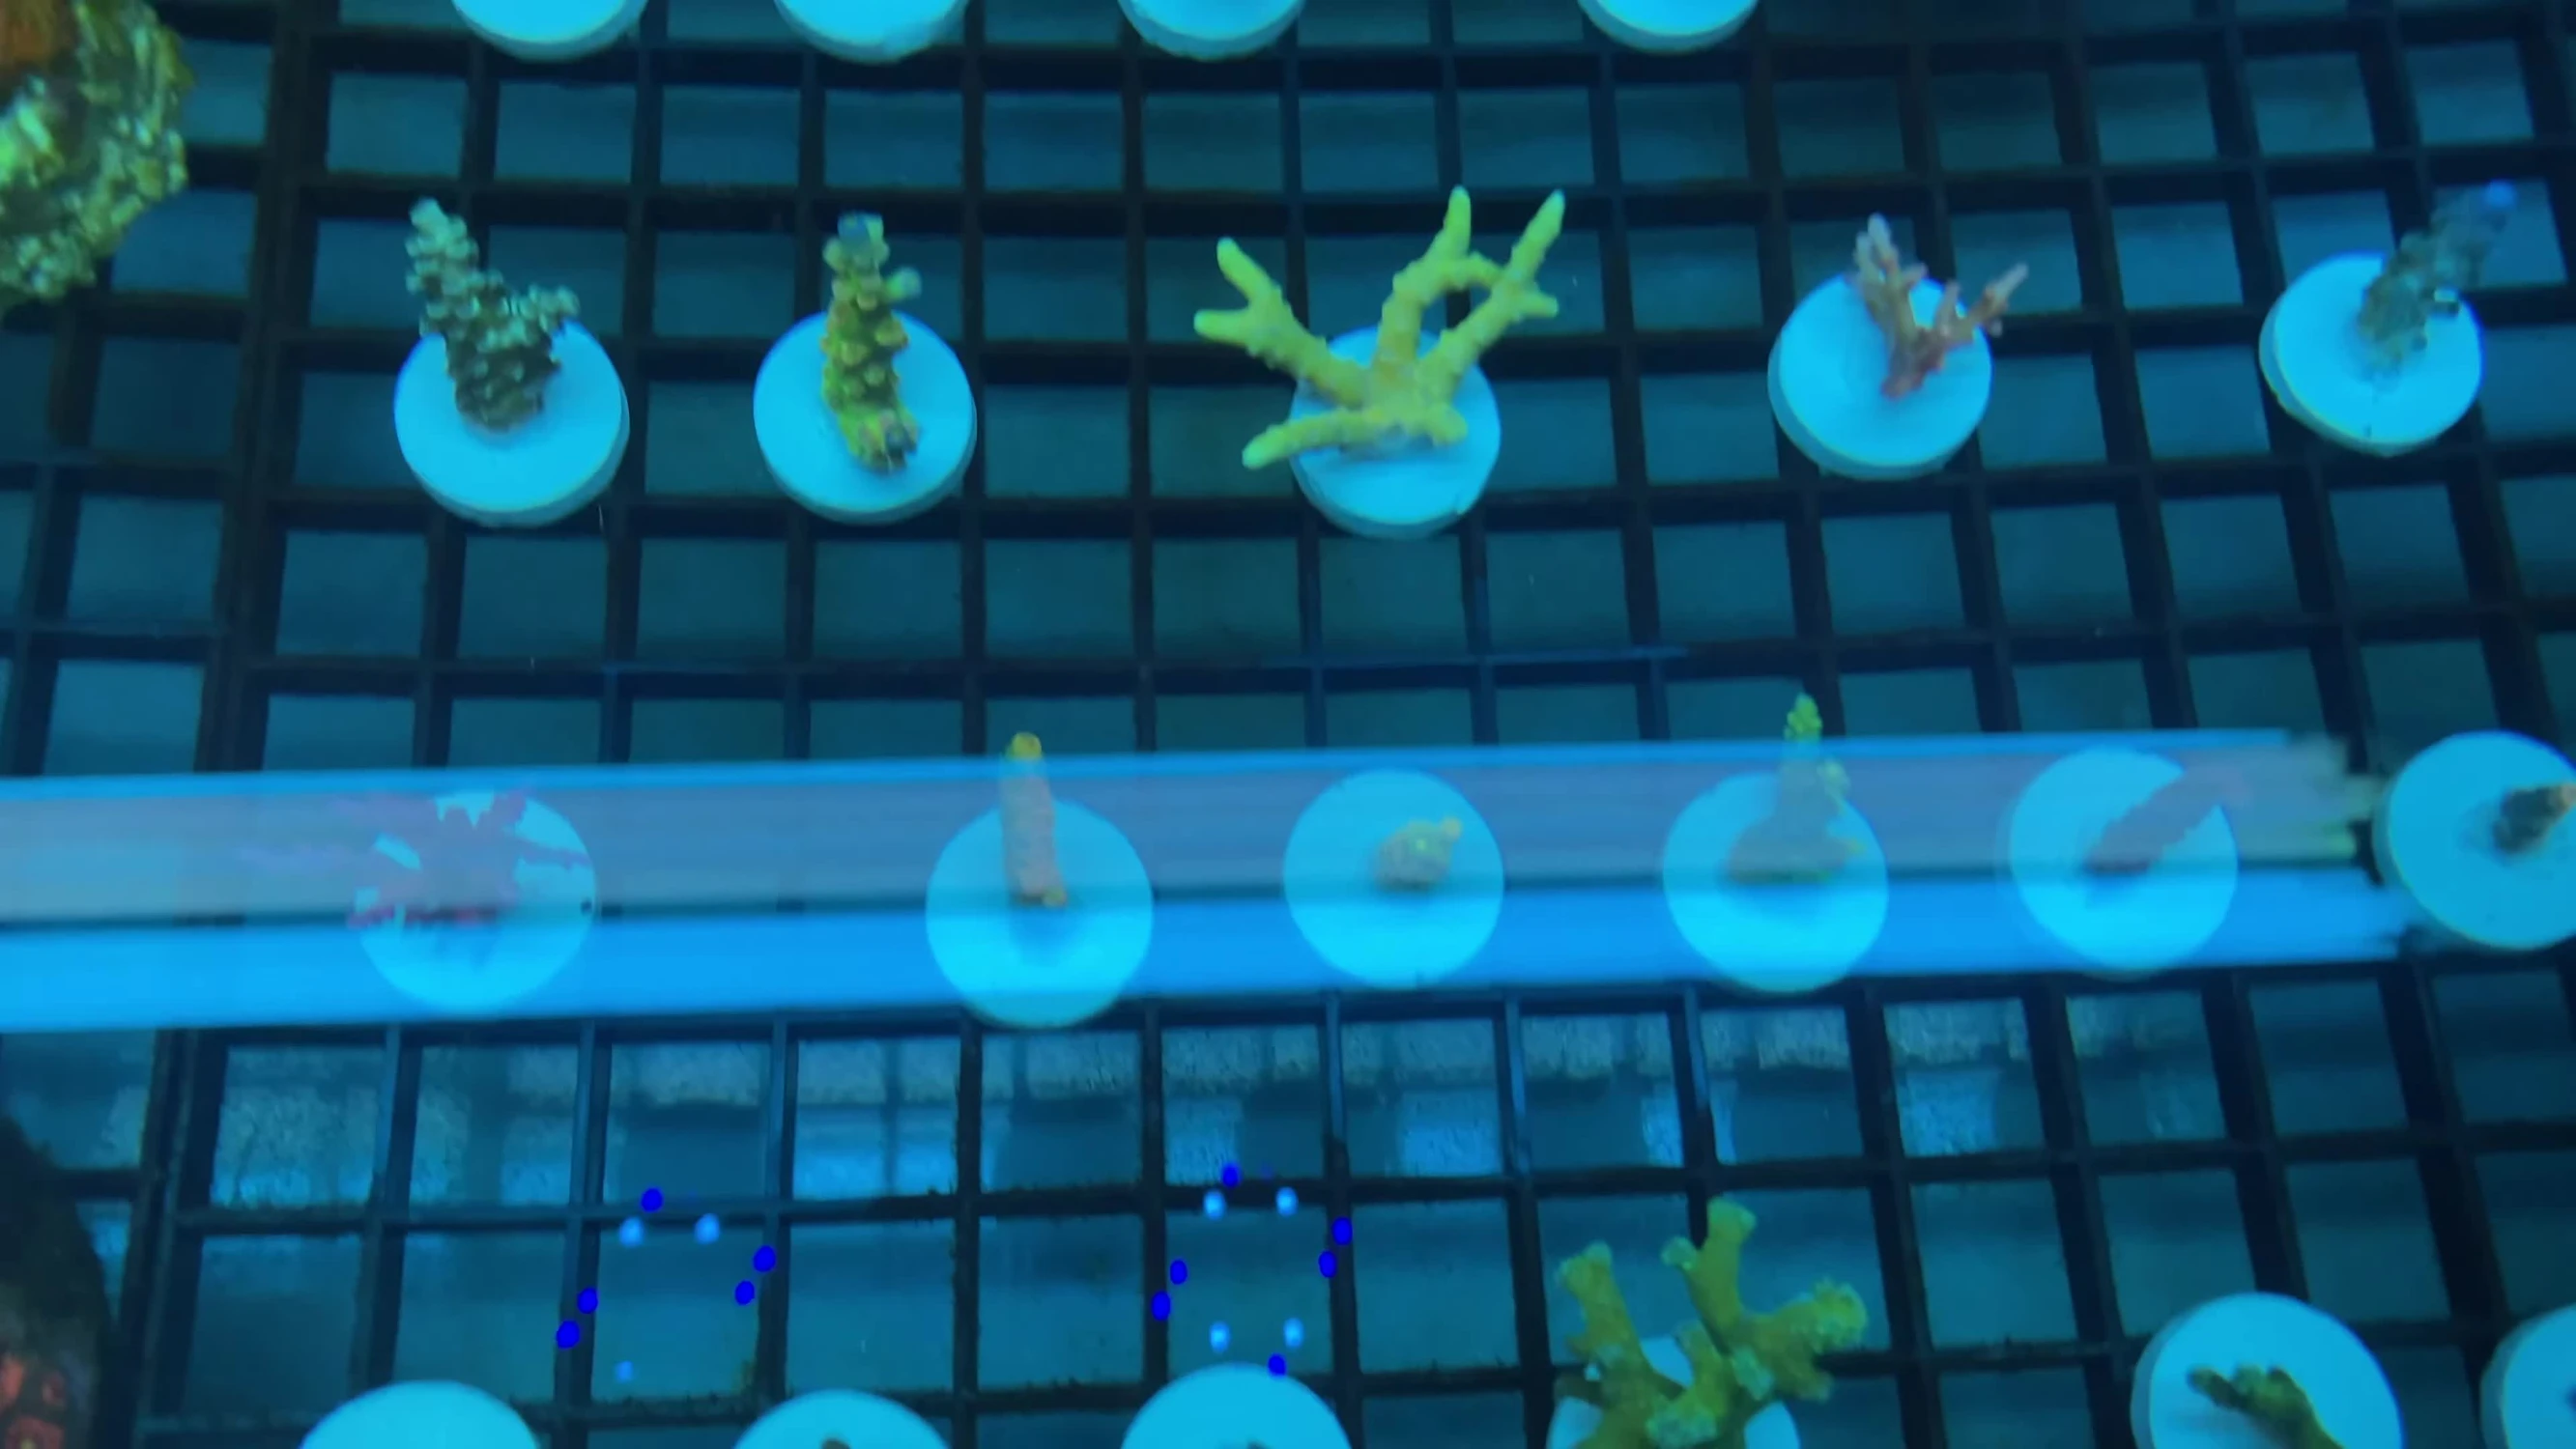
These frags are currently housed in a frag tank in my basement. I plan to let them grow out a bit before permanently placing them in the main display tank. Some frags, particularly those that broke into multiple pieces, will have one piece transferred to the main display, with the rest remaining in the frag tank to grow.
Conclusion: Coral Growth and Future Updates
Even the smallest frags are thriving and showing good coloration after several weeks. I’m very pleased with their progress. The new frag plugs have allowed for excellent encrustation.

I will continue to monitor their growth and provide updates in future videos. This coral haul has been a success, and I'm looking forward to seeing how these SPS corals develop within my reef tank.