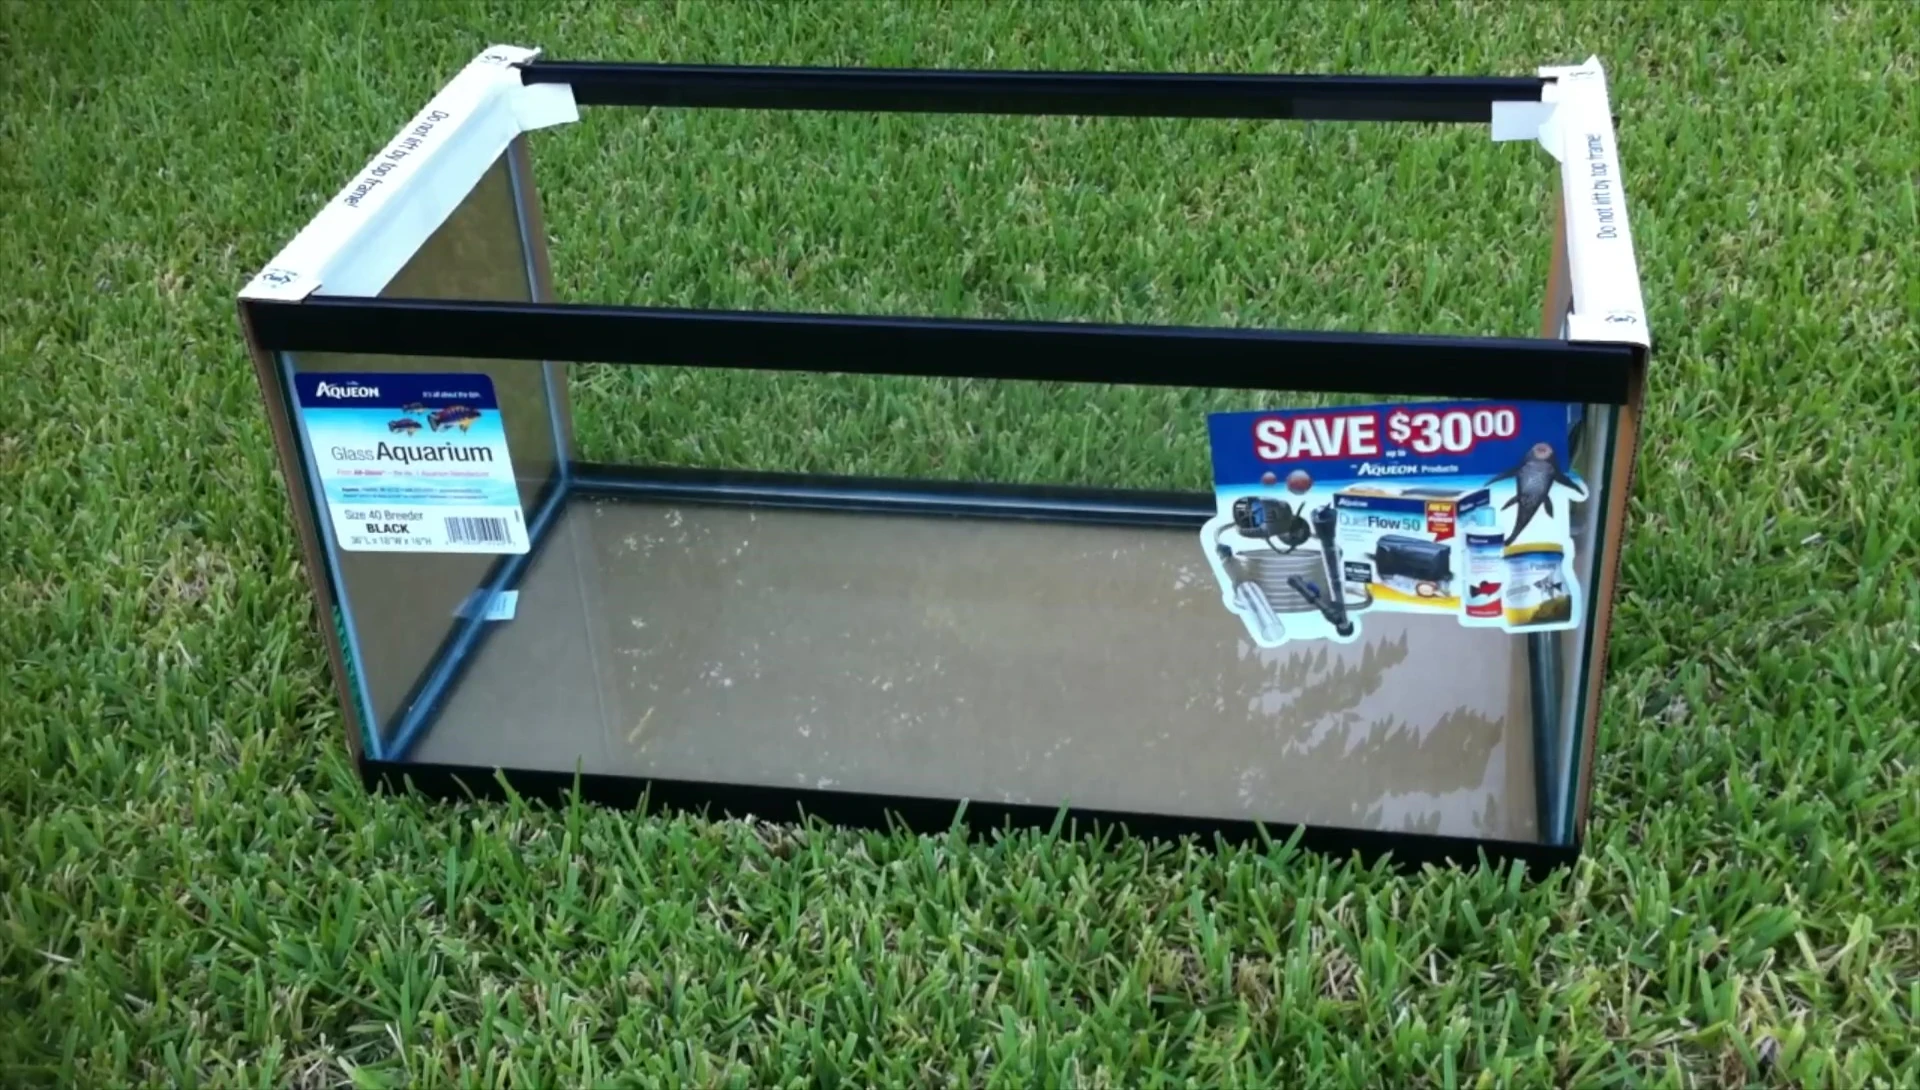
Drilling holes in a glass aquarium may seem daunting, but with the right techniques and tools, it's achievable. This comprehensive guide provides a step-by-step process for safely and successfully drilling holes in your aquarium glass, ensuring a clean, crack-free result. We'll cover essential safety precautions, crucial tool selection, and detailed drilling techniques to minimize the risk of damage and maximize your chances of success. Improper drilling can easily lead to catastrophic failure, so attention to detail is paramount.This guide emphasizes the importance of identifying your aquarium's glass type—avoiding tempered glass entirely—and meticulously measuring and marking your drilling locations. We'll explore different methods for maintaining a consistently lubricated drill bit to prevent overheating and cracking. From selecting the appropriate diamond-tipped hole saw to employing a stable drilling technique, we'll equip you with the knowledge and confidence to complete this project safely and efficiently.
Read more: Top 5 Green Aquarium Corals
Essential Tools and Aquarium Type
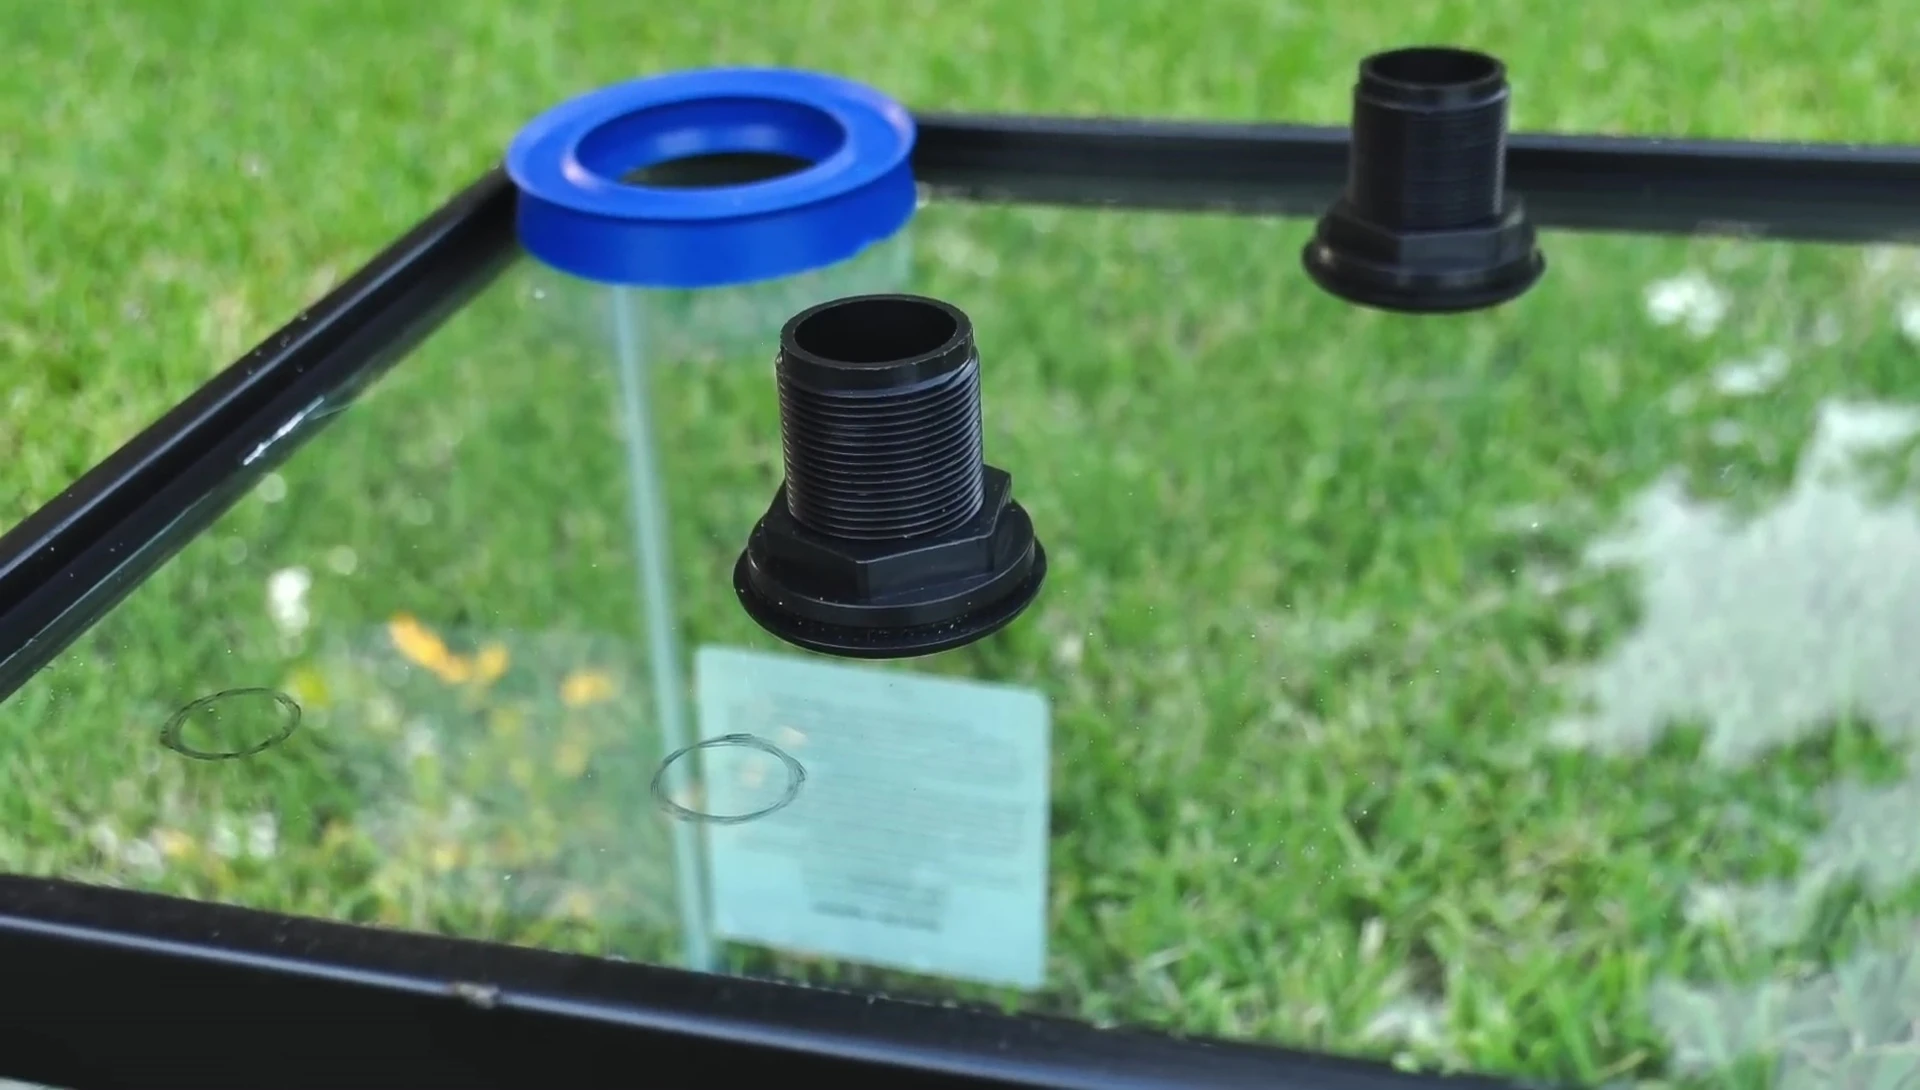
Drilling a hole in a glass aquarium requires specialized tools. A diamond-tipped hole saw is crucial for cleanly cutting through the glass without shattering it. The size of the hole saw must precisely match the bulkhead fitting you'll be installing. Before you begin, it's paramount to determine if your aquarium is made of tempered glass; tempered glass is extremely dangerous to drill and will likely shatter. If possible, consult the manufacturer's specifications or check for labels indicating whether the glass is tempered.

Using a hole saw that's too small will cause problems, just like a hole saw that's too big can compromise the structural integrity of the aquarium. Always double check dimensions. If the aquarium's bottom is tempered, focus on drilling the sides or back instead. Accurate measurements are essential for success and safety.
Precise Marking and Safety Precautions
Accurately mark the bulkhead locations on your aquarium. Avoid drilling too close to the edges, as this significantly increases the risk of cracking. It's advisable to leave sufficient material around the hole for strength. Using a black marker, clearly mark the spots to ensure they remain visible throughout the drilling process.

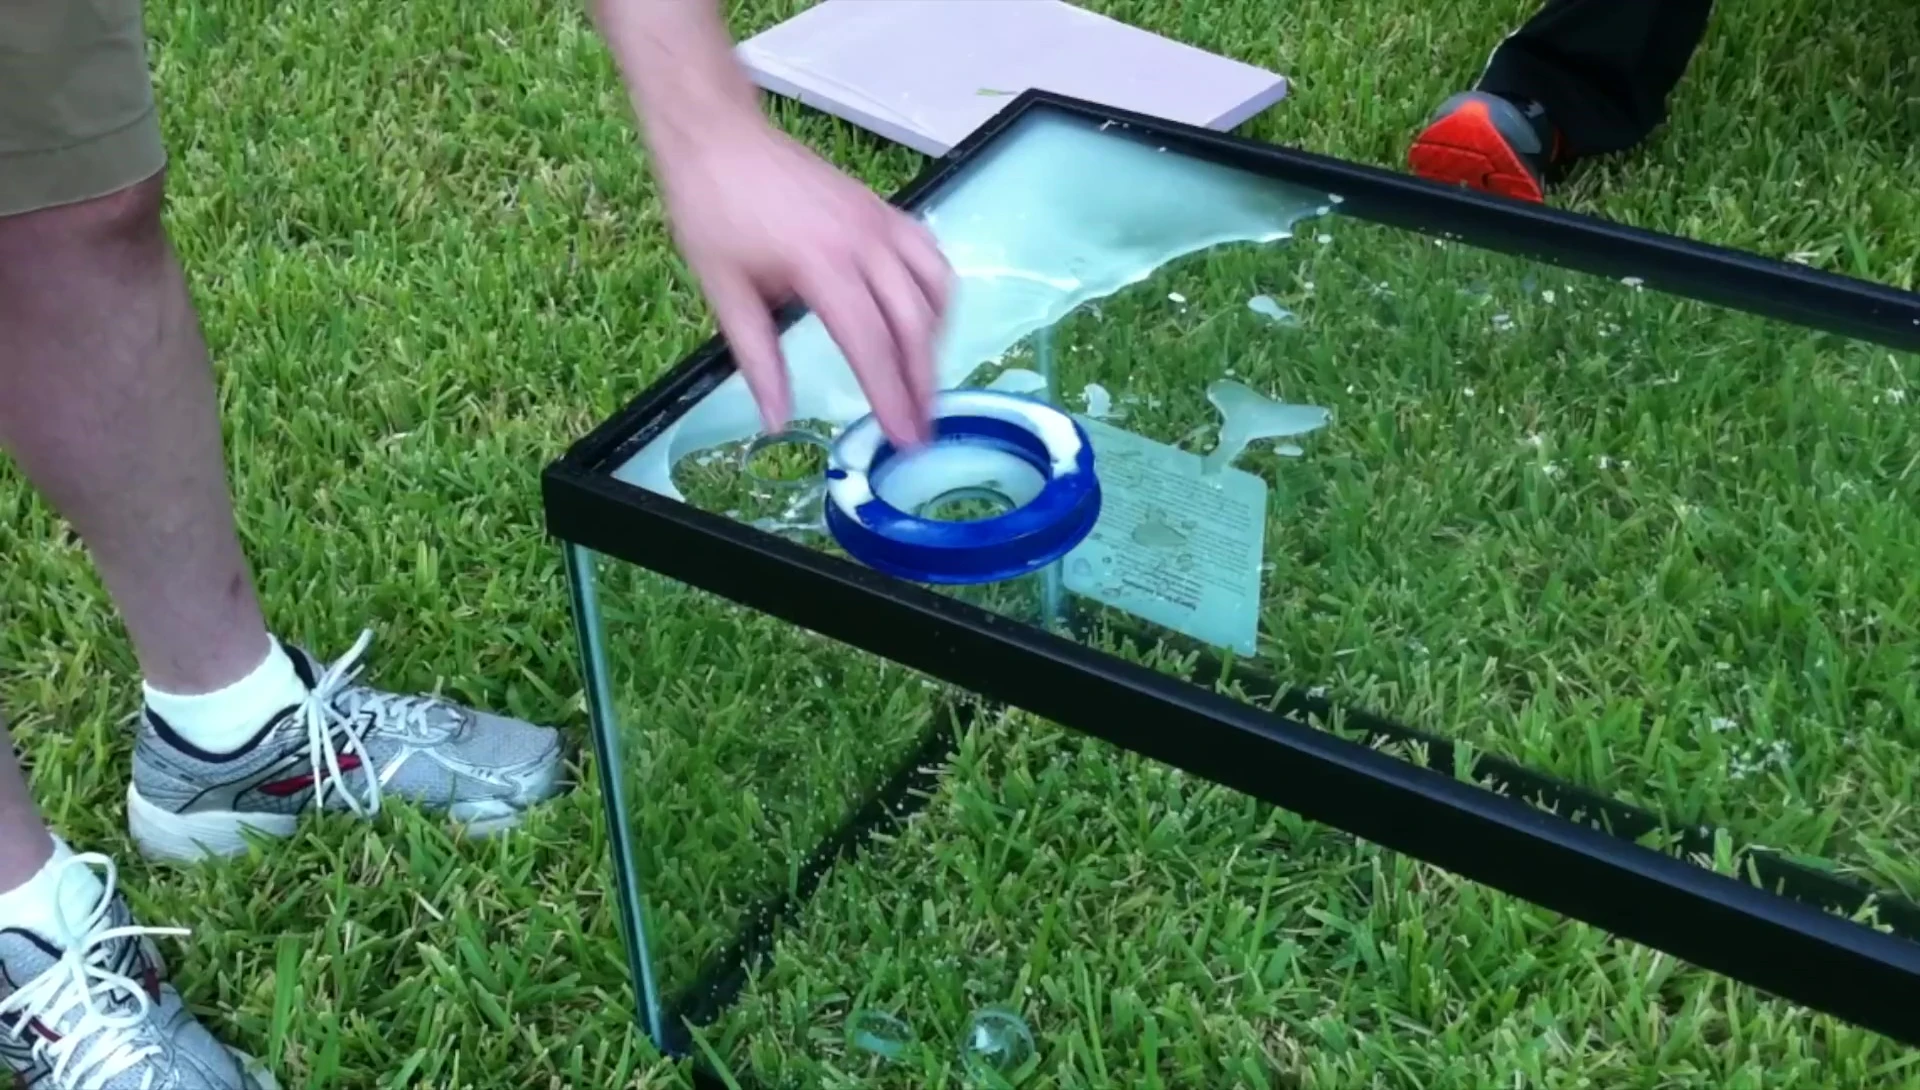
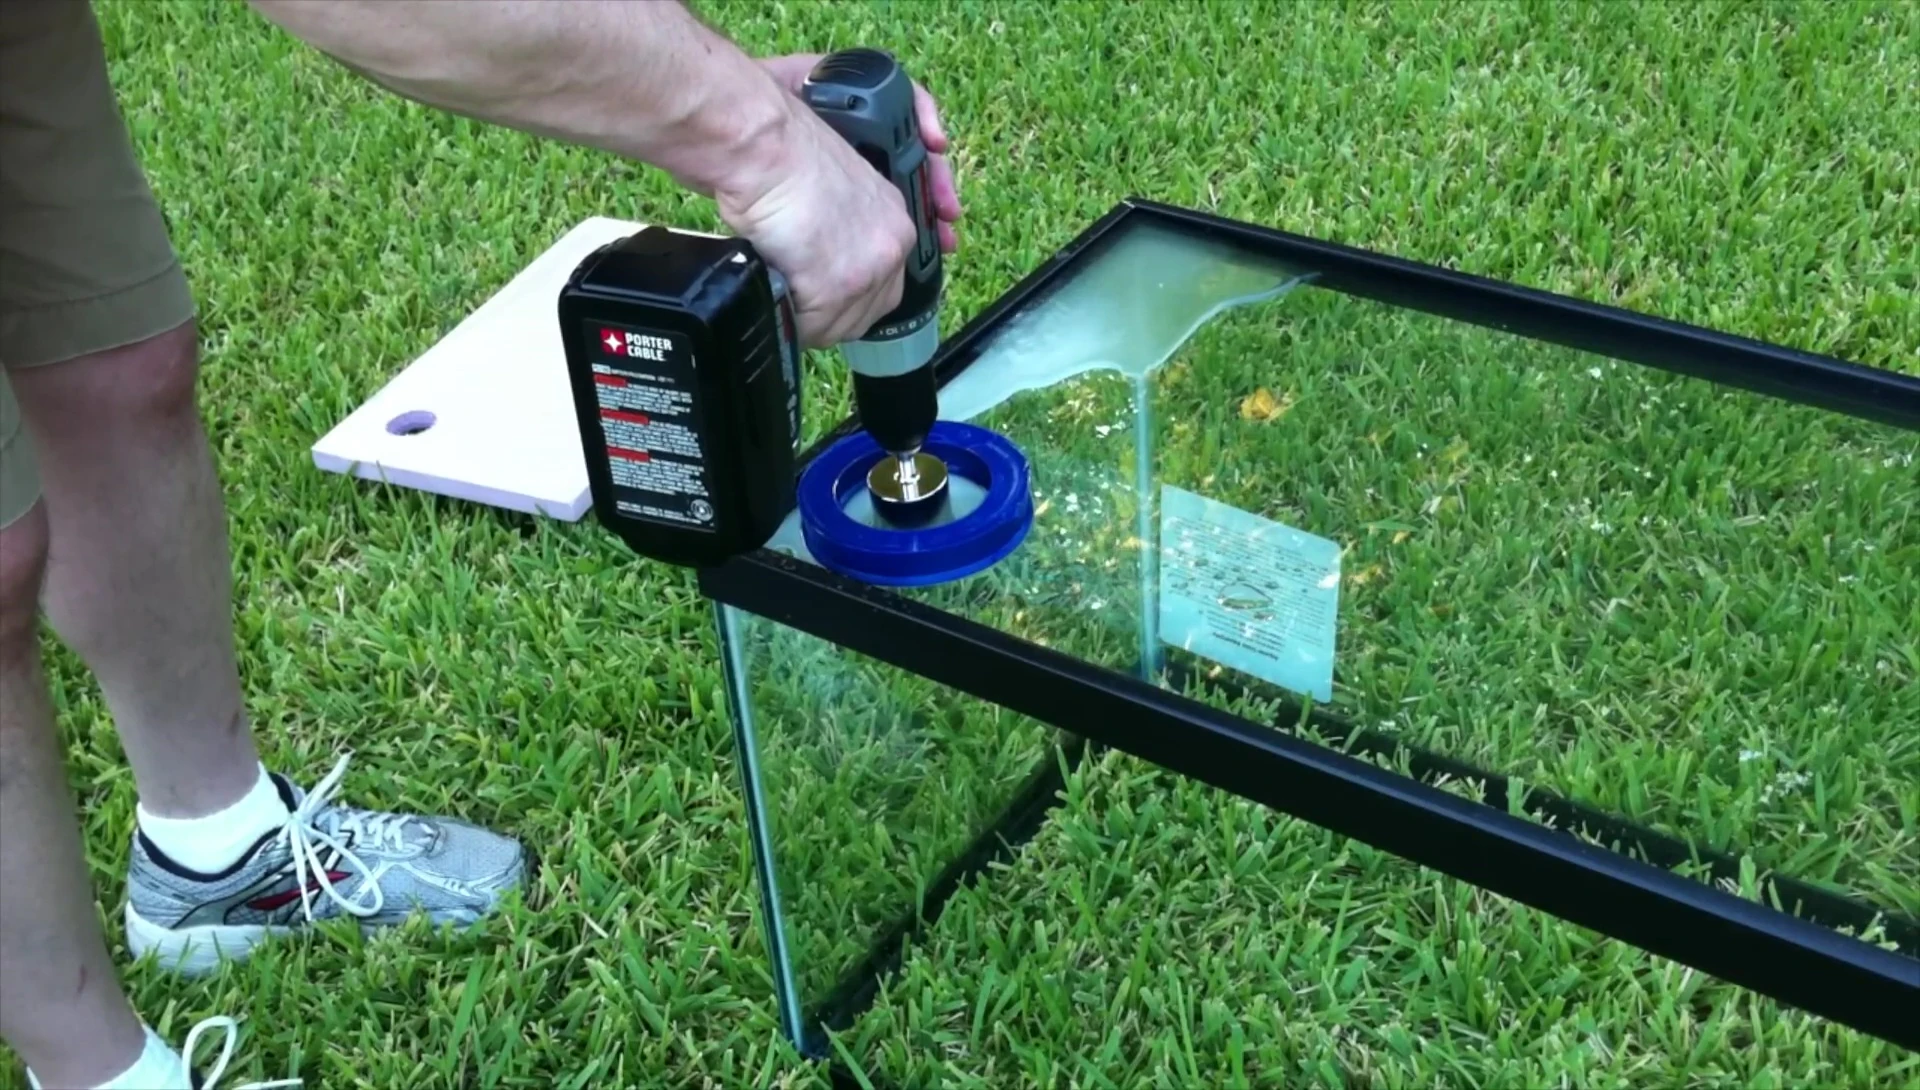
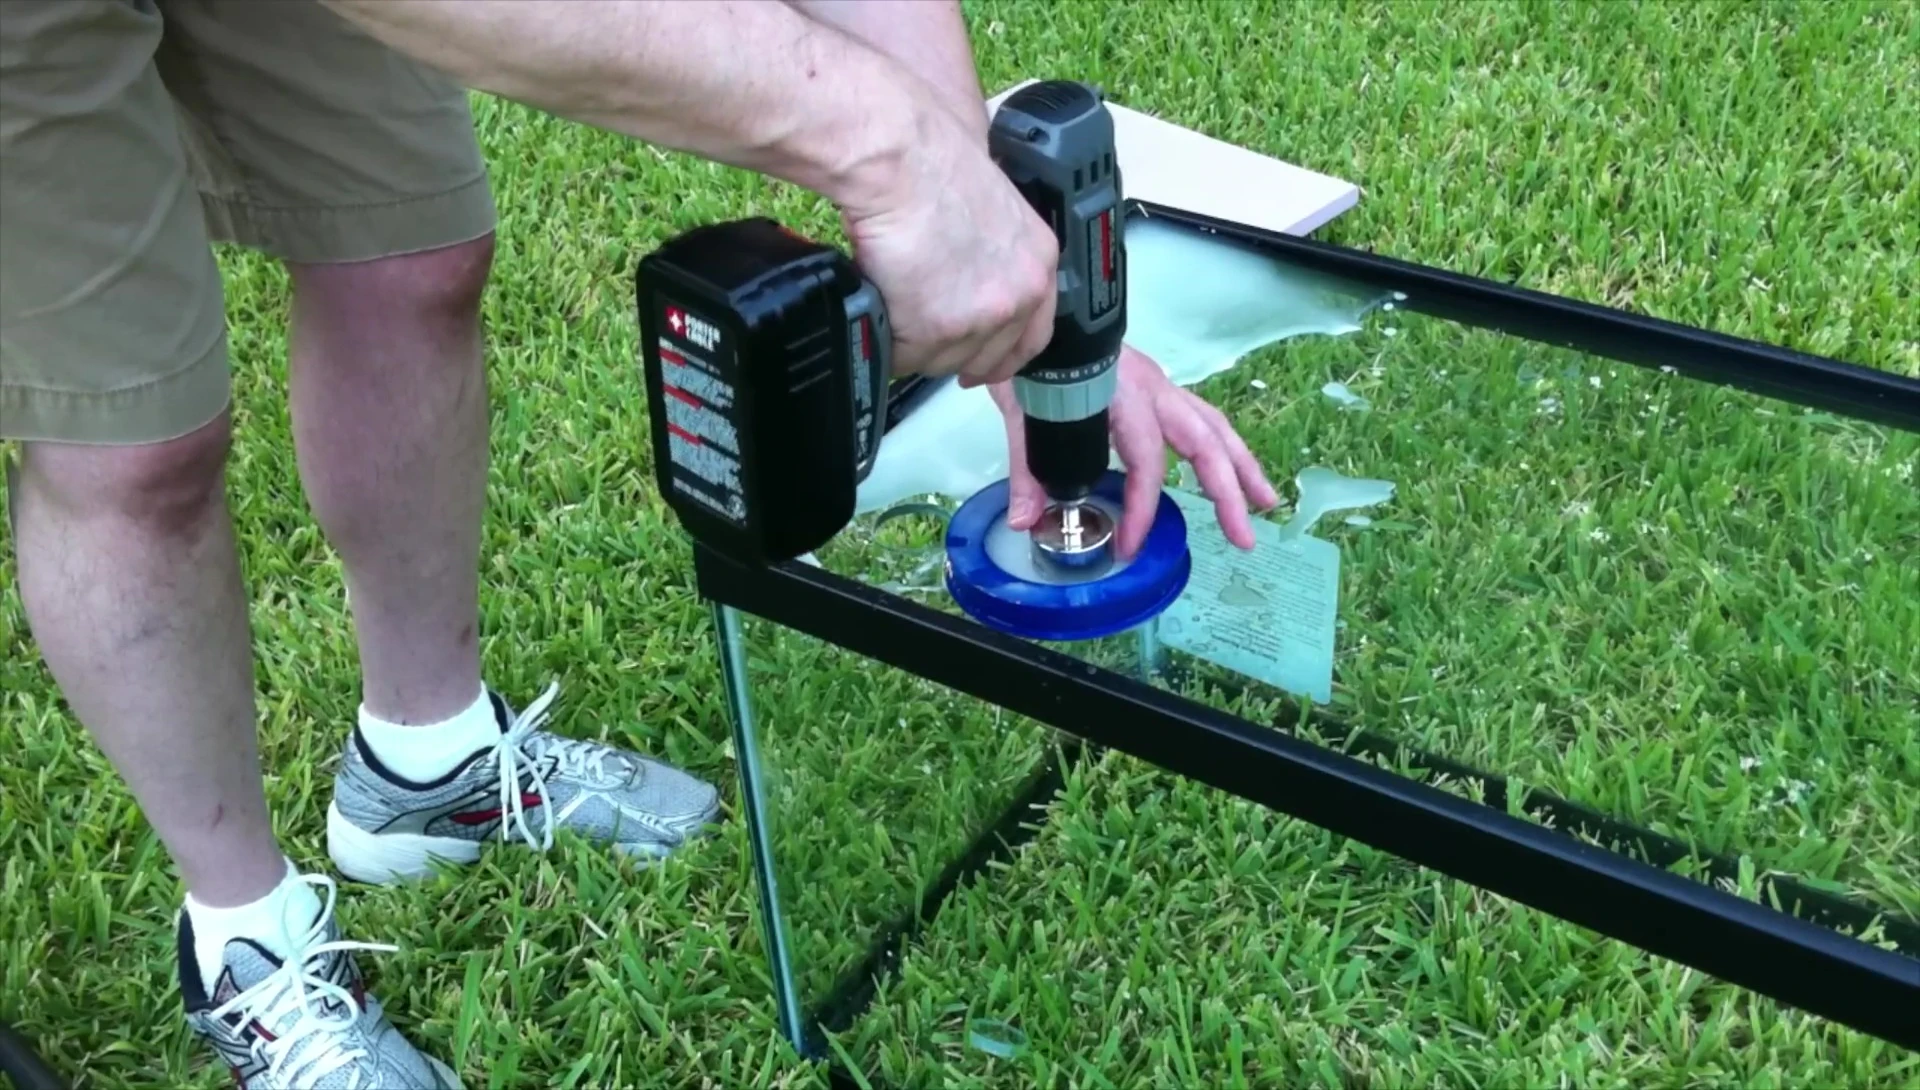
Employ a rubber dam or create a makeshift dam using plumber's putty and a Styrofoam cup to contain water during drilling. This helps keep the drill bit lubricated and prevents the glass from overheating. This method keeps the drilling area wet, significantly reducing the risk of glass cracking.
Drilling Process and Techniques
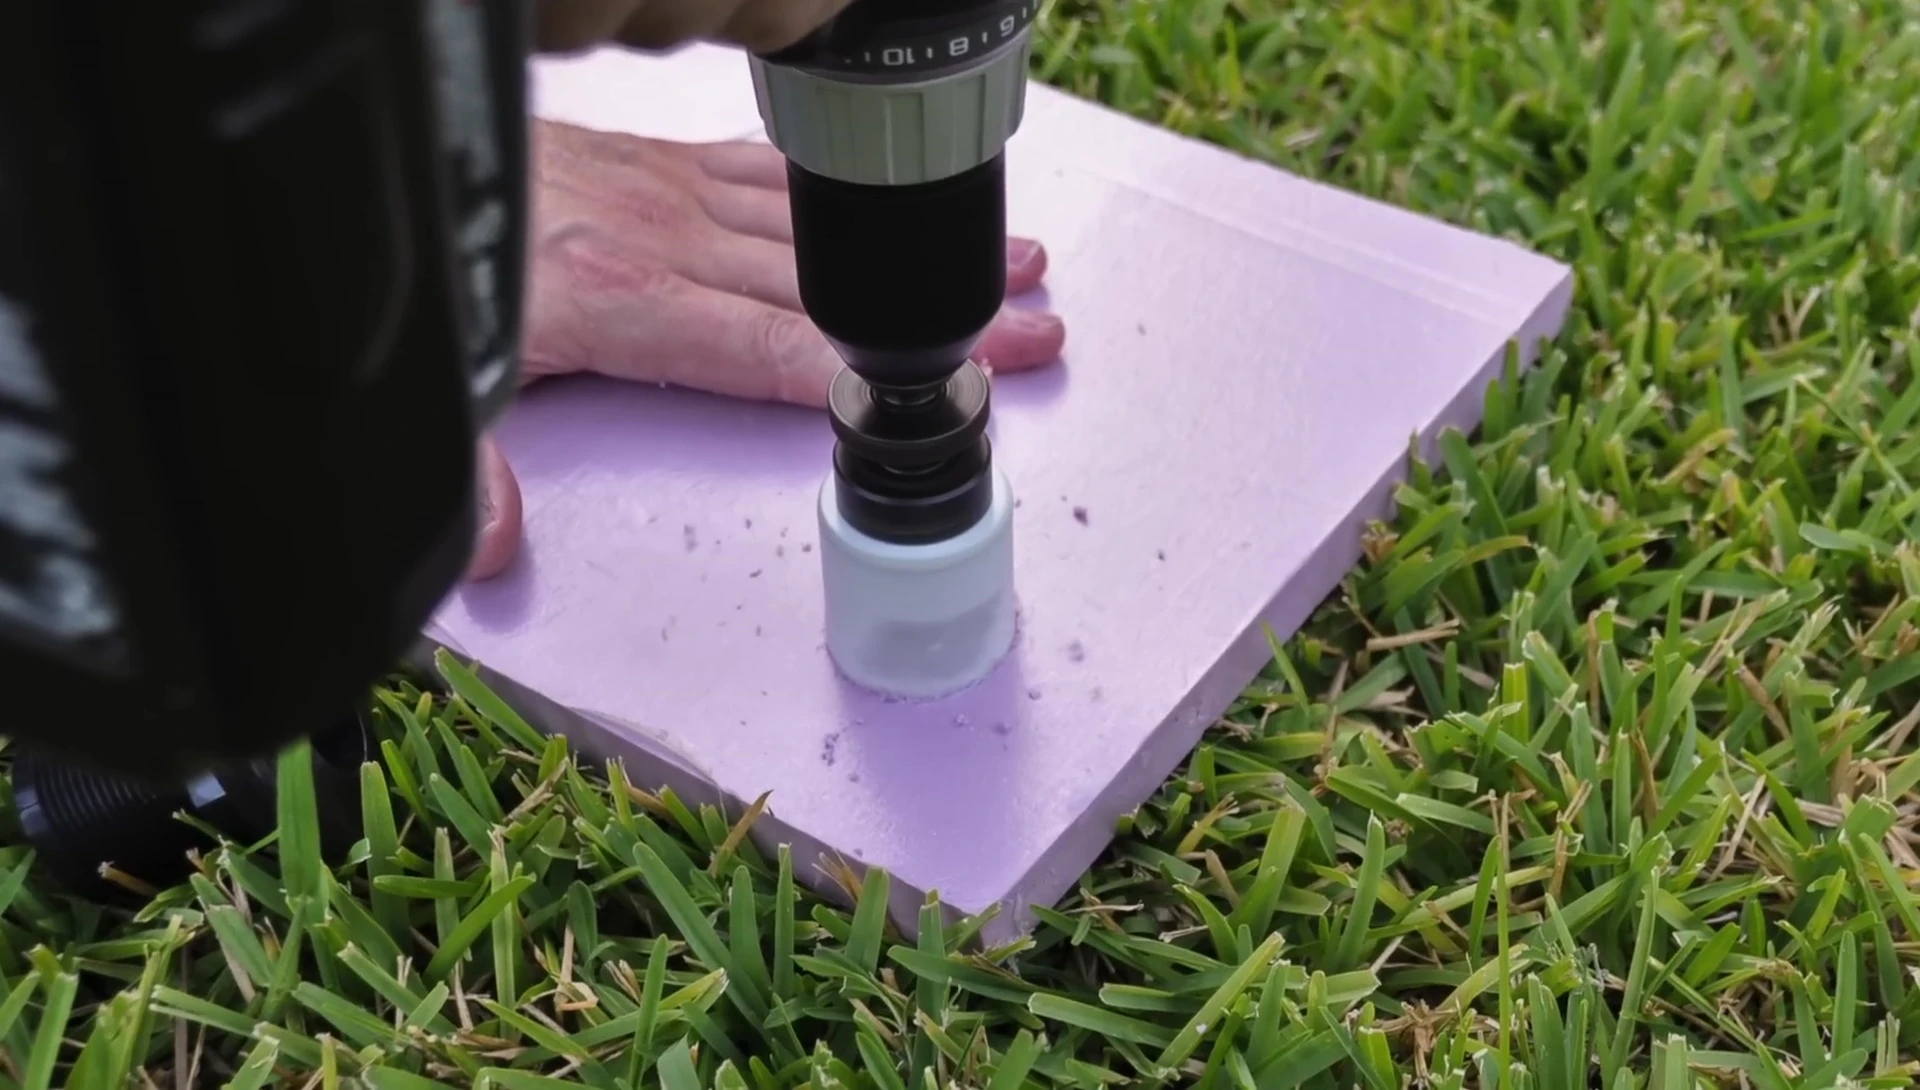
For a stable start, use a jig or helper to hold the drill bit firmly in place during the initial moments. This prevents the bit from wandering and scratching the glass. Once a small groove is created, about 45 seconds to a minute, you can remove the jig. Maintain a stable, vertical drilling position—don't lean the drill. Using a level on the drill can assist.
Apply minimal downward pressure; let the drill bit do the work. The process will take roughly 5 minutes per hole. When water drips through, you know the hole is nearly complete. If drilling from the back, place a towel on the inside of the front panel to catch the glass fragment as it falls.
Conclusion and Recommendations
Drilling holes in glass aquariums requires patience and precision. Using the right tools, employing safety precautions, and practicing proper drilling techniques is crucial for a successful outcome. The entire process should take about 10-15 minutes for two holes. Remember, rushing can easily lead to cracking the glass.
Both the rubber dam and plumber’s putty methods work well for keeping the drill bit lubricated. The plumber's putty method is a more budget-friendly alternative. Regardless of the method, always ensure the drill is perfectly perpendicular to the glass surface for clean, straight holes that won’t compromise the integrity of your aquarium.