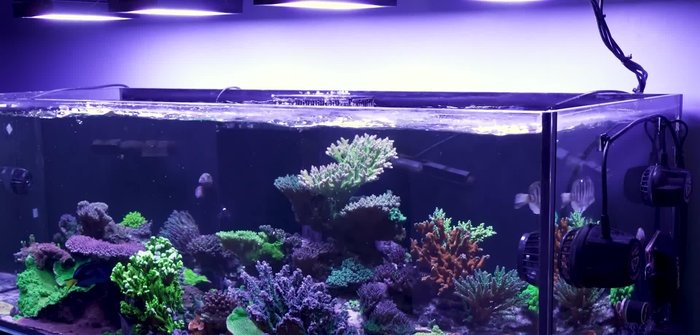
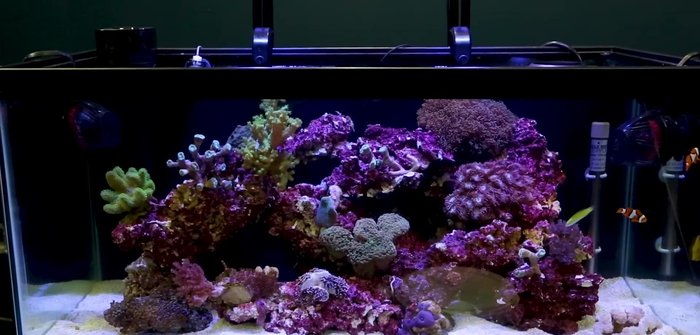
Creating a thriving reef tank is a rewarding but complex hobby, and lighting is arguably the most crucial element. Getting it wrong can lead to coral bleaching, algae blooms, and ultimately, a failing ecosystem. Many aspiring reef keepers stumble over seemingly minor details in their lighting setup, resulting in significant problems down the line. This ultimate guide will unravel the mysteries of reef tank illumination, equipping you with the knowledge to avoid common pitfalls and create a vibrant, healthy underwater world. We'll delve into the science behind coral lighting, explore different lighting technologies, and discuss the critical factors influencing your choice.
This guide will walk you through a step-by-step process, from choosing the right type of lighting to fine-tuning your system for optimal coral growth and color. Whether you're a beginner just starting your reef tank journey or an experienced hobbyist looking to refine your setup, this comprehensive guide will provide the essential information to create a truly spectacular and sustainable reef environment. Let's dive in!
Preparation and Safety Guidelines
- Reef tank light
- Mounting arms/legs
- String
- Washer
- Pencil
- Toggle bolts (optional)
- Piece of wood
- Wall/tank brackets (optional)
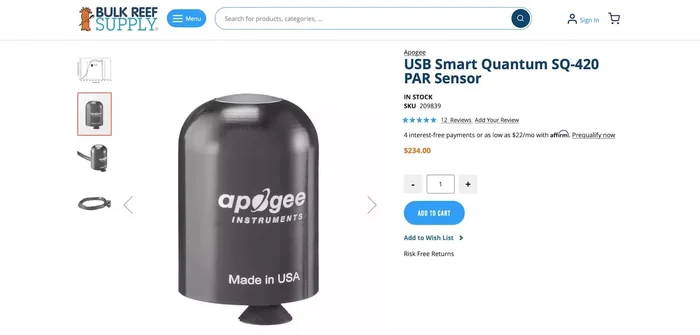
- PAR meter
- Laptop (optional)
- Always unplug your reef tank lighting system before performing any maintenance or adjustments. Electricity and water are a dangerous combination.
- Never touch the lights directly while they are on, especially LEDs which can get very hot and potentially cause burns. Allow ample time for them to cool before handling.
- Ensure your lighting system is properly grounded and protected by a reliable GFCI (Ground Fault Circuit Interrupter) to prevent electrical shocks.
Step-by-Step Instructions
Planning & Mounting
- Aim for even light distribution, correct PAR levels, and a schedule you can stick to.
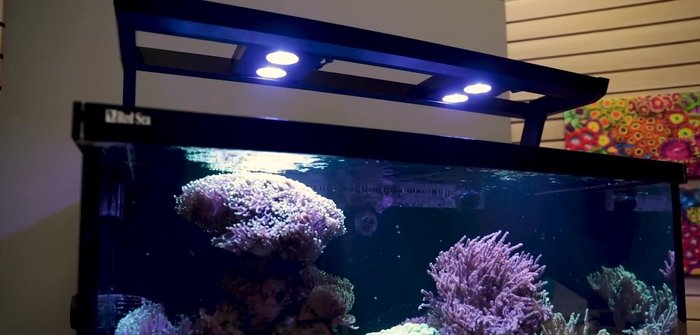
- Decide on your mounting method. If your light has mounting arms, use them.
- Mount the light to the ceiling (if feasible). Use a string and washer to center the light before drilling.
- Consider wall or tank brackets for secure and adjustable mounting.

Planning & Mounting - Determine the optimal mounting height. This depends on fixture size and light spread. Higher mounting is generally preferred for even coverage.
Planning & Mounting Setting the Spectrum & PAR
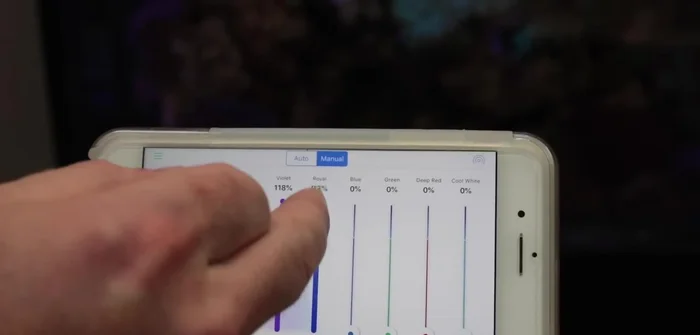
- Use preset Spectrum settings. Avoid individually adjusting lights unless you're an expert and understand the implications.
- Measure PAR levels with a PAR meter. Aim for 50-150 PAR for LPS and 200-350 PAR for SPS. Your eye cannot accurately assess PAR.
Setting the Spectrum & PAR Photoperiod & Maintenance
- Determine the photoperiod. An 8-hour photoperiod is a safe starting point. Monitor alkalinity levels to fine-tune the duration.
- Leave the lighting settings alone once you've set them. Avoid unnecessary adjustments.
- If adjustments are necessary, plan them carefully, make them slowly, and ensure the changes are long-term.
Photoperiod & Maintenance
Read more: Setting Up Your First Saltwater Reef Aquarium: A Beginner's Journey
Tips
- Use a string and washer to precisely center a ceiling-mounted light.
- For ceiling mounting, use toggle bolts for drywall or attach a piece of wood to studs for extra security.
- Consider the light's spread when choosing mounting height. Avoid creating "laser beams" of intense light.
- Use a PAR meter to accurately measure light intensity. Don't rely on visual assessment.
- Monitor alkalinity levels to assess the impact of photoperiod changes.