Have you ever dreamed of capturing the serene beauty of a flowing river, its sparkling water reflecting the sunlight, in a miniature landscape? Creating a diorama offers a unique and rewarding way to express your artistic vision and bring such a scene to life. This captivating craft project allows you to blend creativity with precision, resulting in a stunning piece that can be proudly displayed, cherished as a personal accomplishment, or even gifted to a loved one. The detailed textures and realistic effects achievable are truly remarkable.
From the careful selection of materials to the meticulous layering of elements, crafting a realistic river diorama requires patience and attention to detail. This step-by-step guide will walk you through each stage of the process, empowering you to create your own mesmerizing miniature world. Prepare to be amazed as you transform simple supplies into a breathtaking representation of nature’s artistry.
Preparation and Safety Guidelines
- Sculpture block
- Florist's knife
- Sharp blade
- Table knife
- Vacuum cleaner
- Mask
- Pointy skewer/cocktail stick
- Vallejo texture paste
- Scenic glue (matte medium + water)
- White glue/Matte Mod Podge
- Stones
- Primer (foam safe)
- Brown acrylic paints
- Stone color acrylic paint
- Vallejo Game Color Verdigris
- Black wash
- Paper towel
- Turquoise, green, and yellow glass paint
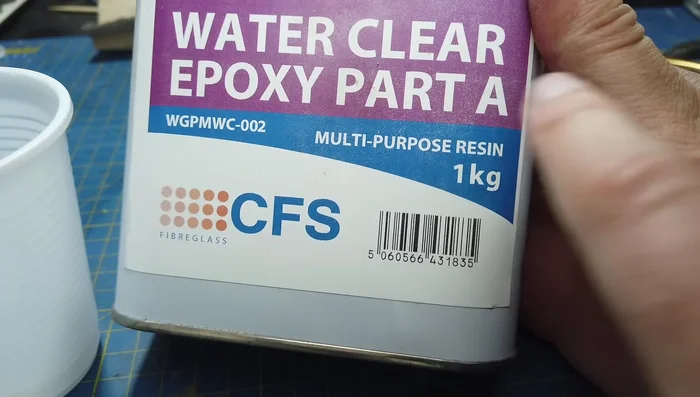
- Epoxy resin
- Water ripples gel
- Mod Podge gloss
- Vallejo foam and snow texture
- Static grass
- Bushes
- Basing glue
- Driftwood
- Always supervise children when using craft tools like scissors, knives, or hot glue guns. Sharp objects and heat can cause serious injury.
- Use non-toxic materials, especially if your diorama will be displayed in a place accessible to children or pets. Avoid using paints or glues with harmful fumes.
- Ensure adequate ventilation when using paints, sprays, or other materials that produce fumes. Work in a well-ventilated area or wear a respirator mask.
Step-by-Step Instructions
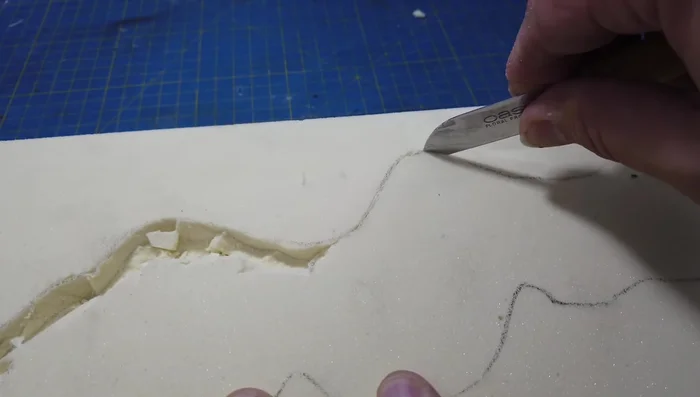
Preparing the Base
- Carving the river channel using a florist's knife. Be careful with sharp blades!
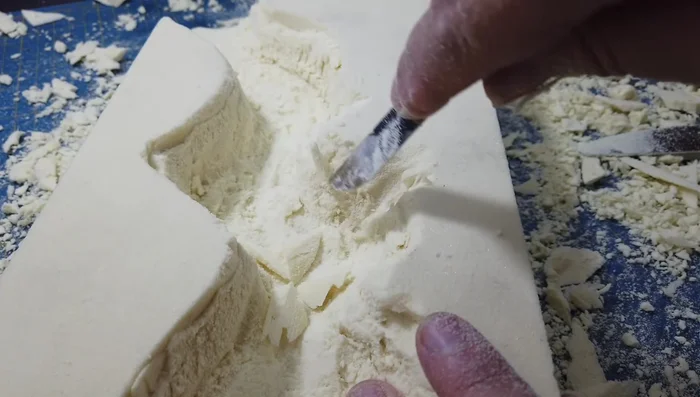
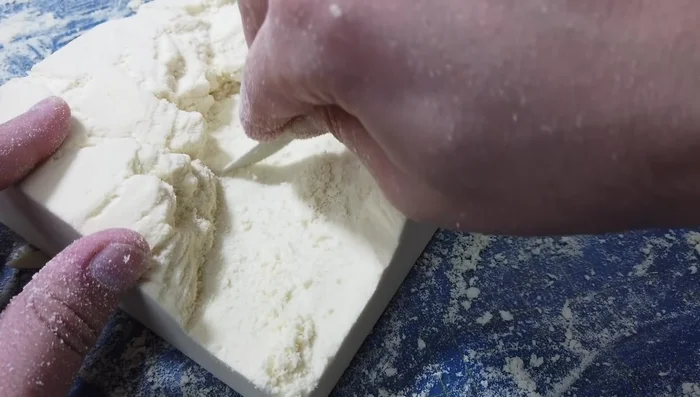
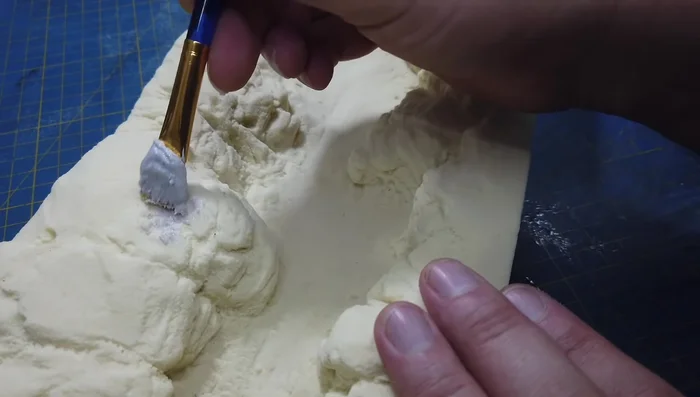
- Carving rock shapes using a florist's knife and a pointy skewer/cocktail stick, referencing photos for guidance.
- Tidying the riverbed using a table knife.

Preparing the Base Adding Texture and Base Layers
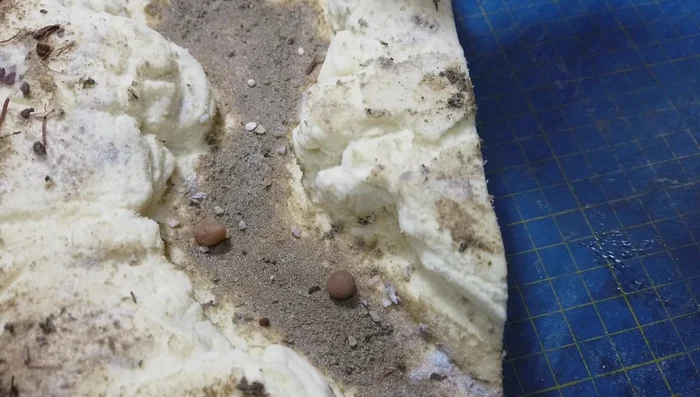
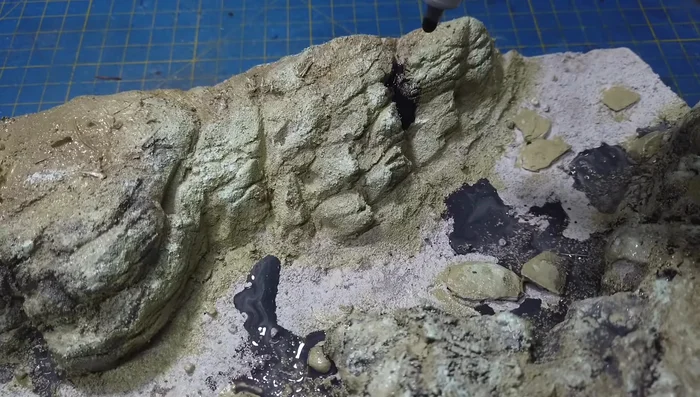
- Applying textures to the piece using Vallejo texture paste.
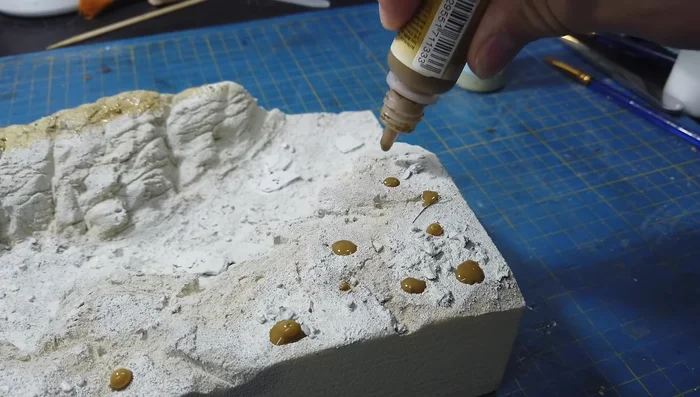
- Applying larger stones using scenic glue and white glue.
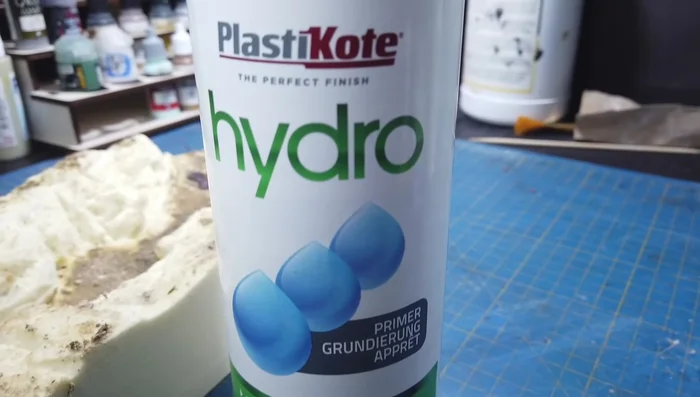
- Priming the piece with a foam-safe primer.
Adding Texture and Base Layers Painting the Rocks
- Undercoating the rocks with brown and stone-colored acrylic paints.
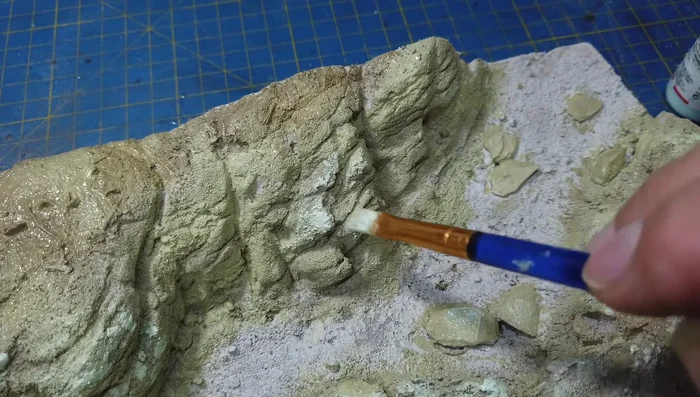
- Highlighting the rocks with Vallejo Game Color Verdigris.
- Applying a black wash to the rocks, paying attention to crevices.
Painting the Rocks Painting the Riverbed
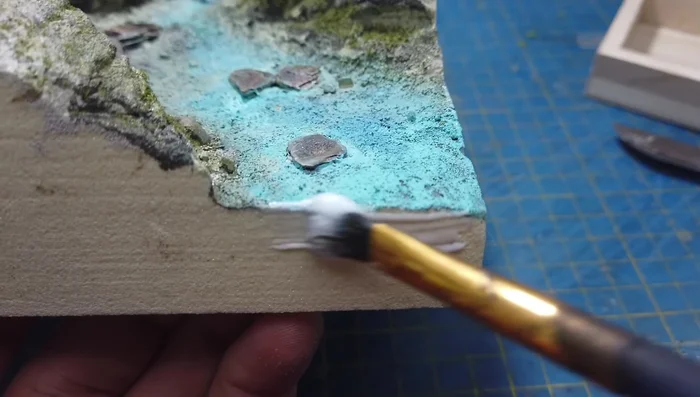
- Painting the riverbed blue.
Painting the Riverbed Adding Ground Cover
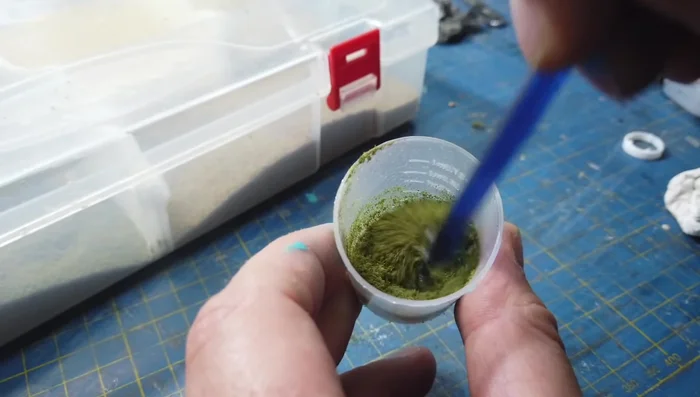
- Applying moss using fine turf and scenic glue.
Adding Ground Cover Creating the Water Feature
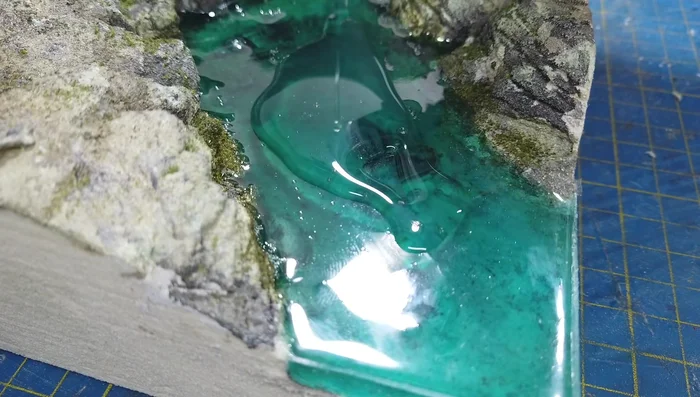
- Creating a resin dam using sheet plastic and white glue/masking tape.
- The video highlights the mistake of insufficient sealant for the sculpture block, leading to issues.)
Creating the Water Feature Refining the Water Effect
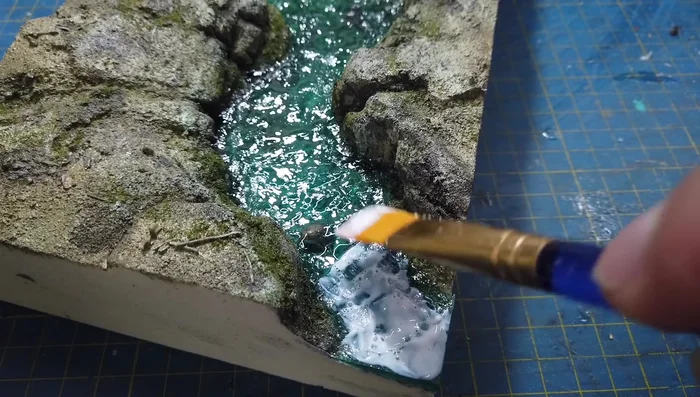
- Fixing resin issues with Woodland Scenics Water Ripples gel.
- Adding subtle ripples using Mod Podge gloss and a straw.
- Adding white water using Vallejo foam and snow texture.
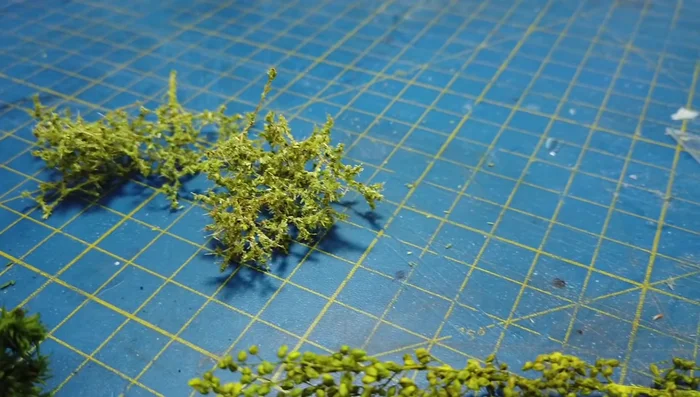
Refining the Water Effect Adding Final Touches
- Adding vegetation from Diorama Precipe, using basing glue.
Adding Final Touches


Read more: Setting Up Your First Saltwater Reef Aquarium: A Beginner's Journey
Tips
- Use a vacuum cleaner and wear a mask when carving the foam.
- Be very careful when using sharp knives; don't force the knife.
- Take your time carving the rock details; avoid adding too many indistinct details.
- Thoroughly coat the sculpture block with a sealant before pouring resin to prevent reactions.
- Apply textures roughly to ensure variety.