Korean-style aquascaping has taken the underwater world by storm, renowned for its meticulous detail and breathtakingly realistic reefscapes. This unique approach, often employing a surprising tool – super glue – allows aquascapers to create stunningly intricate underwater landscapes previously thought impossible. Forget the limitations of traditional methods; Korean techniques unlock a level of precision and artistic expression that transforms your aquarium into a miniature, vibrant ocean. The meticulous placement of coral, rock, and substrate is crucial to achieving this effect.
This article will guide you through the captivating process of building your own Korean-style reefscape, demonstrating how to harness the power of super glue for incredibly secure and aesthetically pleasing results. From selecting the perfect materials to the final, painstaking details, follow along as we delve into a step-by-step guide that will transform your aquarium from ordinary to extraordinary.
Preparation and Safety Guidelines
- Micro Rock (e.g., Marco Rock)
- Hammer
- Flathead screwdriver
- Super glue (David Meyer's recommended glue)
- Sand (ground-up micro rock)
- Protective gloves
- Protective eyewear
- Tape
- Ruler
- Always work in a well-ventilated area when using super glue, as the fumes can be harmful.
- Wear appropriate safety gear, including gloves and eye protection, to prevent accidental contact with super glue and potential injury.
- Super glue bonds instantly and is very difficult to remove. Plan your aquascaping carefully before applying any glue to avoid mistakes.
Step-by-Step Instructions
Prepare Materials
- Break apart Marco Rock into smaller pieces using a hammer and flathead screwdriver. Keep the resulting dust/sand.
Plan the Aquascape
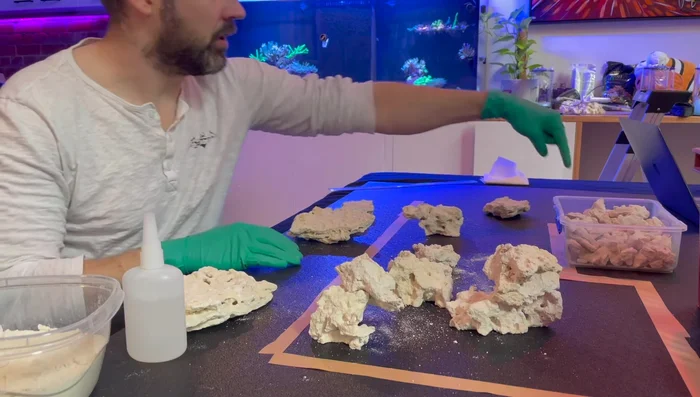
- Mark out the usable section of your tank with tape, considering the existing rockscape and overflow box. Visualize the placement of your new scape.

Plan the Aquascape Initial Rock Bonding
- Find two pieces of rock that naturally fit together. Sprinkle sand onto the join, apply a small amount of super glue, and sprinkle more sand. This creates an initial bond.
- After a few seconds, check the strength of the initial tack weld. It shouldn't fall apart easily. If happy, proceed to the next step. If not, break it apart and try again.
Initial Rock Bonding Strengthen and Complete Bonds
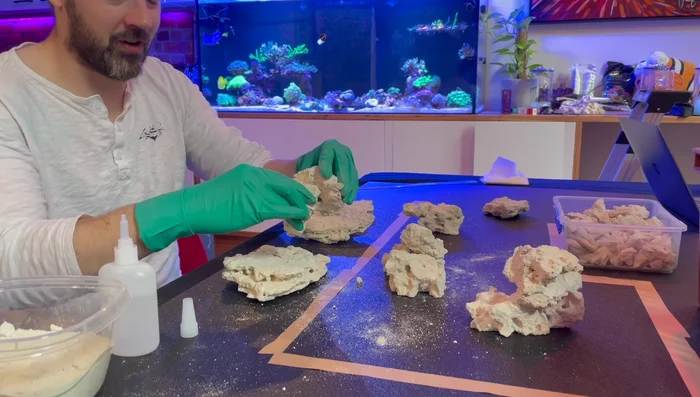
- Once happy with the initial join, apply more glue and sand to the entire join, filling in any gaps with small stones. This makes the join seamless and incredibly strong.
Strengthen and Complete Bonds Construct the Rockscape
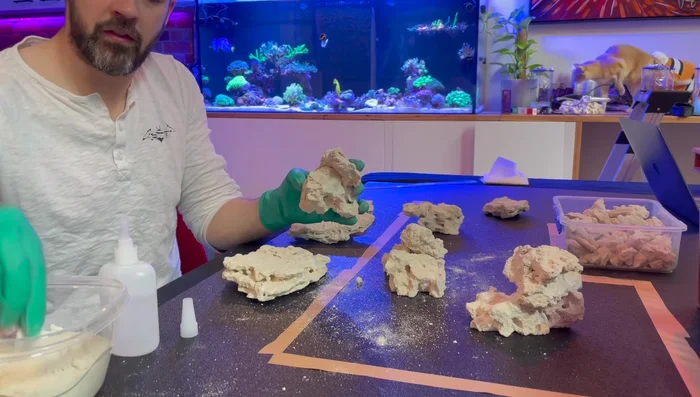
- Continue gluing pieces together using the same method, paying attention to create voids and negative space for a visually appealing scape. Use time-lapse for larger structures. Note: It will get hot!
Construct the Rockscape Refine and Finalize
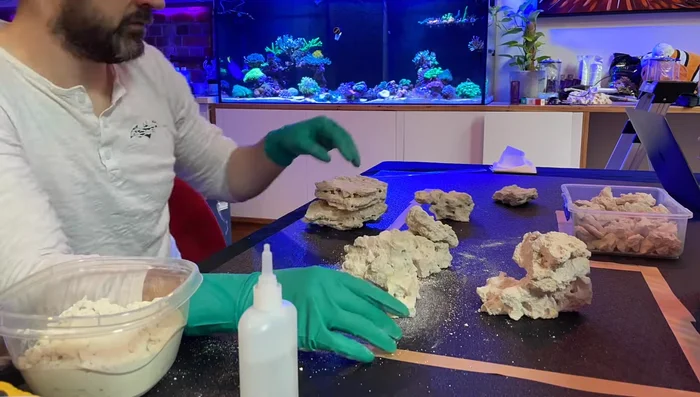
- Once the main structure is complete, let it sit for a couple of days. Add minor details and make adjustments before placing it in the tank.
Integrate into Tank
- Carefully place the completed rockscape in the tank, ensuring it integrates well with the existing rockscape.
Integrate into Tank

Read more: Aquarium Rescaping: A Step-by-Step Guide to Half-Tank Transformation
Tips
- Use David Meyer's recommended super glue for the best results. It sets incredibly quickly and forms an extremely strong bond.
- Wear protective gloves and eyewear. The glue gets hot during the chemical reaction and can be irritating to the skin and eyes.
- Keep the rock dust/sand. It is essential for creating a seamless bond between the rocks.
- Plan your scape carefully, considering the existing rockscape and the desired voids and negative spaces. Use a top-down view to ensure all parts receive sufficient light.
- Work in stages: Create an initial tack weld before fully completing the bond to ensure you are happy with the position and fit of the pieces.