Creating a thriving aquarium ecosystem starts long before you introduce your fish. The foundation of any successful tank lies in meticulous aquarium rock preparation. Ignoring this crucial step can introduce harmful substances, impacting water quality and the health of your aquatic inhabitants. From preventing algae blooms to avoiding the introduction of unwanted parasites, proper rock preparation is paramount for a safe and vibrant underwater world. Choosing the right rocks, cleaning them thoroughly, and appropriately curing them are all vital aspects of this often-overlooked process.
This ultimate guide delves into every detail of preparing aquarium rocks, ensuring a healthy environment for your fish and plants. We'll walk you through a comprehensive, step-by-step process, equipping you with the knowledge and techniques to create the perfect substrate for your aquatic companions. Prepare to transform your rocks from potential hazards into the beautiful, functional centerpiece of your thriving aquarium.
Preparation and Safety Guidelines
- Rocks
- Vinegar
- Brush
- Hot tap water
- Bleach (optional, for rocks collected underwater)
- Dechlorinator
- Always thoroughly clean aquarium rocks before placing them in your tank. Scrub with a stiff brush and dechlorinated water to remove dust, sediment, and potential harmful chemicals.
- Avoid rocks with sharp edges or points that could injure fish. Inspect each rock carefully and smooth any rough areas with a rock tumbler or sandpaper if necessary.
- Research the type of rock you're using. Certain rocks can leach harmful chemicals into the water, affecting water parameters and harming your fish. Choose aquarium-safe rocks like granite, slate, or river stones.
Step-by-Step Instructions
Initial Cleaning
- Rinse rocks in tap water to remove mud and dirt.
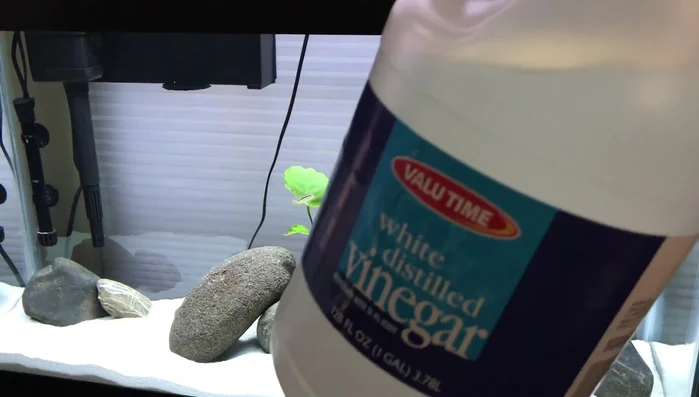
- Apply a small amount of white distilled vinegar to each rock. If it fizzes, discard the rock; it's not suitable for aquariums.
- Scrub rocks with a brush and hot tap water for 2-5 minutes, ensuring thorough cleaning.

Initial Cleaning Optional Sanitization
- Soak rocks in a bleach solution (1 cup bleach per 10 cups of water) for 5-10 minutes. Rinse VERY thoroughly afterwards.
Optional Sanitization Final Rinse and Drying
- Rinse rocks extensively with dechlorinated water to remove any remaining bleach residue.
- Air dry rocks in the sun for about an hour.
Final Rinse and Drying Aquarium Addition
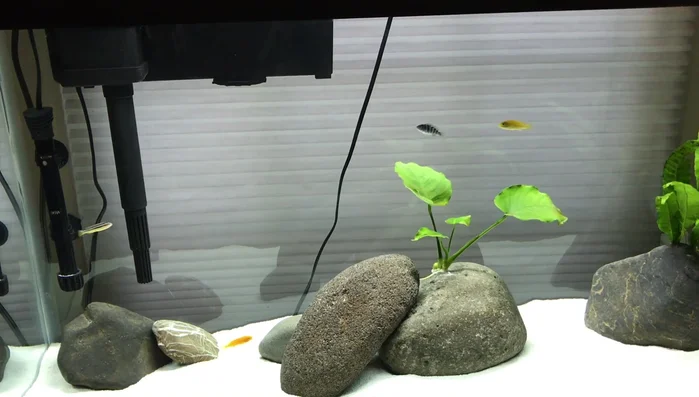
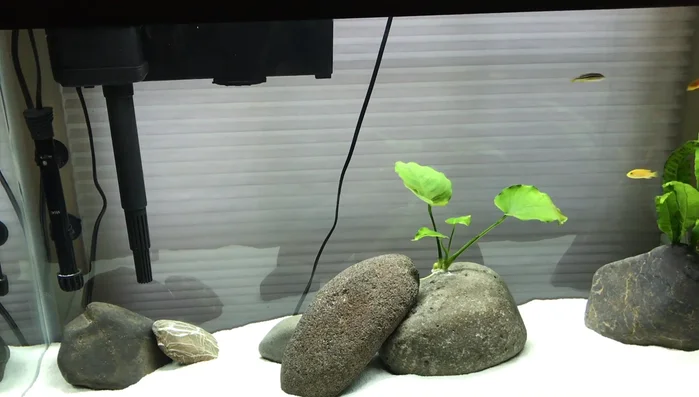
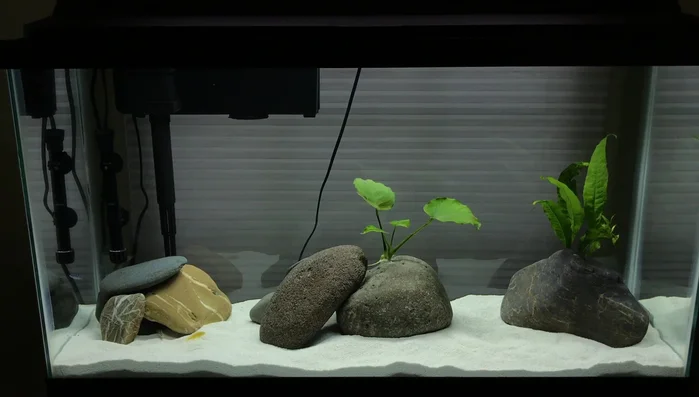
- Add the prepared rocks to your aquarium.
Aquarium Addition


Read more: Aquarium Rescaping: A Step-by-Step Guide to Half-Tank Transformation
Tips
- Collect rocks away from bodies of water to minimize the risk of introducing contaminants.
- Thorough rinsing and sanitization (if necessary) are crucial to prevent introducing harmful substances into your aquarium.