Aquascaping, the art of creating underwater landscapes, allows for boundless creativity. However, achieving a truly stunning and enduring design requires careful consideration of materials and techniques. Among the most popular choices for hardscape are Eco Forest rocks, renowned for their unique shapes, textures, and, most importantly, their exceptional bonding capabilities. This “Ultimate Guide” delves into the intricacies of aquascaping with these remarkable rocks, focusing on the strongest bond techniques to ensure a stable and aesthetically pleasing underwater world. Forget about wobbly structures and frustrating collapses!
This guide will equip you with the knowledge and practical steps to build breathtaking and long-lasting aquascapes using Eco Forest rocks. Prepare to learn the secrets behind achieving rock formations that withstand the test of time and the pressure of the aquatic environment, from initial rock selection and preparation to the precise application of adhesives and the final touches that elevate your design. Let's dive into the step-by-step process, transforming your vision into a captivating reality.
Preparation and Safety Guidelines
- Eco Forest rocks
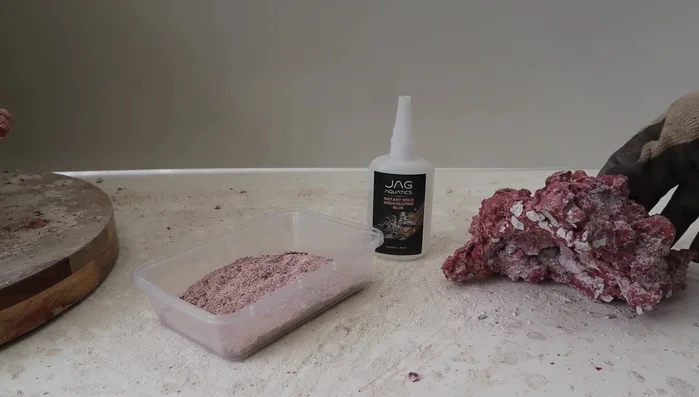
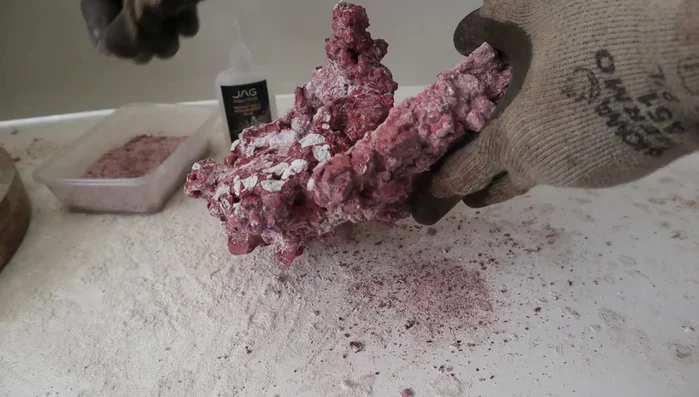
- Eco Forest powder (crushed Eco Forest rocks)
- Jag Aquatics Aquascaping Glue
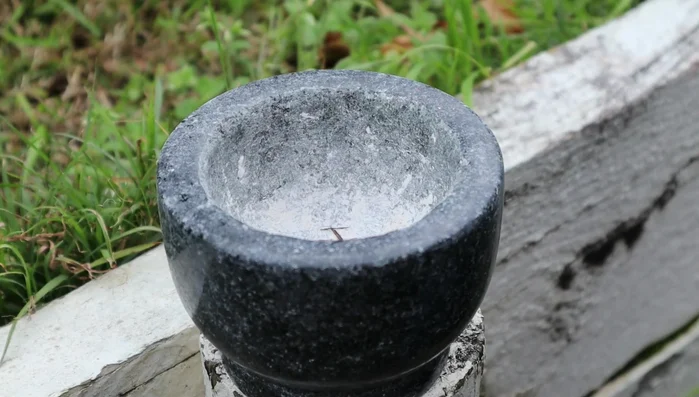
- Kitchen motor/grinder
- Hammer
- Stone fix (or other cement)
- Thoroughly clean Eco Forest rocks before placing them in your aquarium. Remove any loose dust or debris to prevent clouding the water and harming aquatic life.
- Ensure rocks are securely bonded before adding water. Improperly bonded rocks can shift and potentially damage your aquarium or injure inhabitants.
- Monitor water parameters closely after adding Eco Forest rocks, as they can initially affect pH and other chemical balances. Regular water changes may be necessary.
Step-by-Step Instructions
Prepare Materials
- Crush larger Eco Forest rocks into a fine powder using a kitchen motor and/or hammer. For smaller pieces, a kitchen grinder can be used.

Prepare Materials Plan the Structure
- Select two rocks and determine how they will interlock to create a hanging structure. Find edges and grooves that fit together naturally.
Plan the Structure Apply Initial Bond
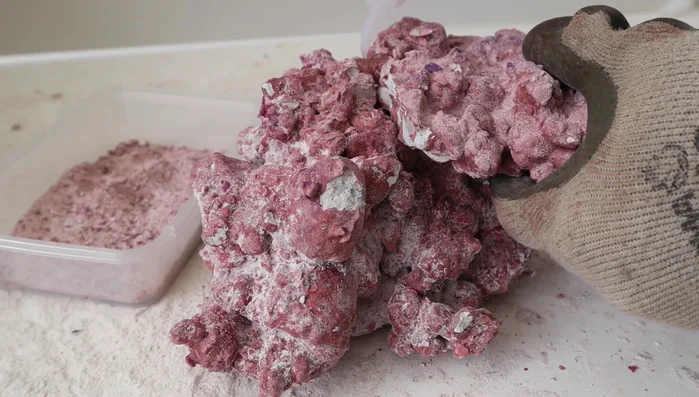
- Generously apply Eco Forest powder to the joining edges of the rocks.
- Add Jag Aquatics Aquascaping glue to the powdered joint. A chemical reaction will occur, solidifying the bond.
Apply Initial Bond Strengthen the Bond
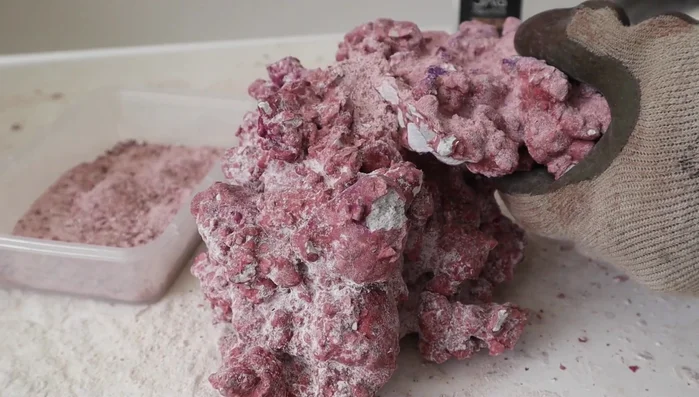
- Add more powder and glue to completely fill the joint, creating a strong and stable connection.
Strengthen the Bond Reinforce and Finish
- For larger gaps or extra stability, use Eco Forest Stone Fix (or other cement) to fill any gaps at the base of the structure after the glue has dried.
Reinforce and Finish

Read more: Aquarium Rescaping: A Step-by-Step Guide to Half-Tank Transformation
Tips
- Prepare multiple containers of powder beforehand if creating a large aquascape to avoid interruption during the process.
- Use a generous amount of powder, especially for heavier rocks.
- The glue creates an immediate reaction with the powder, making for a very solid joint.
- Adding a small amount of glue and powder to the top of the joint ensures a clean, aesthetically pleasing finish.
- Using Eco Forest powder ensures a color match with the rocks, resulting in a seamless look.