The vibrant glow of your aquarium light is crucial, not just for aesthetic appeal, but also for the health and well-being of your aquatic inhabitants. A flickering aquarium light, however, can be more than just an annoyance; it often signals a deeper problem that needs addressing promptly. This unsettling flicker can disrupt the delicate ecosystem within your tank, affecting the plants' photosynthetic processes and potentially stressing your fish. Ignoring the issue could lead to more significant problems down the line, from algae blooms to compromised fish health.
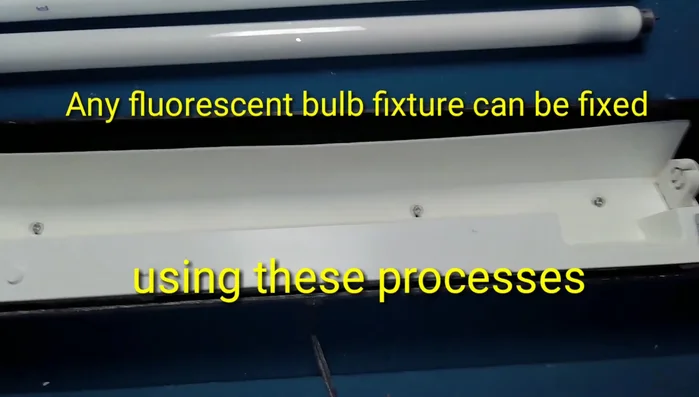
This frustrating problem often stems from a faulty ballast, the component responsible for regulating the power to your light. Fortunately, replacing a faulty ballast is usually a manageable DIY repair. This guide will take you through a step-by-step process of troubleshooting your flickering aquarium light, diagnosing the issue, and, if necessary, safely replacing the ballast to restore the consistent, healthy illumination your aquatic life needs.
Preparation and Safety Guidelines
- 24-inch aquarium light
- new light bulb
- new ballast
- screwdriver
- wire strippers
- wire cutters
- electrical tape (optional)
- wire connectors
- Always unplug the aquarium light from the power source before attempting any repairs or replacements. Electricity and water are a dangerous combination.
- If you are uncomfortable working with electrical components, consult a qualified electrician. Improper repairs can lead to electric shock or fire.
- Wear appropriate safety glasses to protect your eyes from potential debris or sparks during the repair process.
Step-by-Step Instructions
Inspect and Replace Bulb
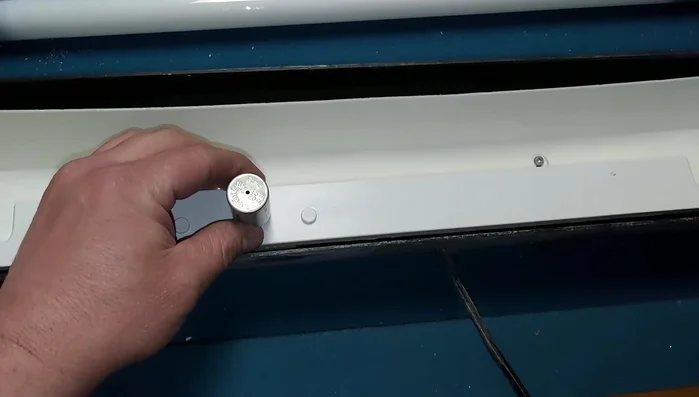
- Inspect the bulb. If the ends are blackened, it's likely burnt out. Replace with a new bulb.
- Test the new bulb. If the light is still dim or flickering, the problem lies elsewhere.
Check the Starter
- Check the starter. Locate the starter on the light fixture (if present). If it's bad, replace it.

Check the Starter Identify Faulty Ballast
- If the starter isn't the issue and the light is still dim or flickering, the ballast is likely faulty.
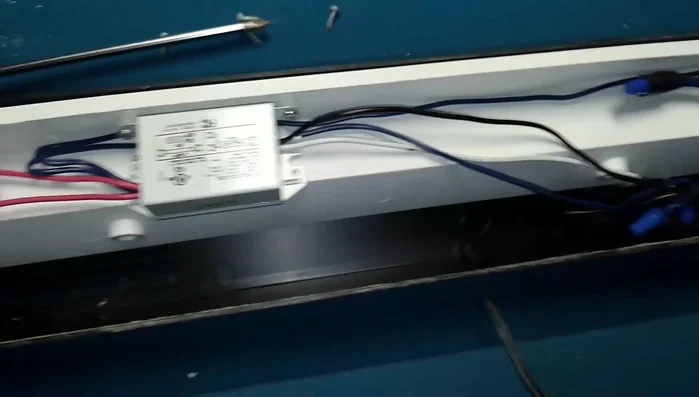
Identify Faulty Ballast Prepare for Ballast Replacement
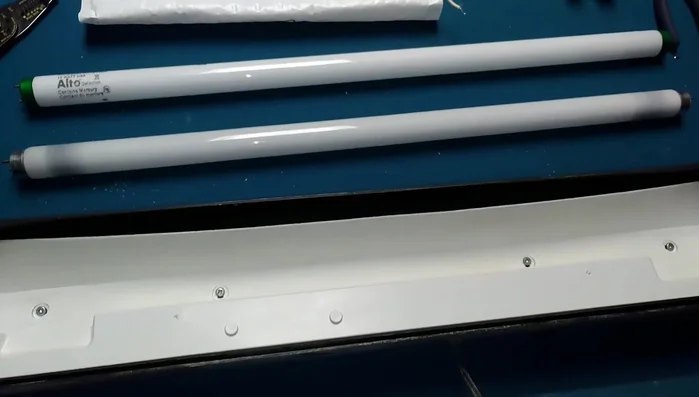
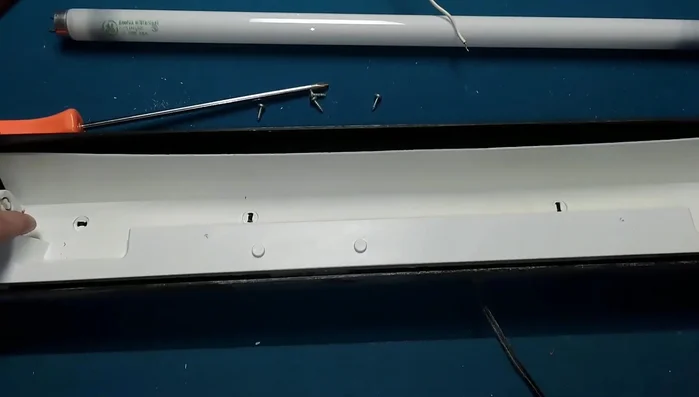
- Remove the four screws securing the light fixture cover. Open the fixture to access the ballast.
- Unplug the light fixture to prevent electrocution.
Prepare for Ballast Replacement Remove Old Ballast
- Remove the old ballast. Note the wiring connections before disconnecting.
Remove Old Ballast Install New Ballast
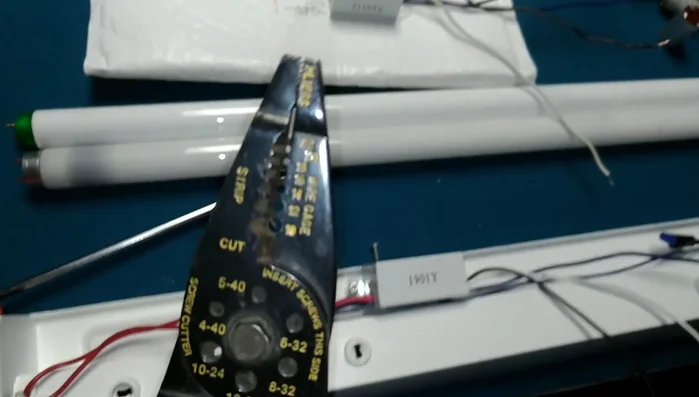
- Install the new ballast, carefully matching the wire colors (black to black, white to white, blue to blue, red to red). Trim excess wire length as needed. Use wire strippers to prepare wires for connection.
- add electrical tape for extra insulation.
Install New Ballast Reassemble and Test
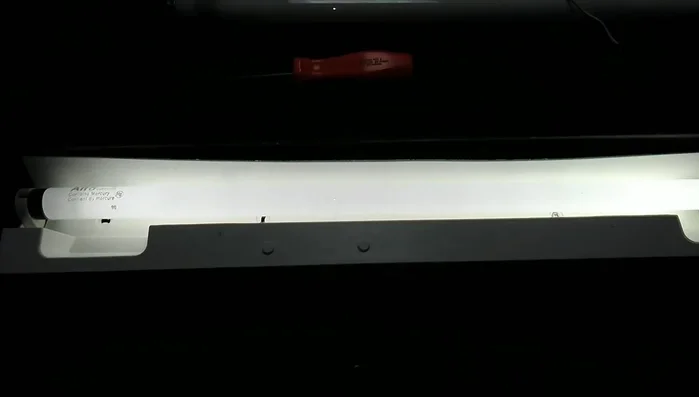
- Reassemble the light fixture.
- Plug in the light fixture and test.
Reassemble and Test

Read more: Fluval Flex Light Replacement: A Quick & Easy Guide
Tips
- Always unplug the light fixture before working on it.
- Take pictures or make notes of the wiring connections before disconnecting the old ballast to ensure correct reconnection.
- Use appropriate wire strippers for the gauge of wire you are working with (14 gauge in this example).
- Use wire connectors to secure the connections and optionally, apply electrical tape over the connectors for added insulation.