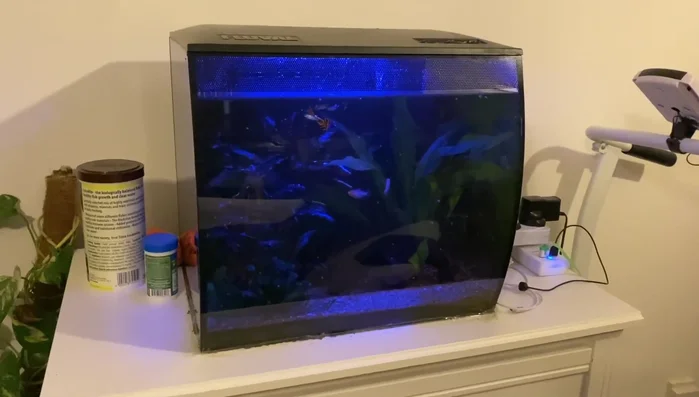
The Fluval Flex aquarium, a popular choice for beginner and experienced aquarists alike, boasts a sleek design and integrated lighting system. However, like all lighting components, the Fluval Flex light will eventually need replacing. Whether your current light is failing, you're upgrading to a different spectrum, or simply want a brighter aquarium, this process can seem daunting at first. Fortunately, replacing the Fluval Flex light is much simpler than you might think, requiring no specialized tools or advanced knowledge.
This guide provides a comprehensive, step-by-step walkthrough of the entire light replacement process, from safely disconnecting the existing unit to securing the new one. We'll cover everything you need to know to ensure a smooth and efficient replacement, leaving you with a brilliantly lit aquarium in no time. Let’s dive in and get started!
Preparation and Safety Guidelines
- Always unplug the Fluval Flex aquarium from the power source before attempting any light replacement or maintenance.
- Handle the new LED light strip with care to avoid damaging the delicate components. Avoid touching the LED chips directly.
- Ensure the replacement light is specifically designed for the Fluval Flex aquarium model you own. Using an incompatible light could damage the fixture or aquarium.
Step-by-Step Instructions
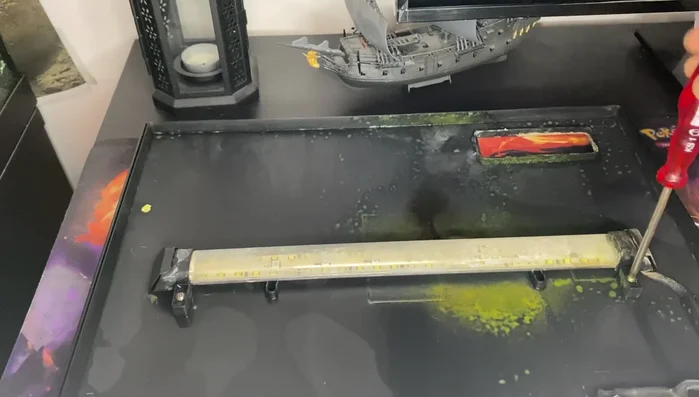
Prepare for Light Replacement
- Unscrew the two screws securing the light cover.
- Remove the light cover.

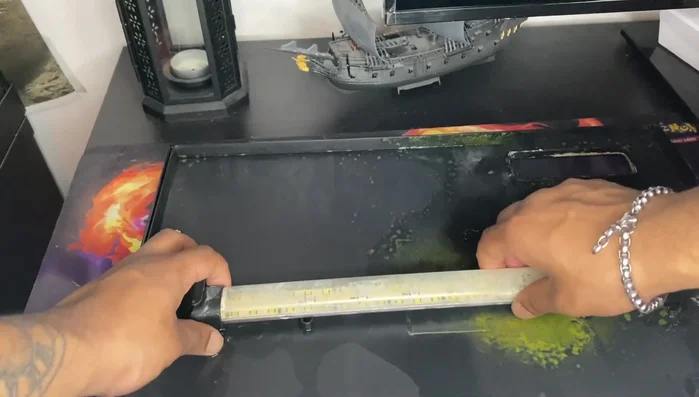
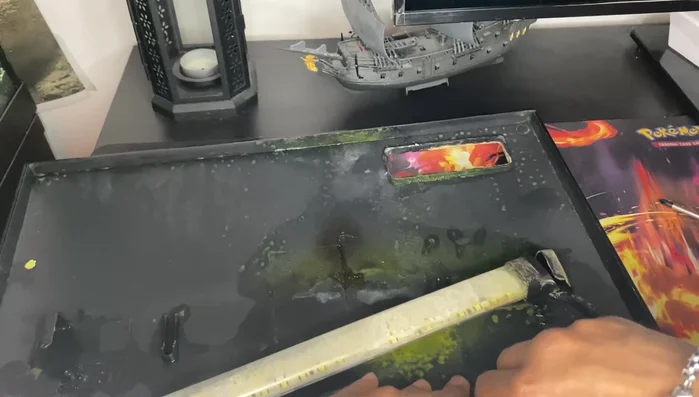
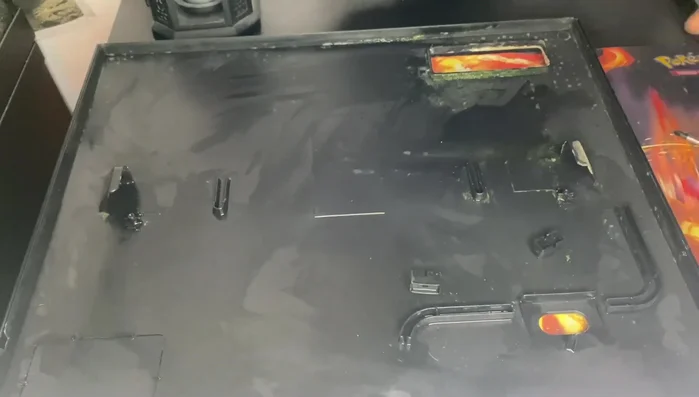
Prepare for Light Replacement Remove Old Light
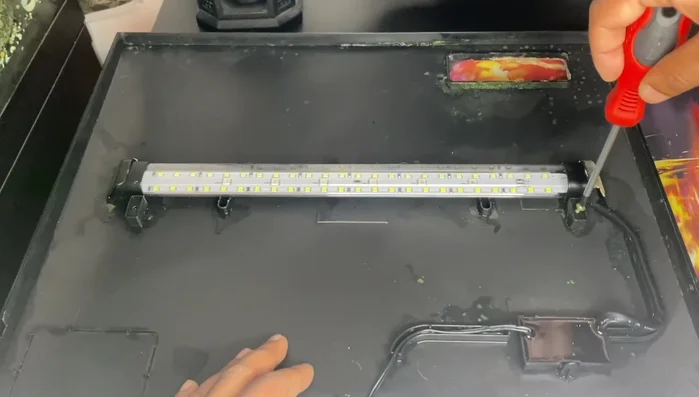
- Carefully remove the old light fixture; it may require angling it.
- Unplug the old light's wires from the connector box.
- Clean the light housing if necessary.
Remove Old Light Install New Light
- Plug the new light's wires into the connector box.
- Insert the new light fixture into the housing.
- Secure the light cover with the screws.
Install New Light Final Adjustments
- Use the remote to adjust the light color if needed (especially if using a timer).
Final Adjustments

Read more: Cleaning Your A Prime 16 HD Light: A Simple Guide
Tips
- Retain the adapter from the old light; you will need it for the new one.
- Clean your light regularly to prevent algae buildup and ensure optimal light penetration.
- Securely fasten all clips and screws to avoid future issues.
- Locate your remote beforehand if your light is on a timer, as the default color might be blue upon installation.