Transform your aquarium into a captivating underwater paradise with this DIY 3D background project! This step-by-step guide shows you how to create a stunning, realistic landscape using readily available materials like styrofoam and Drylok sealant. Forget expensive, pre-made backgrounds – this project offers a cost-effective and creative alternative that allows you to personalize your aquarium's aesthetic. Whether you envision a majestic rock formation or a lush underwater forest, this tutorial will guide you through each stage of the process, from initial measurements and cutting to the final installation. Prepare to be amazed by the transformation!Using simple techniques and readily accessible materials, you’ll learn how to build a multi-layered styrofoam structure, meticulously seal it with aquarium-safe Drylok, and paint it to achieve a breathtakingly realistic finish. This project is perfect for aquarium enthusiasts of all skill levels, offering a rewarding and satisfying experience. Get ready to unleash your creativity and build a unique 3D background that will elevate your aquarium to a whole new level of visual appeal. Let's dive in!
Pros And Cons
- Relatively inexpensive compared to commercially available options
- Allows for customization and unique designs
- Requires time and effort to construct
- Requires specific materials (styrofoam, hot knife, aquarium-safe silicone, Drylok)
- Requires attention to detail for realistic appearance
- Needs proper sealing (Drylok) to prevent leaching of chemicals into the aquarium water.
Read more: Top 5 Freshwater Aquarium Backgrounds
Planning and Material Preparation
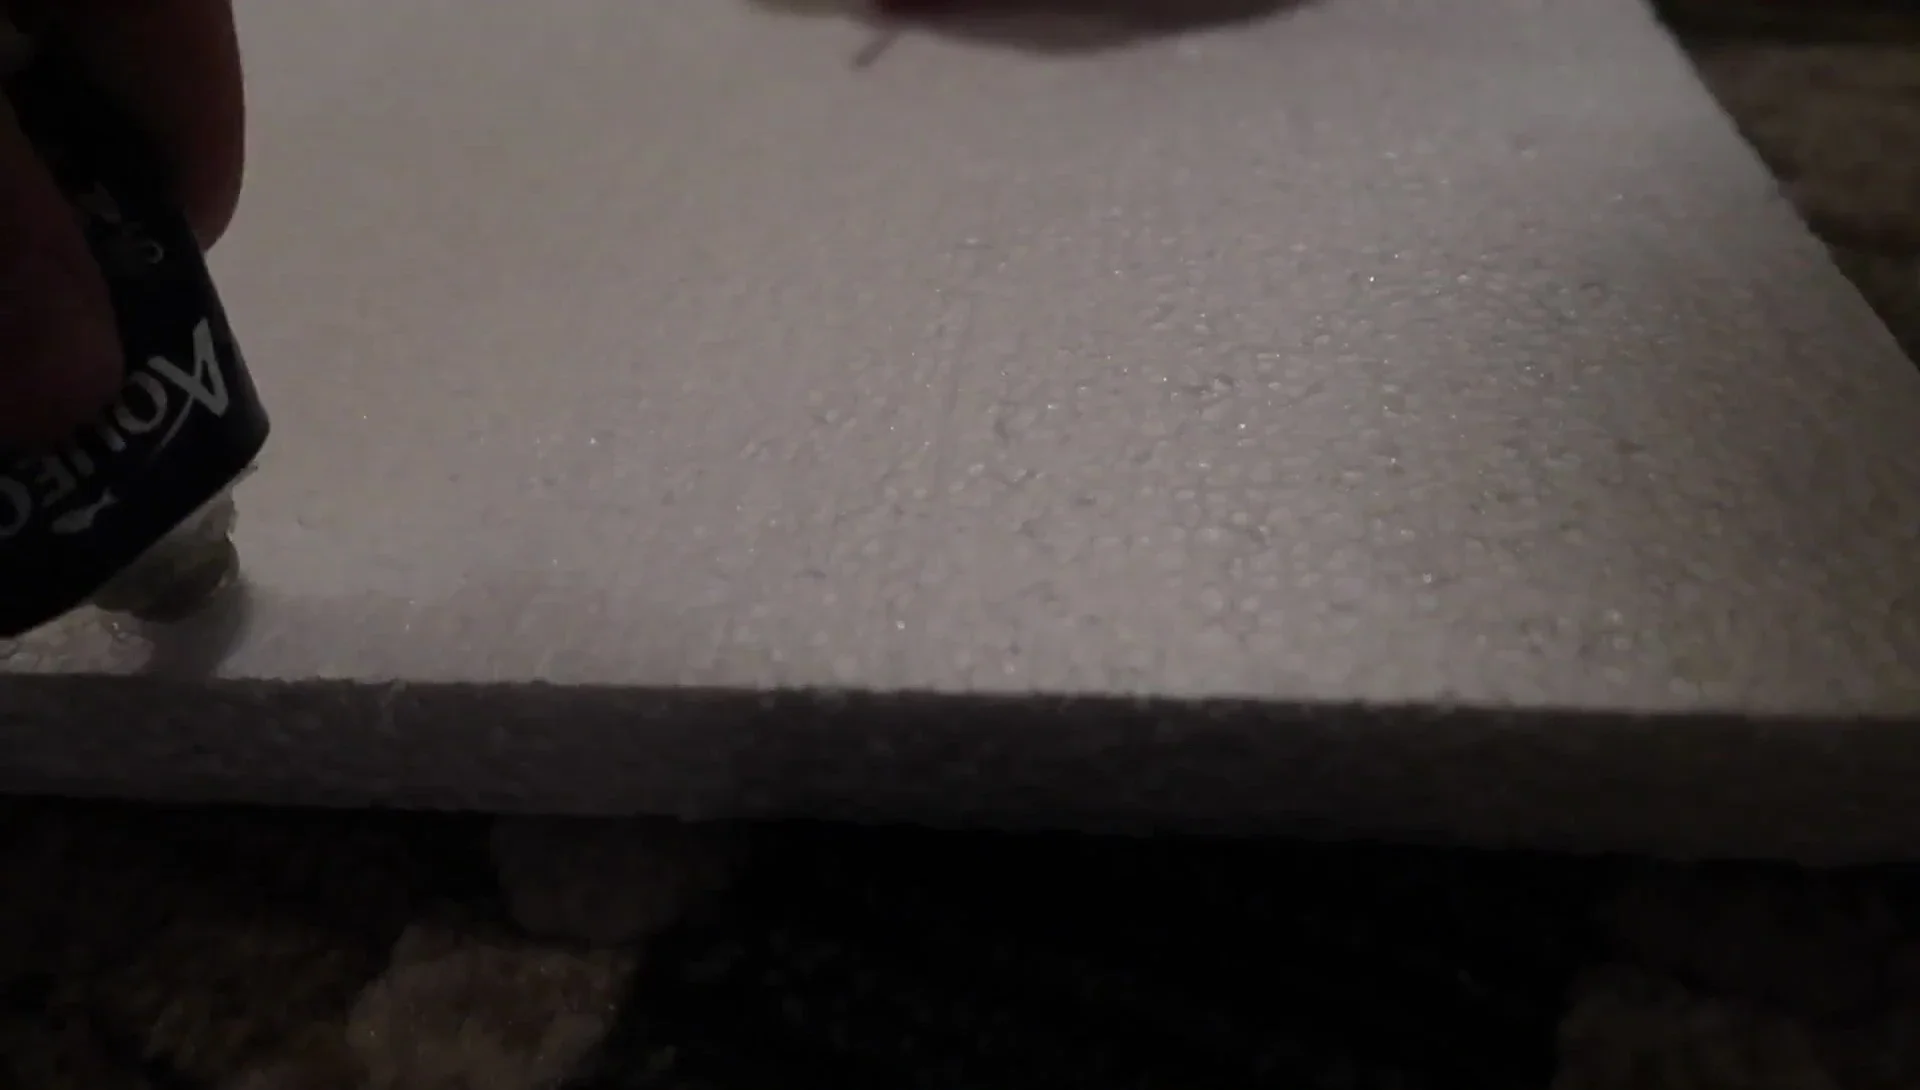
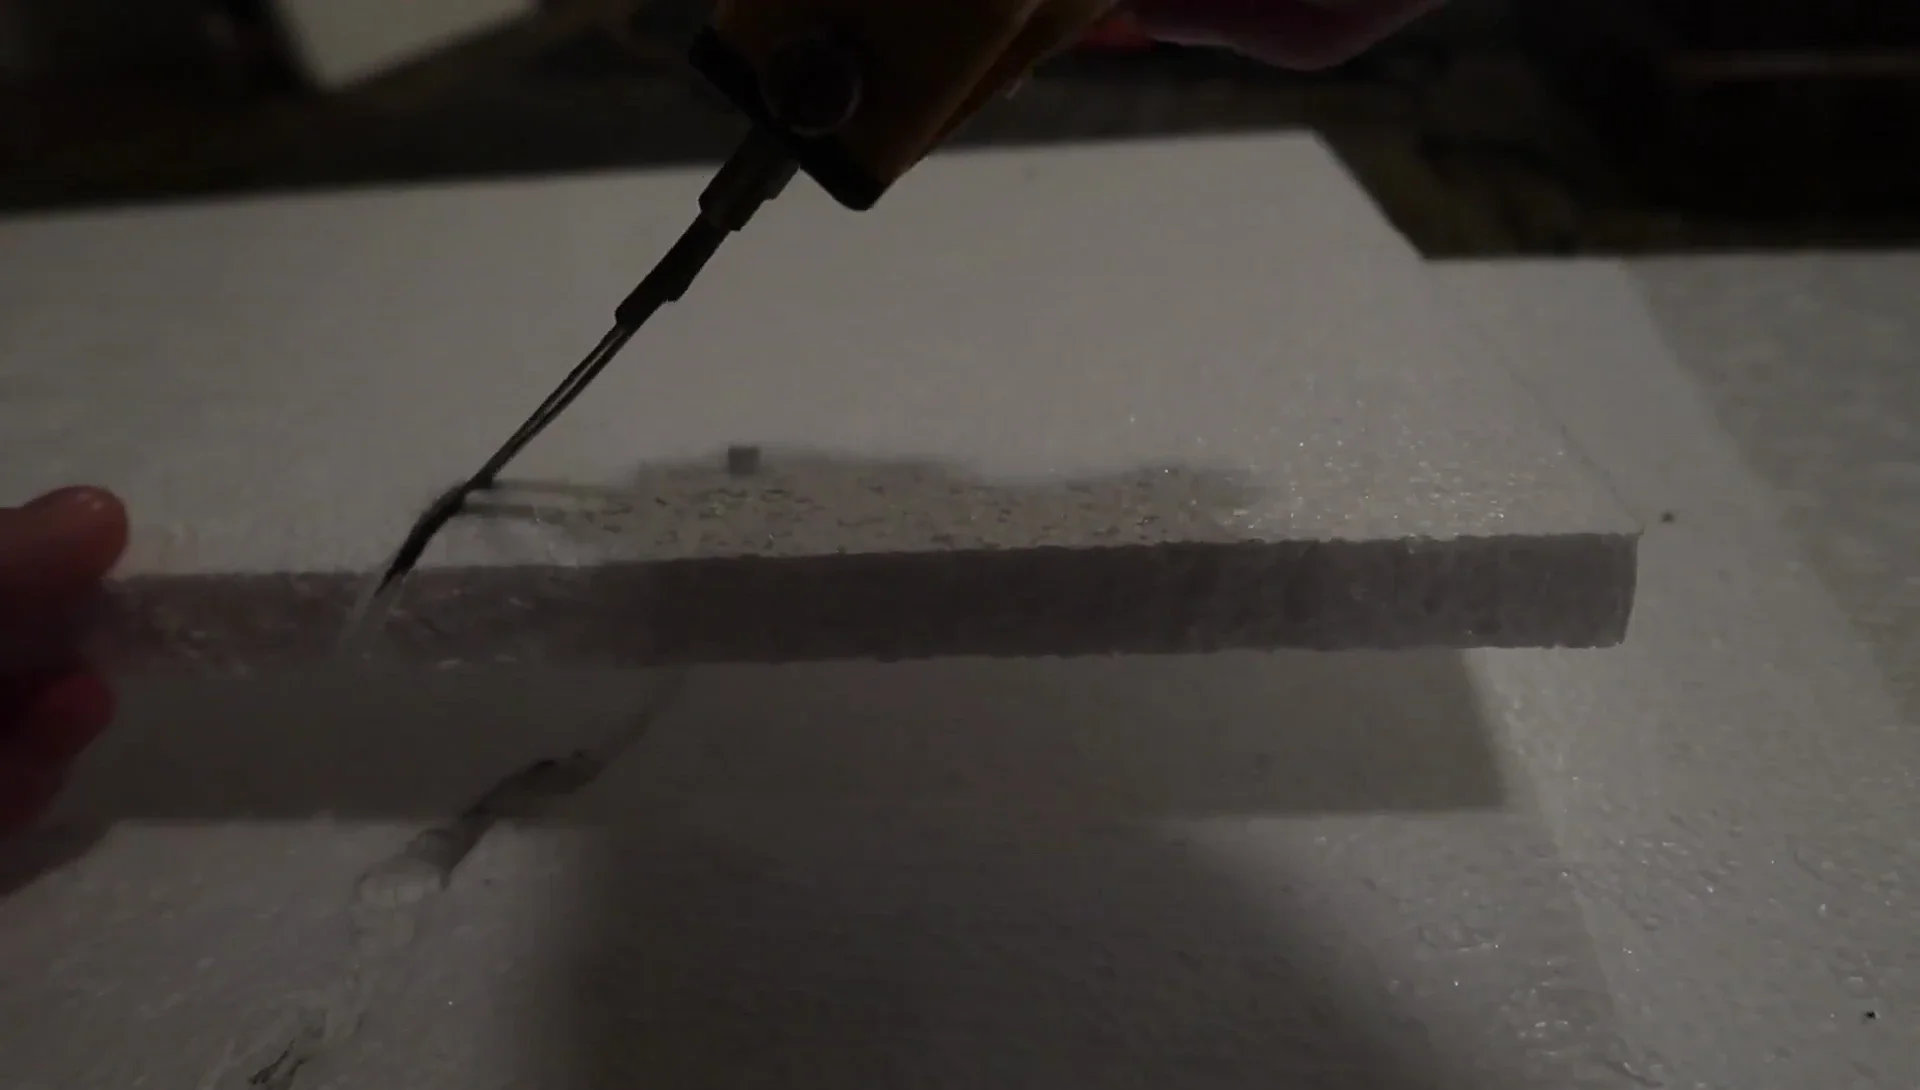
This project begins with careful measurement and cutting of styrofoam sheets to fit the aquarium's dimensions. Consider any internal supports within the tank, and adjust the styrofoam pieces accordingly. I found a hot knife extremely helpful for precision cutting and shaping. Gathering necessary materials – aquarium-safe silicone, toothpicks for securing silicone, and the Drylok sealant – is crucial before starting the construction.
Accurate measurements are essential for a seamless fit. Pre-cutting the styrofoam into manageable pieces simplifies the assembly process. Remember to consider the aquarium's internal structure to prevent any fitting issues. This preliminary planning will save you time and effort later on.
Constructing the 3D Structure
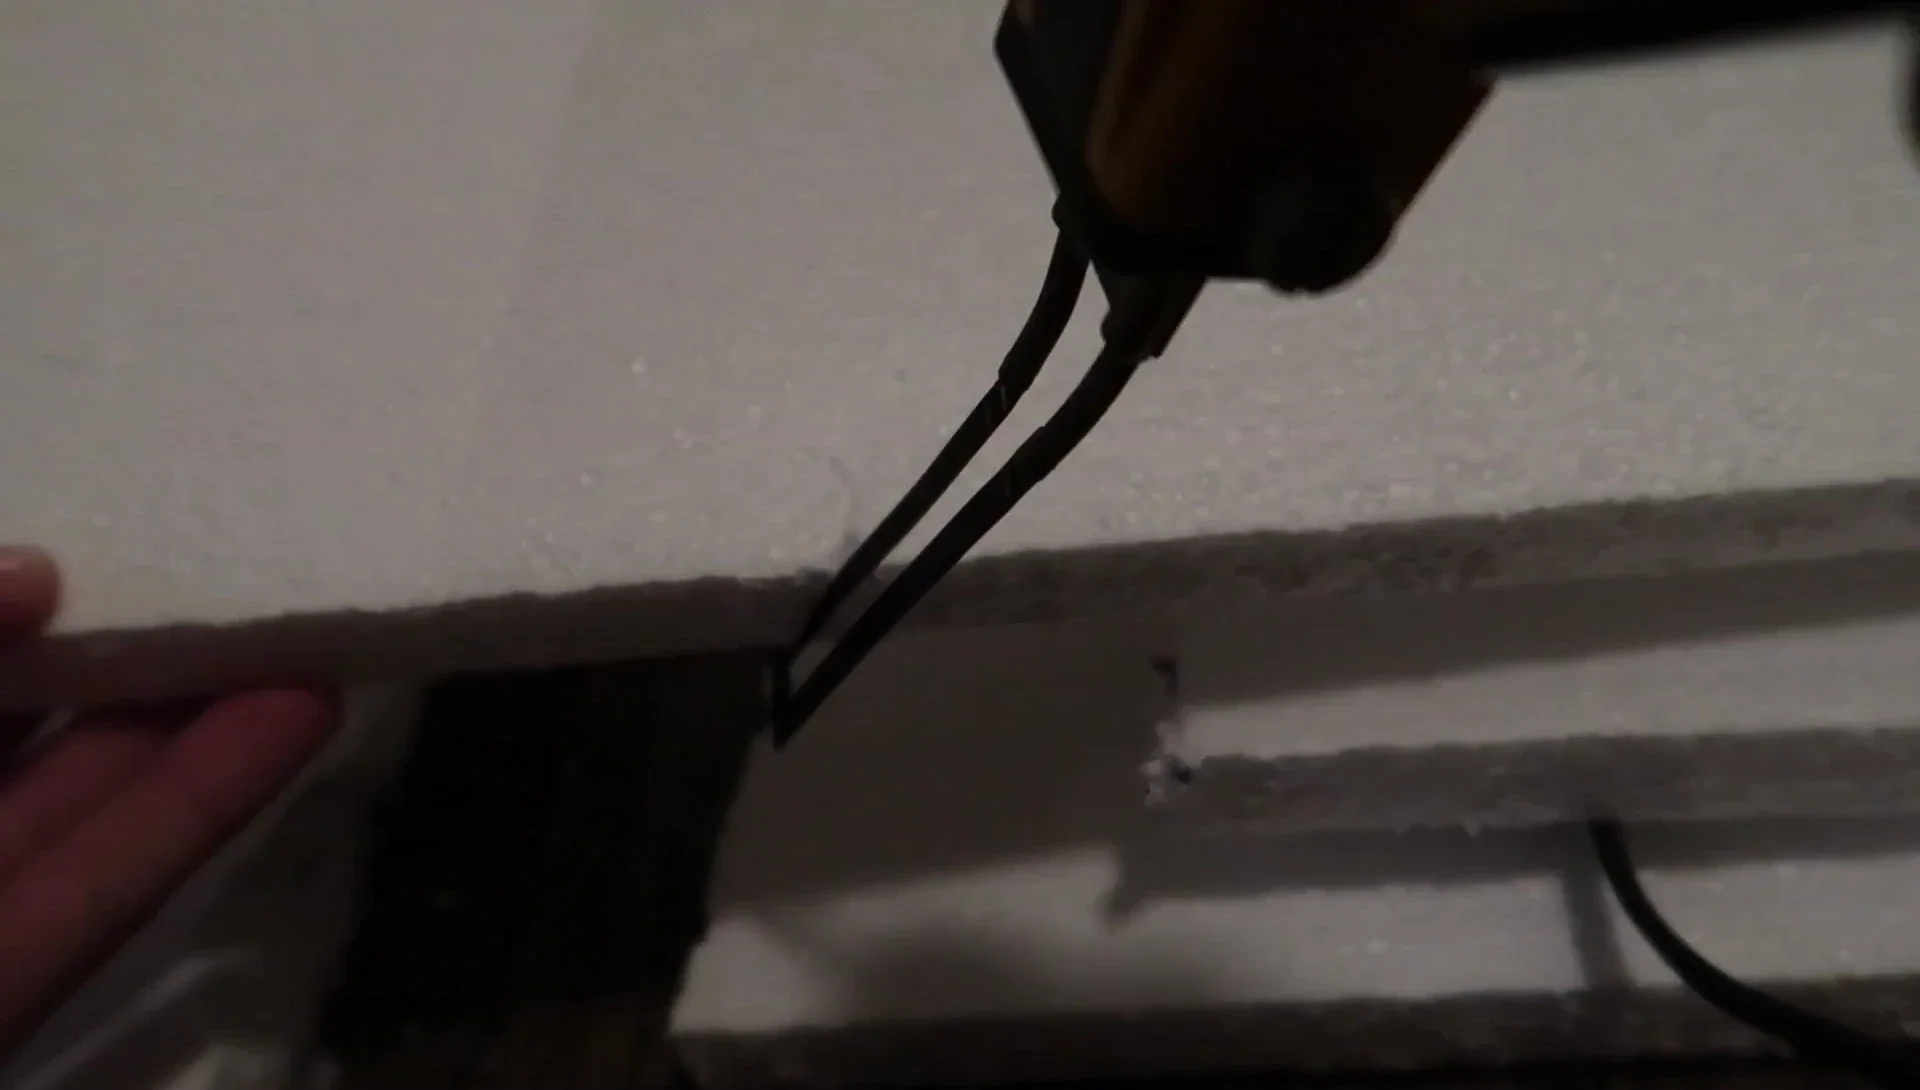
The core of this project involves assembling multiple layers of styrofoam to create depth and texture. Using aquarium-safe silicone and toothpicks, I carefully adhered the sheets, ensuring a strong bond. The toothpicks act as temporary supports until the silicone cures. Creating the basic rock formations and tree trunk structure requires patience and attention to detail.
Adding smaller pieces of styrofoam onto the larger sections builds up the landscape. Carving and shaping these smaller pieces creates a more realistic effect. I used toothpicks to temporarily hold pieces together while the silicone dried. This multi-layered approach brings the background to life.
Painting and Sealing
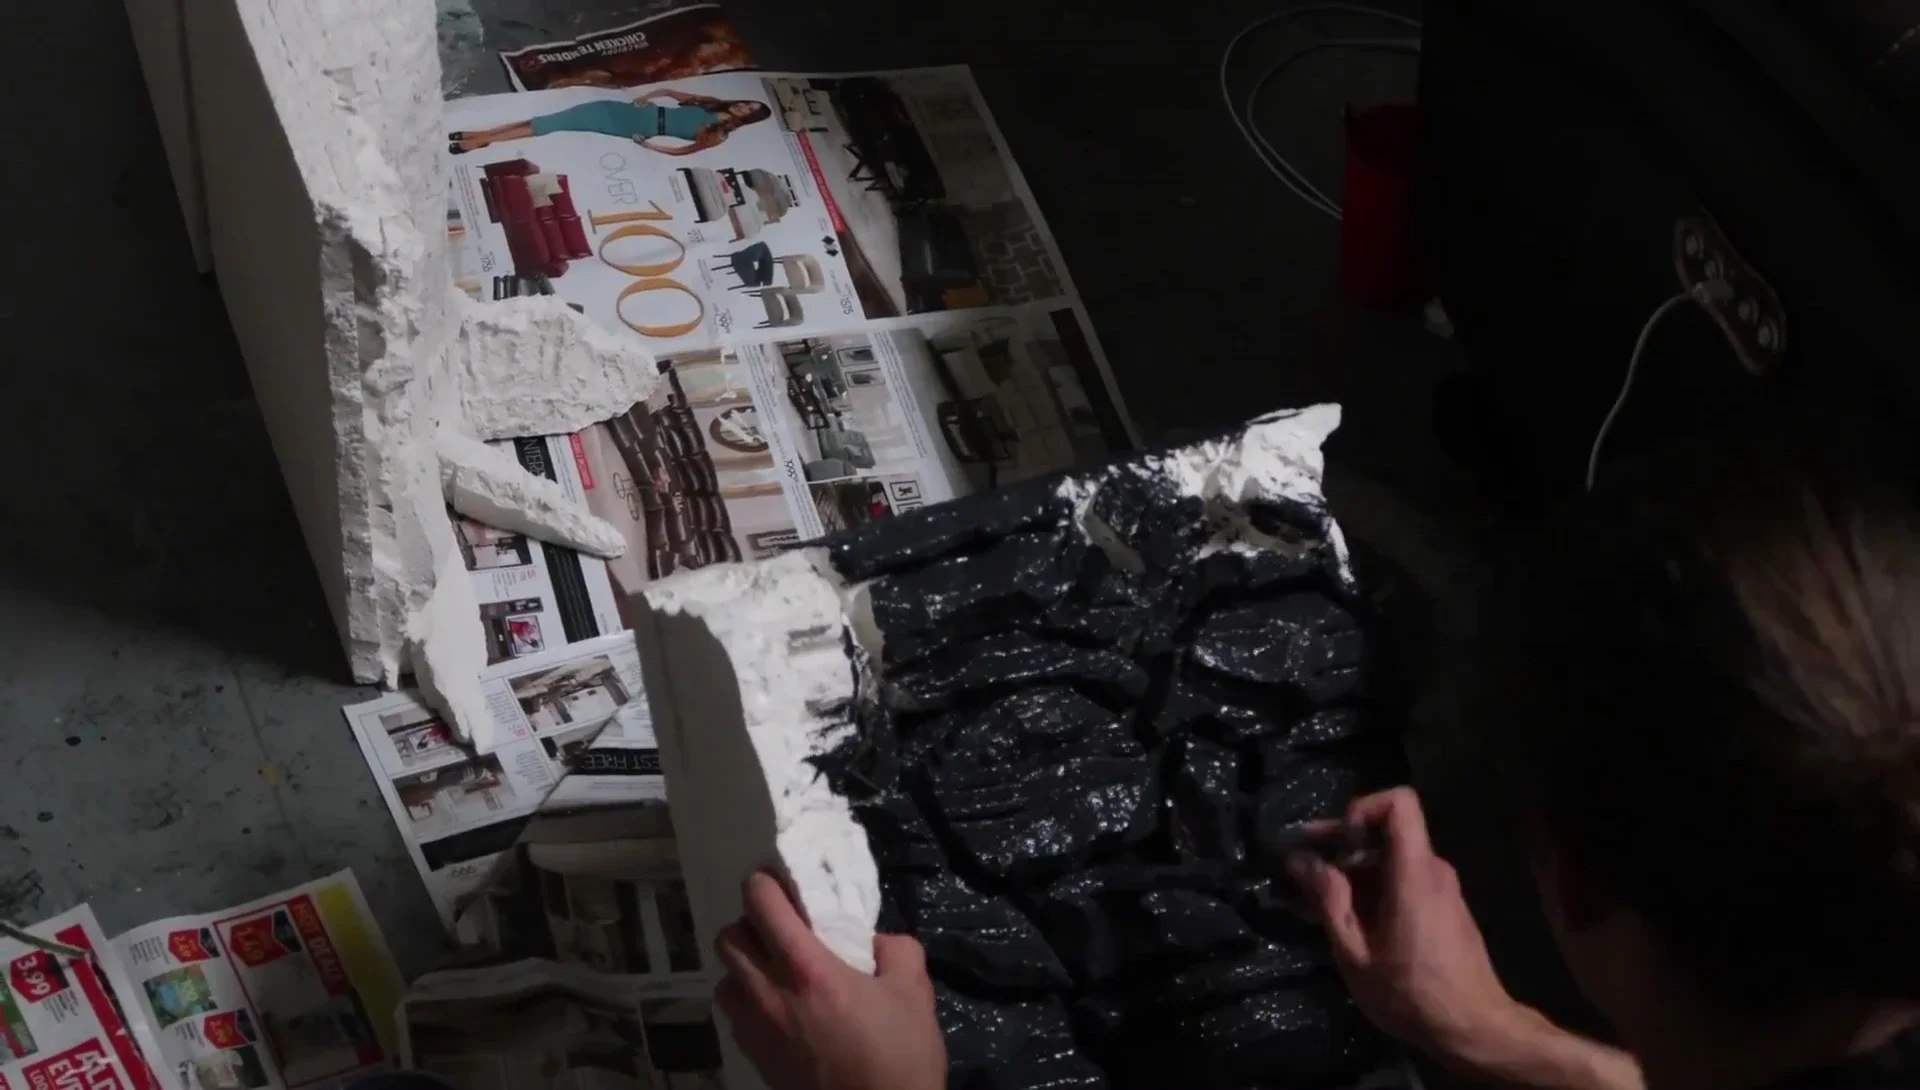
Once the styrofoam structure is complete, it needs a thorough sealing. Drylok masonry sealer, chosen for its aquarium safety, is applied in multiple coats. This ensures the styrofoam won't leach any harmful chemicals into the aquarium water. Allow ample drying time between coats for optimal results.
The initial coat of Drylok provides a base layer of protection. I applied several coats, allowing each one to fully dry before the next. This process is crucial to prevent any chemical leakage into the aquarium. Adequate drying time is essential for proper sealing.
Adding Details and Final Touches
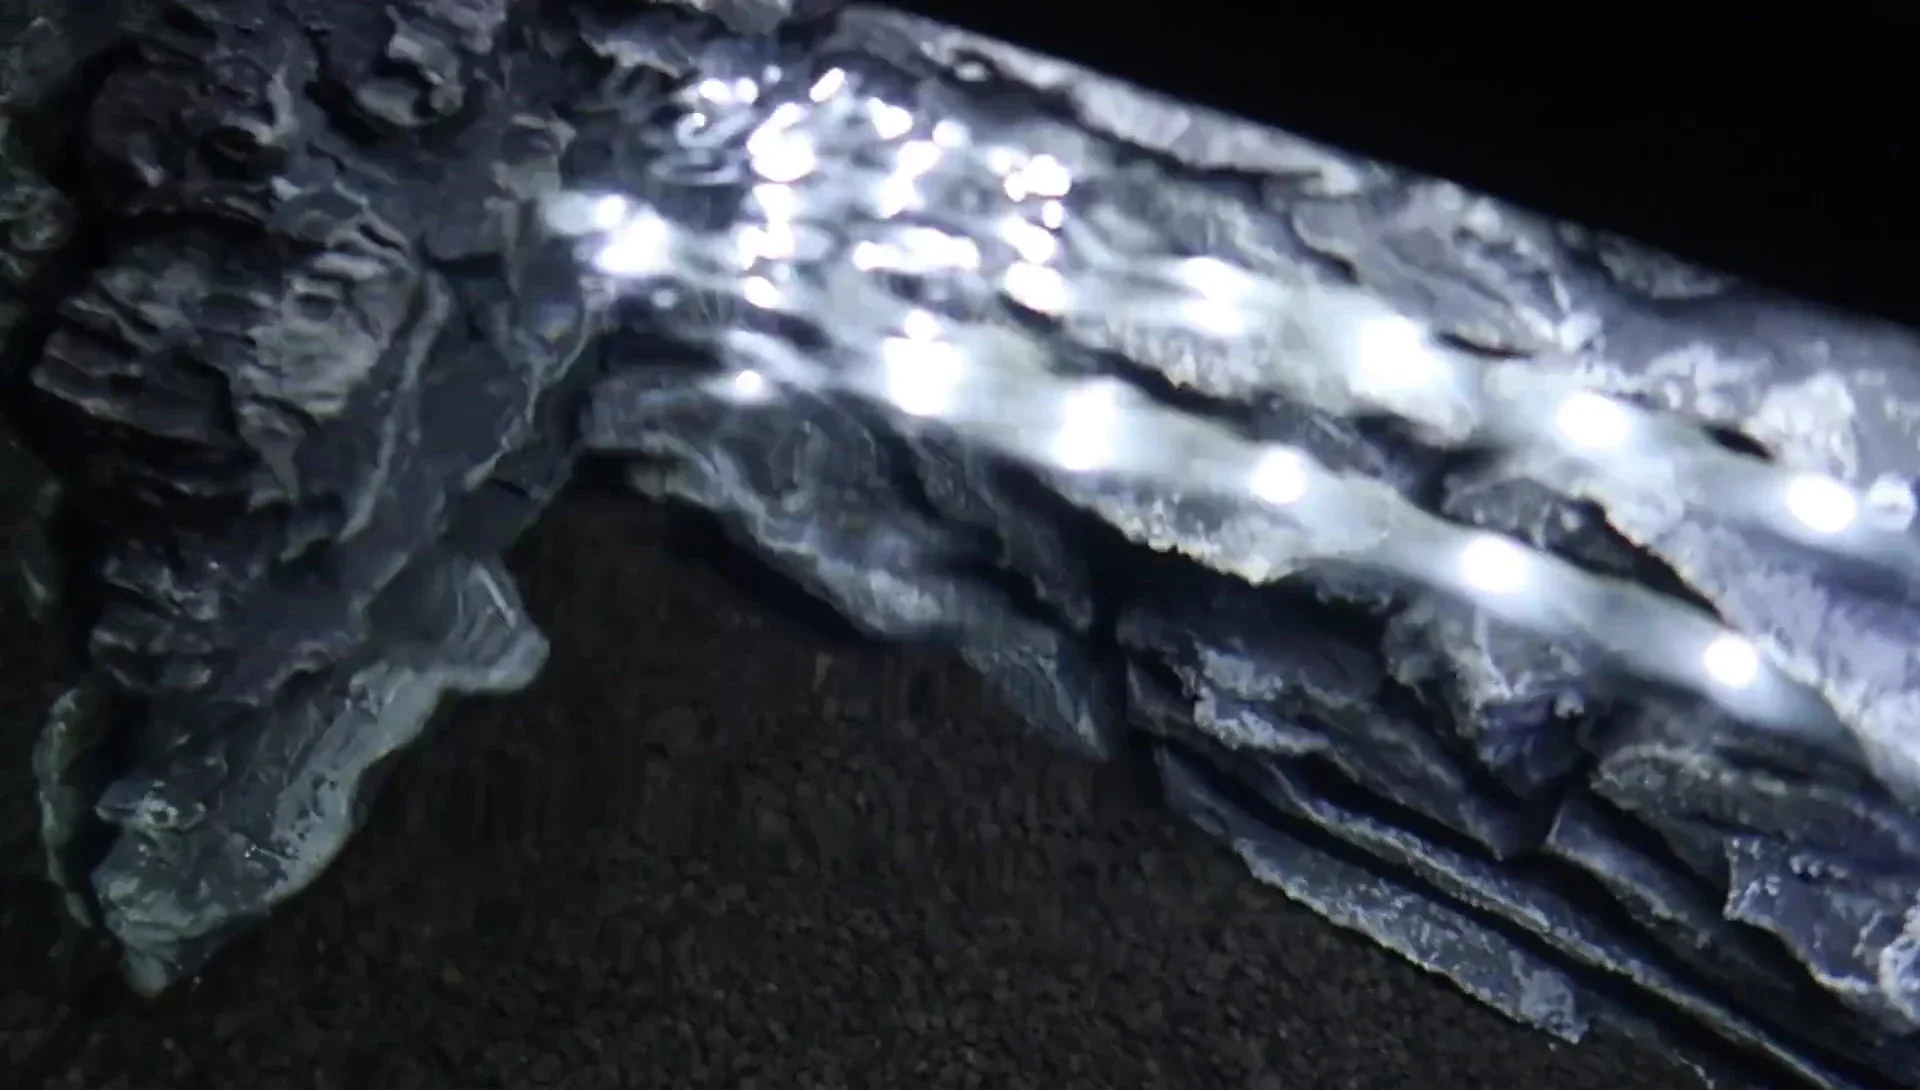
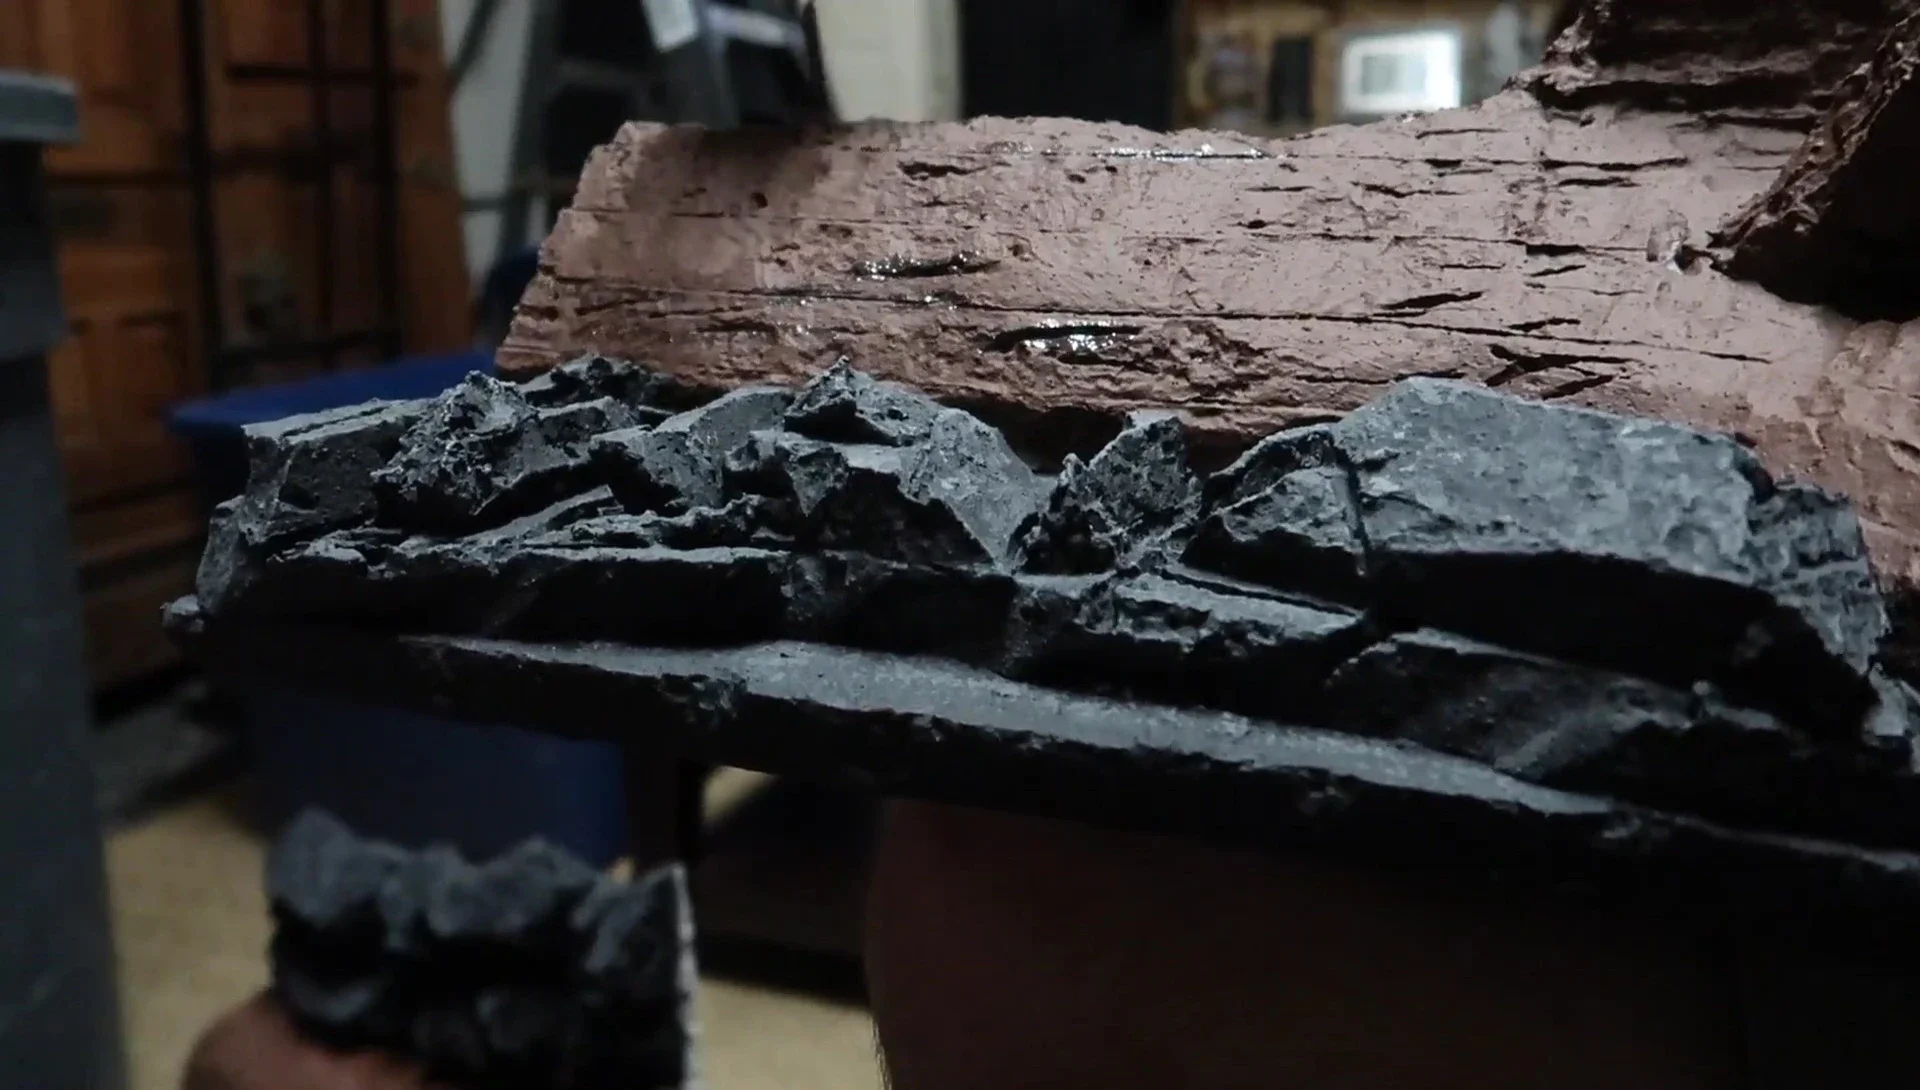
After the Drylok seals have dried, the painting process begins. I added layers of different shades of brown, gray, and black to enhance the realism of the rocks and tree trunk. This detailing mimics the natural variations in color found in rock formations and tree bark. Patience and a steady hand are essential for creating a convincing final product.
Careful color blending is key to a realistic look. Using a variety of browns and grays helped to create depth and texture. I paid close attention to detail, filling in cracks and crevices to enhance realism. The final result was a natural-looking landscape that complemented the tank’s features.
Installation and Conclusion
The final step is carefully installing the finished background into the aquarium. This involves thoroughly cleaning the inside of the tank, including removing any existing substrate. After cleaning the tank with rubbing alcohol to ensure a clean surface, use aquarium-safe silicone to securely attach the background. Allow ample curing time for the silicone to fully adhere.
The finished background is a unique addition that enhances the aesthetic appeal of the aquarium. The project successfully created a visually stunning and realistic 3D background, demonstrating the potential of simple materials and creativity. This DIY approach offers a cost-effective alternative to commercially available backgrounds.