Transforming a simple aquarium into a vibrant underwater Bikini Bottom was a surprisingly fun and easy family project! This article details our journey setting up a SpongeBob-themed tank, from unpacking the pre-filtered and heated aquarium to carefully conditioning the water for our future finned friends. We'll share the excitement of discovering SpongeBob and Squidward's houses among the decorative rocks (though Patrick's rock remains elusive!), and the anticipation of adding our fish the following day. Get ready for a dose of underwater fun and family bonding!This step-by-step guide outlines the simple setup process, highlighting the ease of use and the included water treatment solution. We'll also share our plans for future enhancements, including adding Sandy Cheeks' treedome and potentially a more impressive Mr. Krabs decoration. Whether you're a seasoned aquarist or a complete beginner, this SpongeBob-themed aquarium adventure provides a fun and engaging project for the whole family, offering a unique blend of entertainment and responsibility.
Pros And Cons
- Came with a filter and a heater
- Rocks had to be purchased separately
- Water treatment solution requires 24-hour setting time before adding fish
Read more: Best 3 Plastic Anubias Aquarium Plants
Unboxing and Initial Setup
Setting up our new SpongeBob-themed aquarium was a fun family project. The aquarium itself arrived with a filter and heater, ready to go. We were excited to get started and create an underwater world for our future fish.
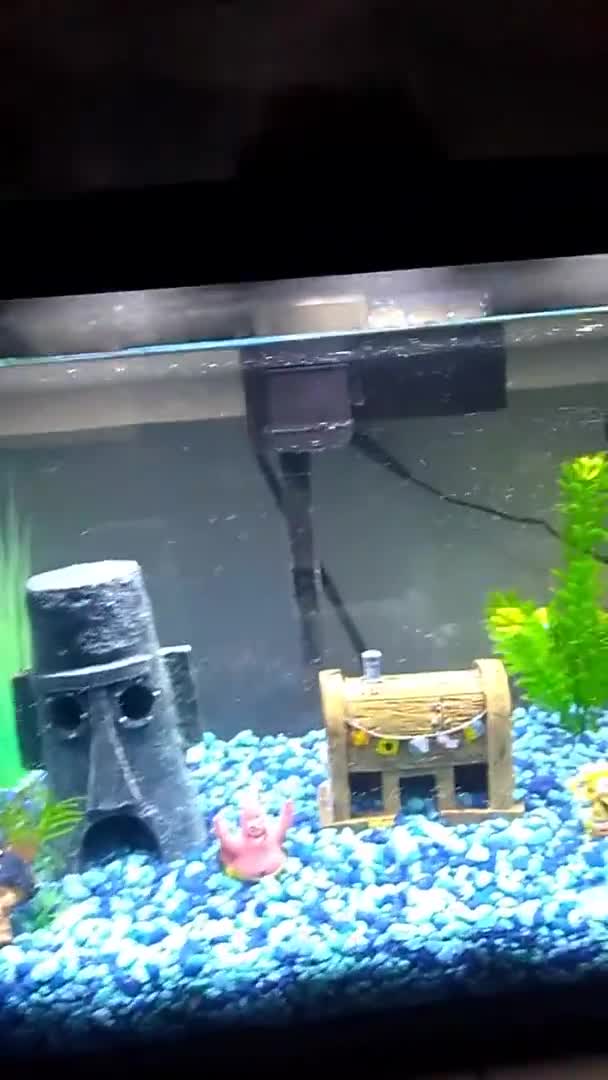
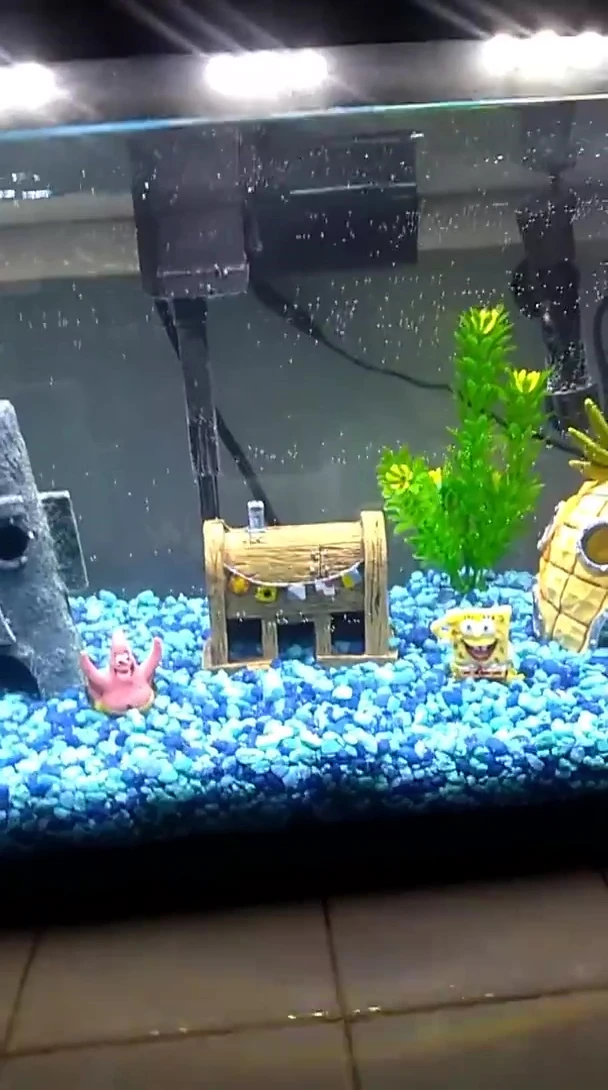
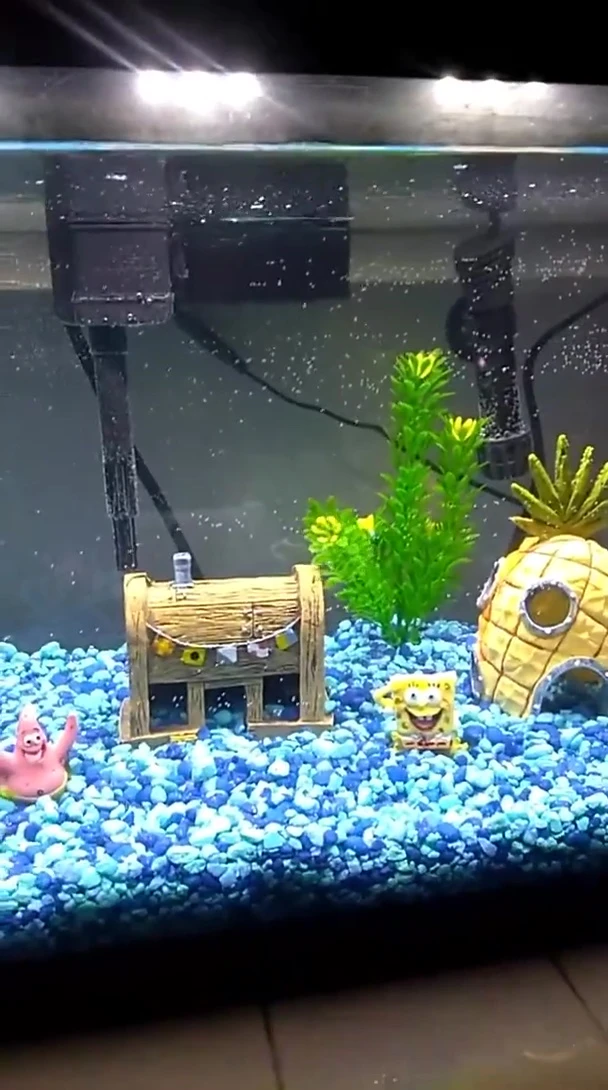
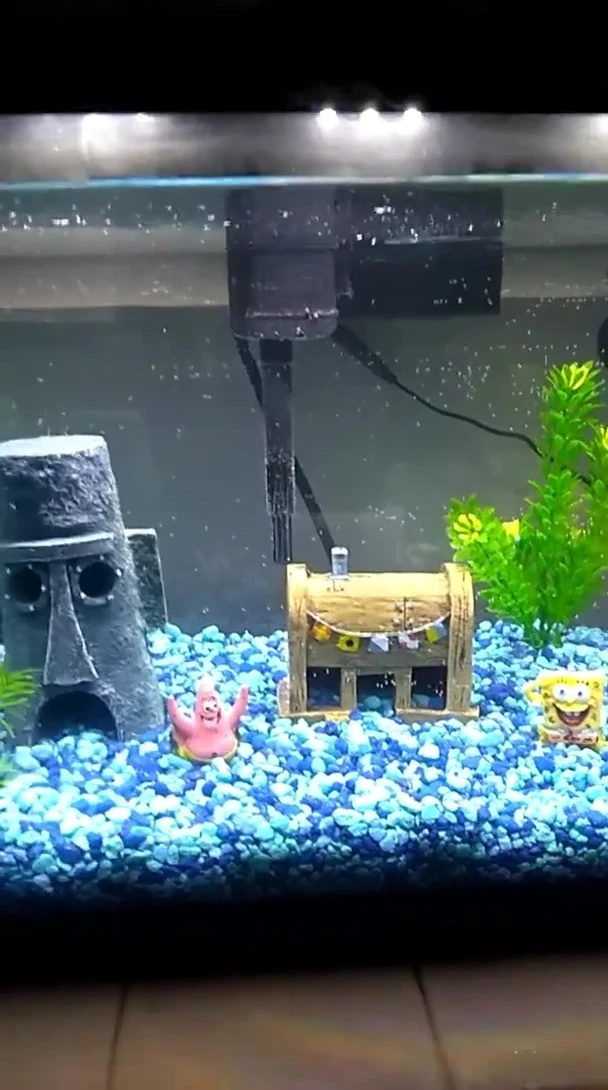
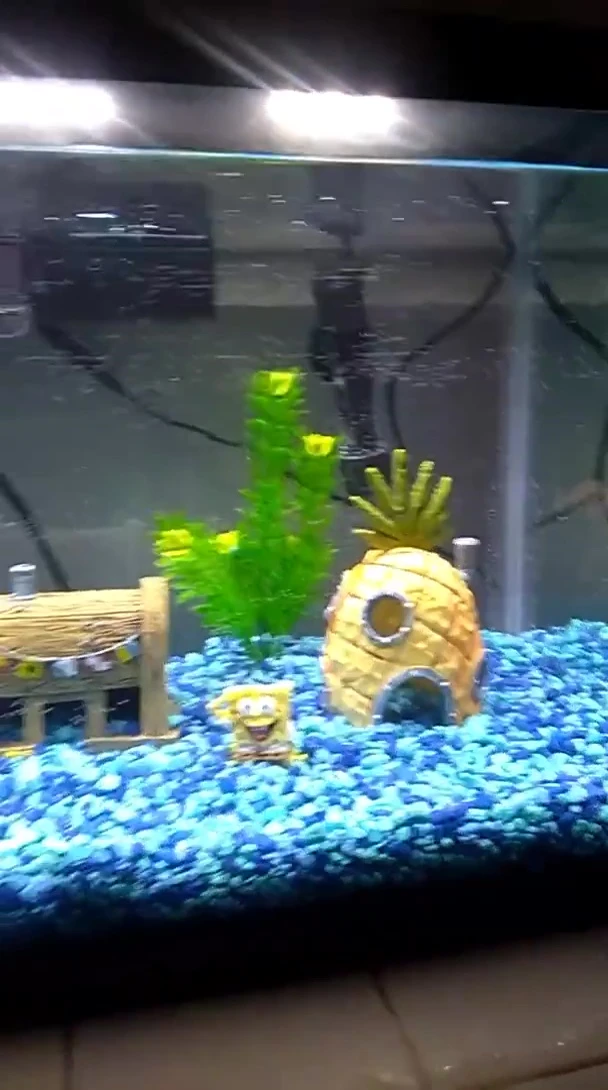
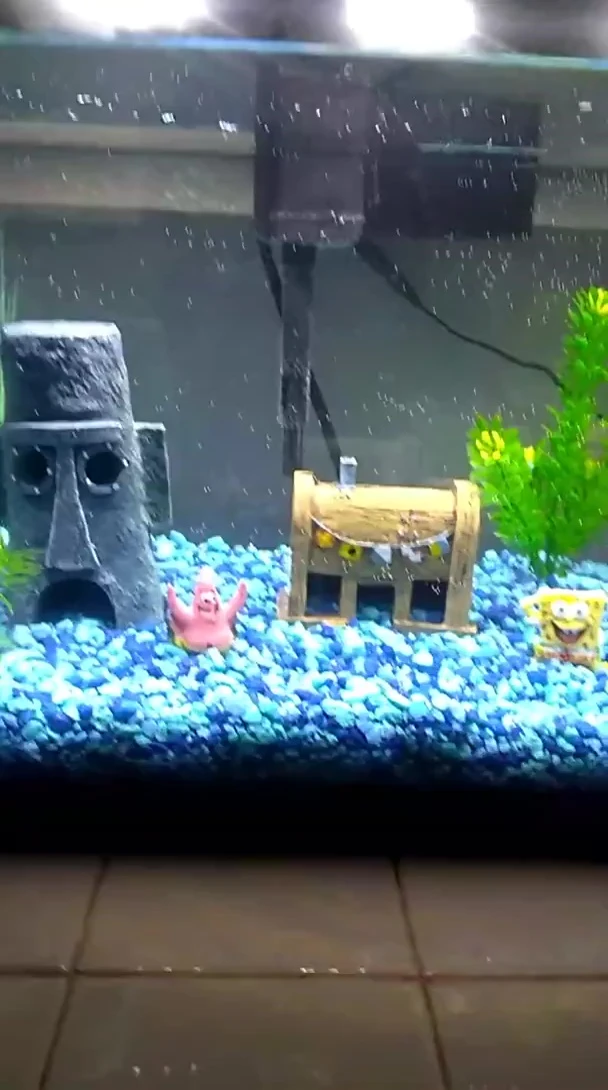
We added some decorative rocks – the SpongeBob and Patrick rocks were a particular highlight for my wife and I. We couldn't find Patrick's rock initially, but we did manage to locate the SpongeBob house and Squidward's house, along with the Krusty Krab!
Preparing the Water
The aquarium came with a water treatment solution to make tap water safe for fish. This was essential before adding any fish to the tank. We carefully followed the instructions on the box.
According to the instructions, the water treatment solution needed at least 24 hours to activate. This meant we'd have to wait until the next day before adding any fish.
Adding Decorations and Future Plans
The aquarium looks great already, even without the fish! My son, Talin, will be thrilled when he sees it in the morning. We're planning on adding more decorations.
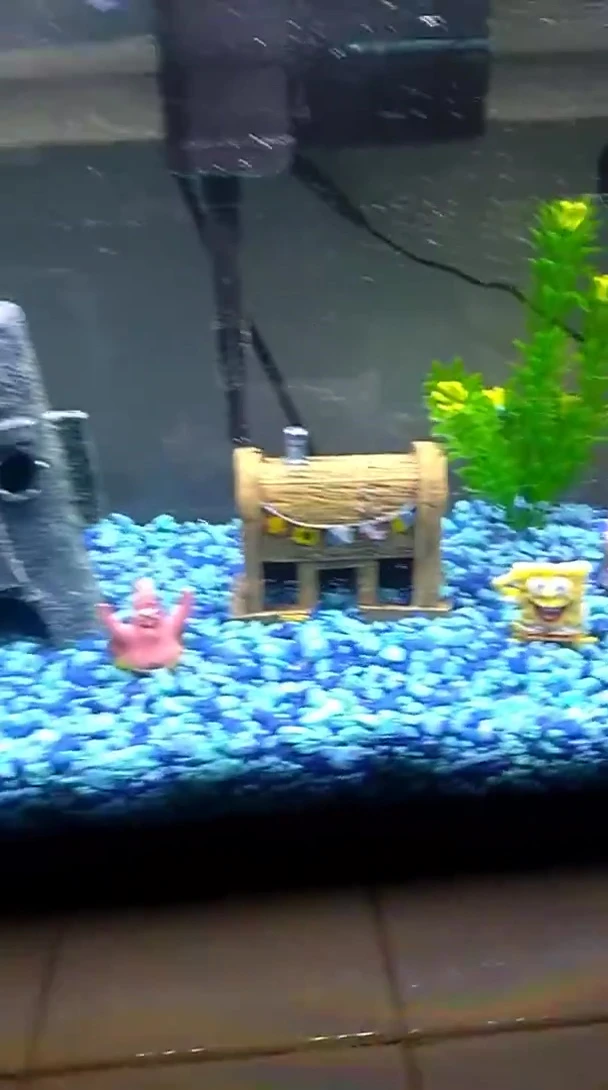
We're still considering adding more items like Sandy Cheeks' treedome or a more elaborate Mr. Krabs decoration. We'll need to think about where to place any additional decorations, especially if we ever find Patrick's rock!
Conclusion
Setting up this SpongeBob-themed aquarium was a fun and engaging experience. The tank’s ease of setup, combined with the included filter and heater, made the process simple. The unique SpongeBob and Friends rock decorations added a nice touch.
While we have to wait until tomorrow to add fish, the anticipation is building. We're looking forward to adding more decorative elements to create a vibrant and entertaining underwater world. This aquarium is sure to be a hit!