Maintaining a pristine aquarium environment is crucial for your fish's health, but traditional filter systems can be expensive. This article details a simple, budget-friendly solution: a DIY sponge filter. Forget costly commercial options; we'll guide you through creating a highly effective filter using readily available, inexpensive materials. This project promises crystal-clear water without breaking the bank, ensuring your aquatic companions thrive in a healthy, clean habitat.Learn how to transform a piece of foam into a powerful filtration system. We'll walk you through cutting and shaping the foam to perfectly fit your aquarium's intake, maximizing its debris-trapping capabilities. Discover how strategically placed cuts enhance water flow, resulting in superior water clarity. This project is incredibly easy and inexpensive, making it the perfect solution for aquarists of all experience levels who want to improve their tank's filtration without spending a fortune.
Pros And Cons
- Inexpensive (approx. 50 cents worth of foam)
- Easy to make
- Improves water clarity
- Removes debris from tank
Read more: 5 Amazing 3-Stage Aquarium Sponge Filters
A Budget-Friendly DIY Aquarium Filter
Maintaining a clean and healthy aquarium environment is crucial for the well-being of your fish. Traditional filter systems can be expensive, but there's a simple and affordable solution: a DIY sponge filter. This method uses readily available materials to create an effective filter for your tank, saving you money while keeping your fish happy.

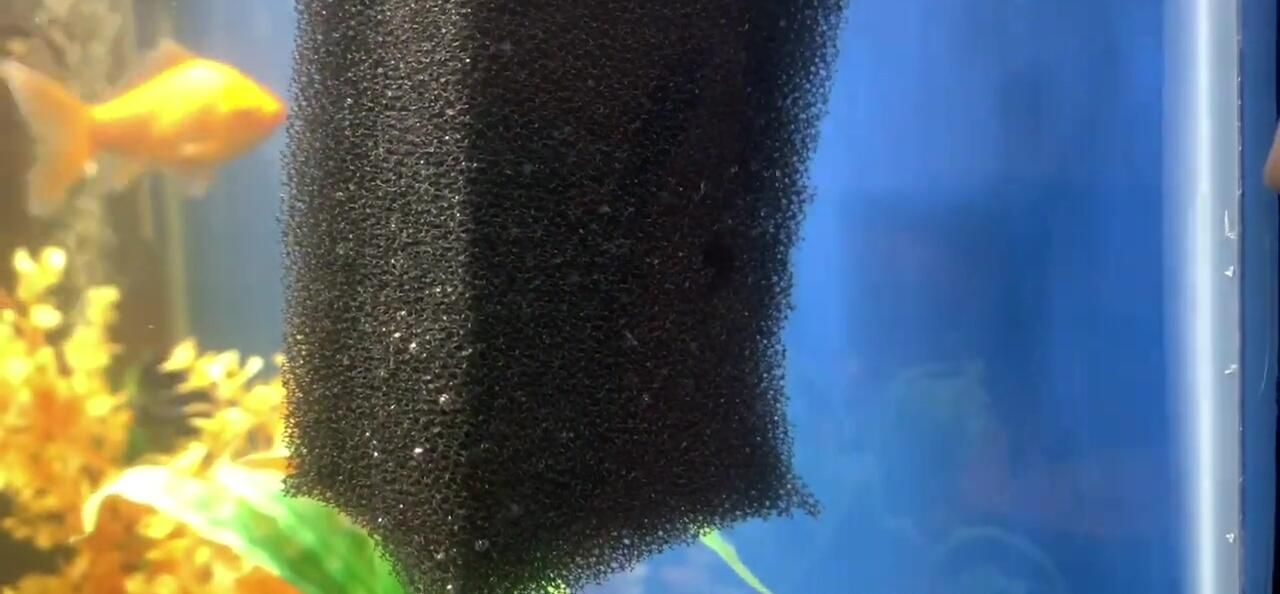
This project focuses on creating a filter using a piece of foam, cutting it to fit your intake pipe, and placing it within the tank. This will enhance water circulation and filtration, effectively removing debris and keeping your water crystal clear. The simplicity and cost-effectiveness of this method are its biggest selling points.
Material Selection and Preparation
The primary material is a large piece of foam, easily purchased from various sources, including Amazon, for about $7. The foam needs to be cut to fit securely over your tank's intake. Ensure a snug fit to maximize its filtration effectiveness.

Additional cuts or slots on top of the foam can enhance the flow of water through the filter. This step will further improve the overall cleaning capacity of the filter and ensure it traps more debris.

Installation and Usage
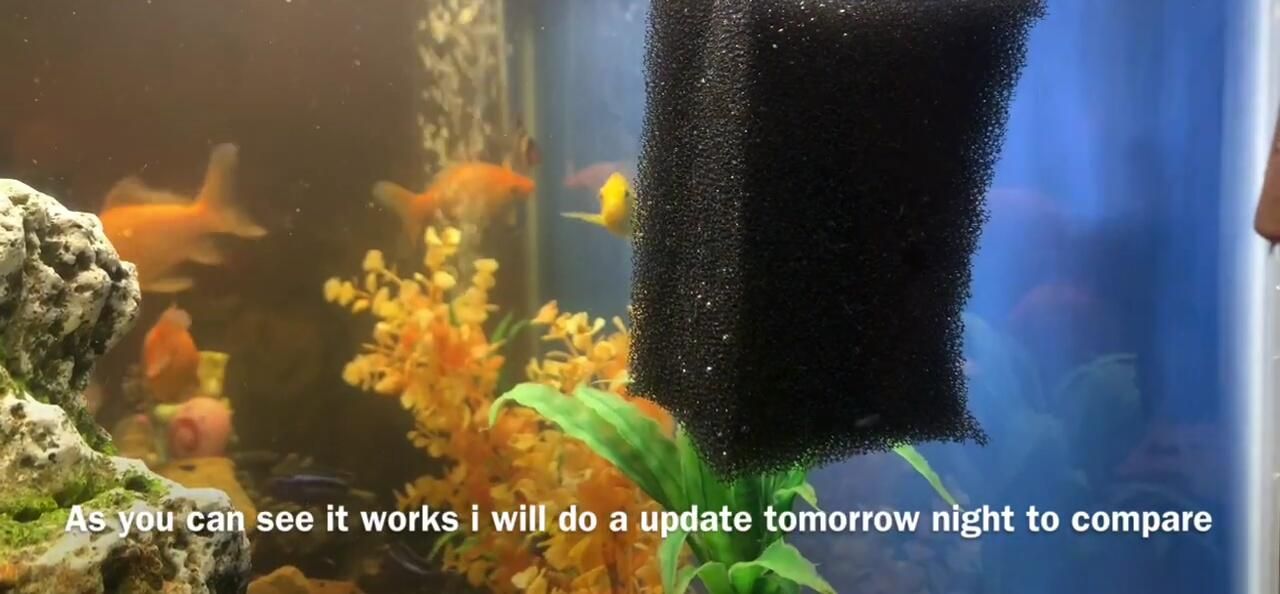
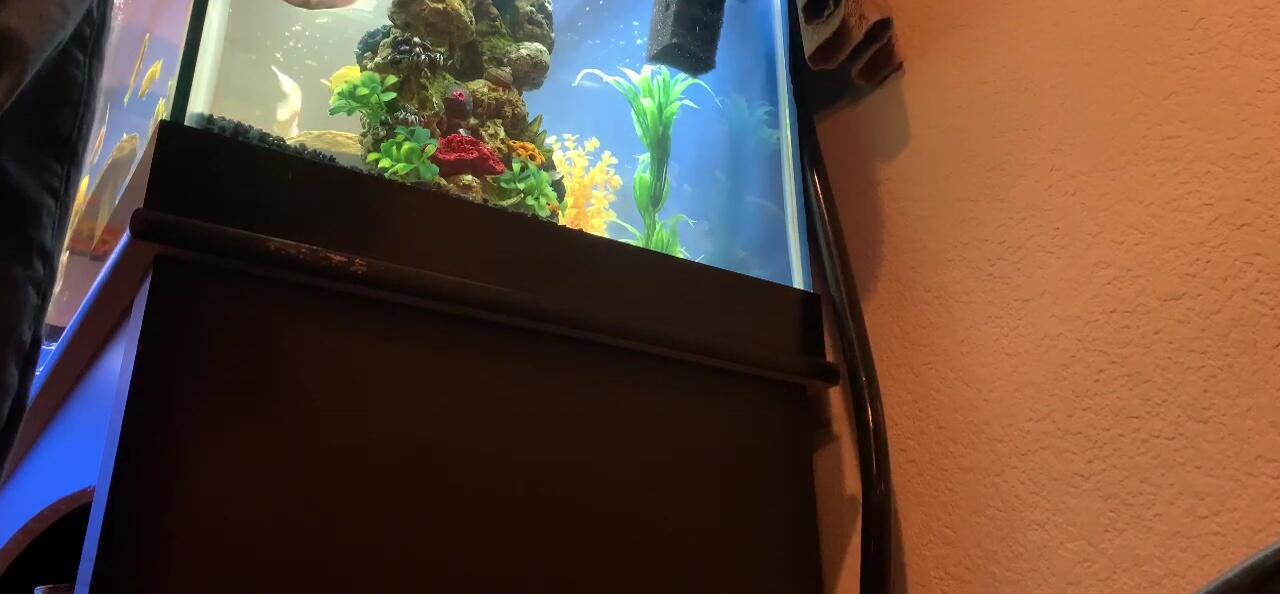
Once the foam is shaped correctly, simply place it over the aquarium's intake. The filter's position will draw water through the foam, trapping debris and clarifying the tank water. The foam will act as a natural sponge, capturing particulate matter.

Leave the filter in place for at least 15-20 minutes, or even up to a day, for optimal results. The filter's effectiveness will become apparent quickly, visibly improving the water clarity.
Cost Comparison and Conclusion
This DIY filter offers significant cost savings compared to commercial options. While similar commercial filters sell for around $13, this method only costs about 50 cents. This makes it an exceptionally budget-friendly solution.
The DIY sponge filter is a highly effective, simple, and affordable method to enhance water filtration in your aquarium. Its ease of construction and low cost make it a highly recommended approach for any aquarist looking for a low-cost, high-efficiency solution. Consider making one today!