Transform your aquarium from ordinary to extraordinary with a Blue Life USA aquarium background! This easy-to-follow guide provides step-by-step instructions for a seamless installation, ensuring a professional-looking finish that enhances the beauty of your underwater world. Whether you're a seasoned aquarist or a beginner, we'll walk you through each stage, from initial preparation and accurate measurements to the final smoothing and inspection. We'll cover essential tools, helpful tips, and troubleshooting advice to guarantee a stress-free installation process.With clear instructions and images (if included in the original article), you'll learn how to perfectly adhere your Blue Life USA background, avoiding air bubbles and ensuring a long-lasting, aesthetically pleasing result. This guide covers everything you need to know for a successful installation, maximizing the impact of your new background and creating a stunning visual centerpiece for your aquarium. Get ready to elevate your aquatic landscape!
Read more: Top 5 Freshwater Aquarium Backgrounds
Preparation and Measurement
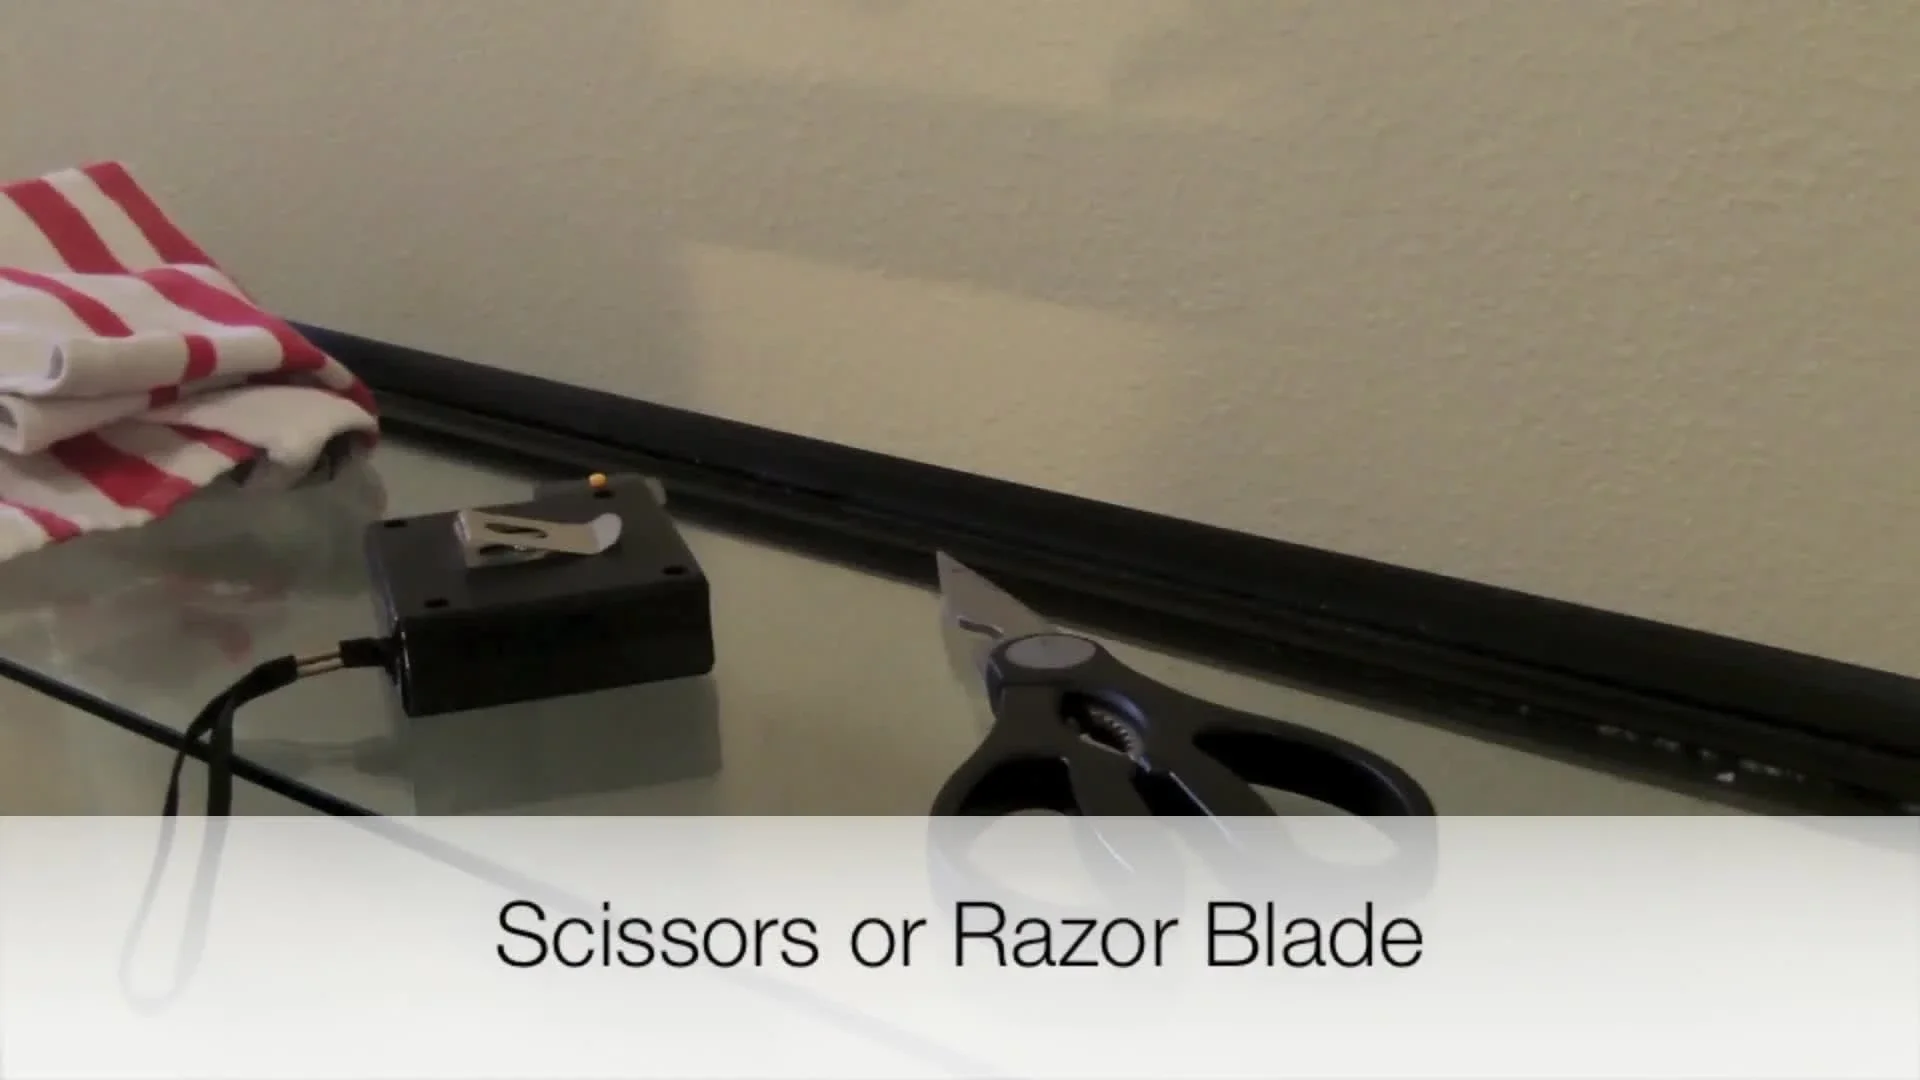
Before you begin, gather your supplies: a razor blade or scissors, measuring tape, a cleaning cloth or paper towel, the included squeegee, and a spray bottle with a few drops of dish soap and water. Thoroughly cleaning the back of your aquarium is crucial. Any residue left behind will be permanently trapped under the background.
Accurately measure the dimensions of your aquarium's back panel. This precise measurement is essential for a perfect fit. Carefully transfer these dimensions to your Blue Life USA aquarium background.

Lay the background on a flat surface and carefully cut it to the exact measurements using your chosen tool (razor blade for cleaner cuts, scissors for easier handling). Ensure your cuts are straight and precise to avoid issues during installation.
Applying the Background
Spray the back of your aquarium thoroughly with the soapy water mixture. Ensure the surface is evenly damp to facilitate adhesion and prevent air bubbles. This step ensures a smooth, bubble-free application.

Peel off the backing of the aquarium background slowly, spraying the adhesive side with water every few seconds to prevent it from sticking to itself. This helps maintain a manageable application process.
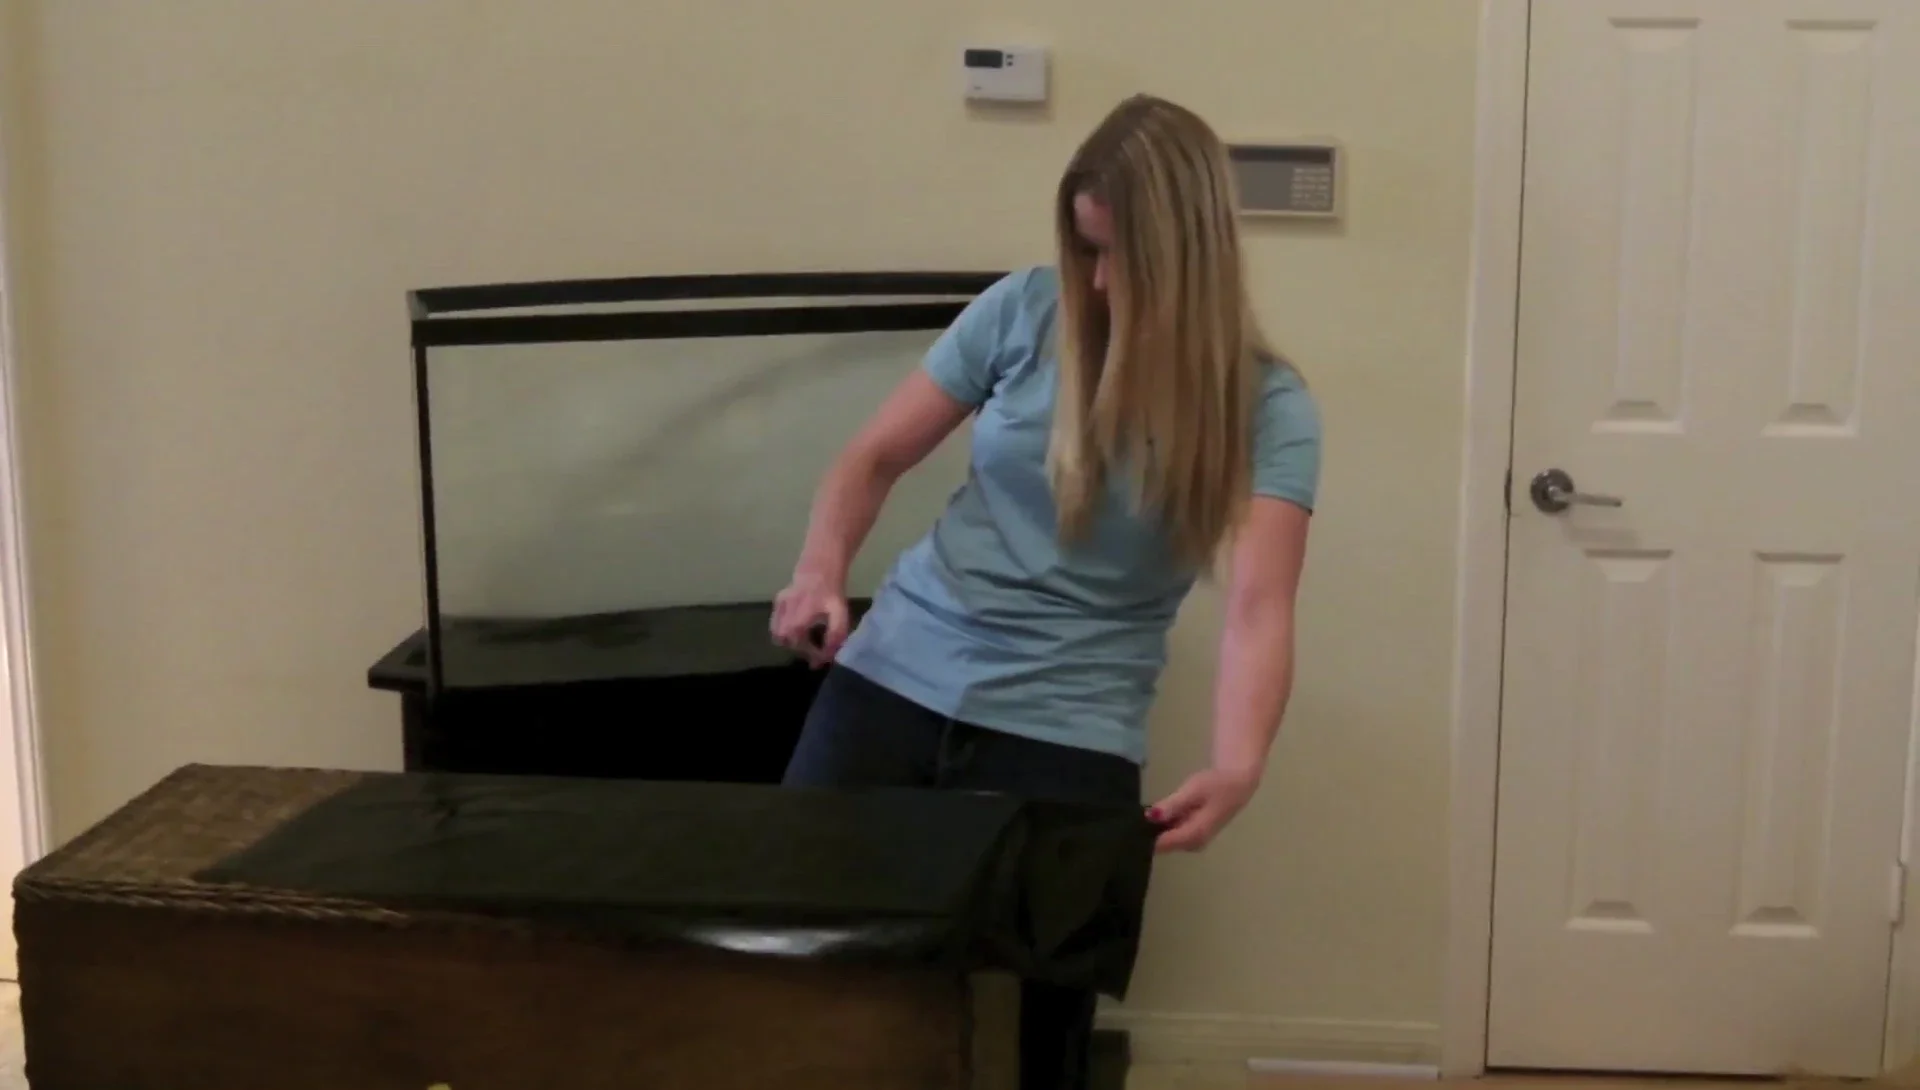
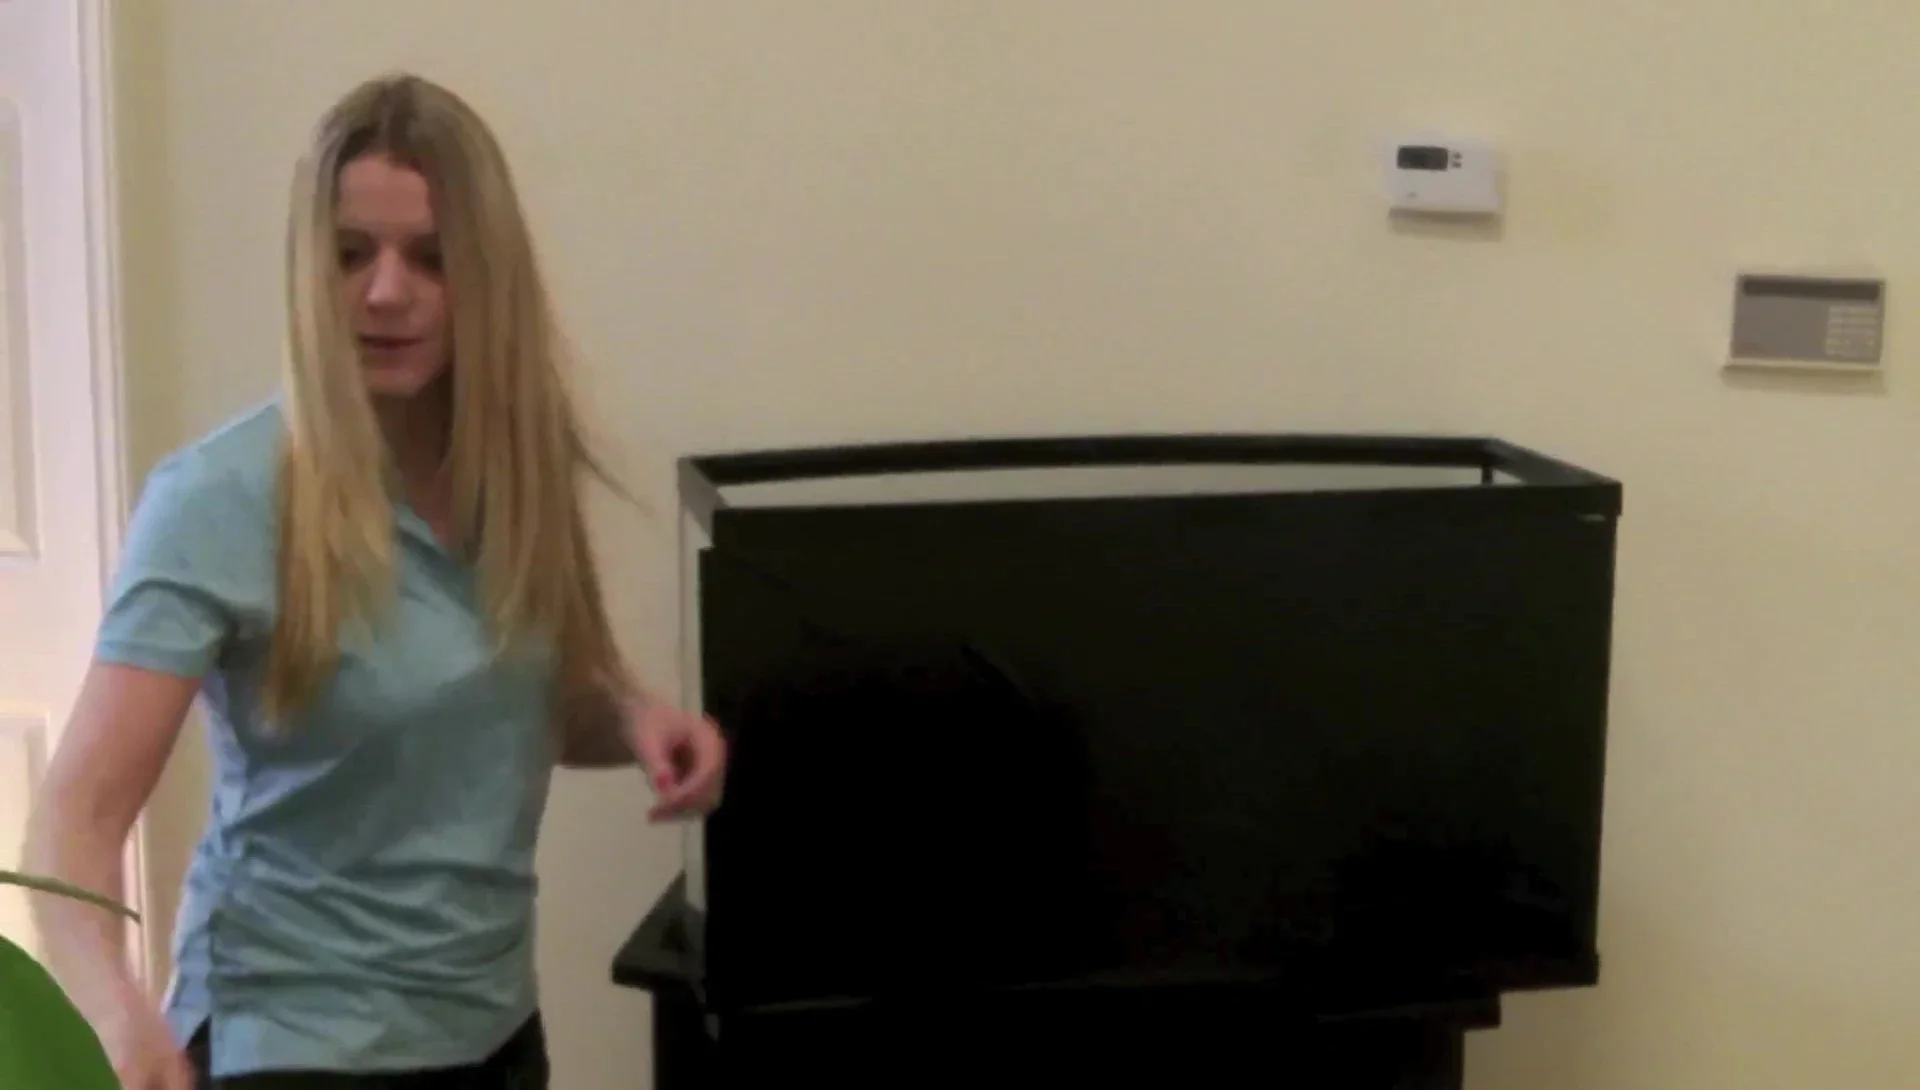
With the help of another person (recommended), carefully position the background against the damp aquarium back panel, starting from the top center. If installing alone, take your time and work methodically.
Smoothing and Finishing
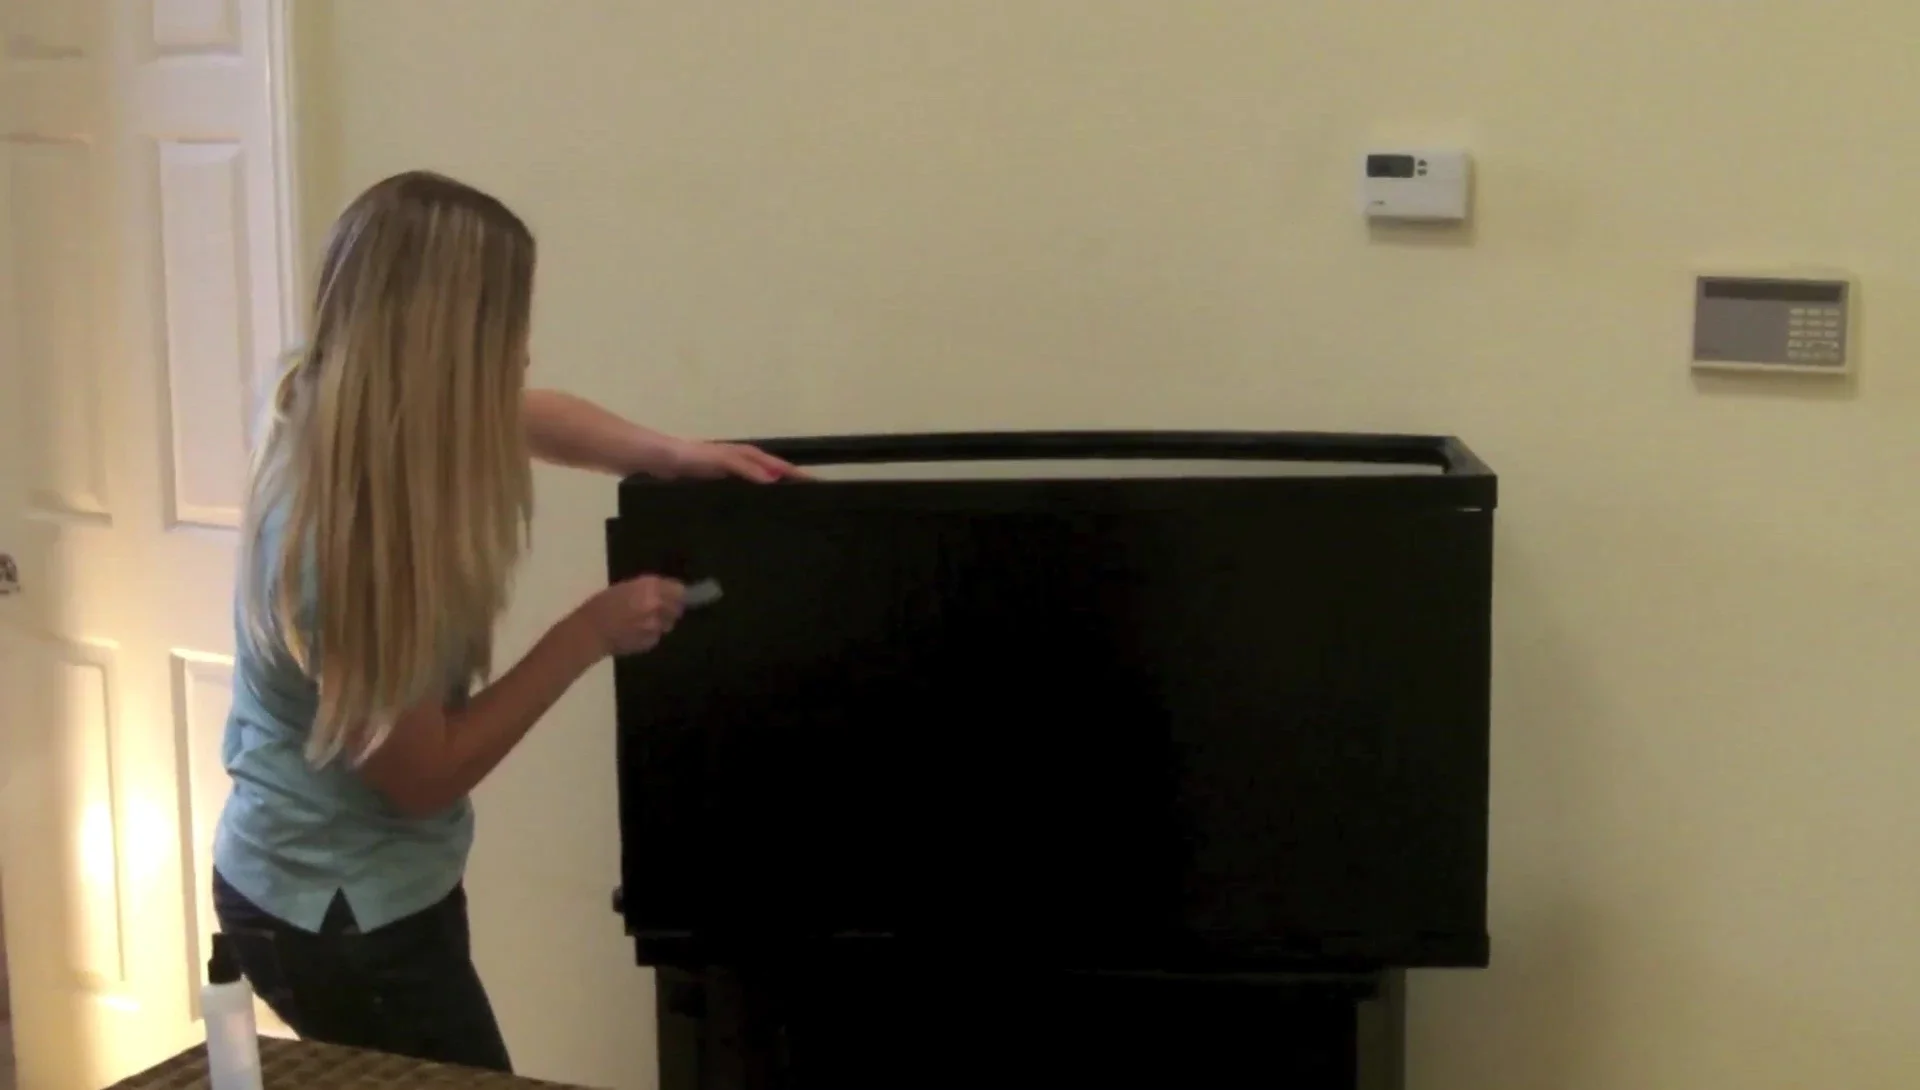
Using the squeegee, starting from the center, smooth the background horizontally, pushing any air bubbles outward. Work systematically to eliminate any trapped air pockets.
Once the background is fully adhered, inspect the interior of the aquarium to ensure no bubbles or imperfections remain. Carefully trim any excess background material around the edges for a clean finish.
After the installation, thoroughly check the final result, paying close attention to all corners and edges for optimal seal. Your new Blue Life USA aquarium background should now enhance your aquarium's beauty.
Conclusion
Installing a Blue Life USA aquarium background is straightforward with the right technique and tools. The detailed instructions and helpful tips provided make the process manageable for both beginners and experienced aquarists. Remember to clean thoroughly, measure precisely, and take your time during the application process for best results.
This background offers a simple yet effective way to enhance the aesthetic appeal of your aquarium. The smooth application and durable material ensure long-lasting performance. If you encounter any problems, contacting Blue Life USA’s customer support for assistance is recommended.