Transforming your aquarium can dramatically enhance its aesthetic appeal and create a more enriching habitat for your fish. This comprehensive guide details the step-by-step process of installing a 3D background in a 75-gallon aquarium, focusing on ensuring the well-being of your aquatic companions throughout the renovation. From safely relocating your fish to meticulously adhering the background and finally reintroducing them to their upgraded home, we cover every detail to minimize stress and maximize success.This project showcases a stunning makeover of a 75-gallon tank, highlighting the significant visual impact of a 3D background. We'll walk you through the careful planning and execution required for a smooth transition, including substrate management to preserve beneficial bacteria, the use of aquarium-safe silicone, and crucial post-installation steps. Prepare to be inspired by the remarkable transformation and learn how to achieve a similar upgrade for your own aquarium with confidence.
Pros And Cons
- Quick-starting beneficial bacteria
- Helps cycle tank quickly
- Looks awesome
- Detailed
- Realistic-looking
- Fluid appearance
- Pieces fit together seamlessly
- Difficult to place canister filter outputs
- May require modifications to canopy to accommodate hoses
- Some pieces may pop up during installation, requiring weights
- Permanently flexible
- Does not crack or shrink
- Waterproof
- Stops leaks
- Same strength as silicone used in aquarium manufacturing
- Non-toxic for freshwater and saltwater aquariums
- Long-lasting bond
- Easy to apply
Read more: Top 5 Freshwater Aquarium Backgrounds
Preparing for the Transformation
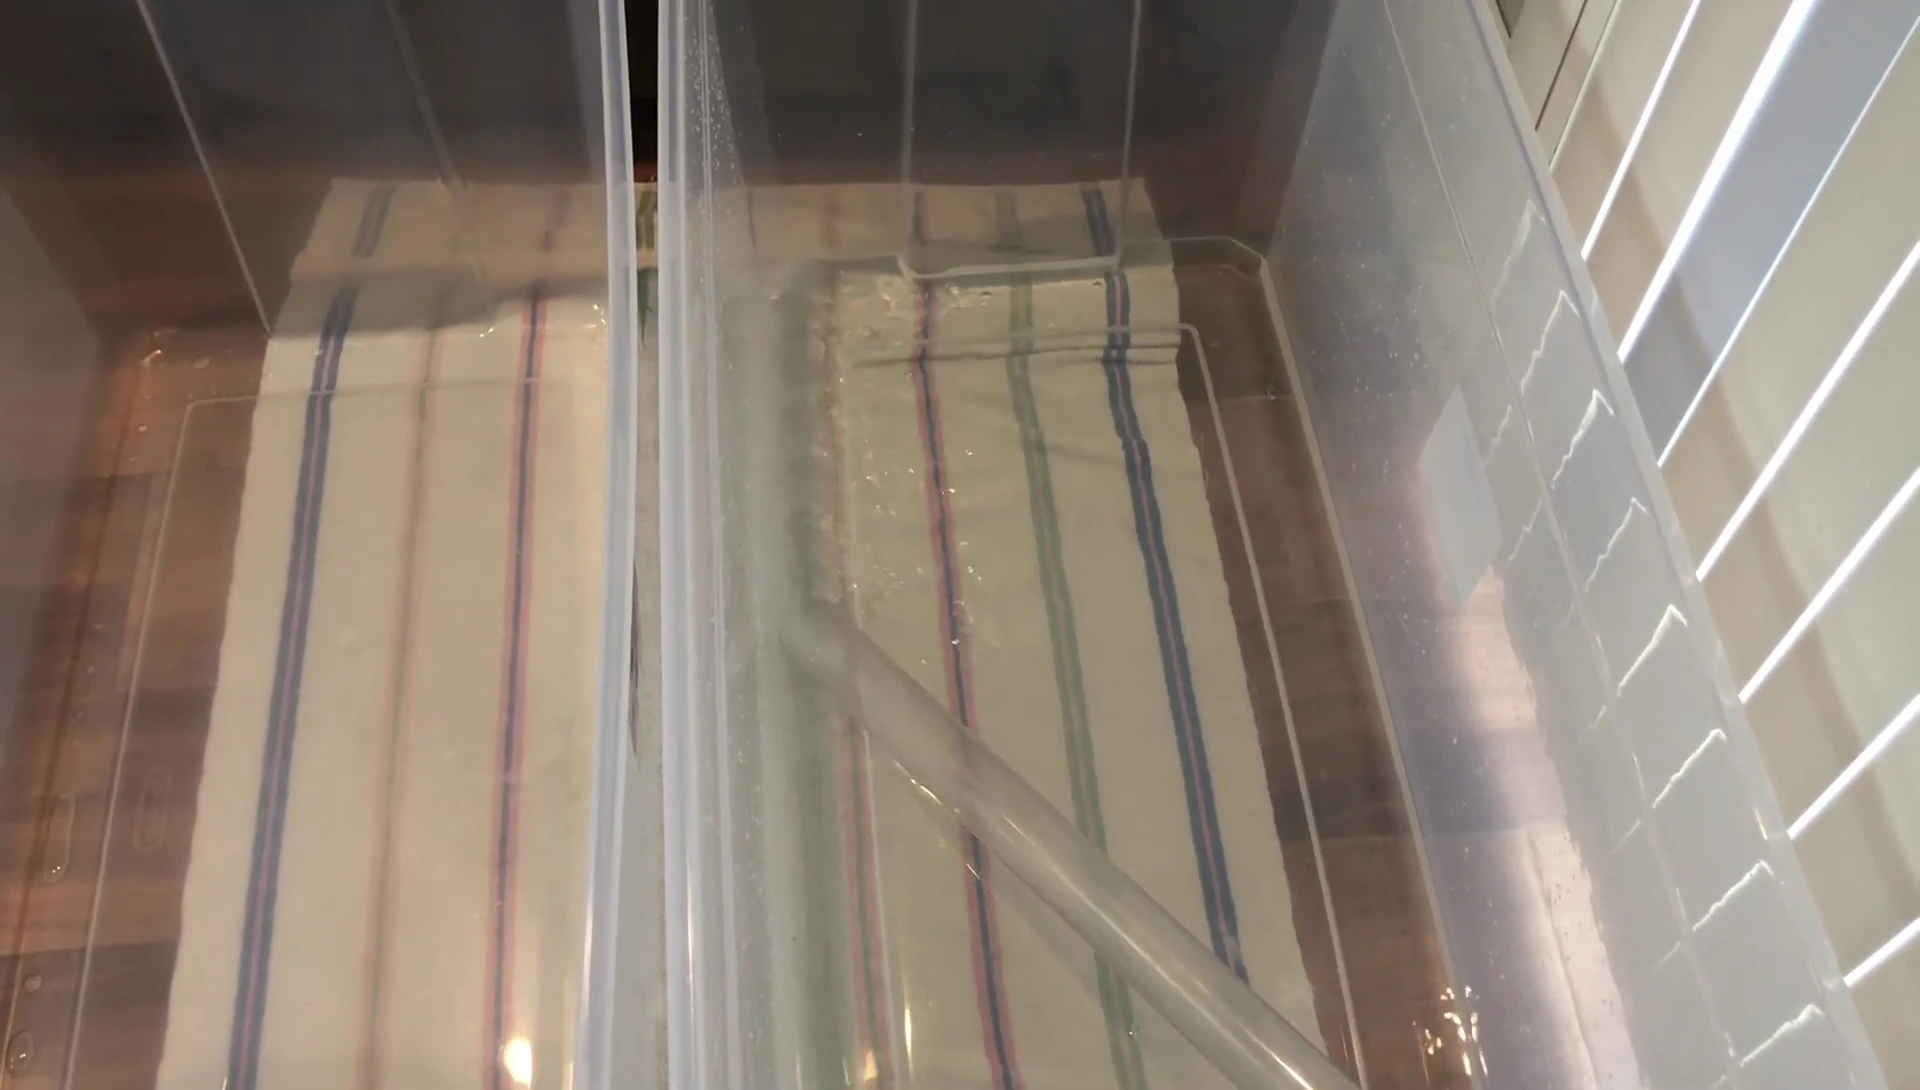
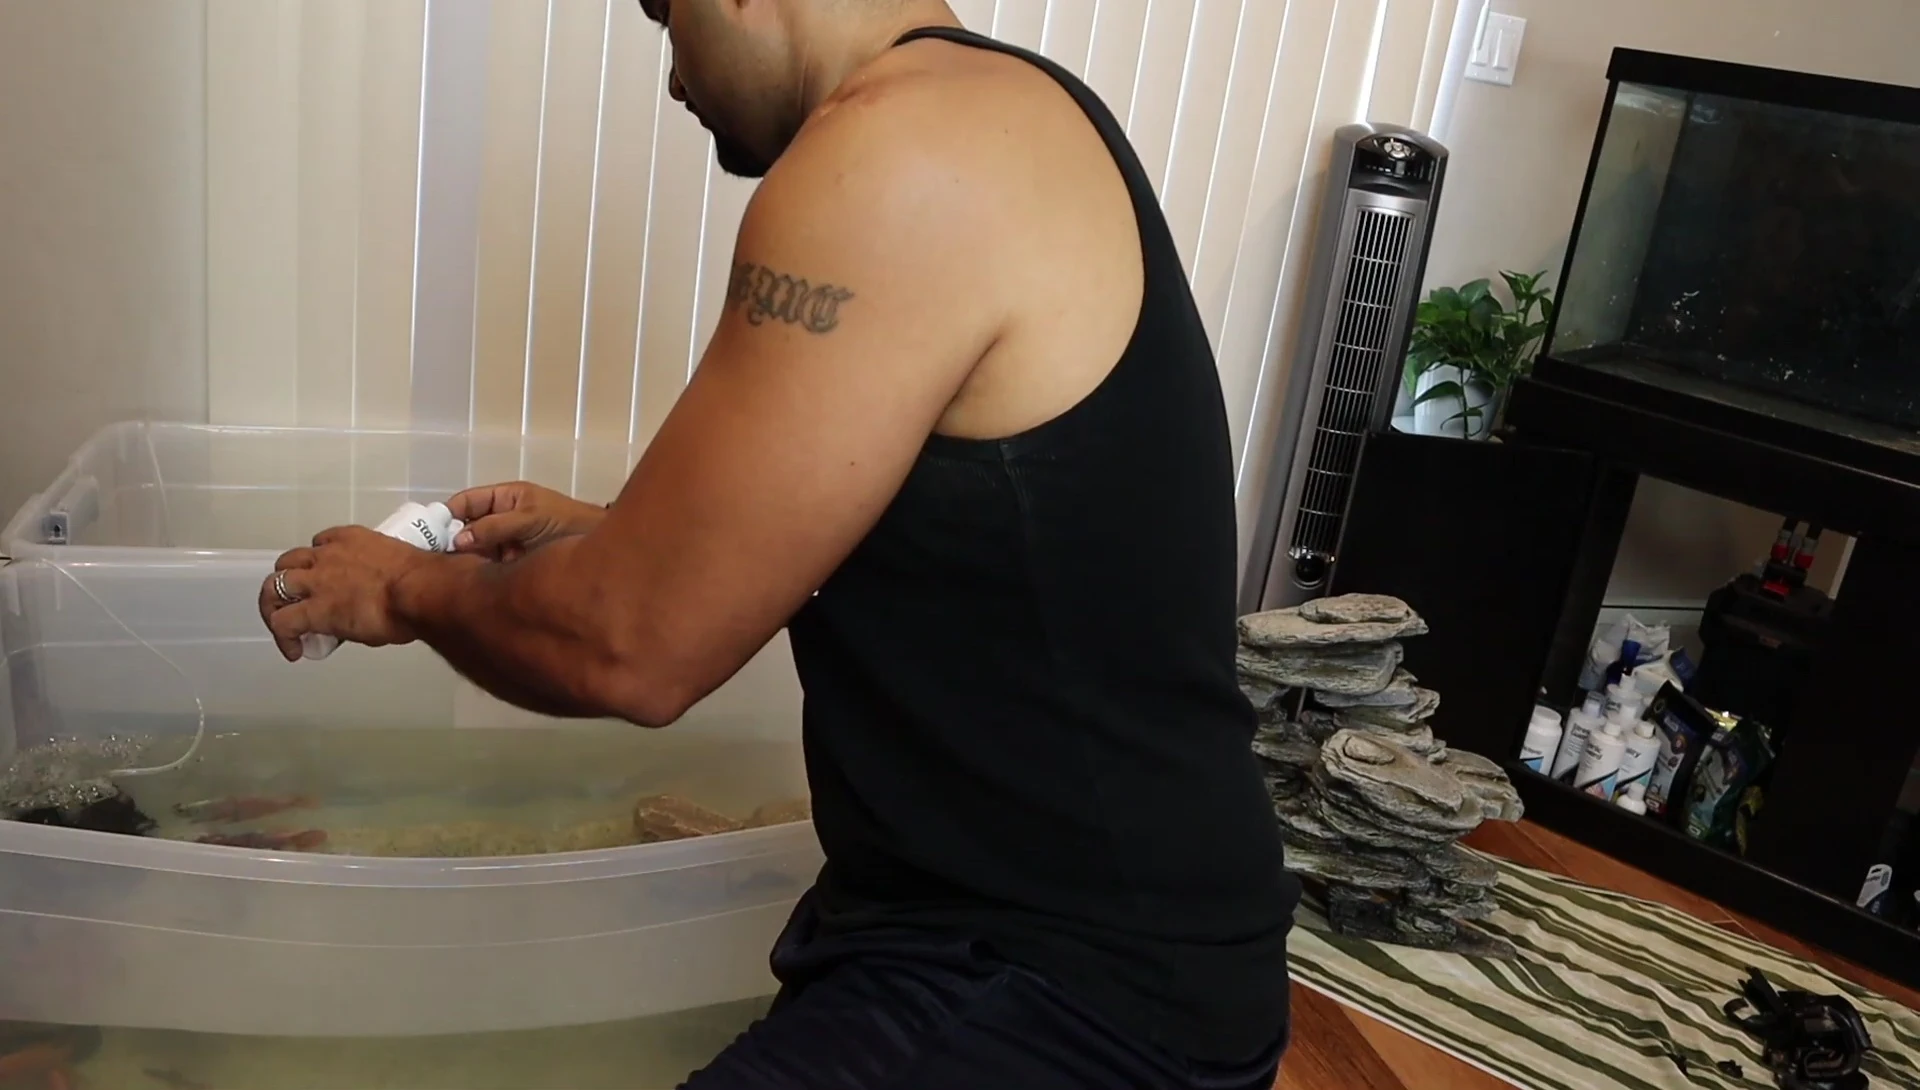
The first step in this aquarium makeover was carefully transferring my fish to temporary housing. I used two 50-gallon totes from Home Depot, costing about $20 each. This ensured the fish remained safe and in stable water parameters during the tank's transformation.
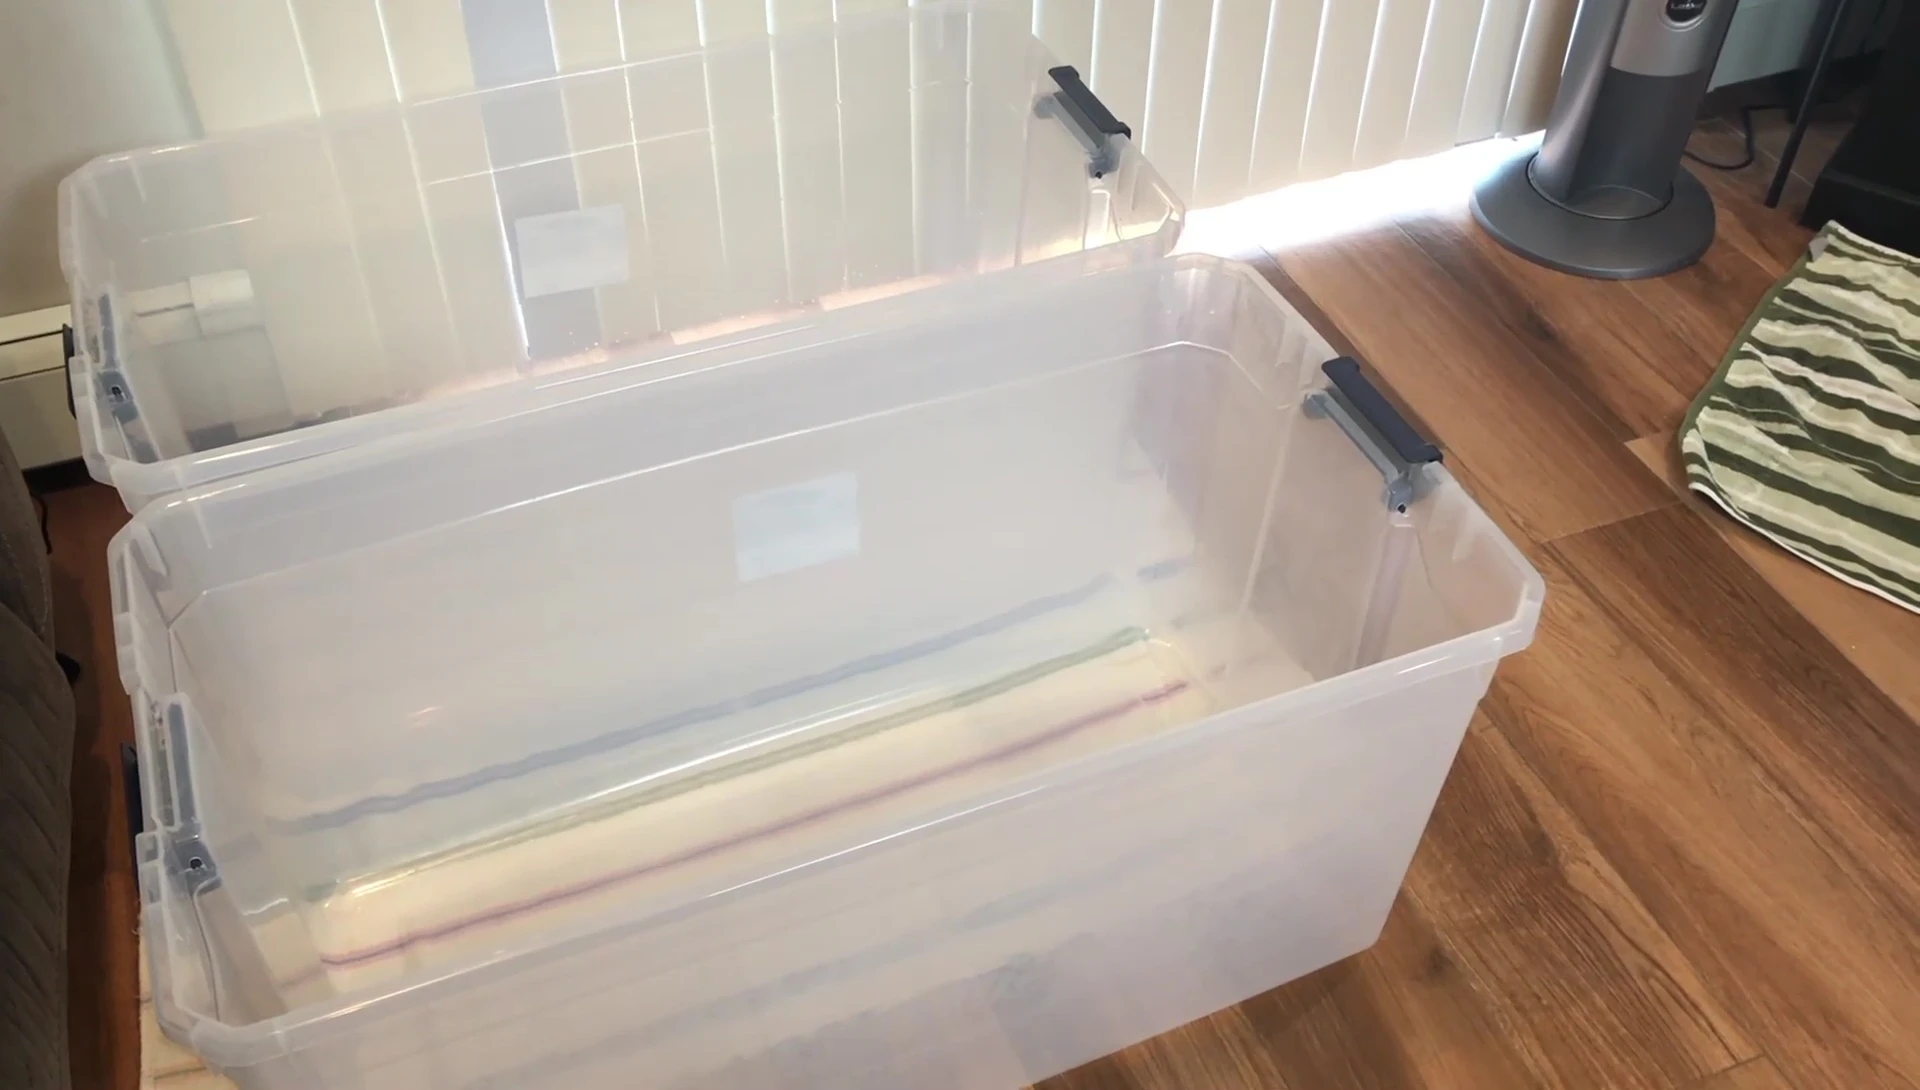
Using the existing tank water for the totes maintained a consistent pH level of 8.0, crucial for my African cichlids. While this method transfers nitrates, prioritizing pH stability for the fish was paramount.
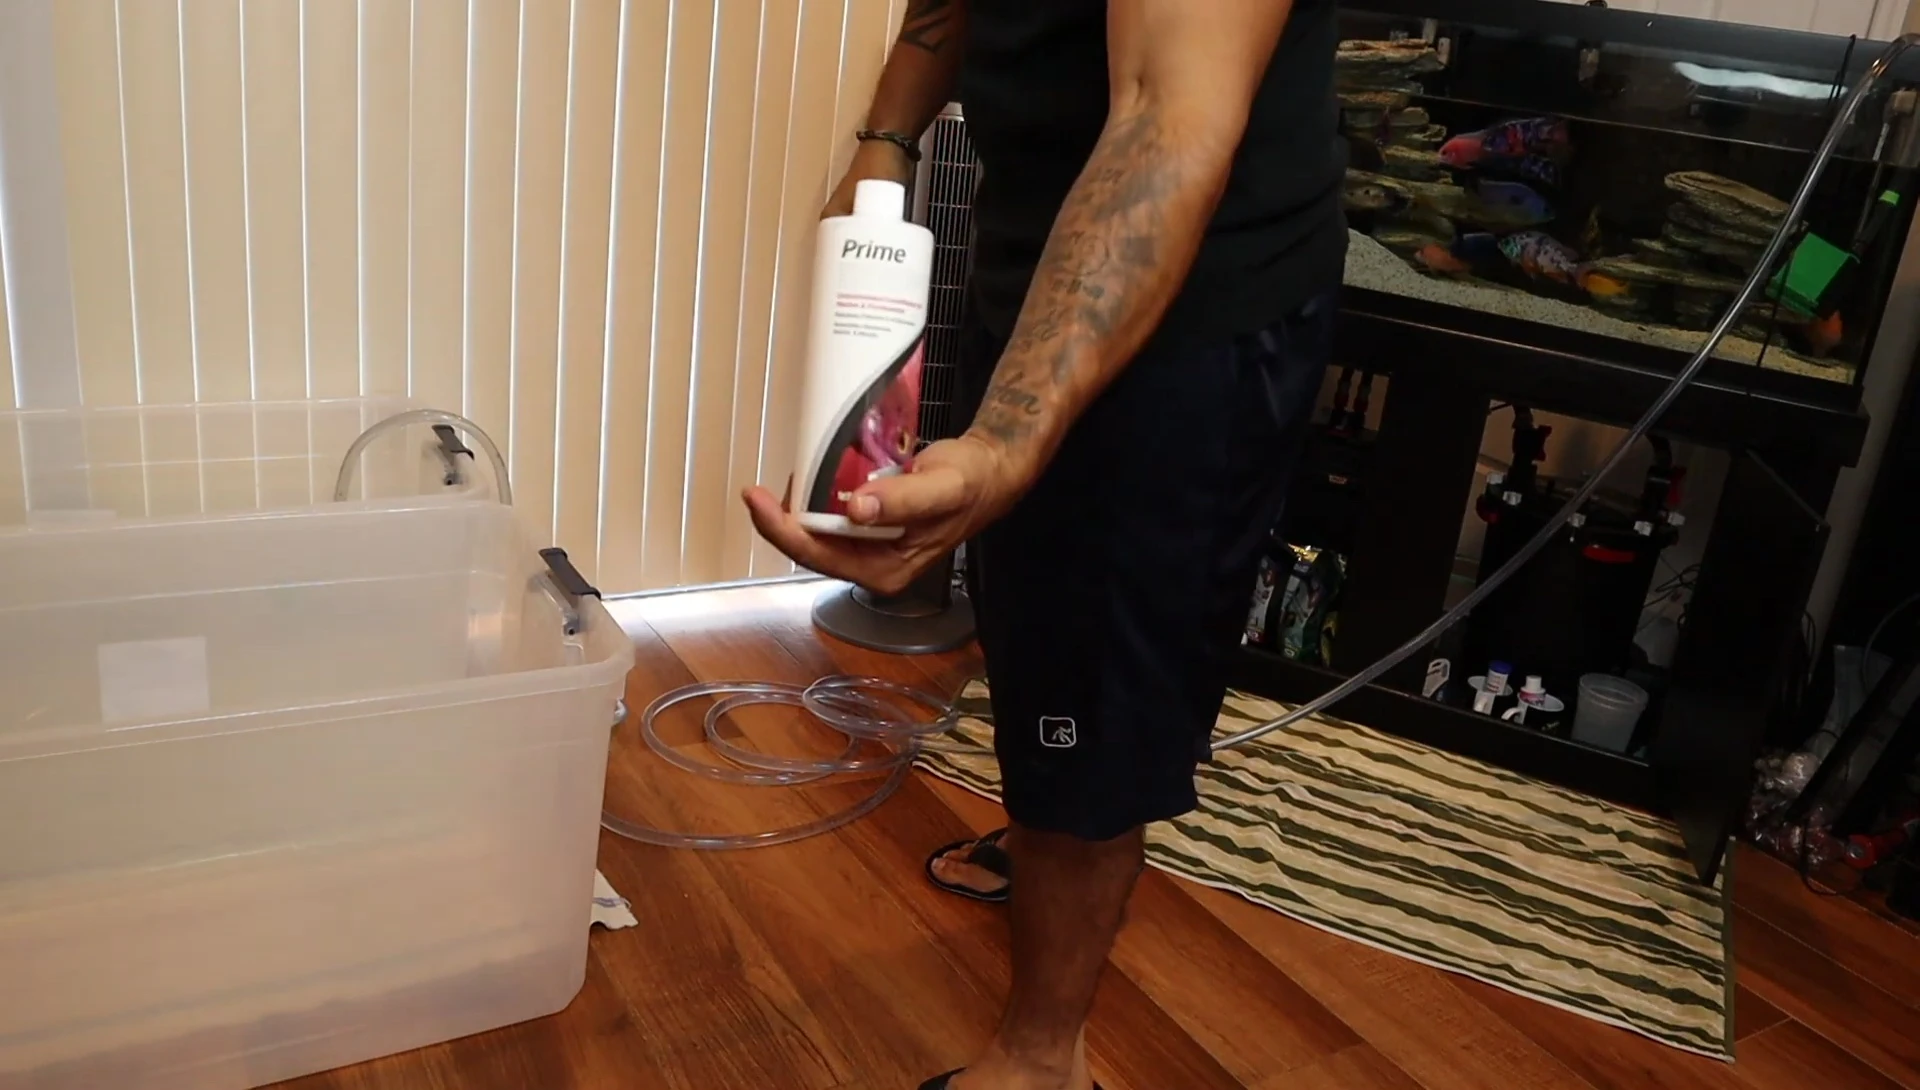
Adding water conditioner (Prime) and stress coat to the temporary totes further protected the fish from ammonia and reduced stress during the transfer process. This careful approach minimized disruption to the fish.
Substrate Transfer and Tank Preparation
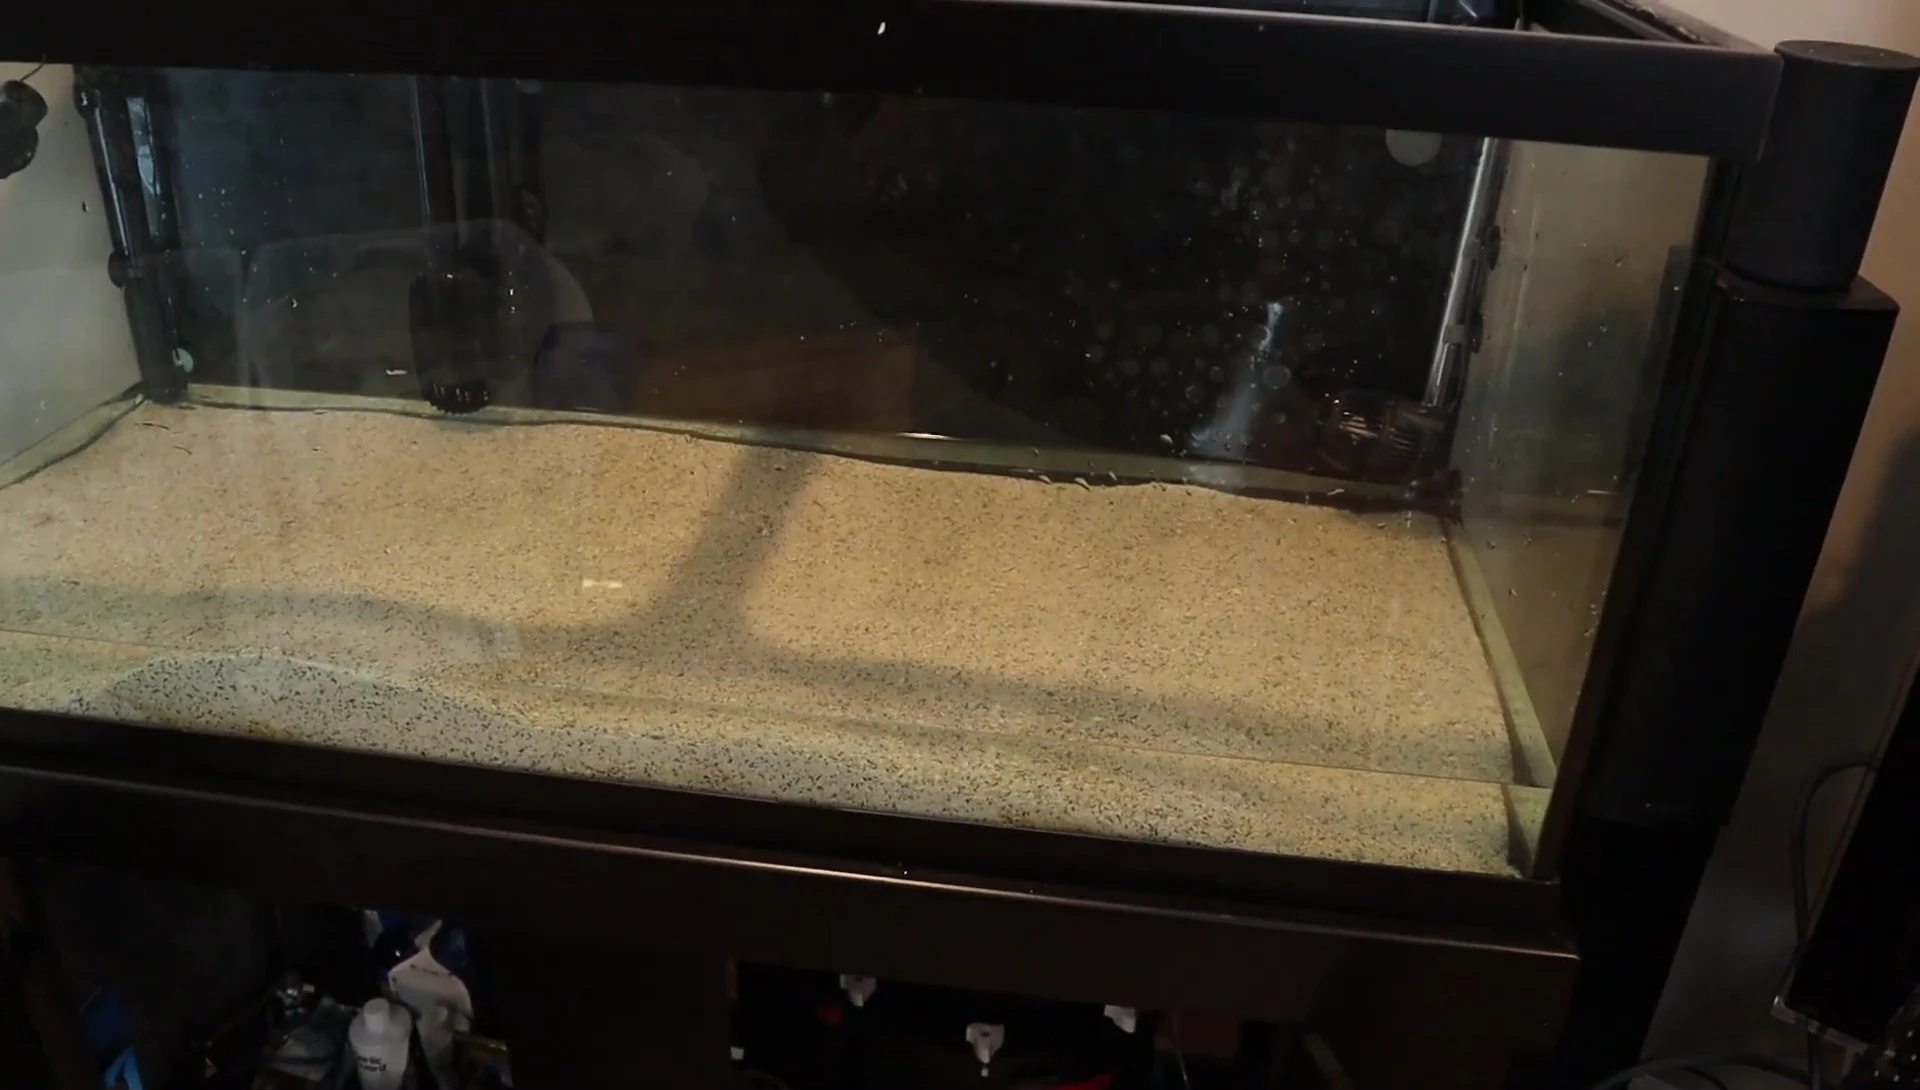
With the fish safely relocated, the next task was to remove the existing substrate from the 75-gallon tank. This involved carefully scooping out the substrate, preserving as much beneficial bacteria as possible.
The removed substrate was temporarily stored in the fish totes to maintain the existing beneficial bacteria. This helps maintain the nitrogen cycle during the background installation.
The empty tank was then thoroughly cleaned and dried in preparation for applying the 3D background using aquarium sealant. This ensured a strong, lasting bond between the background and the tank glass.
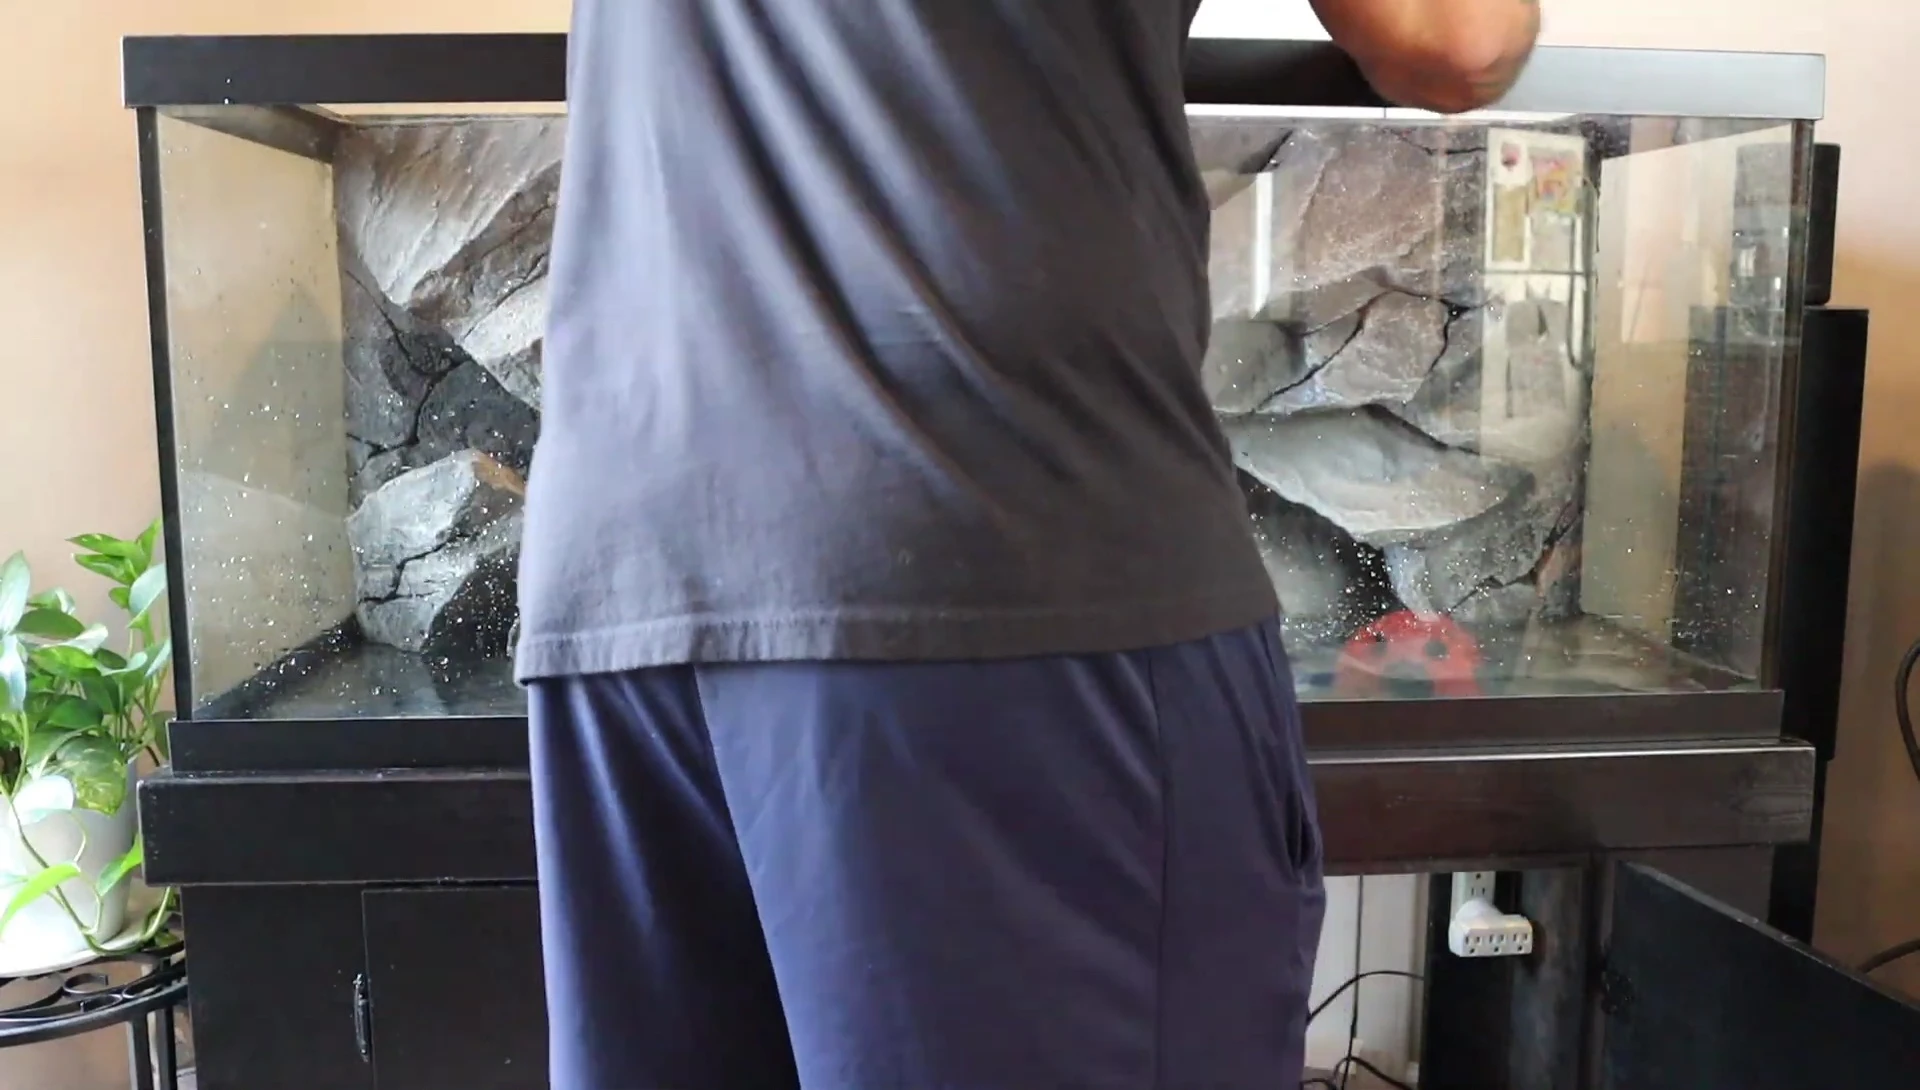
Installing the 3D Background
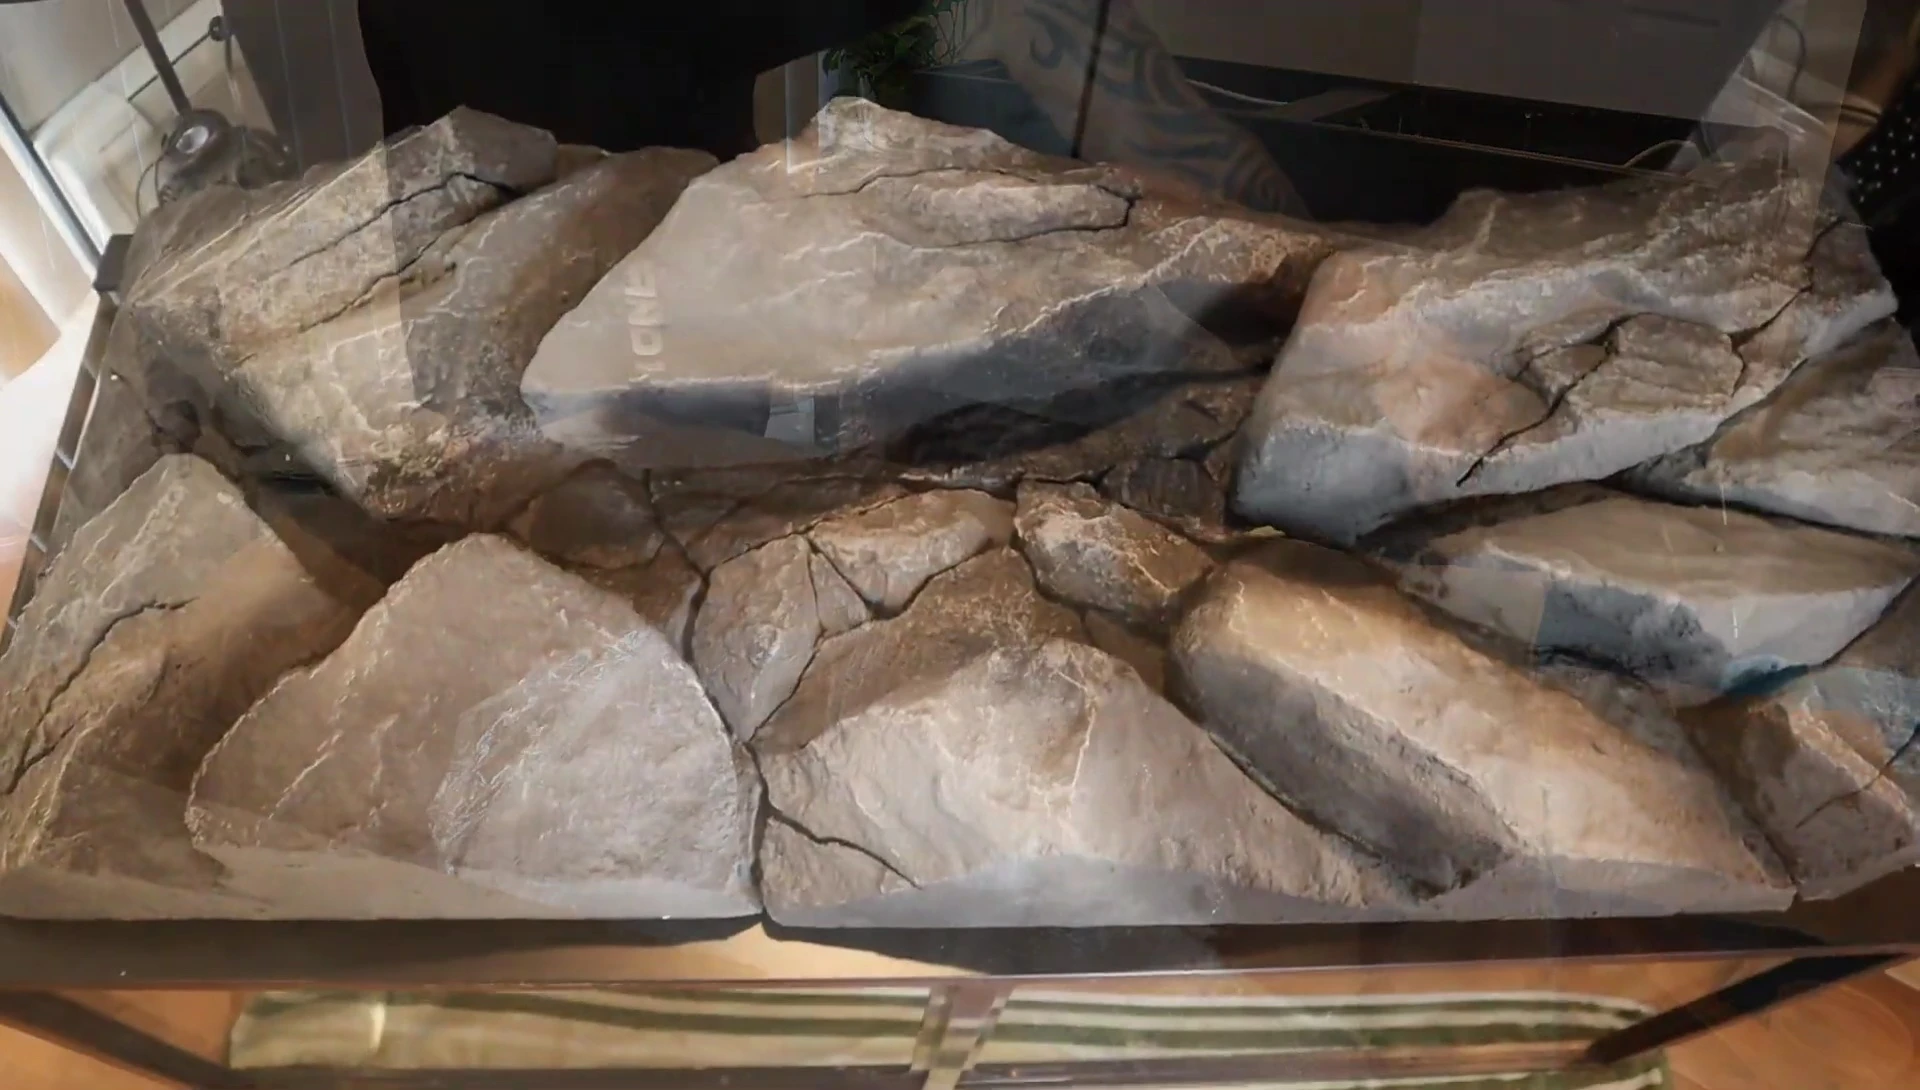
The 3D background, a stunning and realistic rock formation, arrived. Its intricate detailing made it look exceptionally lifelike.
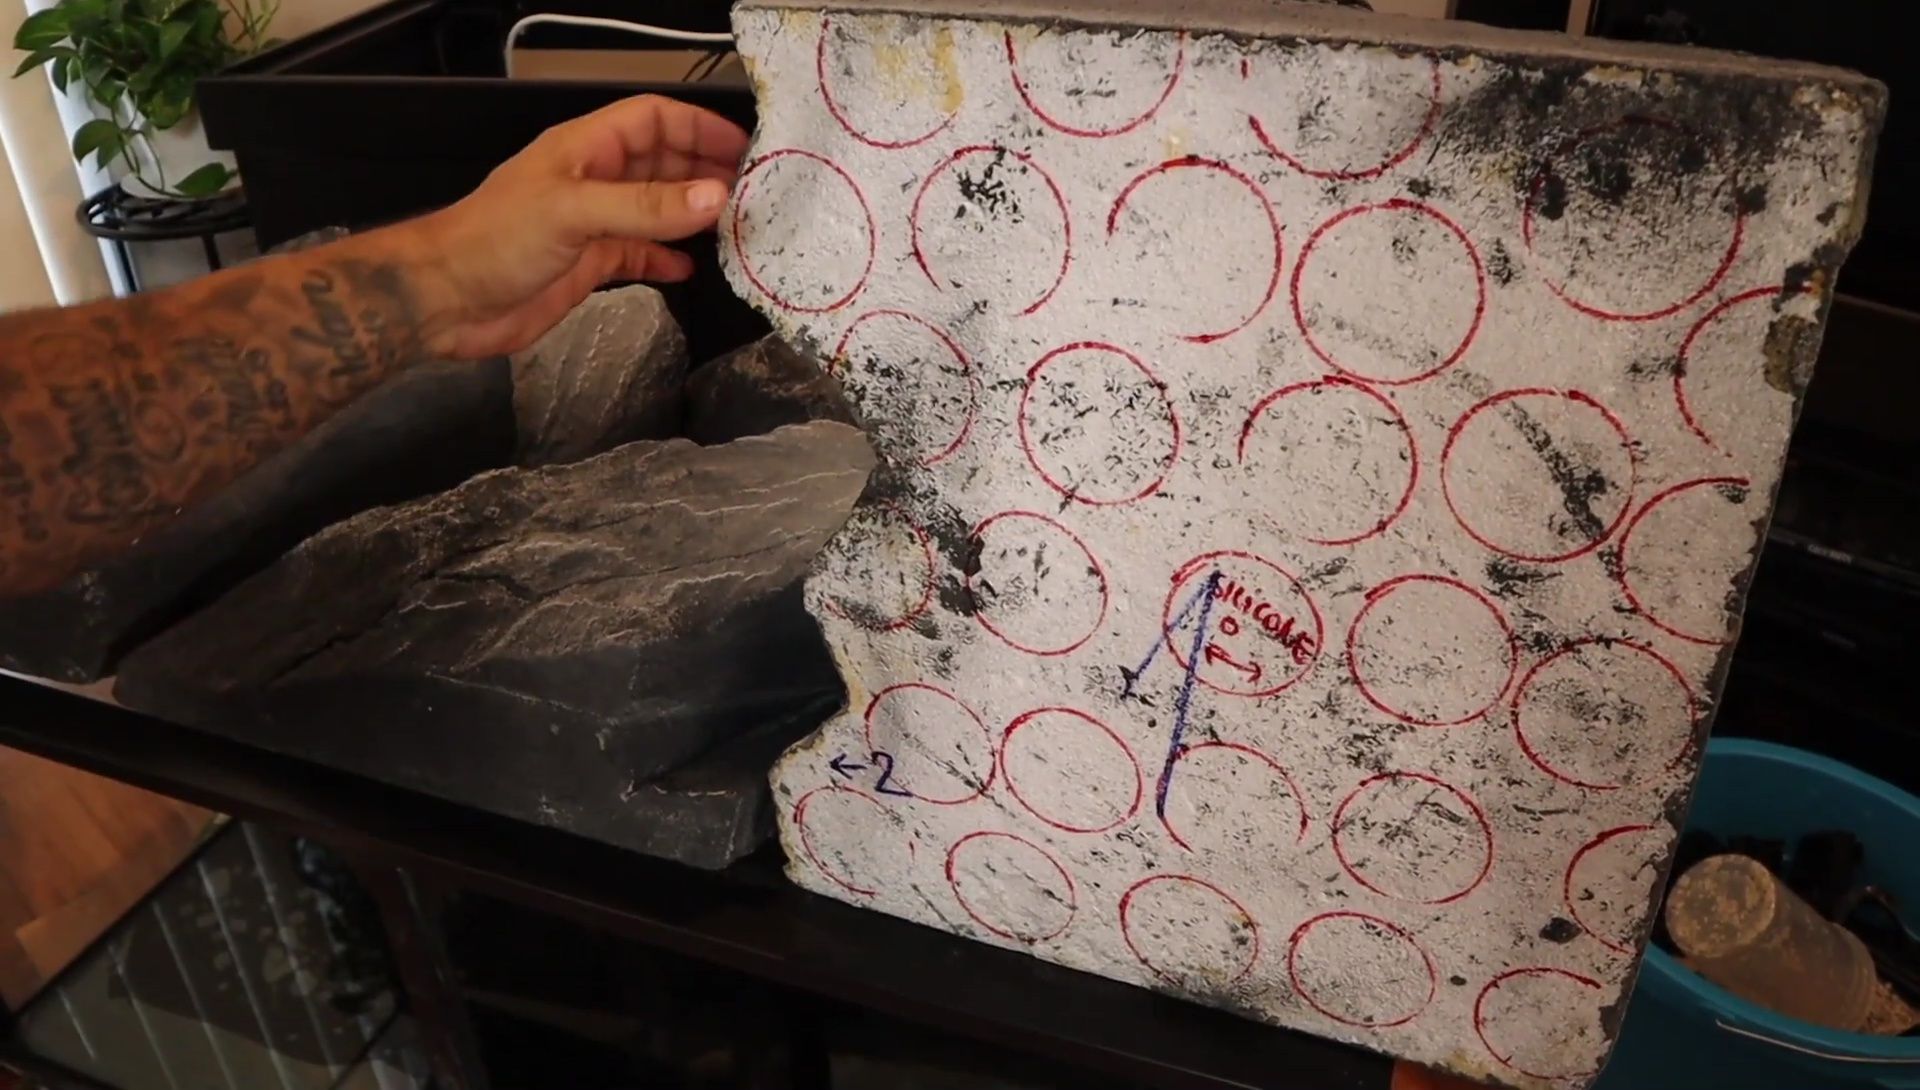
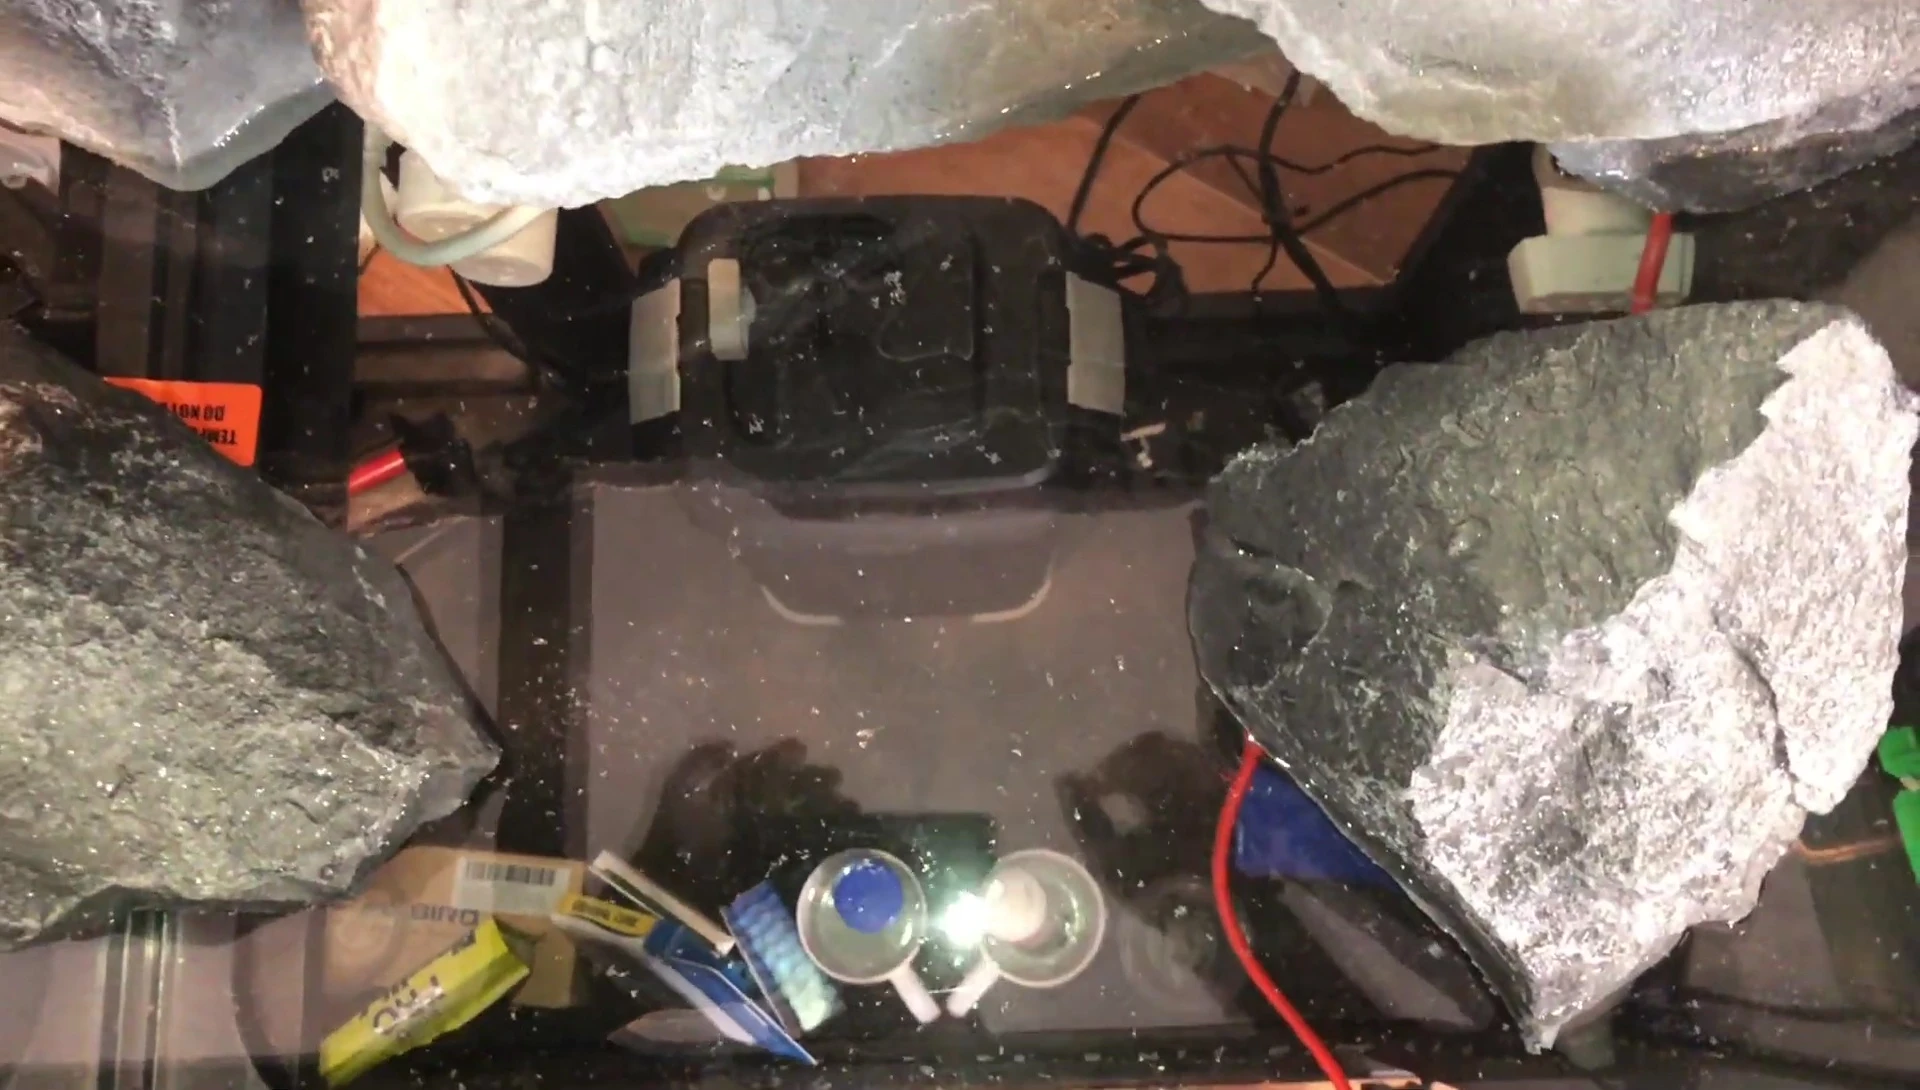
Using aquarium-safe silicone, I carefully adhered the background pieces to the inside of the tank, ensuring a strong bond and watertight seal. Weights were used to hold pieces in place while the silicone cured.
After 48 hours of drying time, the silicone had fully cured, providing a secure and permanent bond for the 3D background.
Refilling the Tank and Final Touches
After rinsing off any dust from the background, the tank was refilled with water. Initial rinsing of dust was attempted, but proved ineffective, requiring manual removal with a towel.
The previously stored substrate was added back into the tank, increasing the bed's thickness. This provided the fish with more substrate to play with.
The fish were reintroduced, receiving a treat of brine shrimp after their three-day fast. Final adjustments were made to the intake hose, hidden behind the background.

Conclusion: An Amazing Makeover!
This 75-gallon aquarium transformation, though a multi-day process, resulted in a stunning visual upgrade. The 3D background completely changed the tank's aesthetic, creating a more natural and captivating environment for the fish.
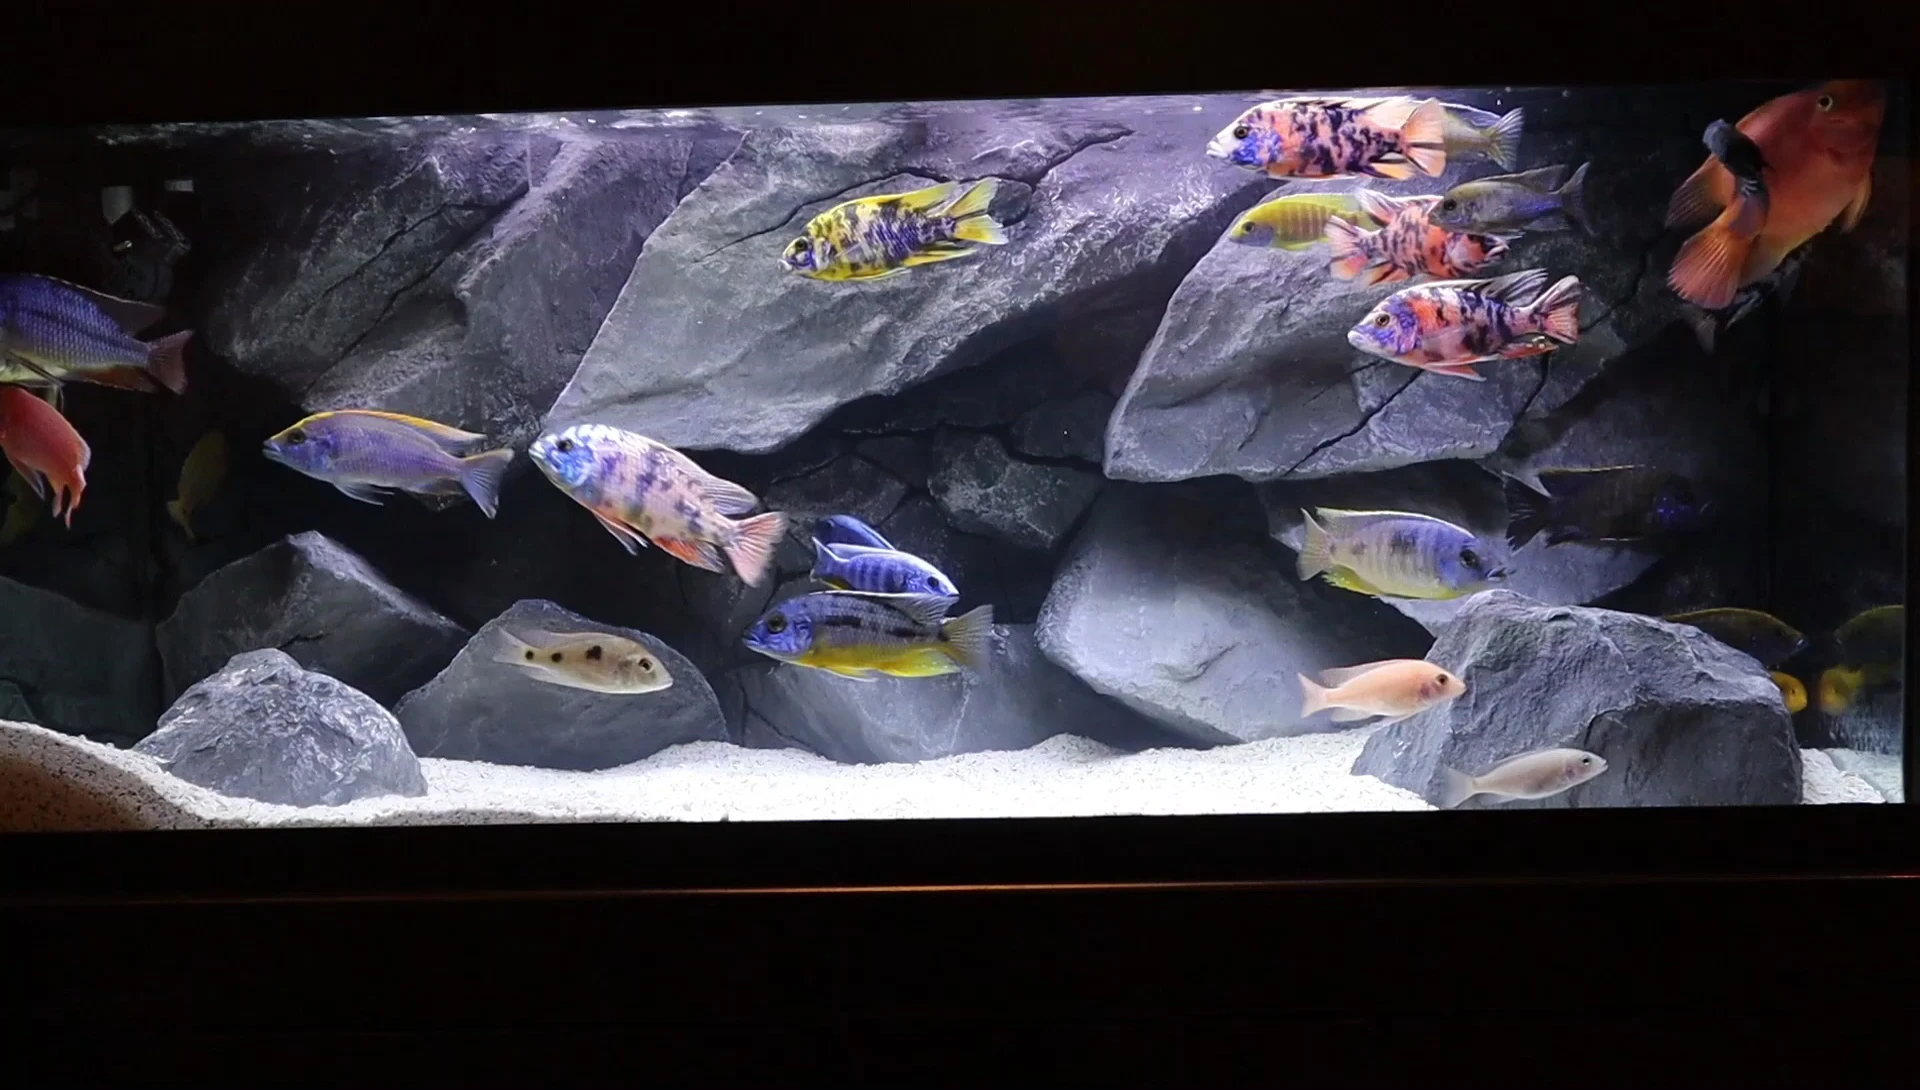
The detailed background seamlessly integrated into the tank, offering numerous hiding spots for the fish. Careful planning and execution ensured the fish remained safe and comfortable throughout the process.
This project demonstrates that with patience and attention to detail, a significant upgrade to an aquarium is entirely achievable, creating a beautiful and enriching environment for your aquatic pets.