This detailed guide chronicles the cycling process of a 200-gallon Innovative Marine reef tank. The journey, captured in a video, meticulously documents the challenges and triumphs of setting up this large-scale aquarium. From the initial, unexpectedly lengthy process of filling the tank with Reverse Osmosis/Deionized (RDI) water and mixing a significant quantity of salt, to the unexpected hurdles encountered with cycling additives, this account provides a realistic and comprehensive look at the realities of reef tank establishment. The complexities of water parameter testing and the unexpected high nitrate spike are also addressed, offering valuable insights for aspiring reef keepers.The guide offers practical advice, highlighting the importance of thorough preparation, appropriate equipment, and patience. It showcases both the successes and the unforeseen difficulties, including issues with product packaging and the unexpected stress experienced by one of the initial fish inhabitants. This honest and transparent narrative serves as a valuable learning experience for anyone undertaking a similar project, emphasizing the importance of meticulous planning and proactive problem-solving throughout the entire process.
Pros And Cons
- Cycled the tank well
- Relatively easy to use
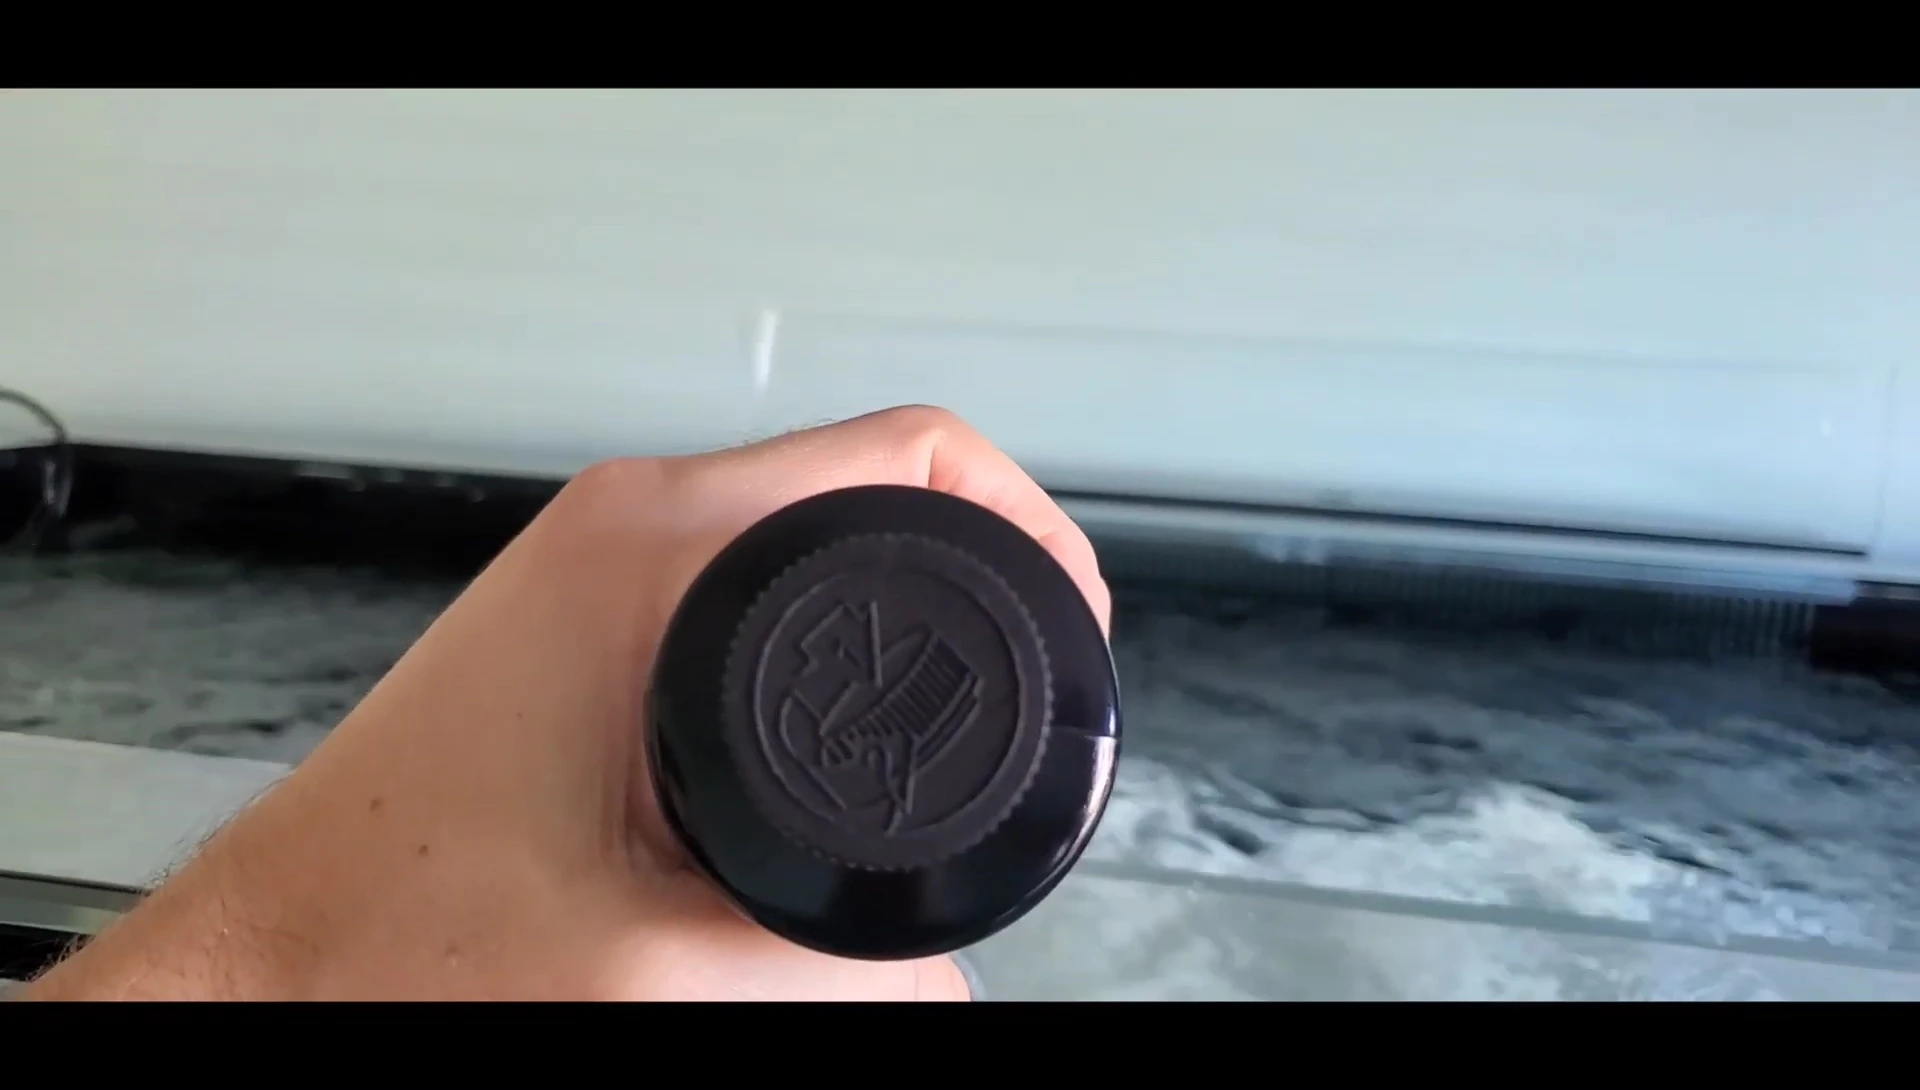
- Bottle lid difficult to open
- Great to work with
- Potent
Read more: Red Tile Starfish Care Guide: A Comprehensive Overview
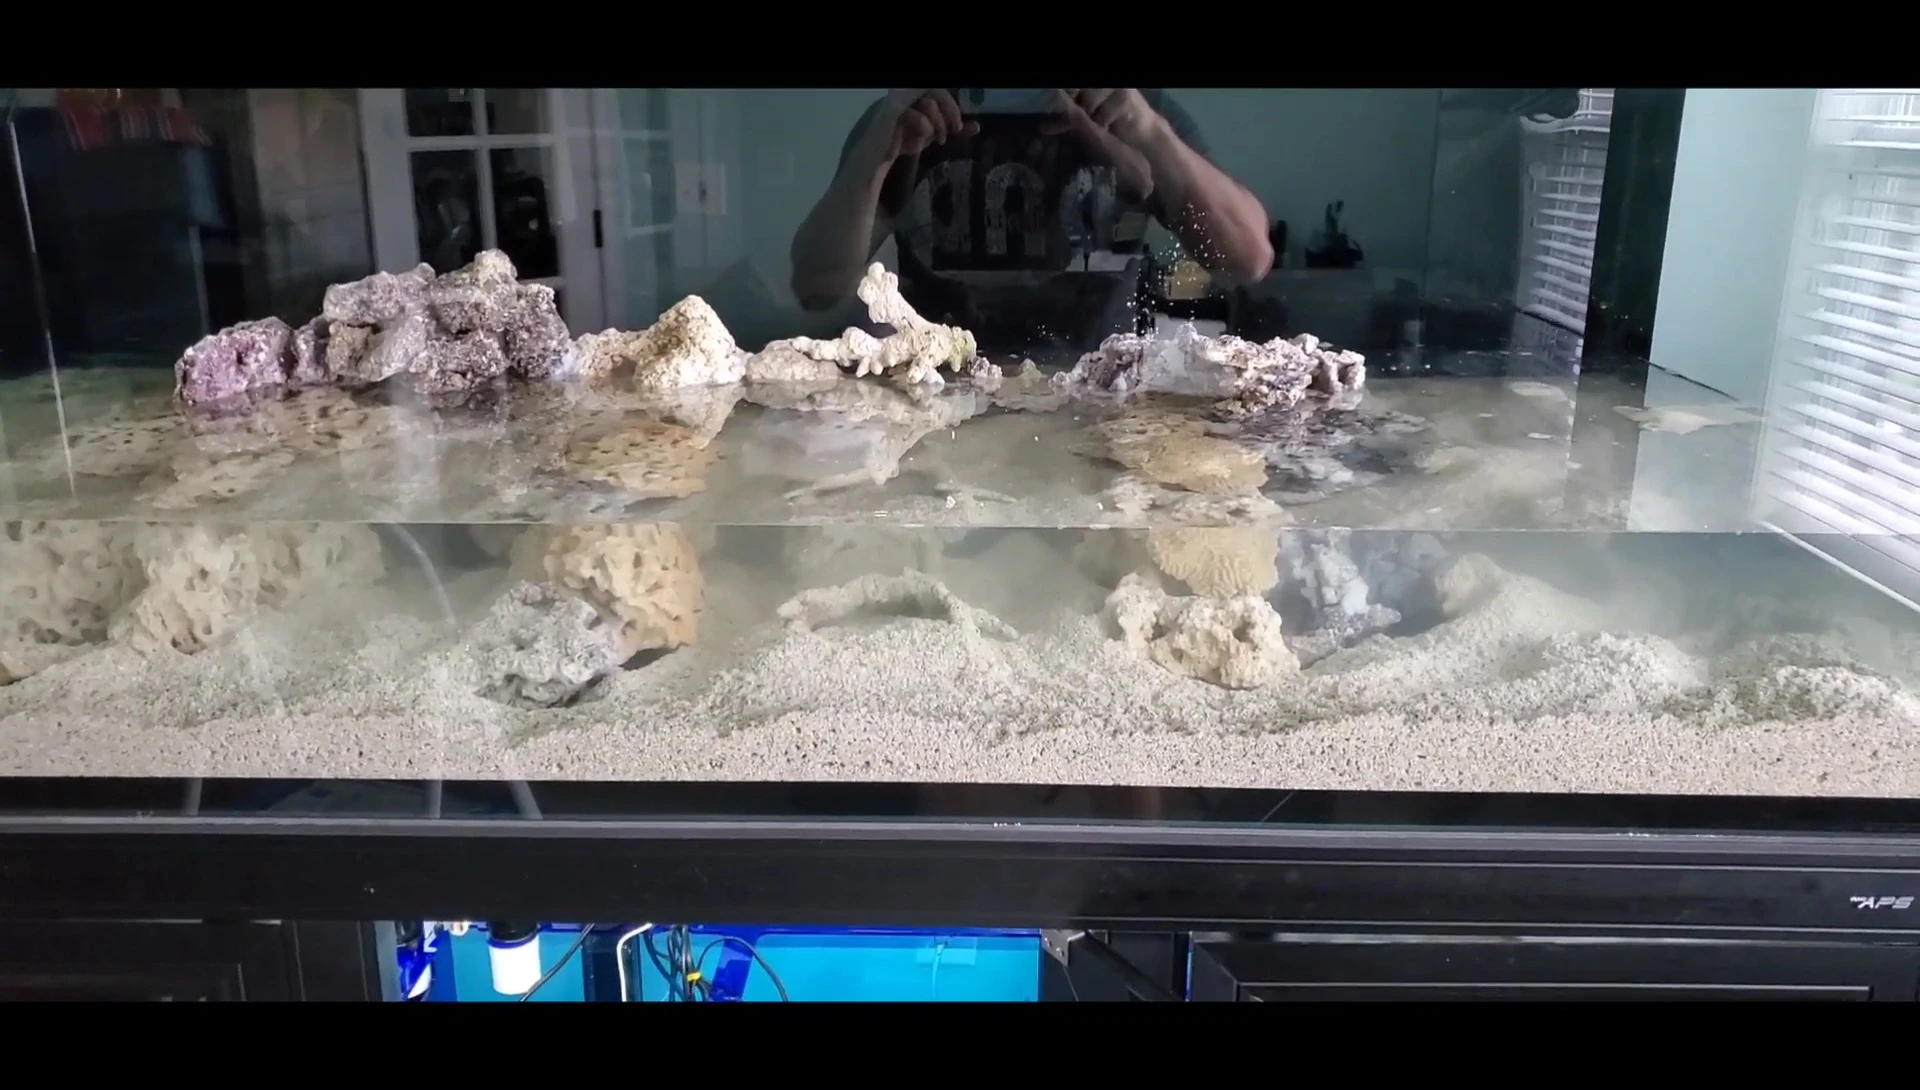
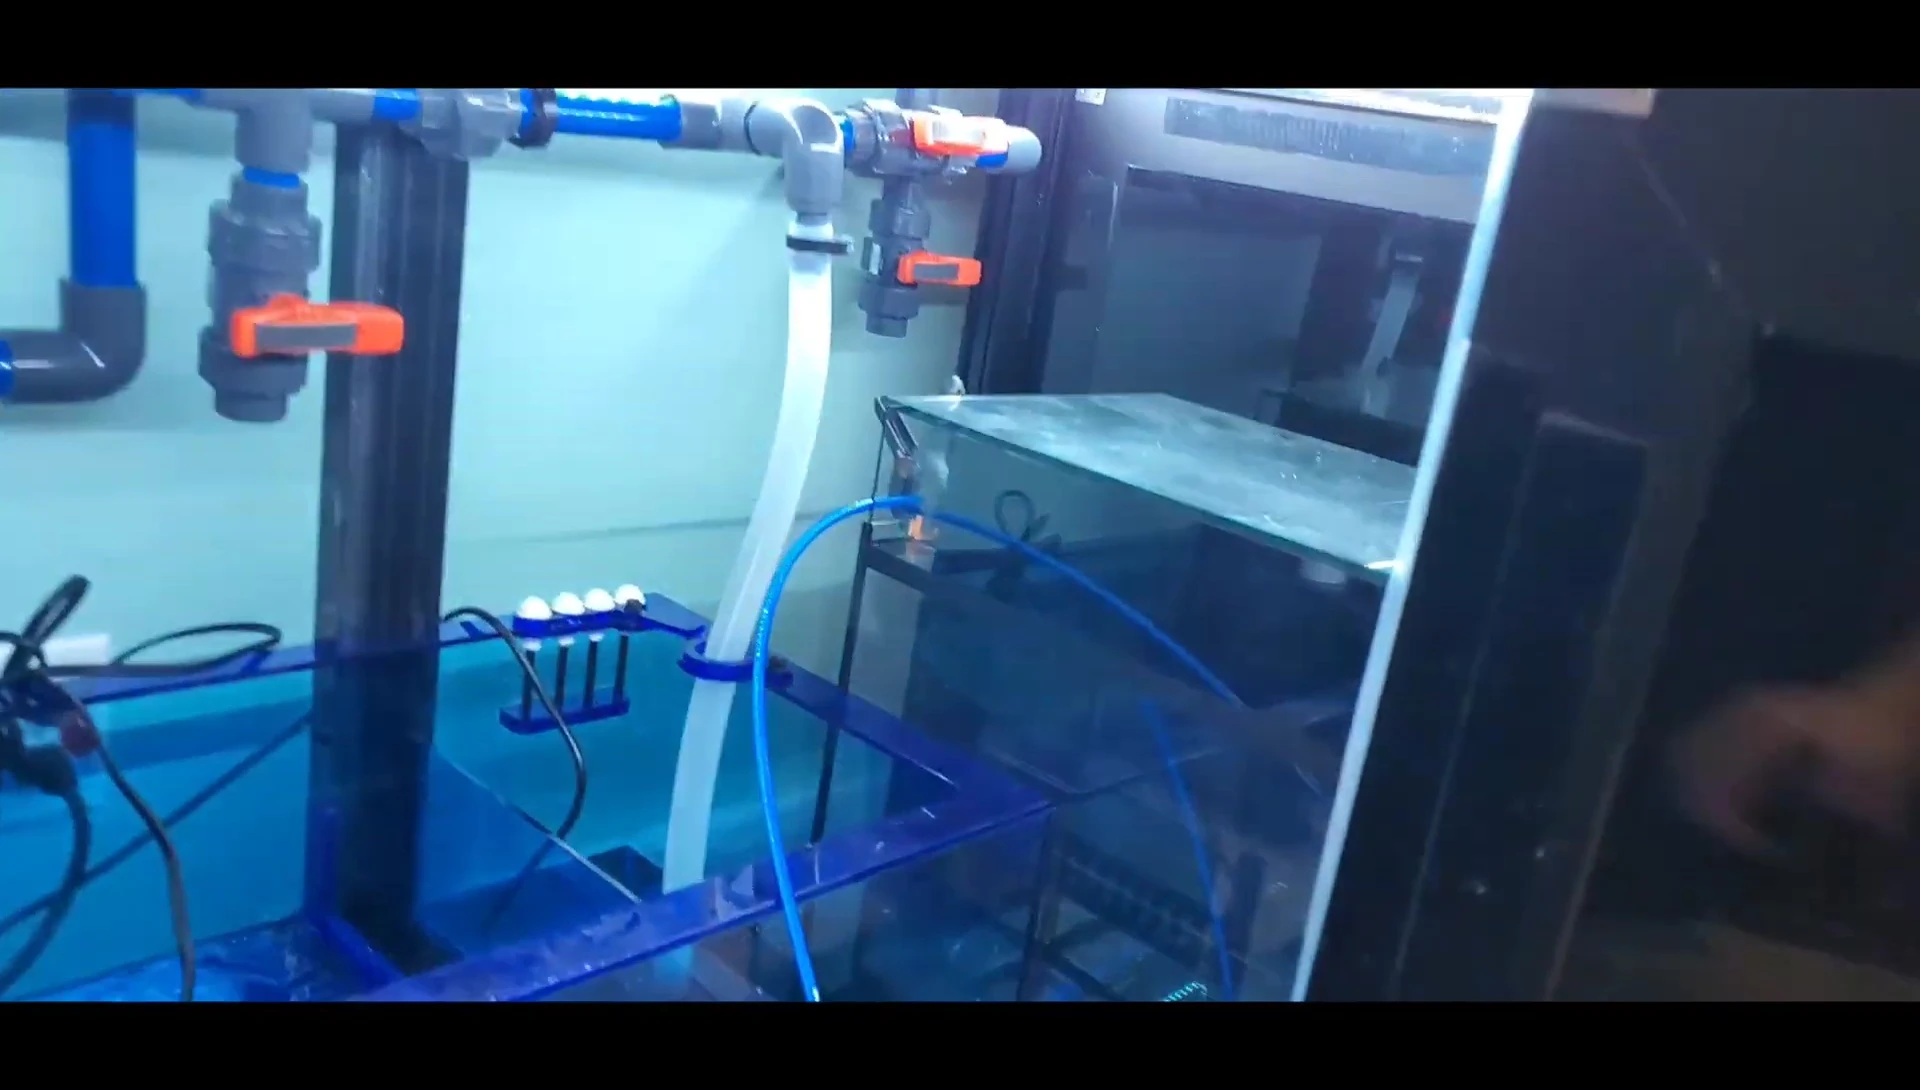
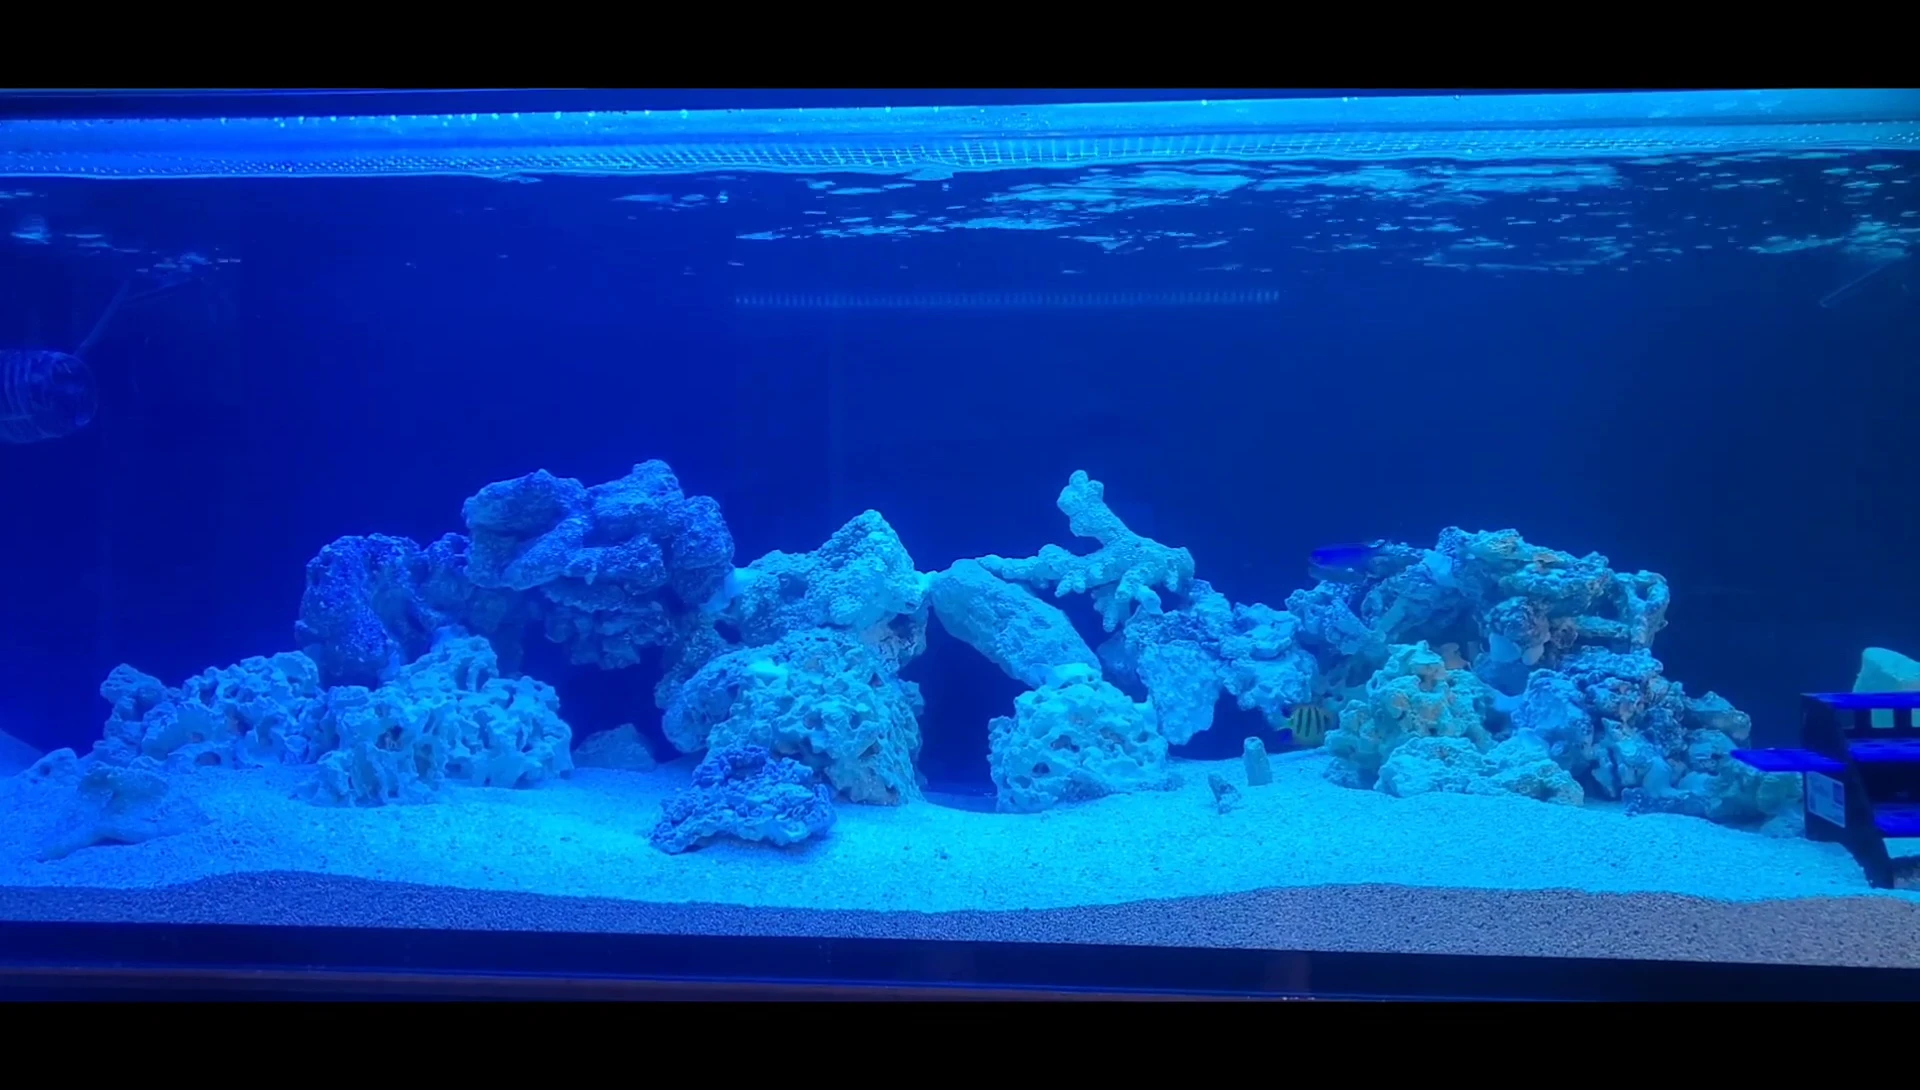
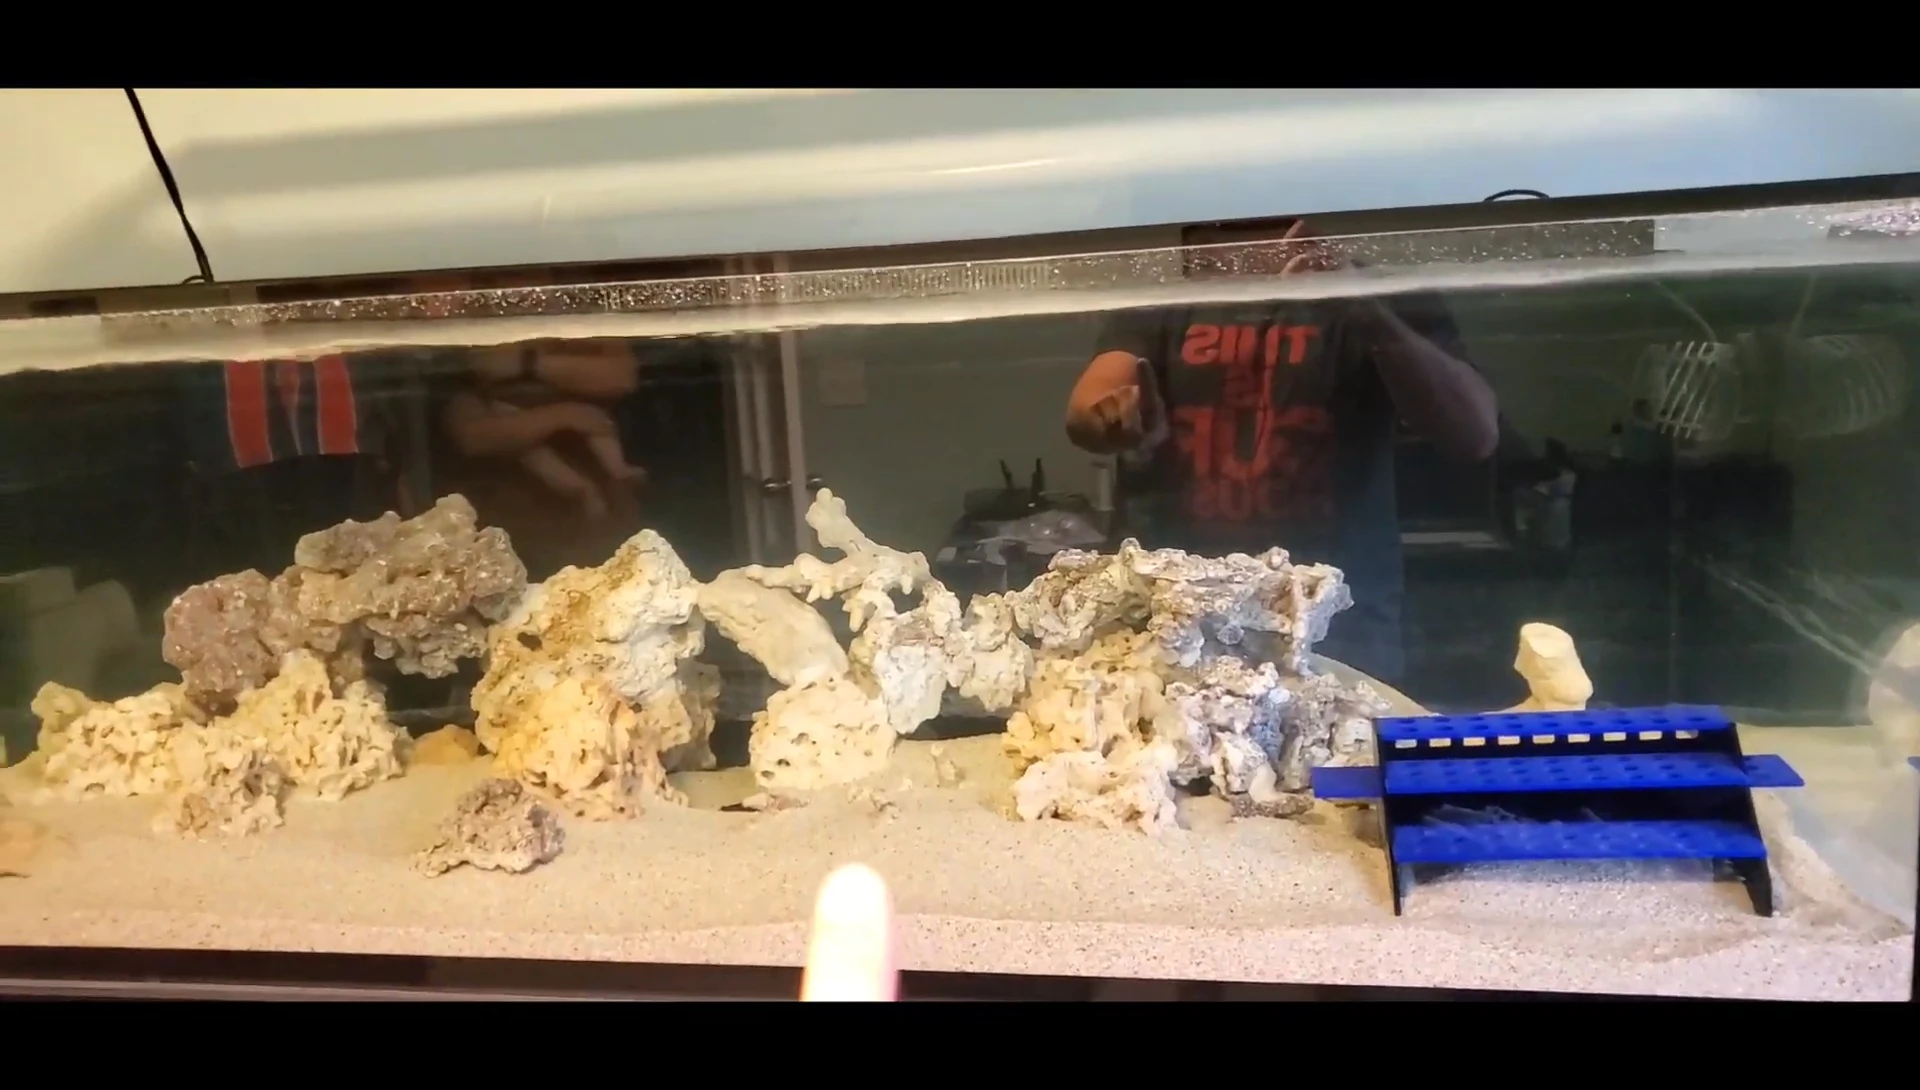
Tank Filling and Initial Setup
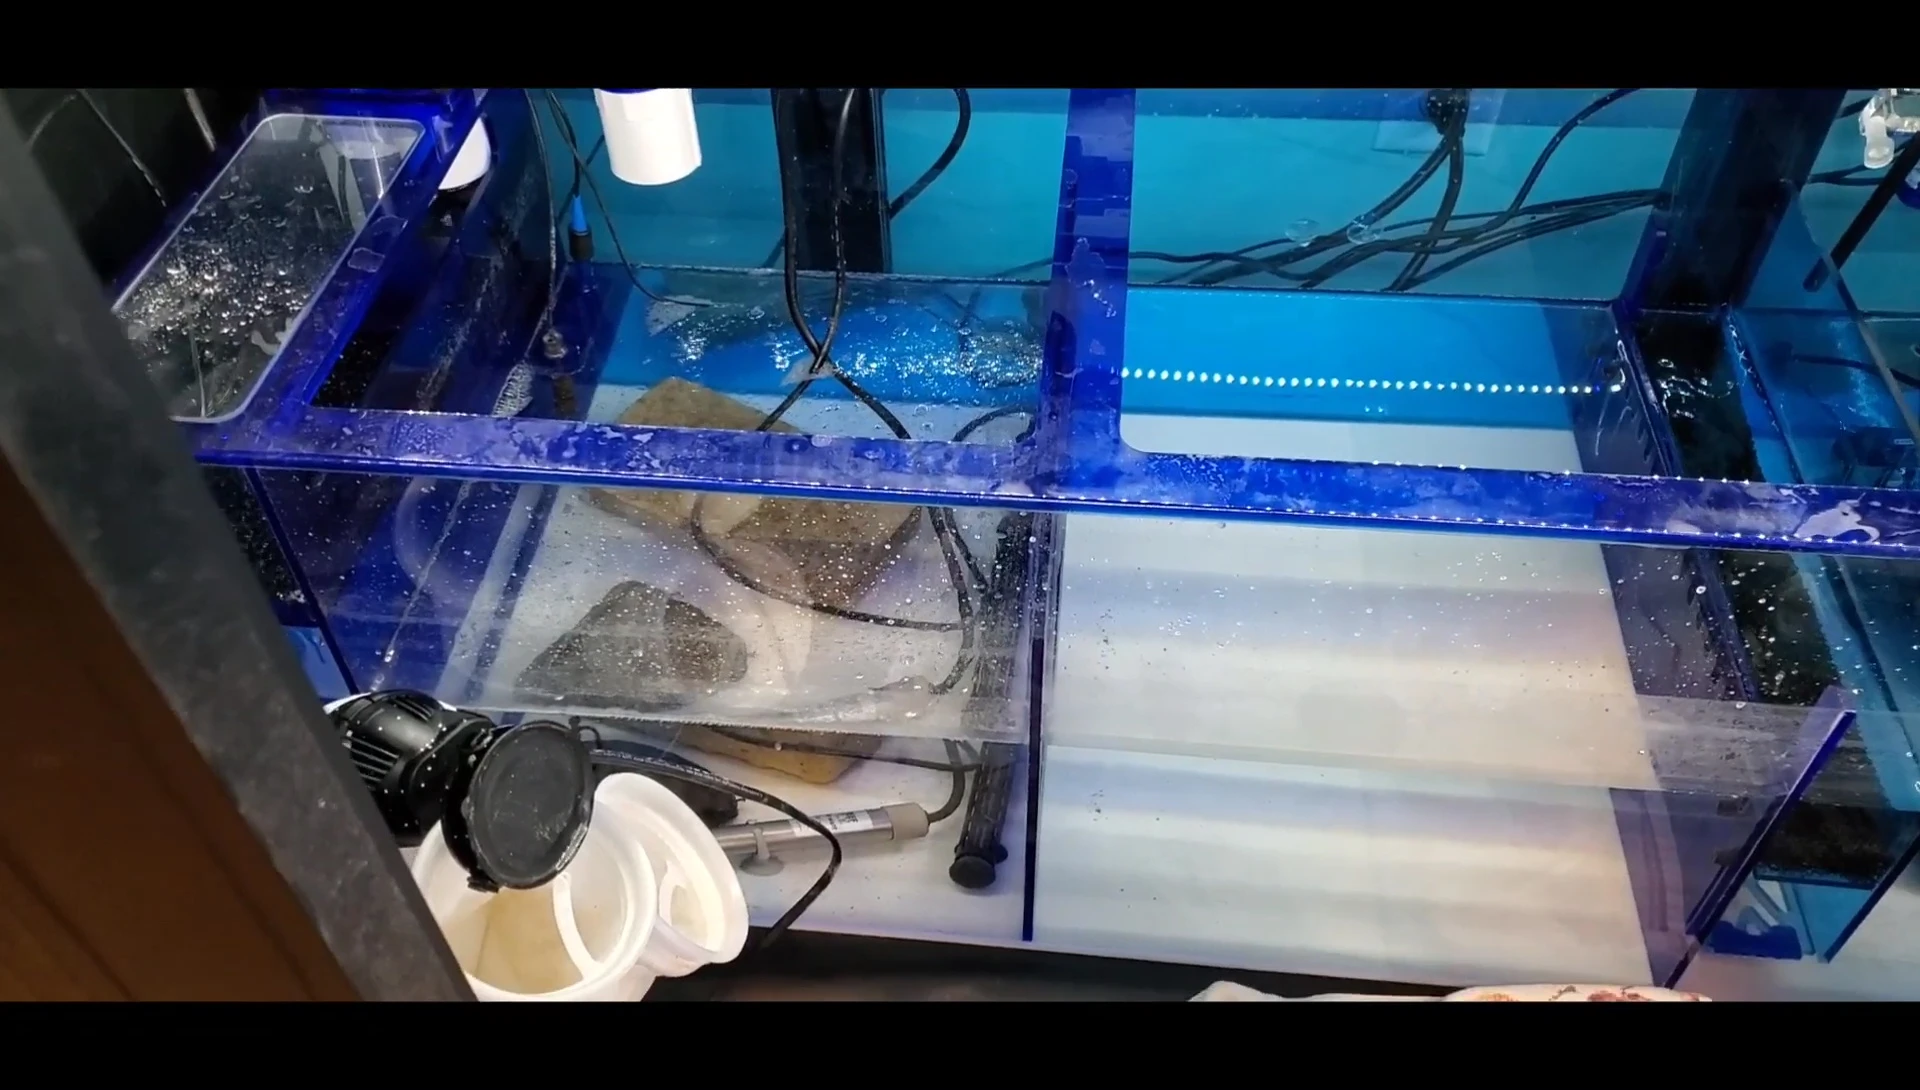
The process began with filling the Innovative Marine 200-gallon tank using an RDI water line. This involved carefully routing the line to the sump and ensuring a secure connection to prevent flooding. The initial plan was to fill the sump with RDI water, mix in salt, and then fill the main tank overnight. This proved to be more time-consuming than anticipated.
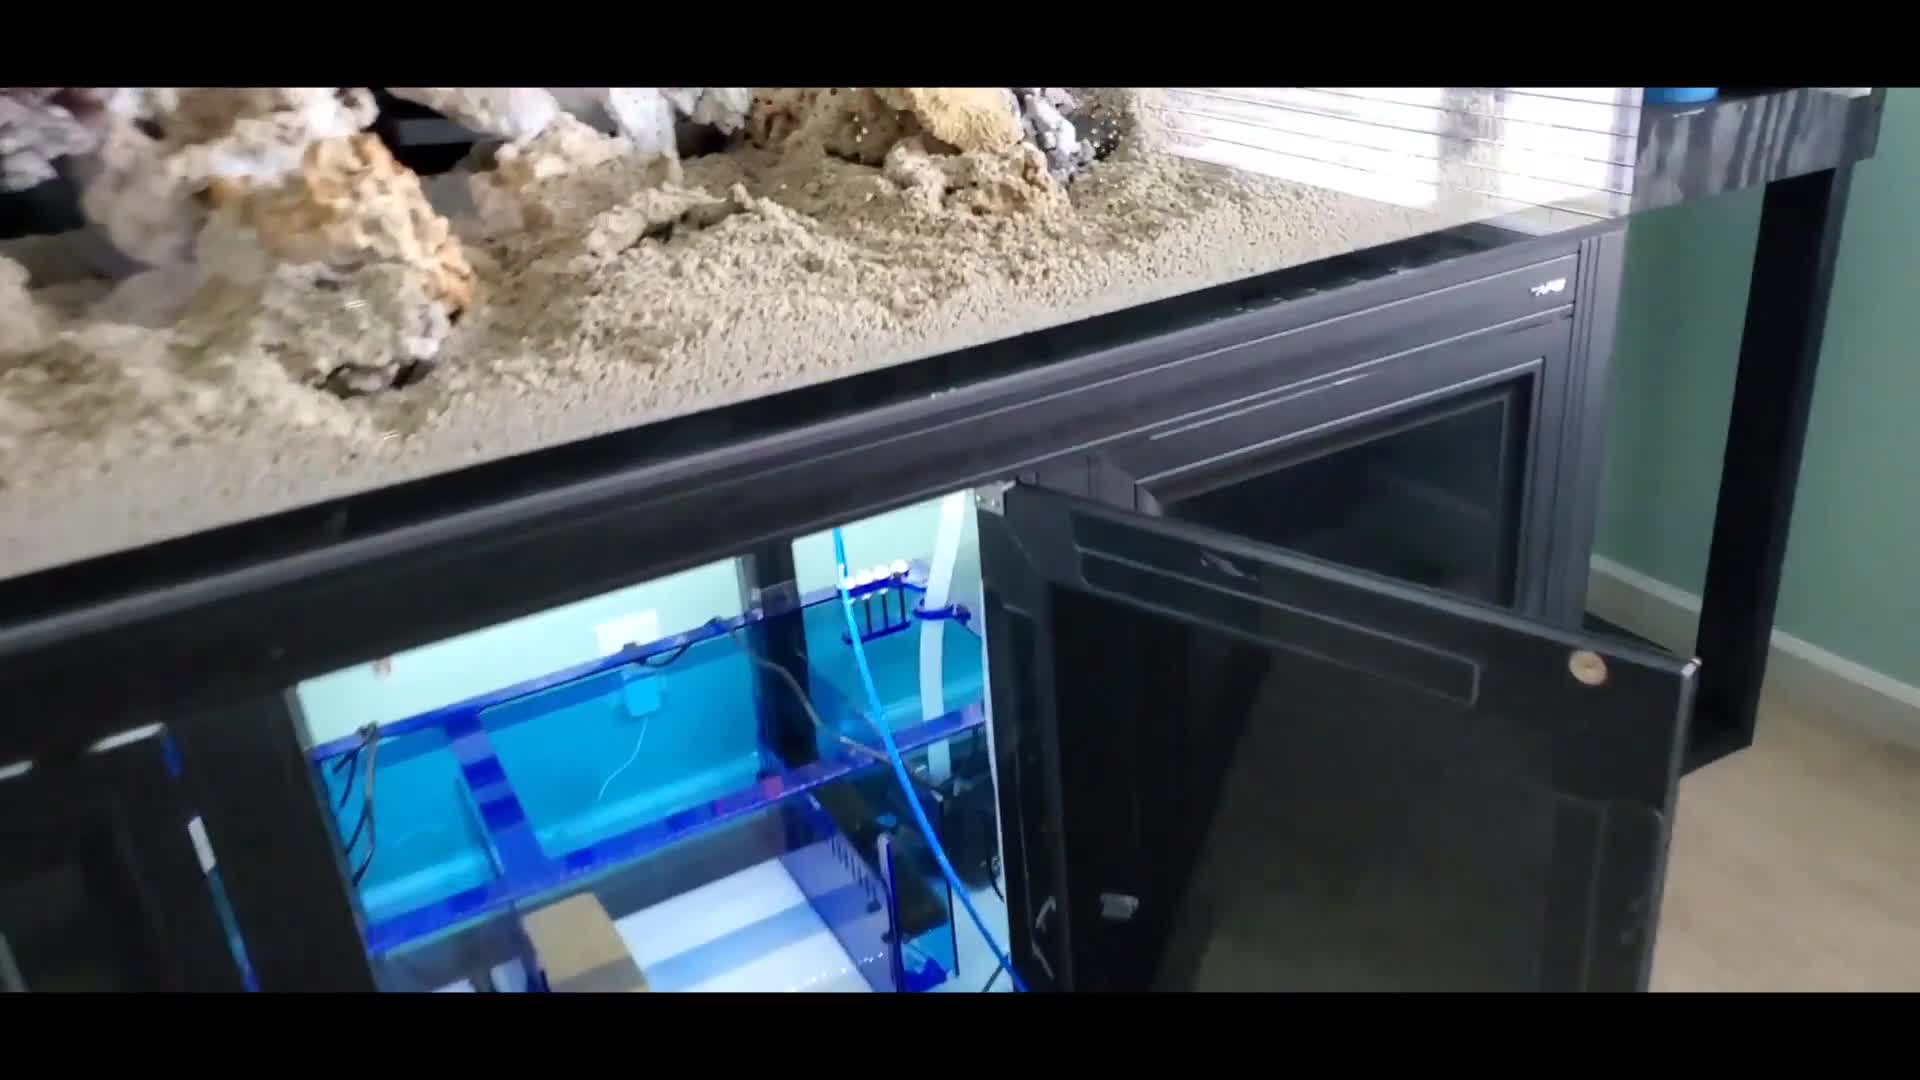
Unexpectedly, after 12 hours, the tank was only about a third full. Additional weights and clamps were used to secure the RDI line, and the sump was filled manually. The live sand was a concern; filling with fresh water might have killed beneficial bacteria, requiring the use of Brightwell's Microbacter Start XLM to supplement the cycle.
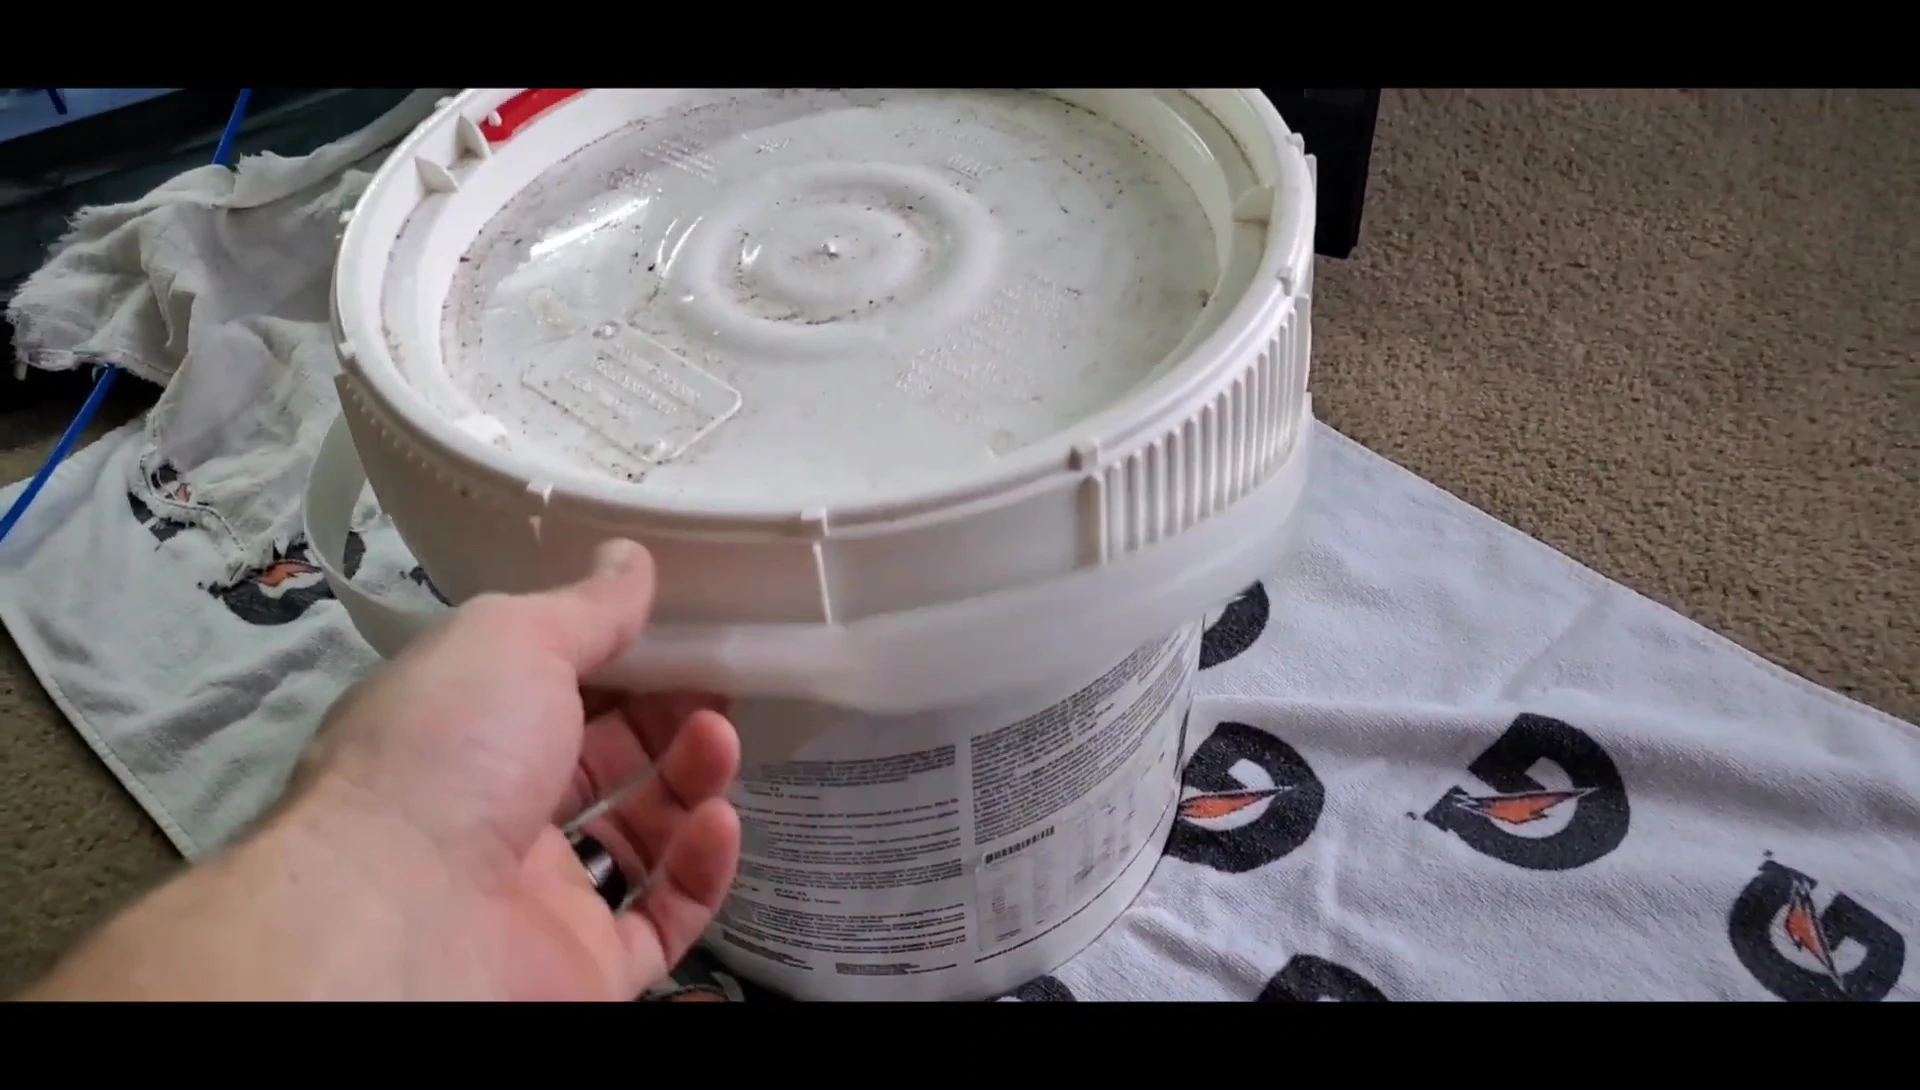
The salt mix involved a large quantity of Brightwell NeoMarine salt. A 300-gallon container was used, with plans to fill 200 gallons. This preparation was spread over a couple of hours, highlighting the extensive time commitment of this process.
The Extended Filling Process
The tank filling continued, even into a second day. The RDI line’s position was adjusted to the bottom after the salt was mixed. The total time required was nearly 48 hours, including interruptions for meals. Once the tank was almost full, the auto top-off container was replenished.
Even with the long wait, the video creator utilized this time for other home improvements, highlighting the length of the process. The final water level was verified, along with the management of numerous cords needed for tank operation and a sneak peek of equipment for a future video.
After 48 hours, the tank was finally full, preparing for the cycling process. The creator notes they spent time cleaning and organizing the room after the long process.
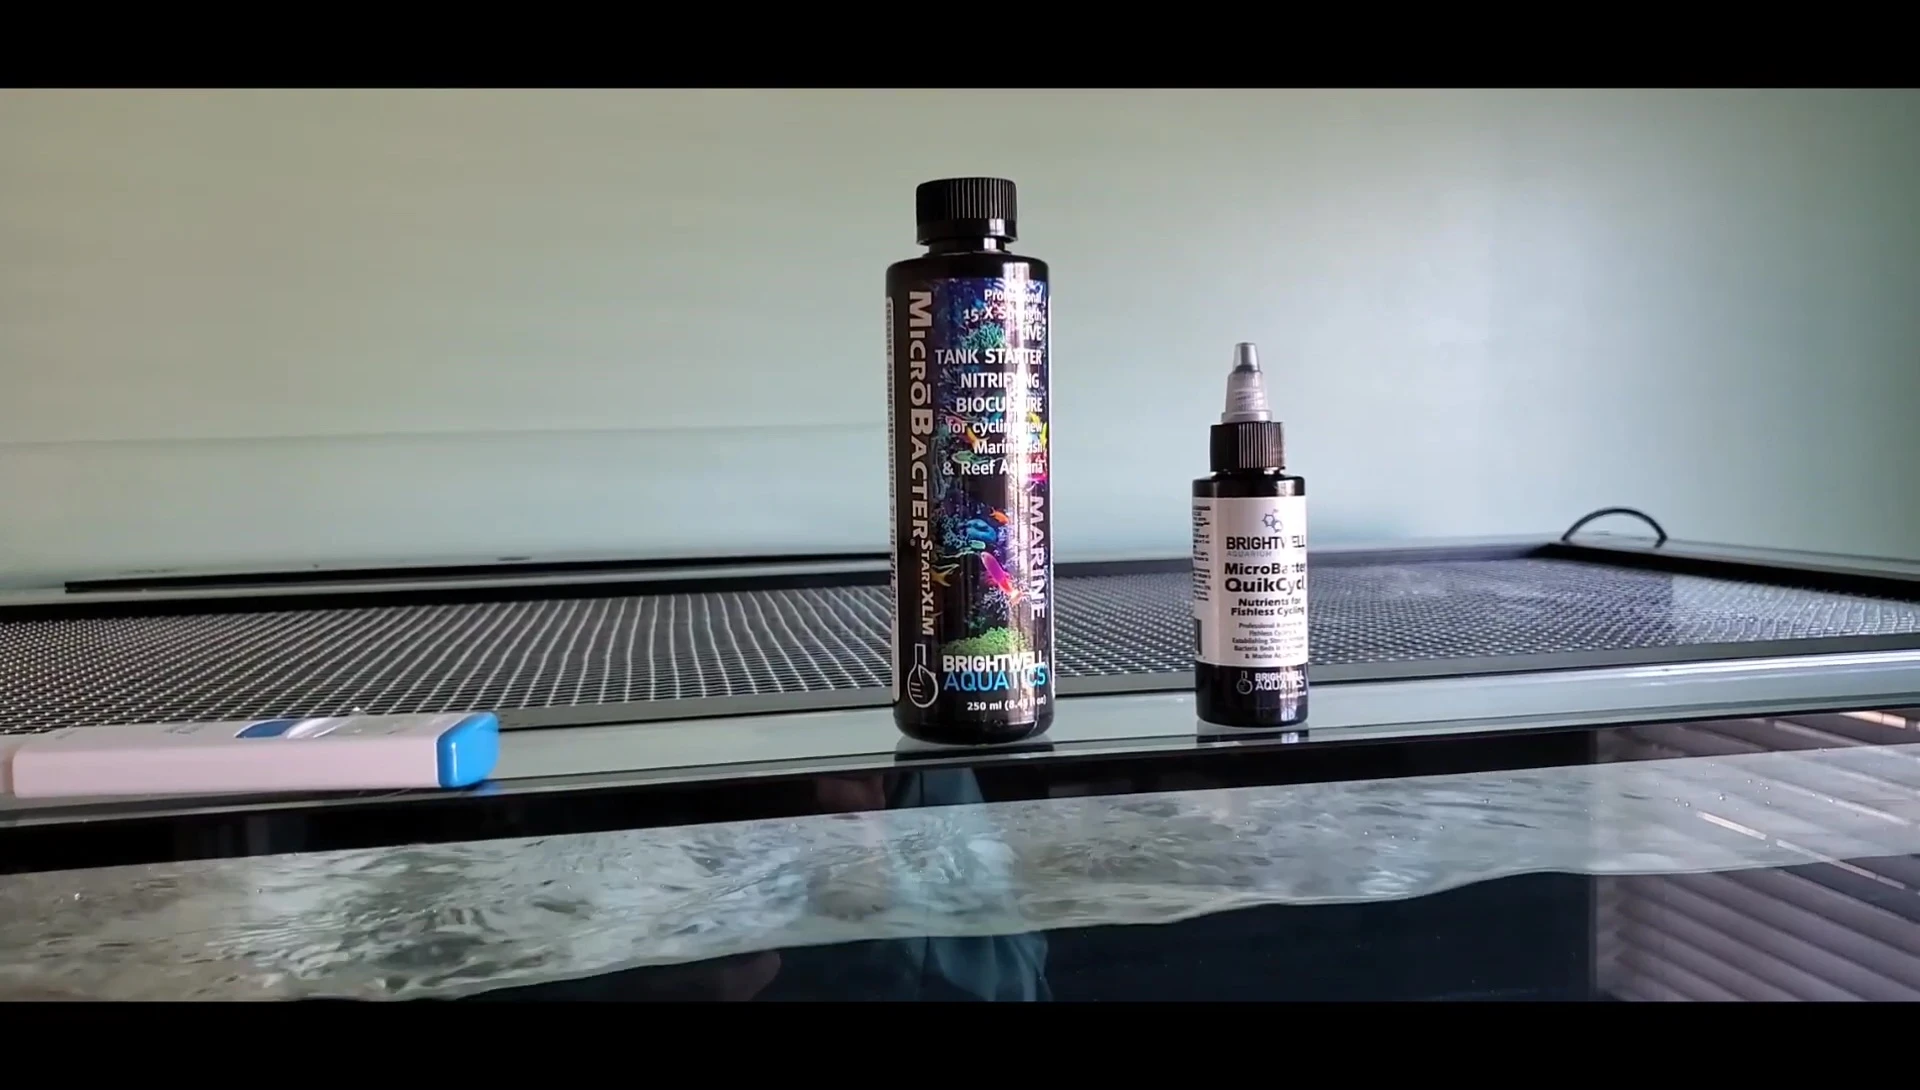
Cycling the Tank with Brightwell Products
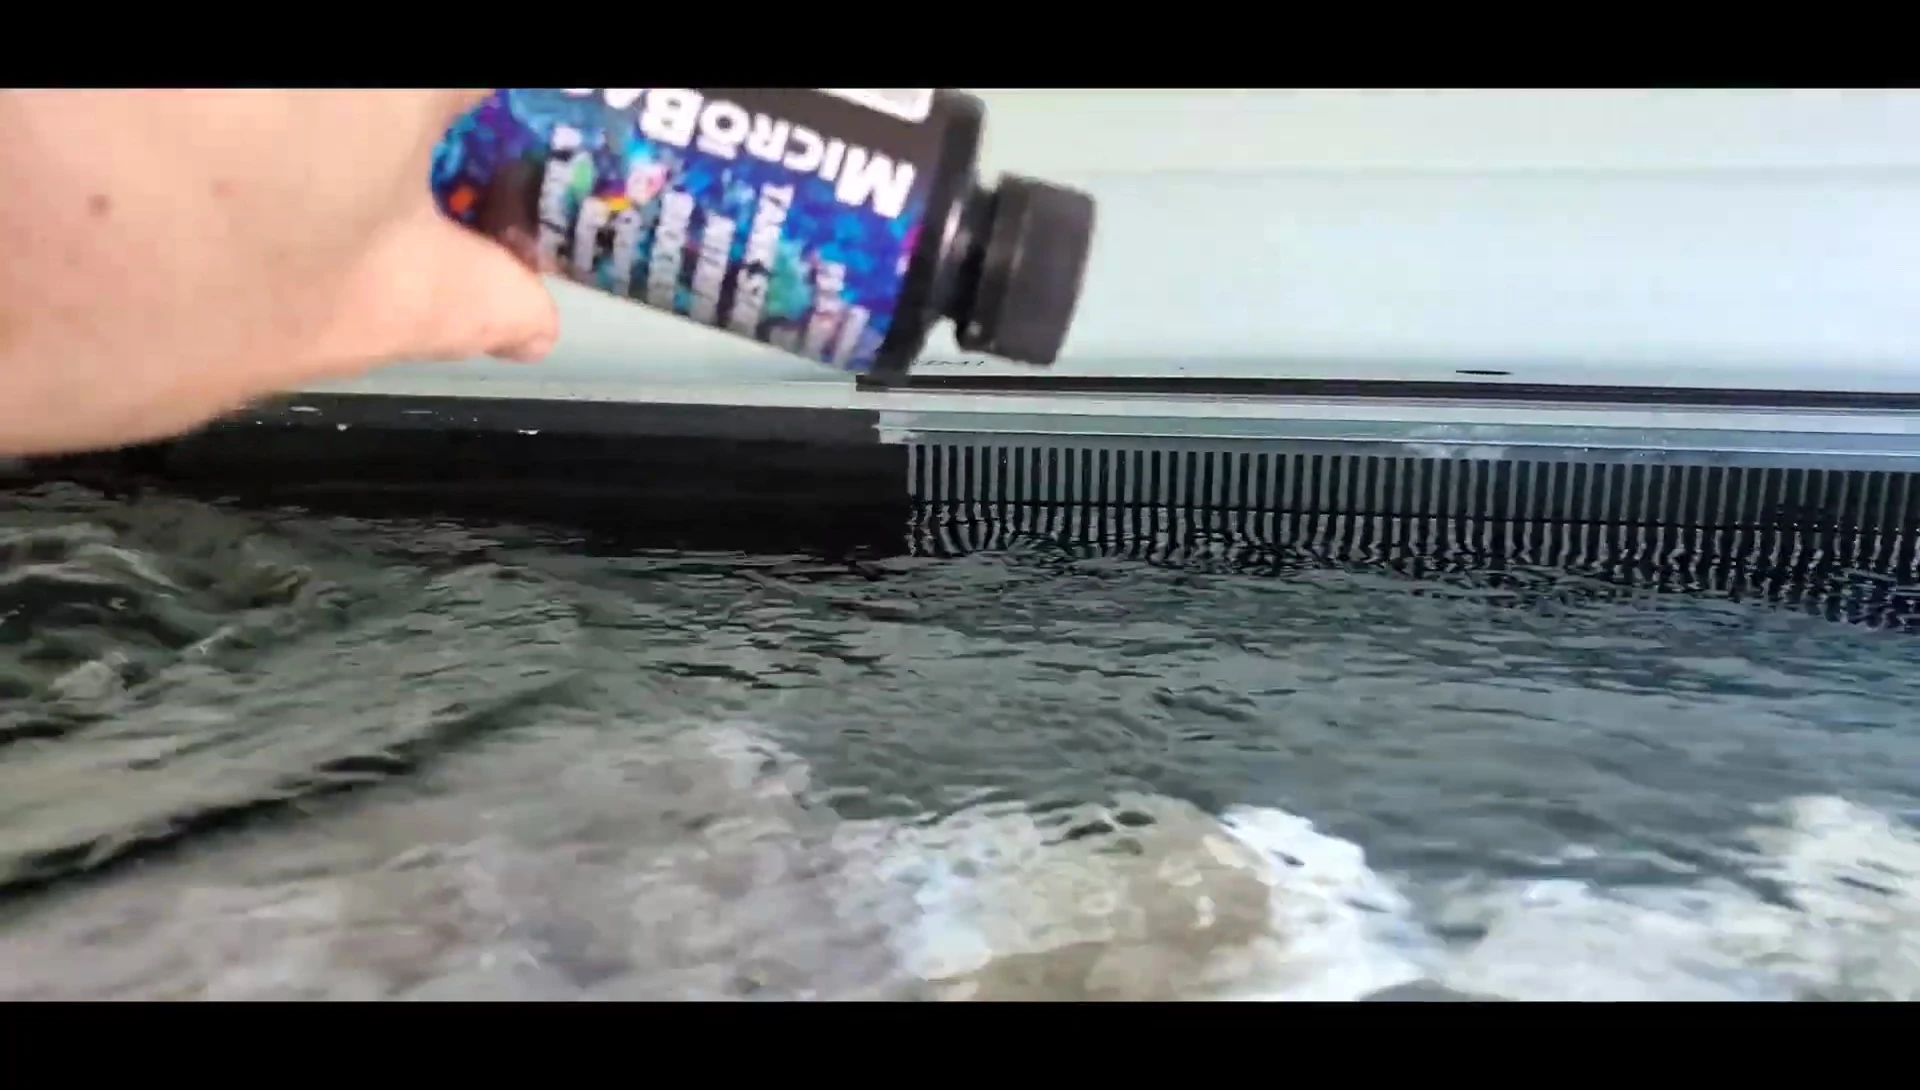
The cycling process utilized Brightwell Quick Cycle and Microbacter Start XLM. Two-thirds of the Quick Cycle was added to the tank, along with Microbacter Start XLM. Filter socks were removed before adding these products. The expected cycling time was seven to ten days, potentially longer due to the live sand.
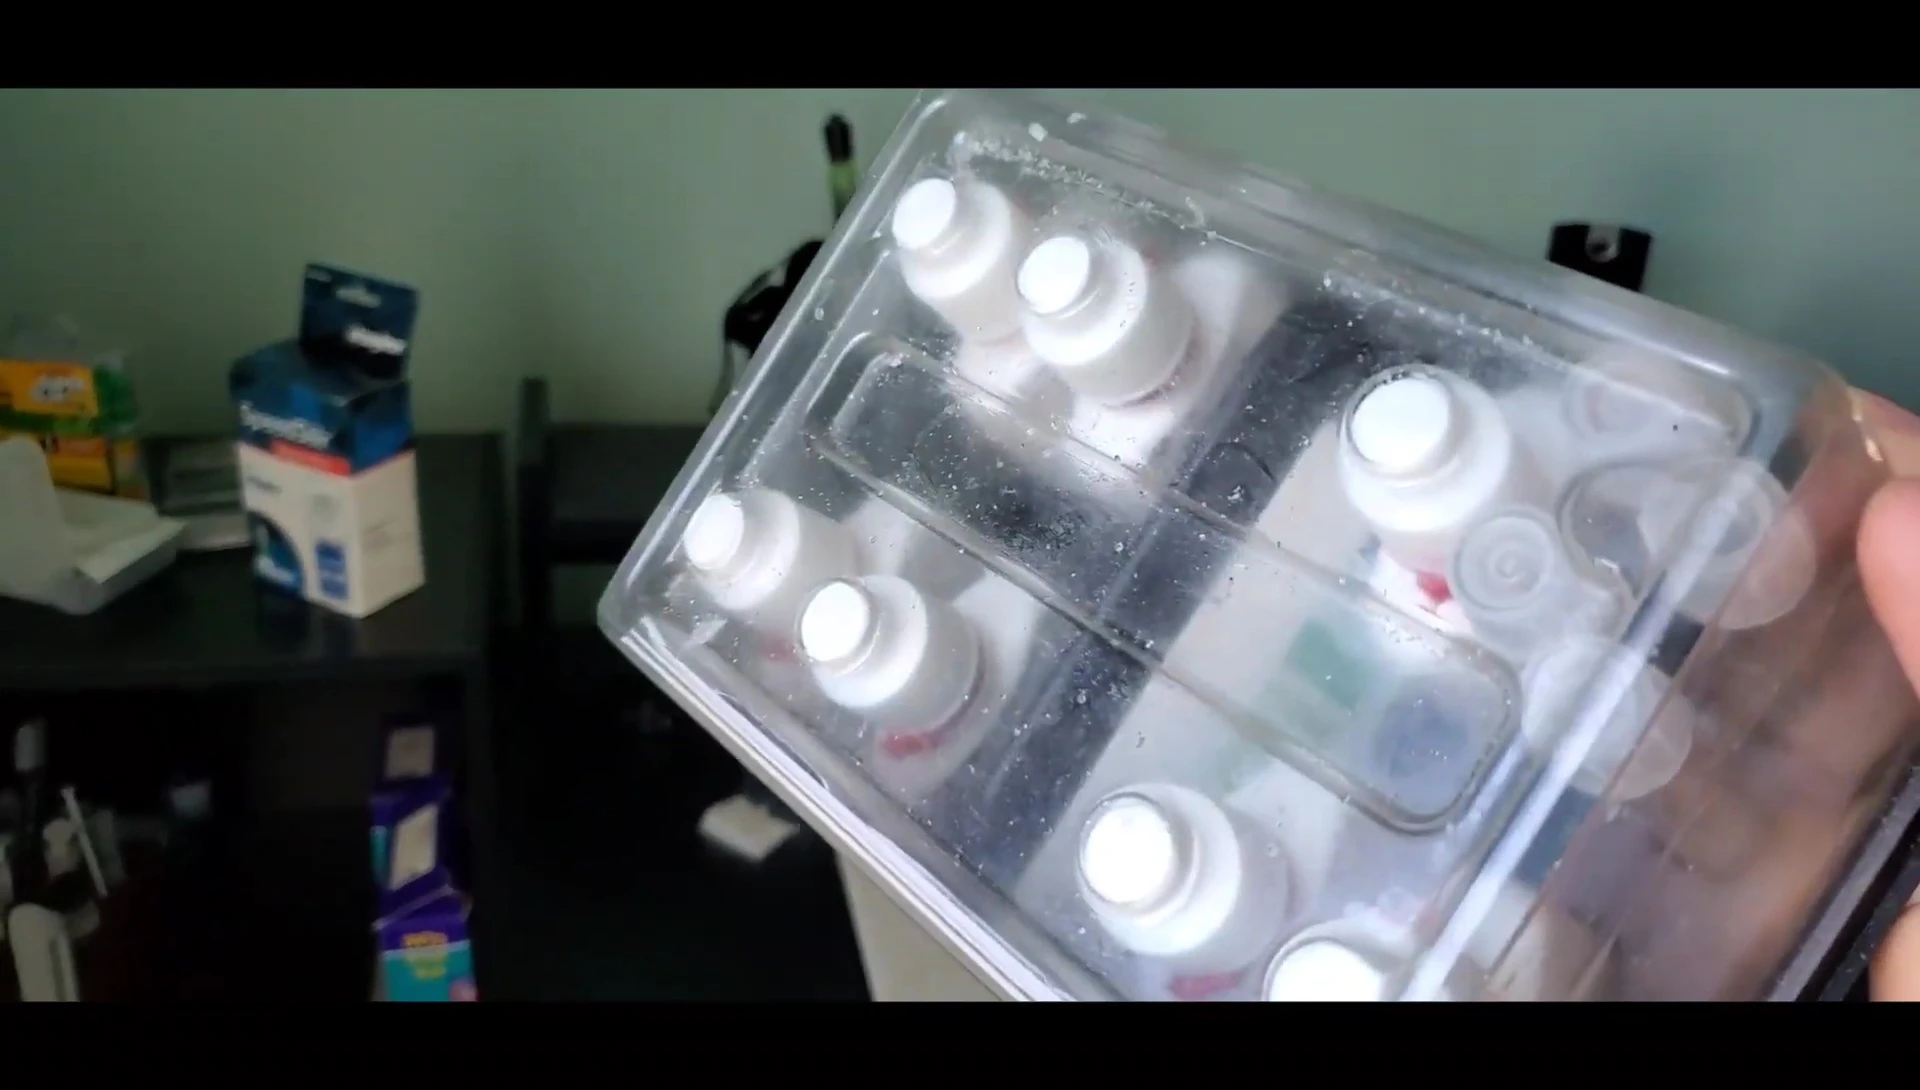
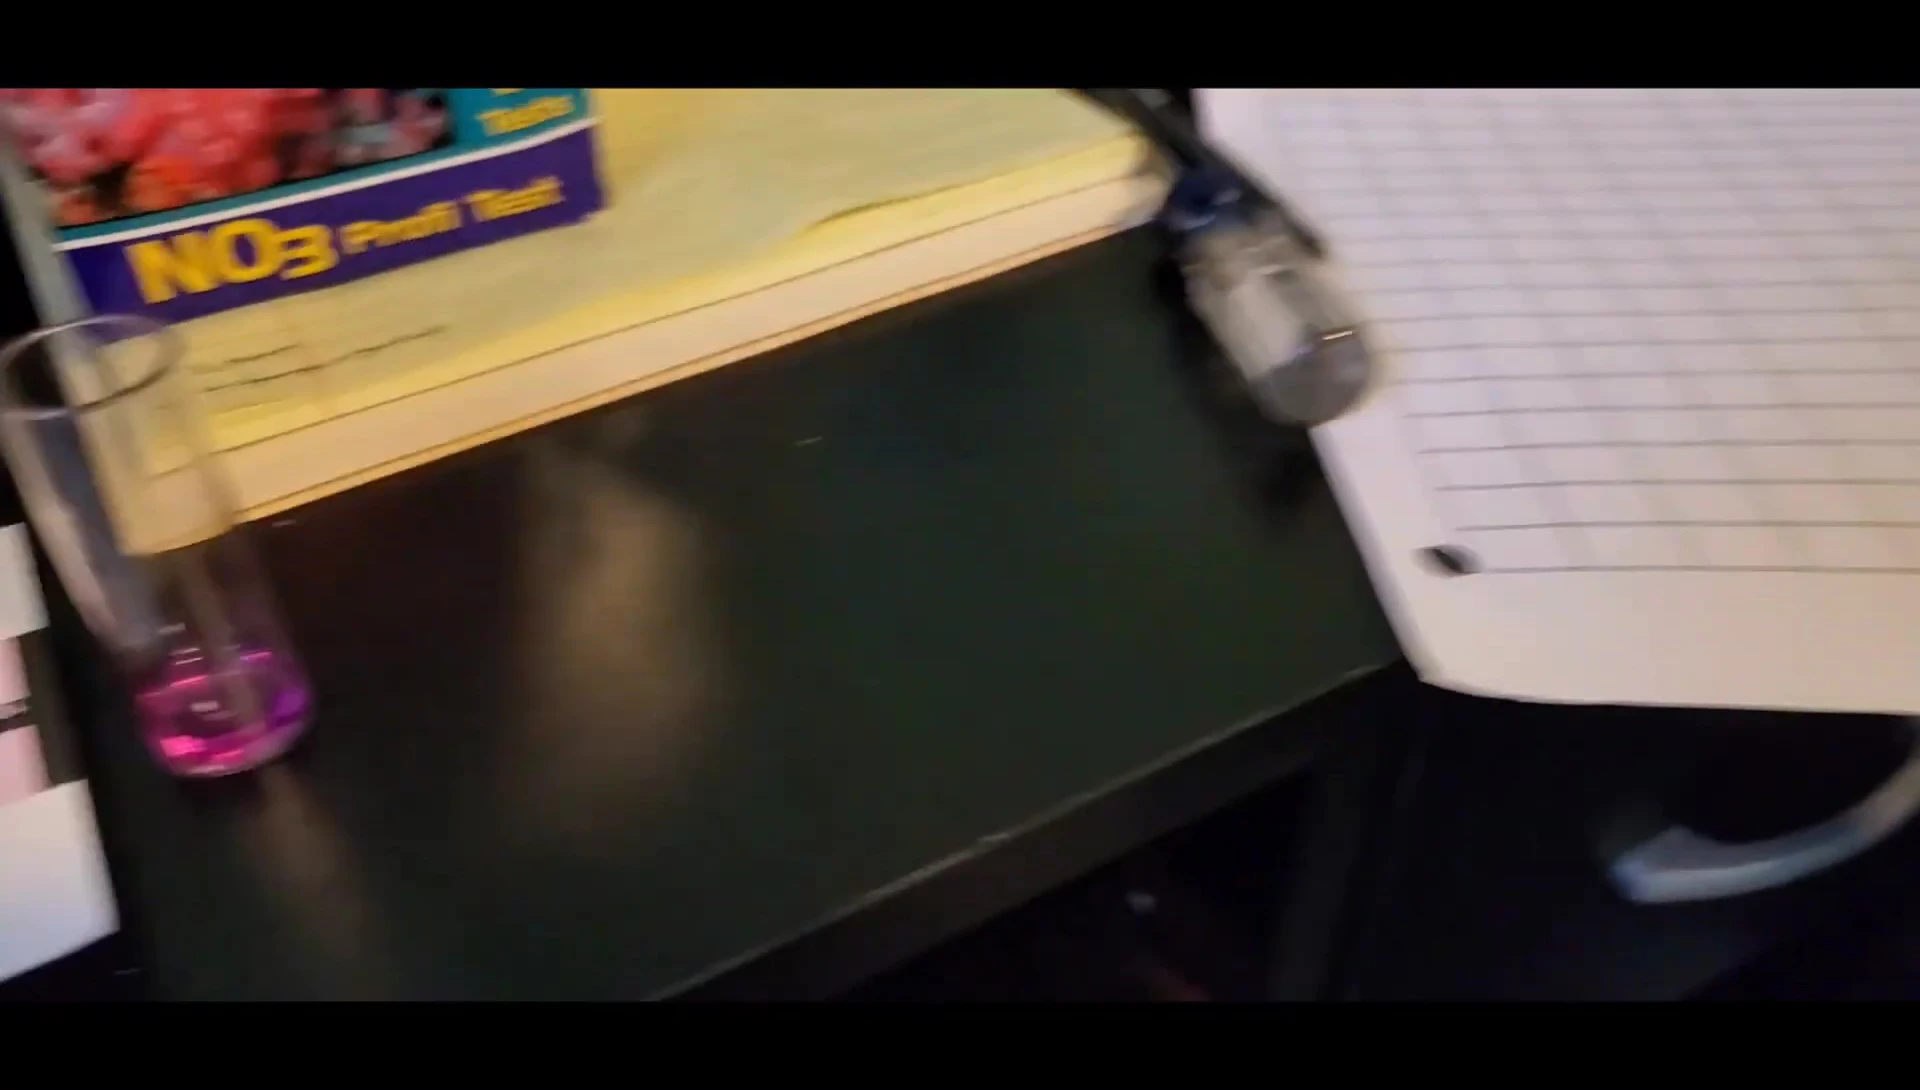
The video creator had initially planned to use an API test kit to monitor ammonia and nitrites, but they discovered the kit they had was not suitable. This highlights the need for proper preparation and appropriate materials.
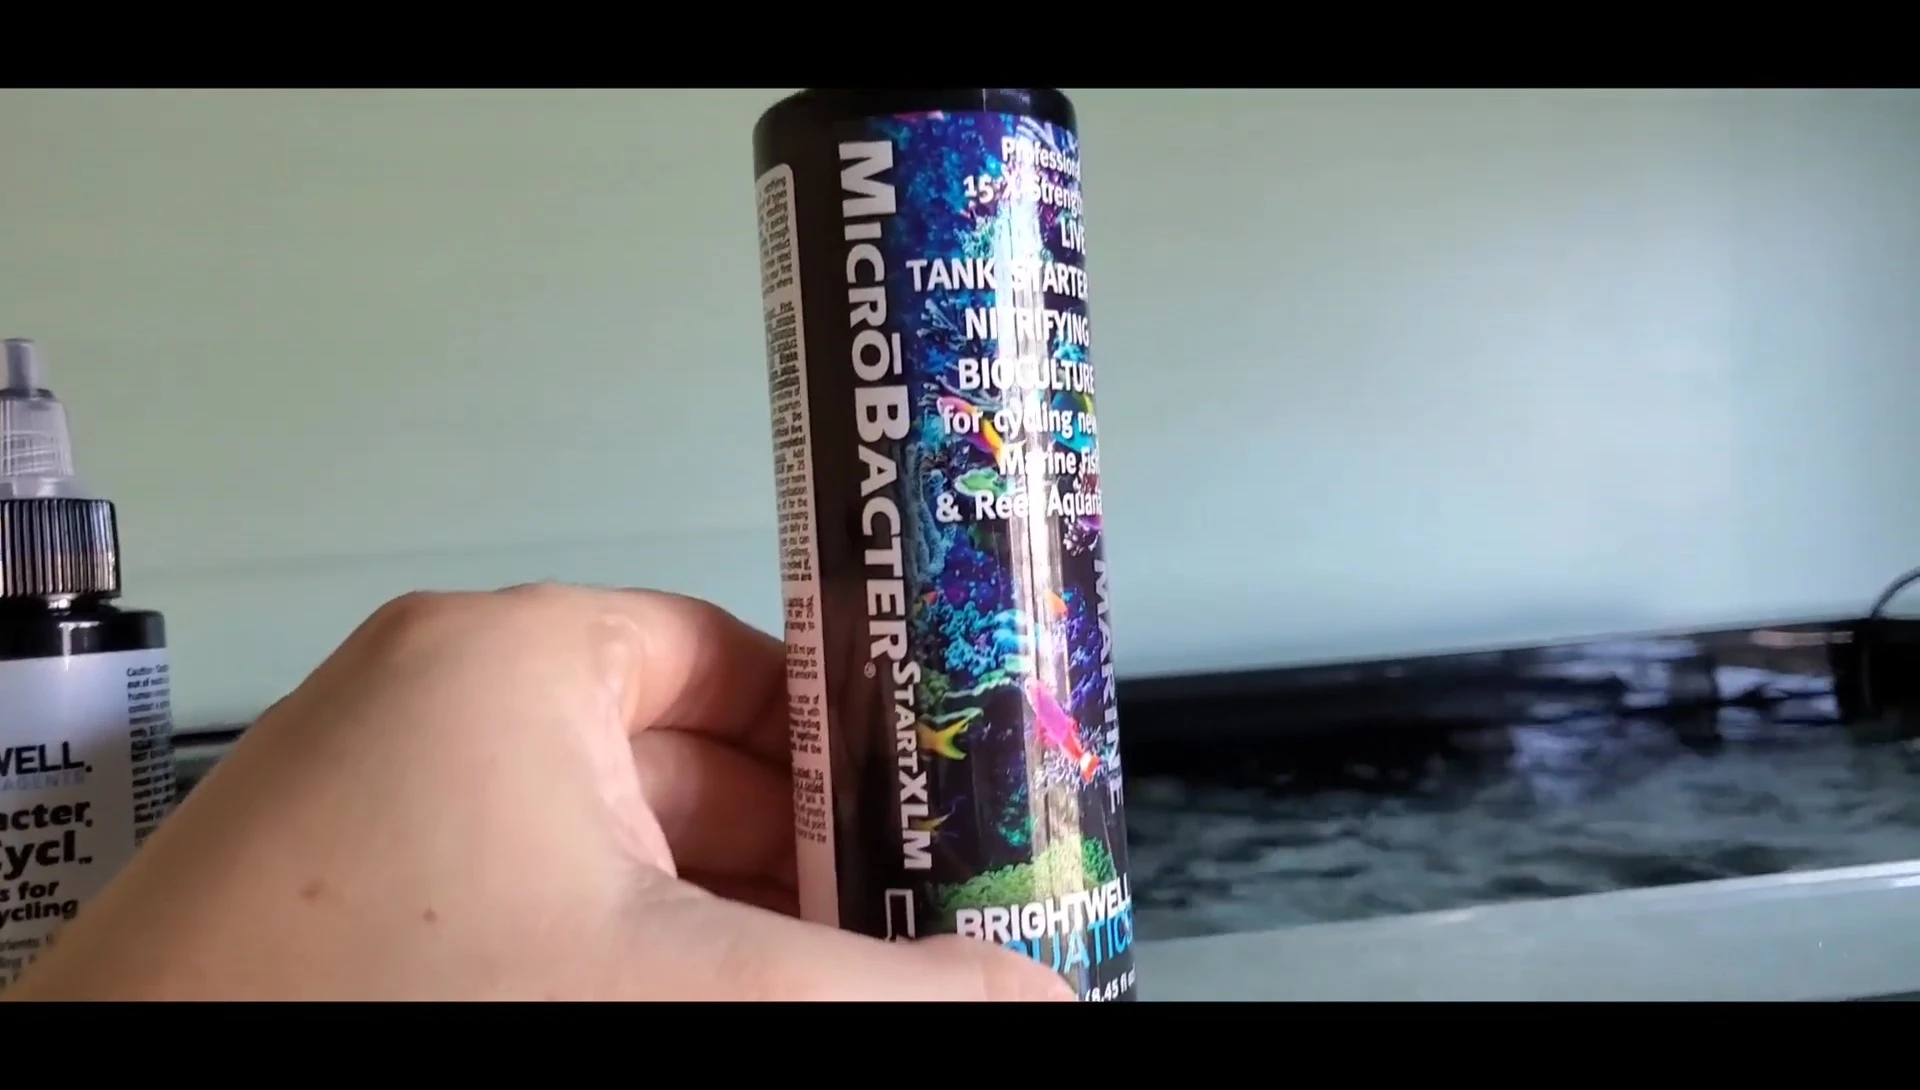
After removing the filter socks, the ammonia was added; two-thirds went into the main tank and one-third into the sump, along with the Microbacter Start XLM. The instructions on the Microbacter Start XLM bottle are discussed, focusing on the issues with use in the presence of live rock and live sand.
Challenges and Troubleshooting
A significant challenge arose with the Microbacter Start XLM bottle; the push-and-turn lid proved difficult to open. The frustration of opening the bottle is demonstrated. The video creator ultimately had to resort to cutting the bottle open to access the product.
Despite the initial difficulties, the product was successfully added to the tank. The video creator expresses strong disappointment in the design and packaging of the product. The rest of the cycling process is outlined: waiting a couple of days before testing, and future plans for filter socks and a skimmer.
A discussion on the importance of testing water parameters is provided; the creator decides against purchasing an additional test kit given the minimal use. However, they mention that regular testing of parameters is recommended to monitor the tank’s health.
Cycling Progress and Results
After five days, nitrate levels reached 75 ppm, which is significantly high. This unusual spike highlights the complexities of cycling and potential unforeseen issues. The video creator mentions the test kit packaging was damaged during shipment which can cause inaccuracies.
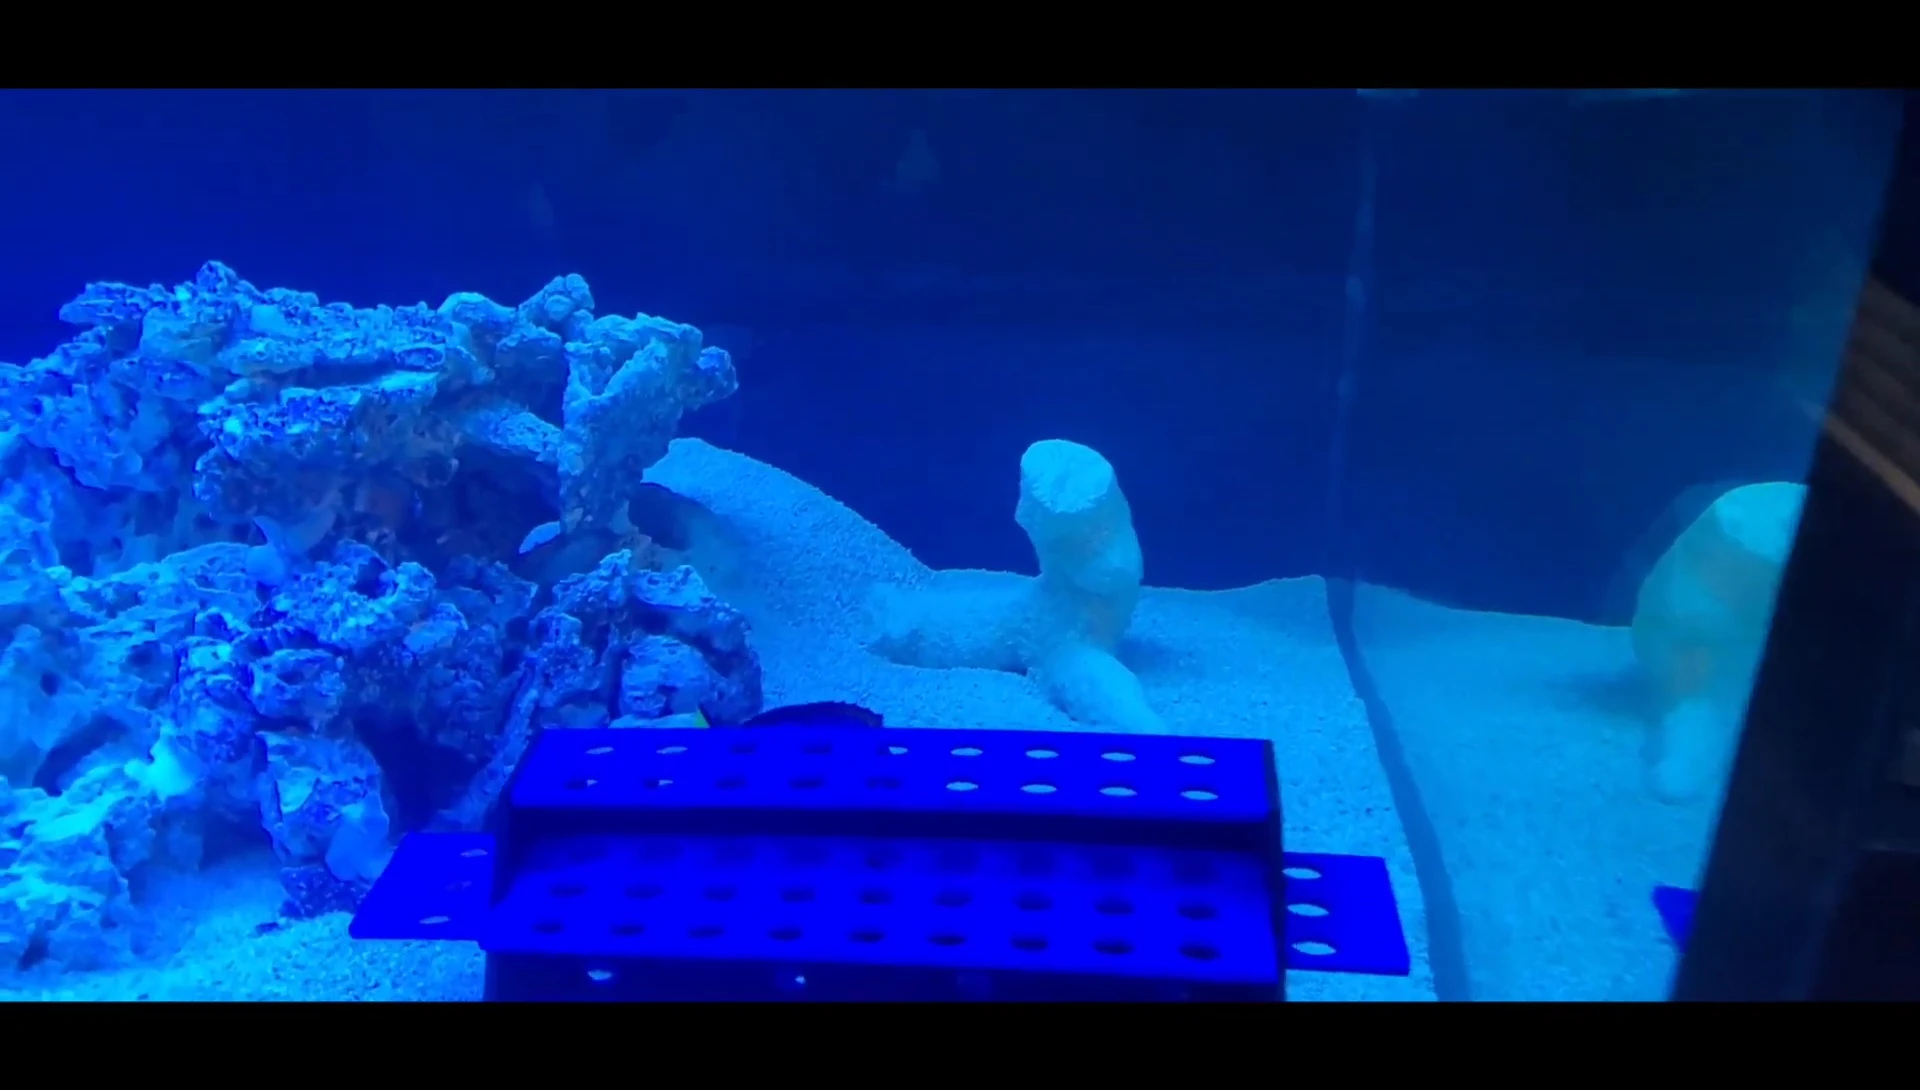
The filter socks were removed, revealing a substantial amount of organic matter in the sump. The creator plans to continue the cycle for another five to six days before retesting. They intend to install the filter socks again once the parameters stabilize.
After approximately 10-14 days, the cycle was completed. The creator notes unexpected nitrate readings initially (75 ppm, then dropping to 25 ppm), followed by a discussion on stocking the tank minimally with fish and addressing algae issues in the frag tank. Flow in the main display tank is lowered for fish comfort and stress reduction.
Fish Acclimation and Conclusion
The fish acclimation process involves a water change to adjust tank parameters and acclimate the fish to the new environment. This involves removing and adding approximately 20 gallons of water.
A health concern for one fish, Dory, arises during this time. Dory presents signs of stress and possibly head and lateral line disease; this underscores the importance of monitoring fish health carefully during and after cycling.
The video concludes with Dory in the tank and recovering, showing an improvement in her condition. The creator reiterates the successful completion of the cycle, emphasizing the ease of the process despite some challenges. A review of the Brightwell products used is provided, along with recommendations and observations.