Looking to create a multi-betta setup without the hefty price tag of pre-made dividers? This DIY guide shows you how to build custom dividers for your betta fish tank using inexpensive, readily available materials. Forget expensive store-bought options; this budget-friendly project utilizes a corrugated plastic sheet and basic tools you likely already own, making it a perfect solution for fish keepers on a budget. We'll walk you through each step, from precise measurements and cutting techniques to ensuring a secure and aesthetically pleasing final product. Get ready to transform your aquarium into a safe and stylish home for multiple bettas!This comprehensive guide provides a step-by-step approach to crafting dividers that perfectly fit your tank's dimensions. Learn how to accurately measure, cut, and assemble the dividers, paying close attention to detail for a professional finish. We'll also cover essential safety considerations, such as creating water flow holes and smoothing edges to protect your bettas' delicate fins. By the end, you'll have a custom-built, multi-compartment aquarium, providing a more secure and natural environment for your beloved fish, all while significantly reducing costs.
Read more: Fish Tank Dividers: A Comprehensive Review of Types and Uses
Materials and Tools
Creating custom dividers for your betta fish tank is surprisingly easy and affordable. The key is sourcing inexpensive materials. I opted for a corrugated plastic sheet (easily found at craft stores) and basic tools I already owned.
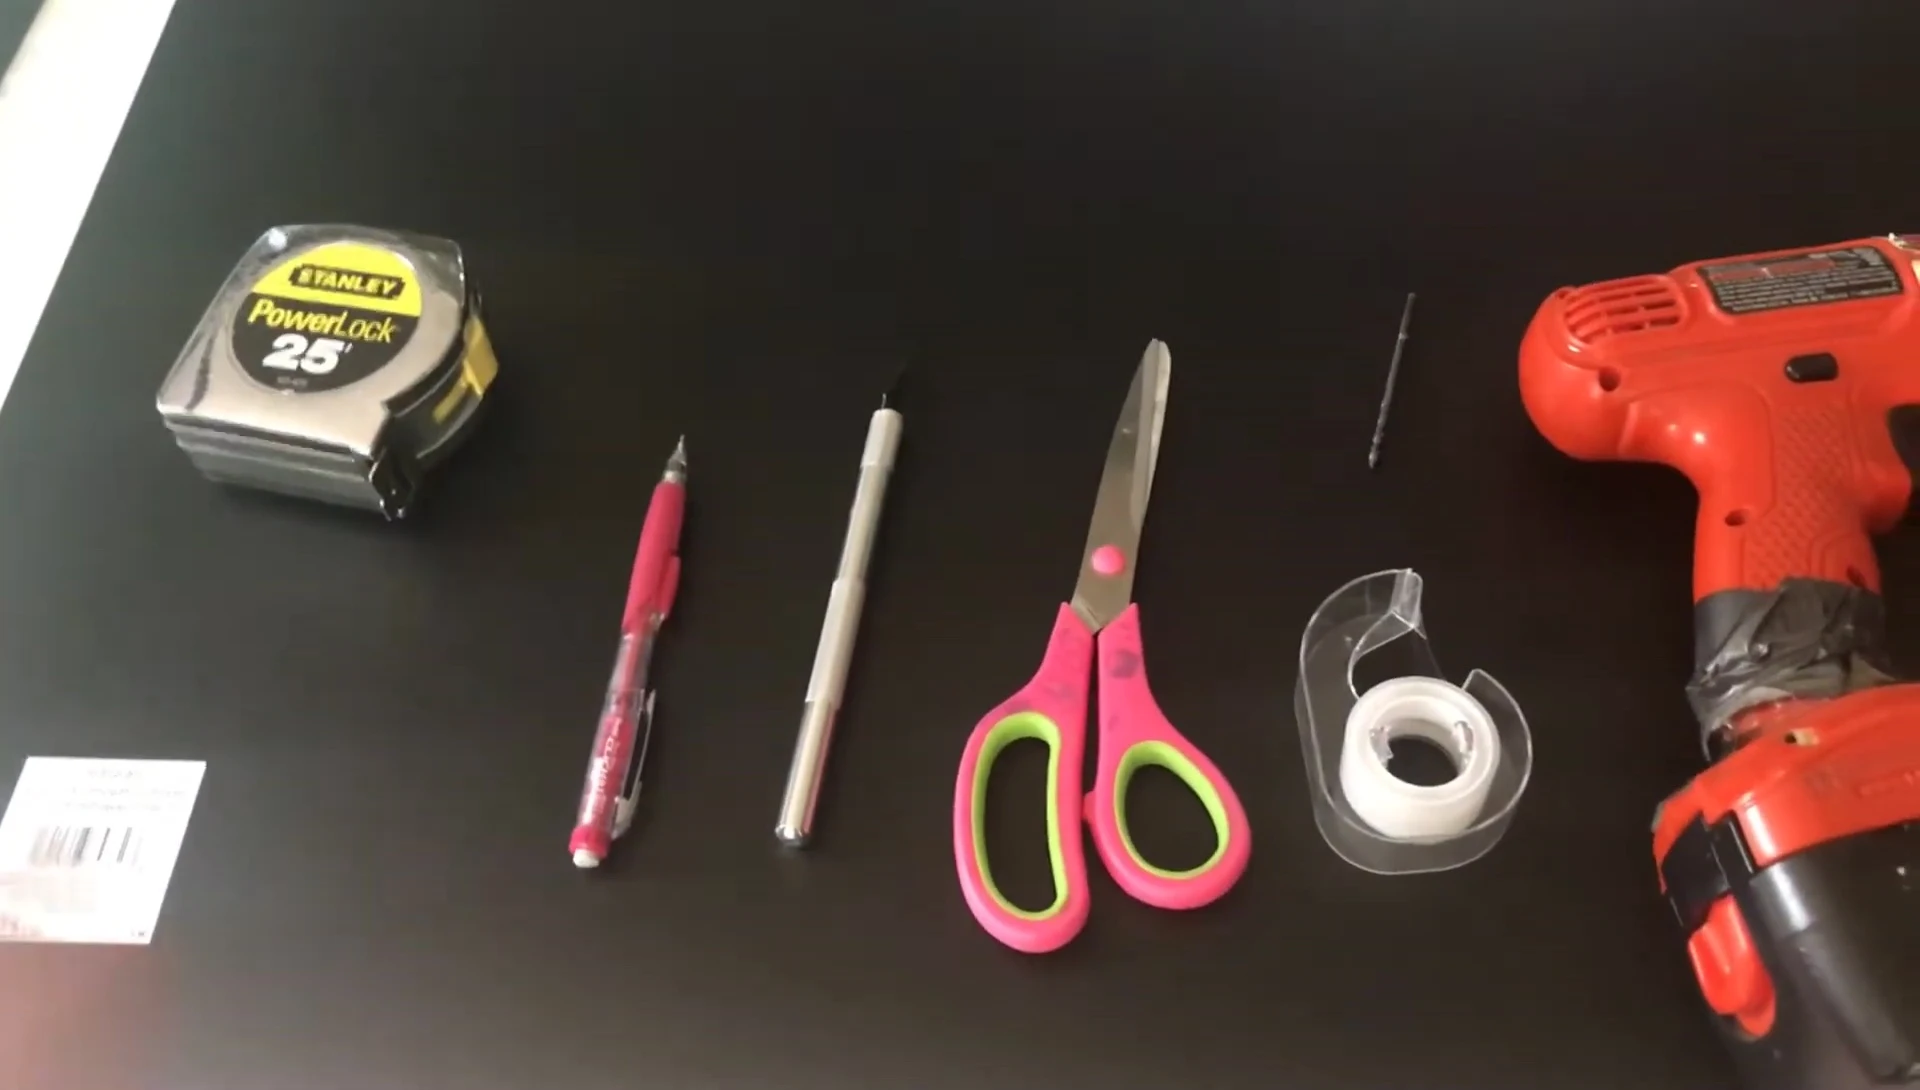
Beyond the plastic sheet, you'll need a measuring tape for precise measurements, a pencil to mark your cuts, an exacto knife and scissors for cutting, tape for holding everything together, a drill bit, and a drill for creating water flow holes.
Don't worry if your tools aren't brand new; functionality is key! With these simple supplies, you can create a professional looking divider.
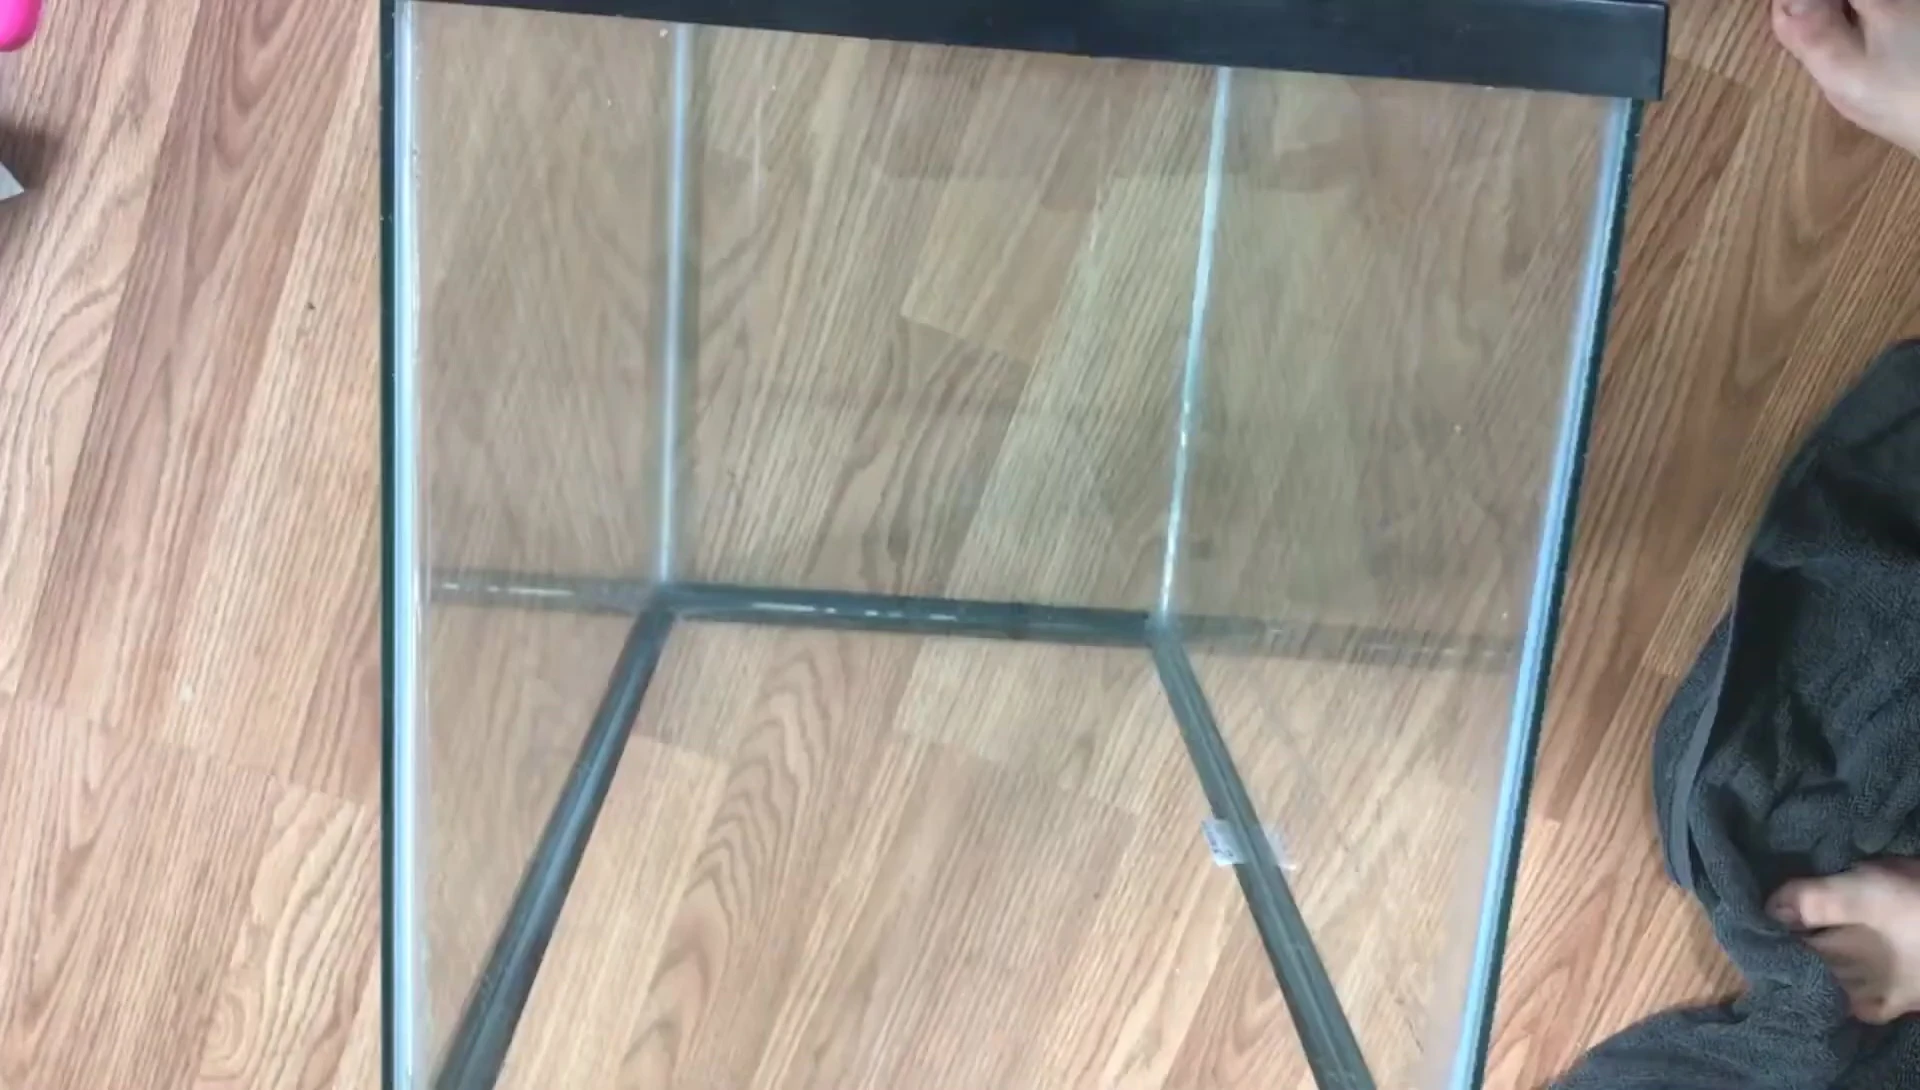
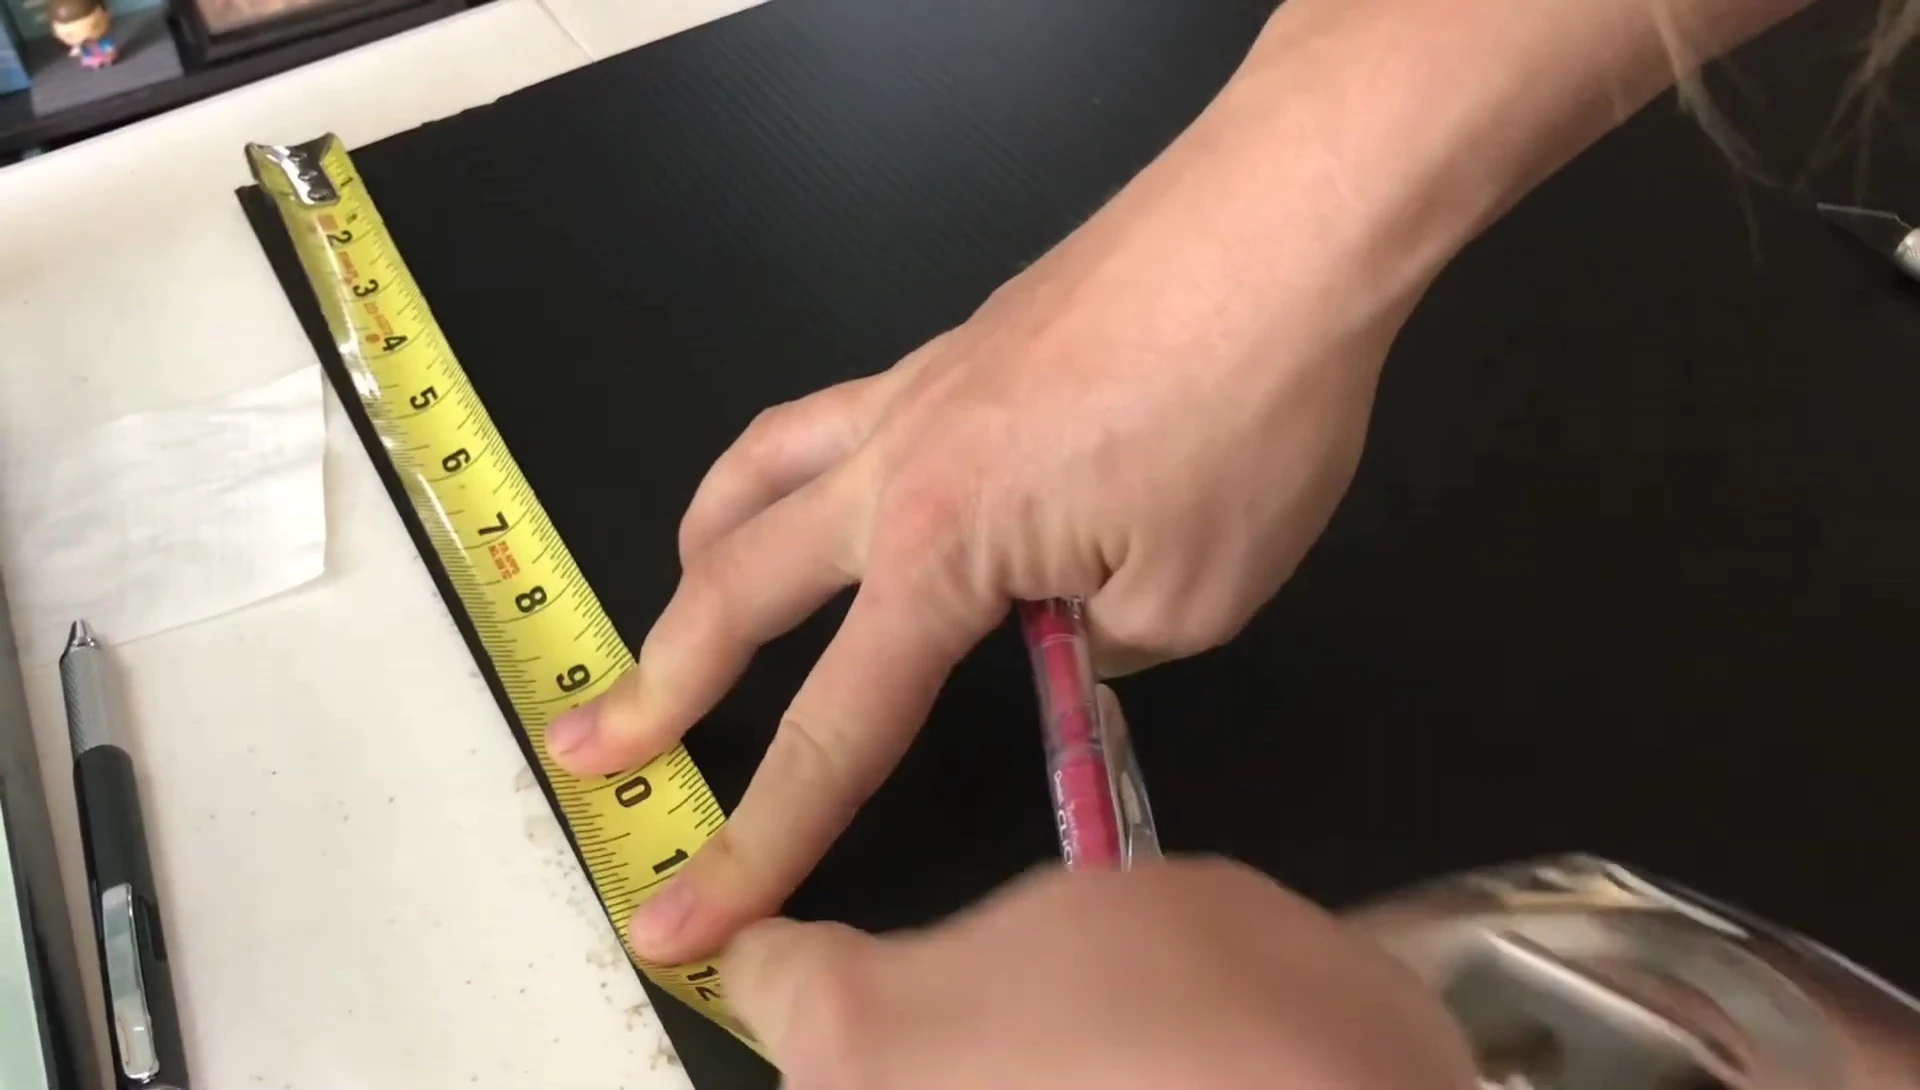
Measuring and Cutting
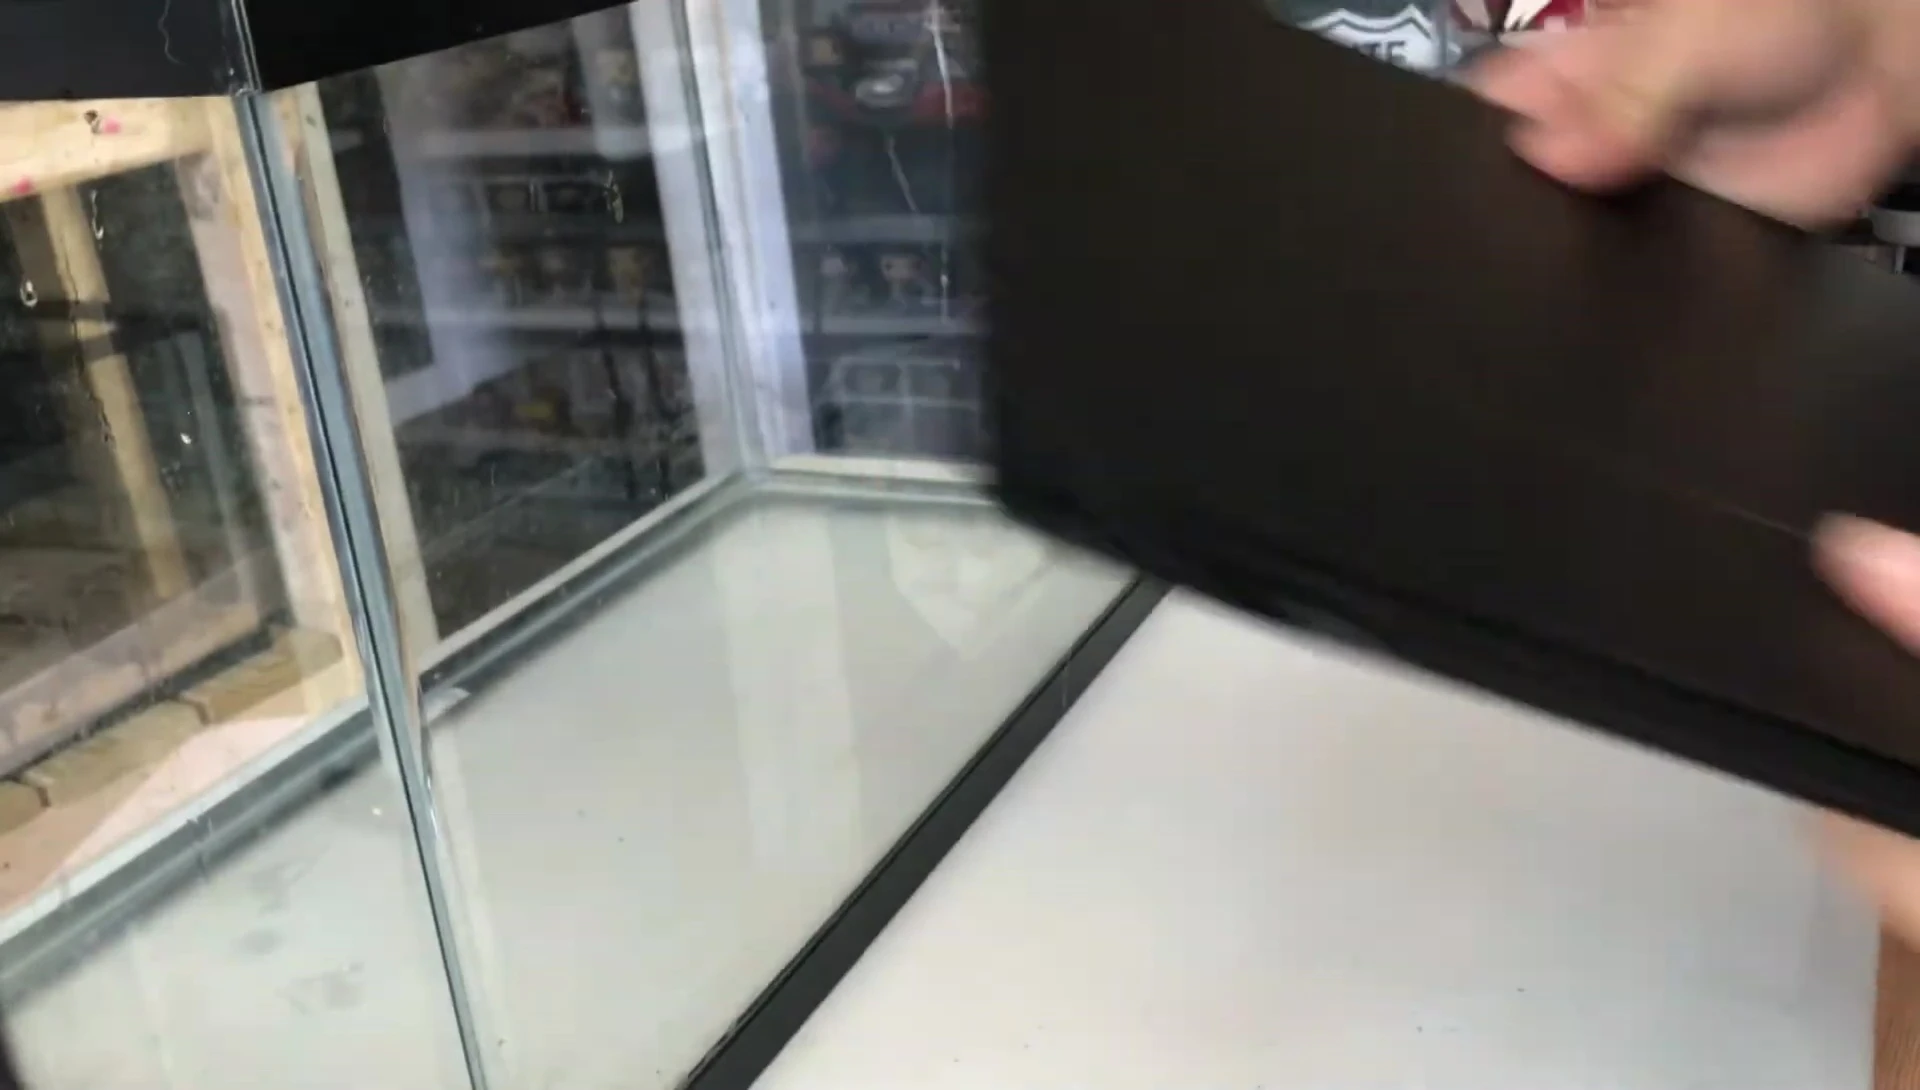
Begin by carefully measuring your 10-gallon aquarium's interior dimensions. Accuracy is crucial here, ensuring a snug fit for your divider. Measure the width from the inside edge of one pane of glass to the inside edge of the opposite pane.
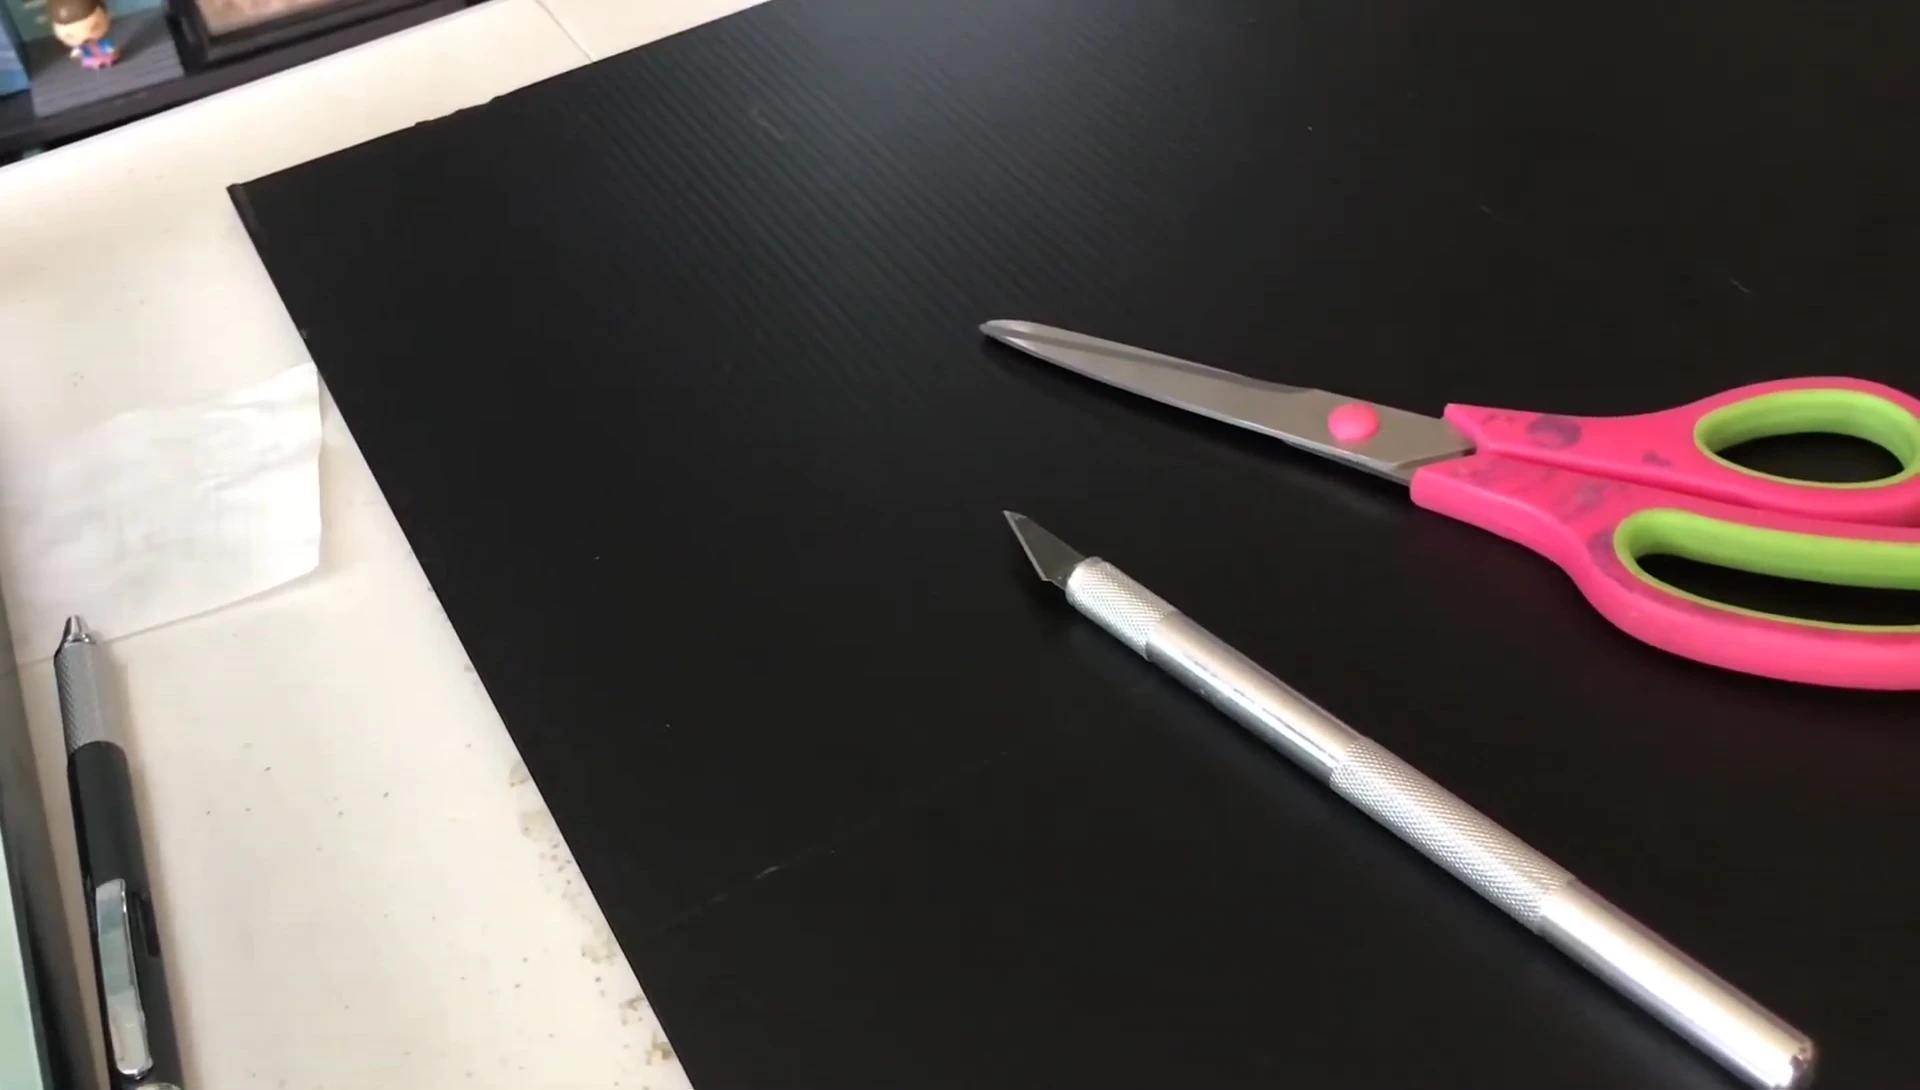
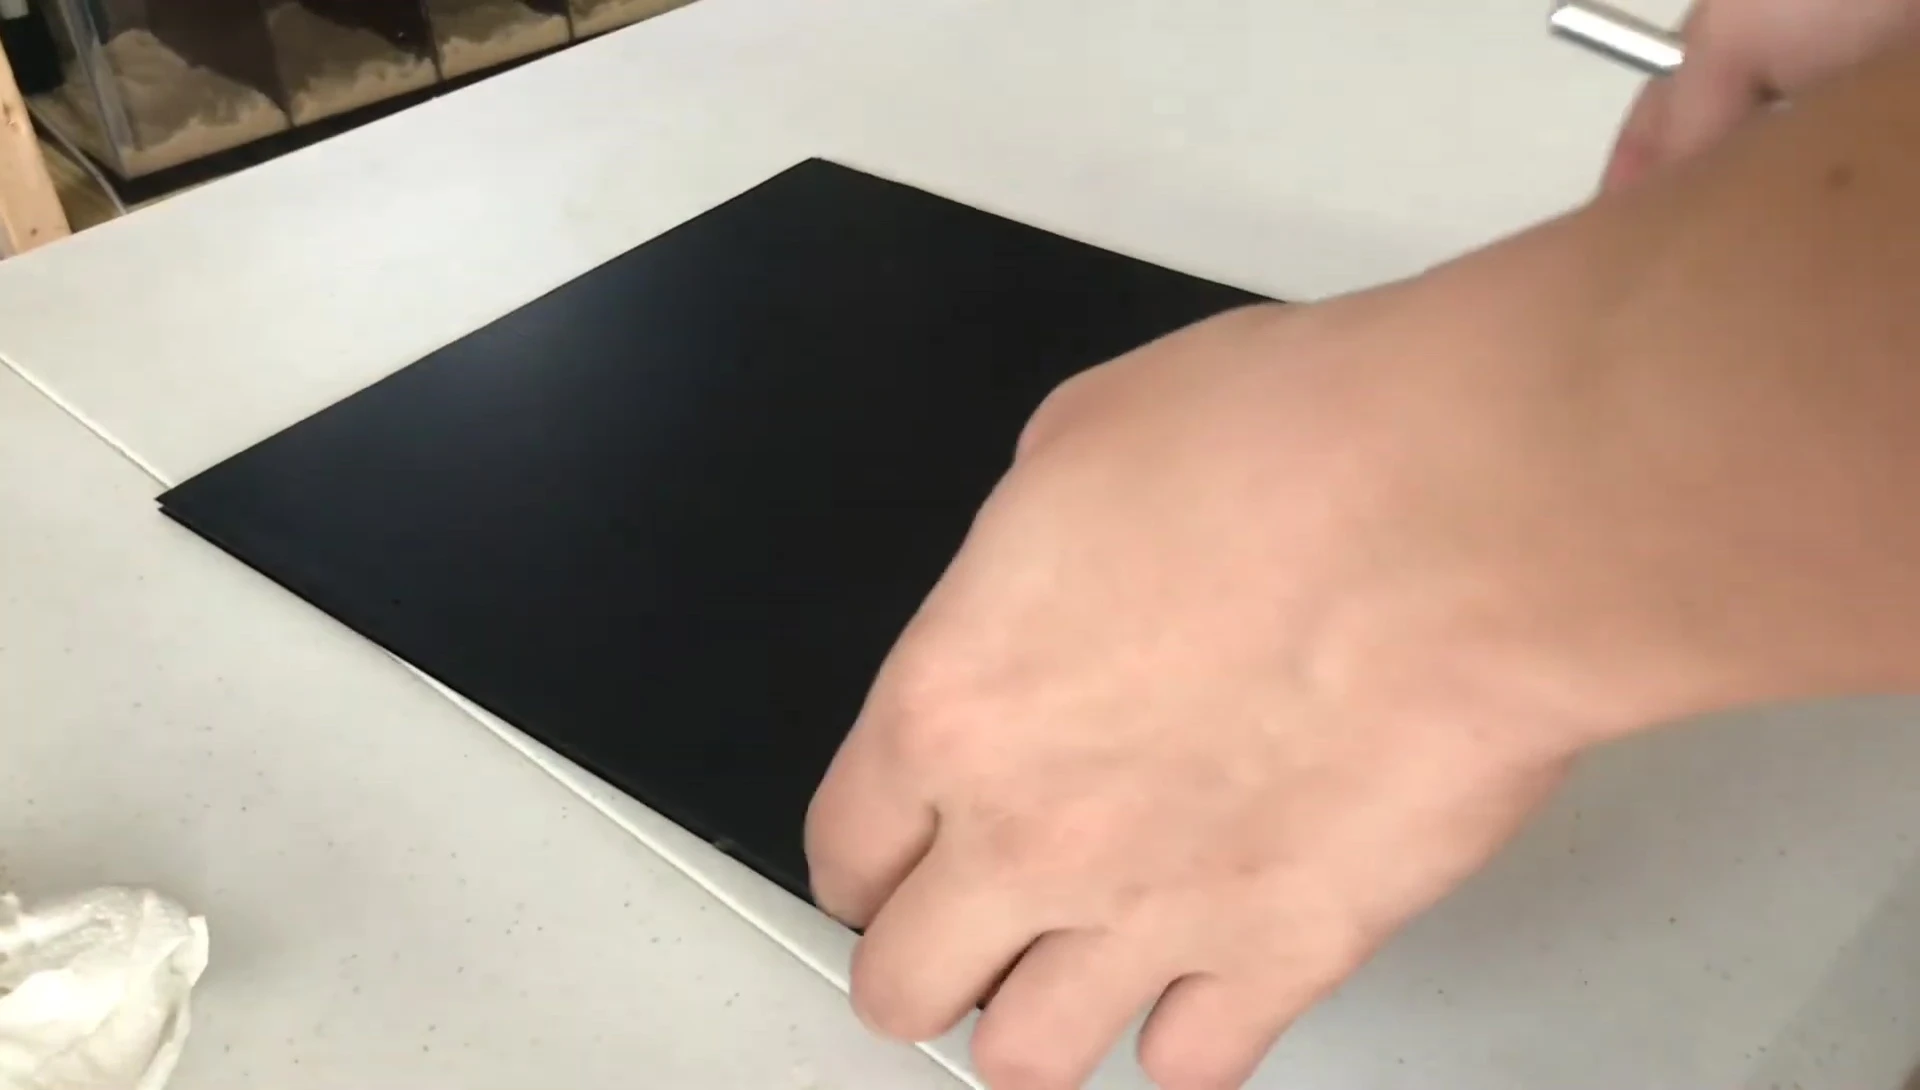
Transfer these measurements to your plastic sheet. Mark your lines clearly using a pencil. Cutting the corrugated plastic is easier along the grooves (the direction of the corrugations).
Use a combination of the exacto knife and scissors for precise cutting. Take your time to ensure clean, straight lines for a professional finish. Test fit your divider frequently.
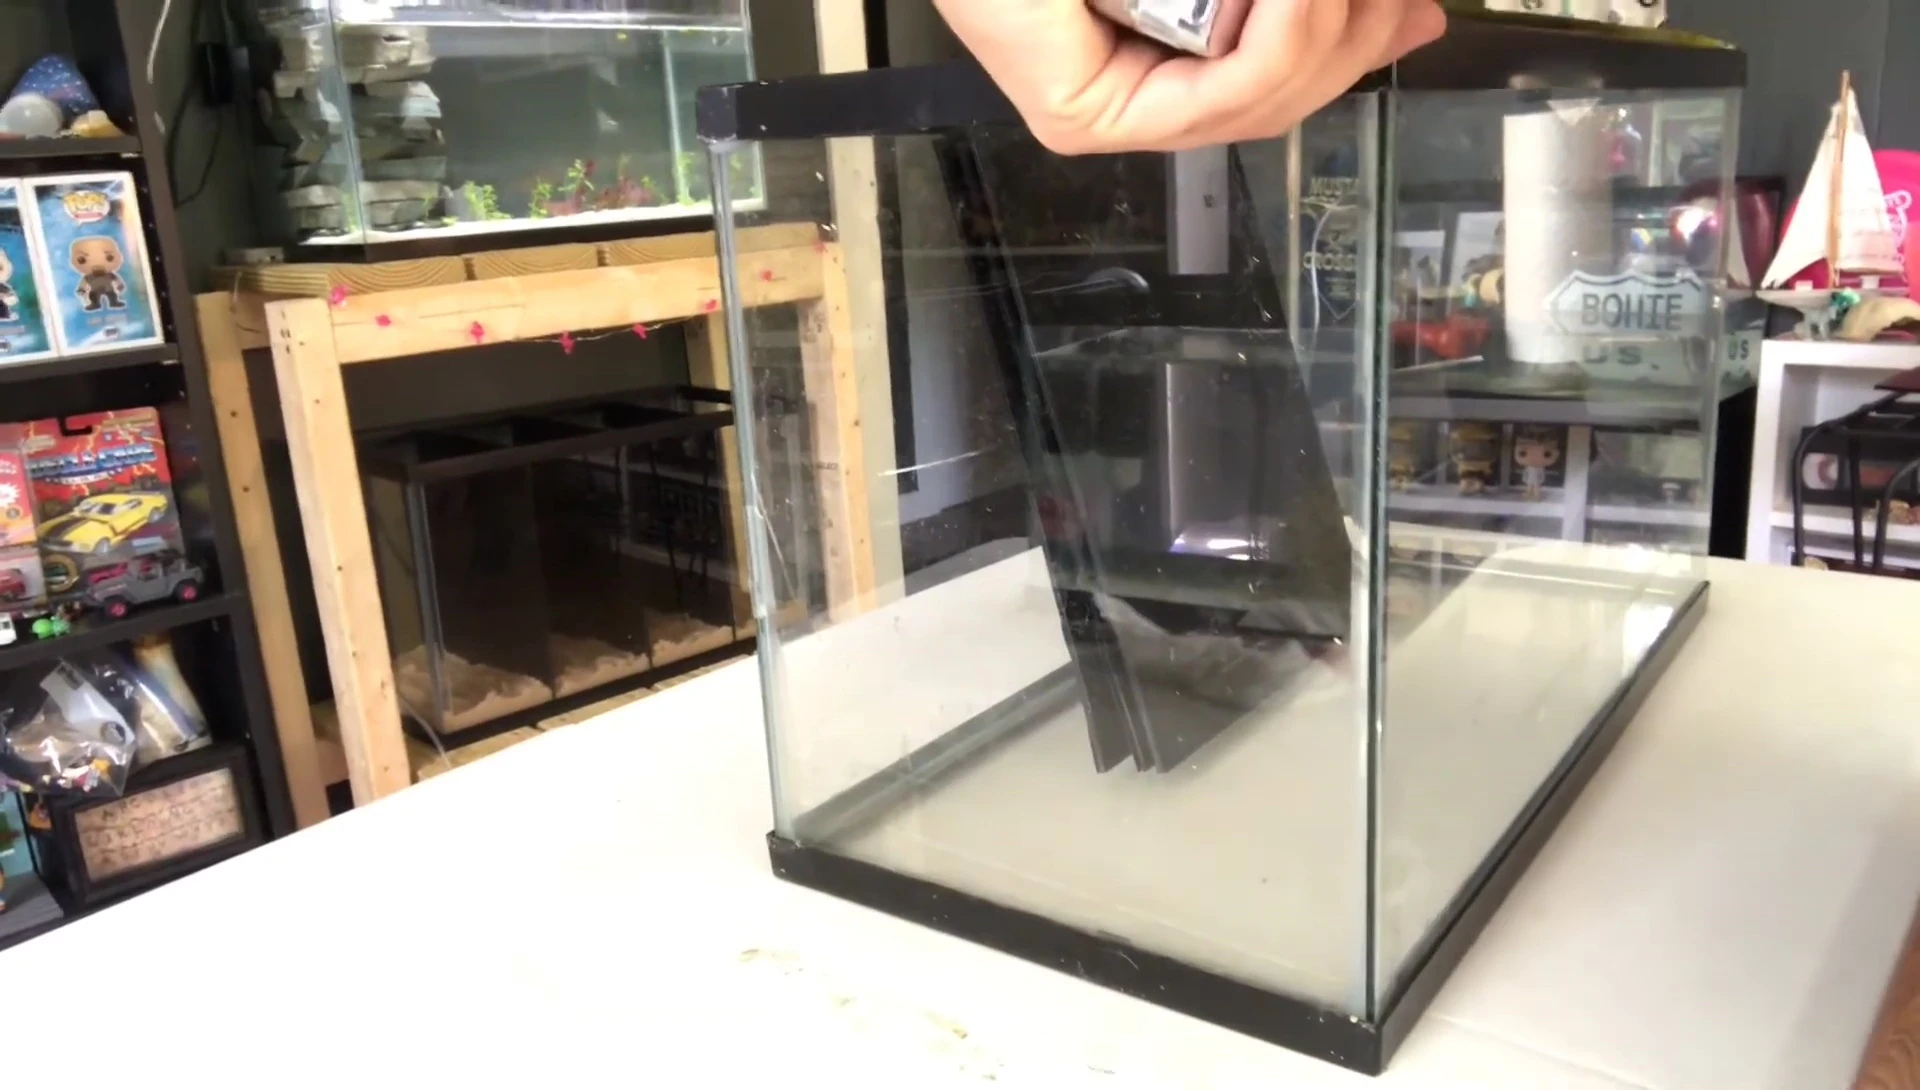
Refining the Fit and Creating Identical Dividers
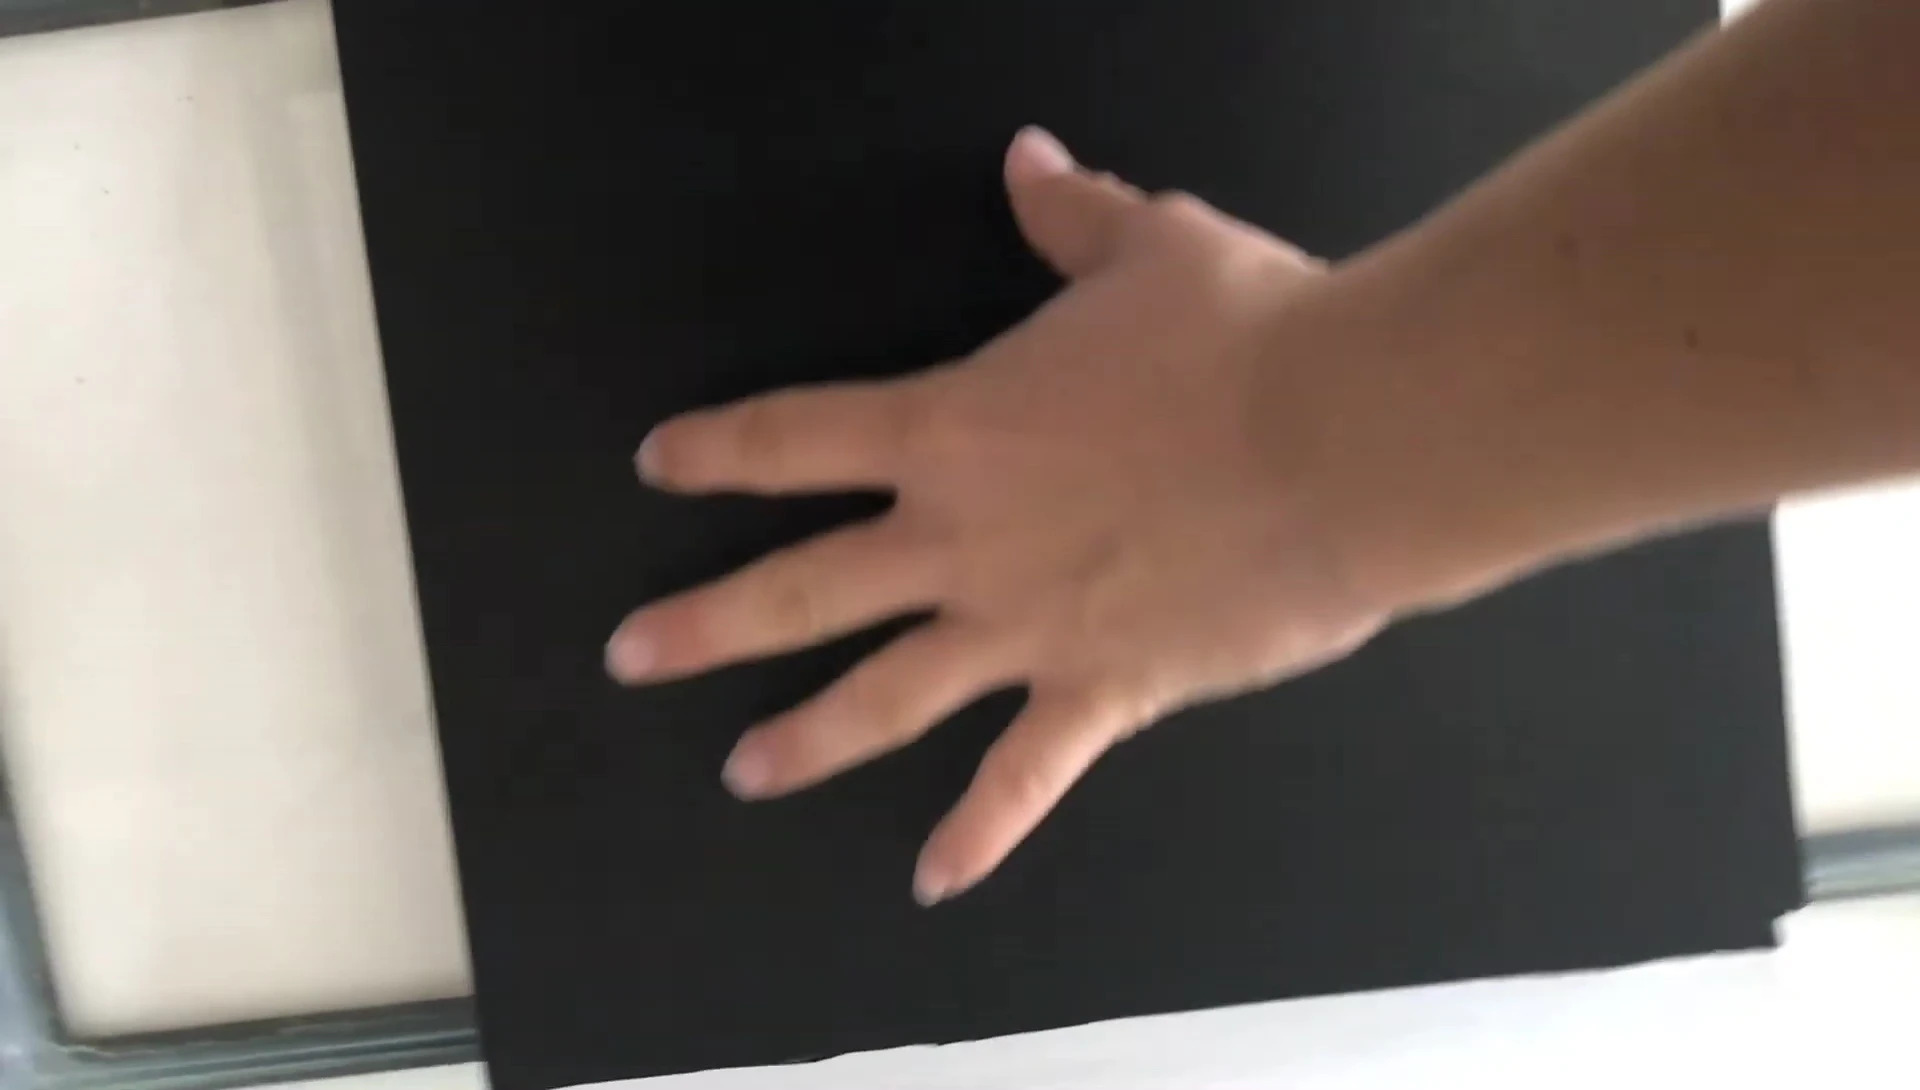
After cutting your first divider, it is important to test the fit inside the aquarium. If the edges are tight, use scissors to gently create little slits to allow it to sit flush with the glass.
Once you have the perfect fit, trace the first divider onto your plastic sheet to create two identical dividers. Double-check your measurements before cutting to ensure even spacing within your tank.
Cutting and fitting these additional dividers is the same process as the first one, ensuring all three fit perfectly snug in the aquarium.
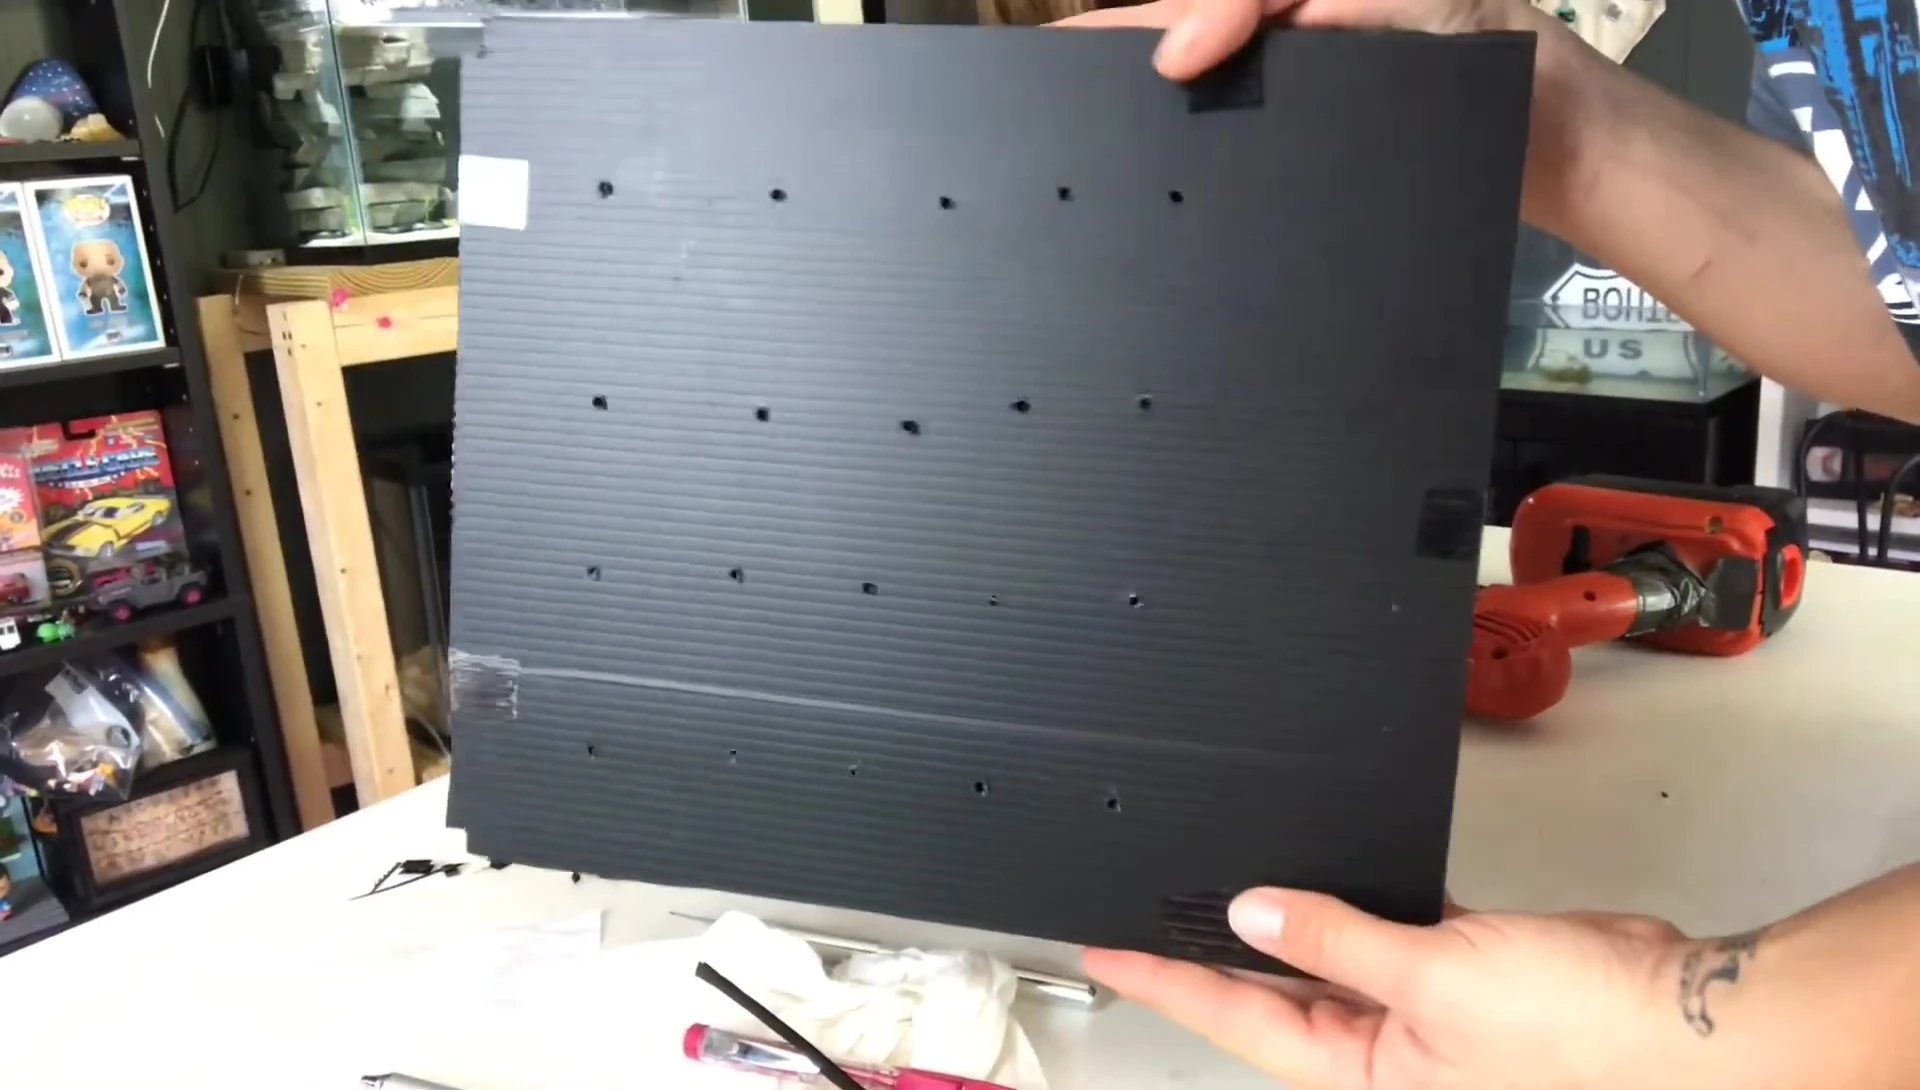
Assembling and Drilling
Before installing your dividers, tape them together securely to ensure they remain aligned. This prevents unwanted gaps and improves overall stability.
After taping the dividers together, drill holes to allow water flow between compartments. Small holes are ideal to prevent your betta from seeing through and avoid any injury.
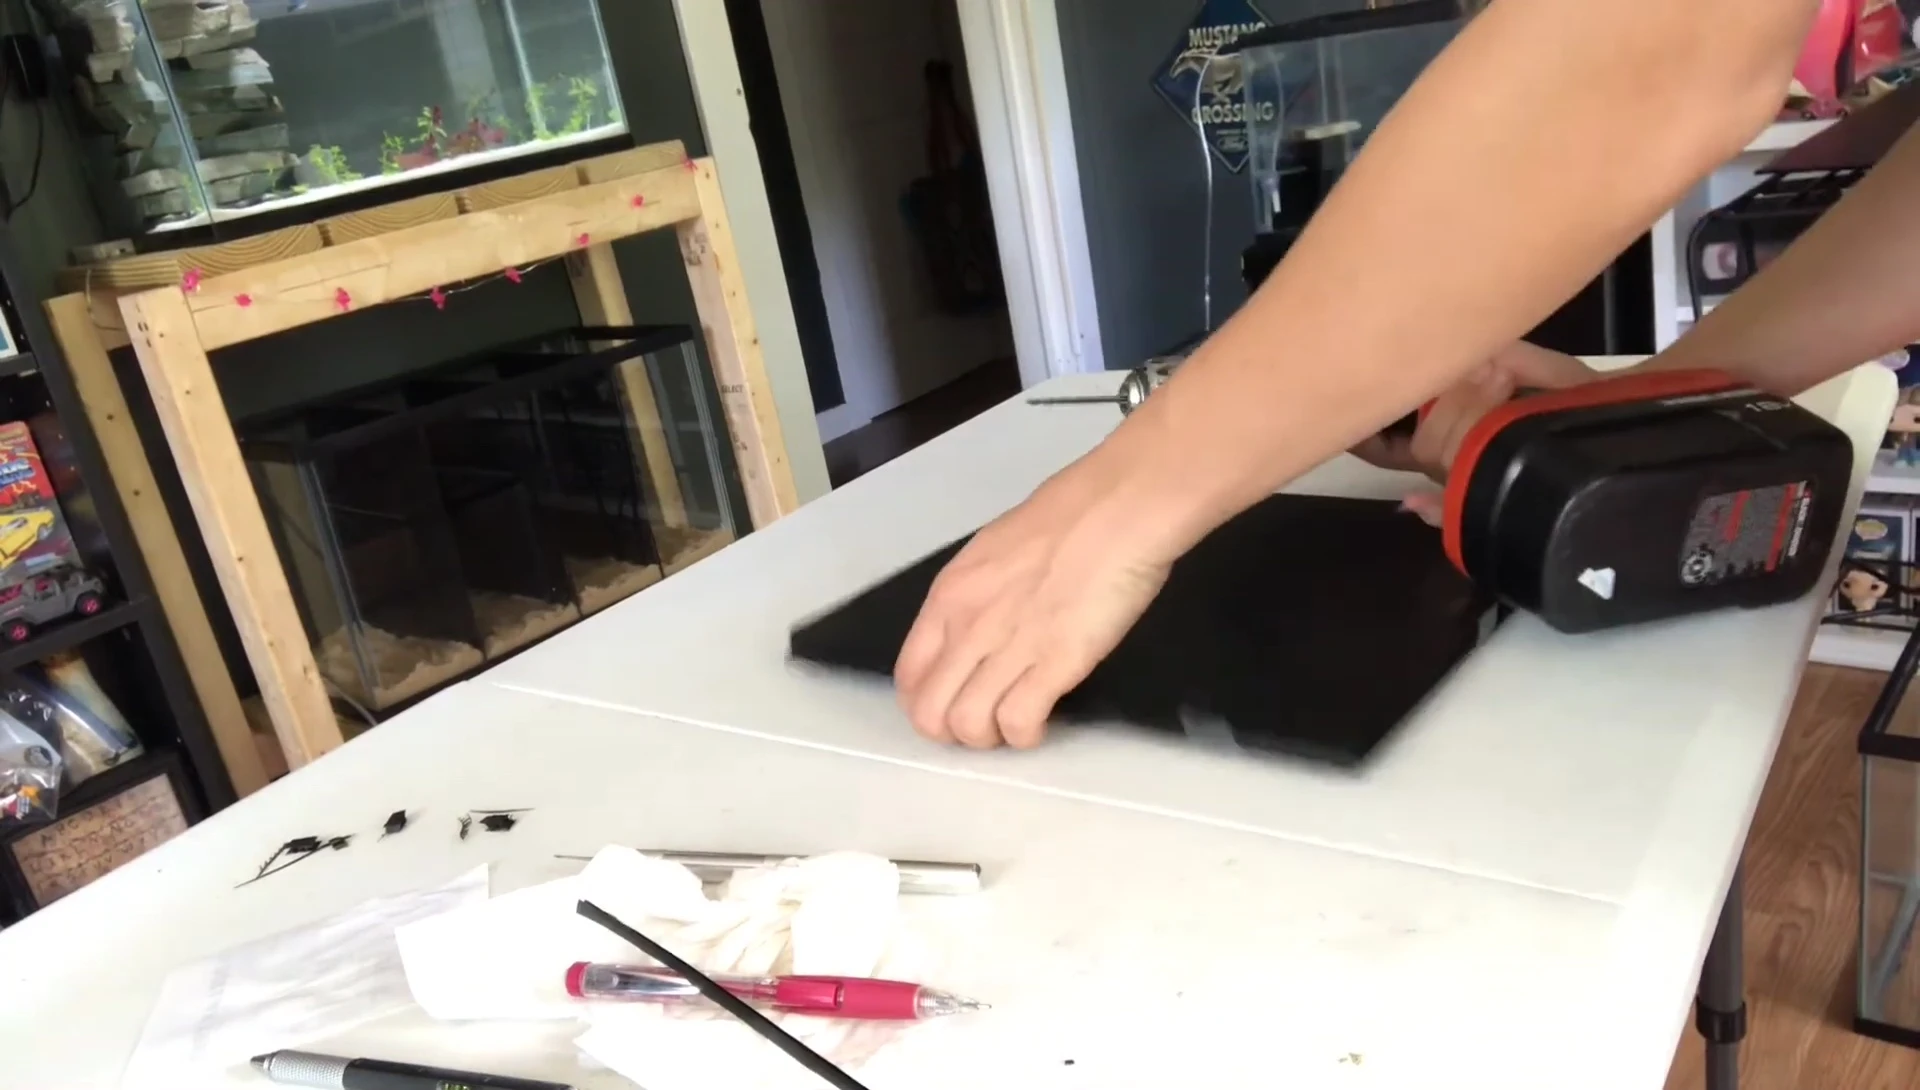
Sand the edges of the holes smooth to protect your betta's delicate fins from snags. This finishing touch elevates the divider's quality and safety.
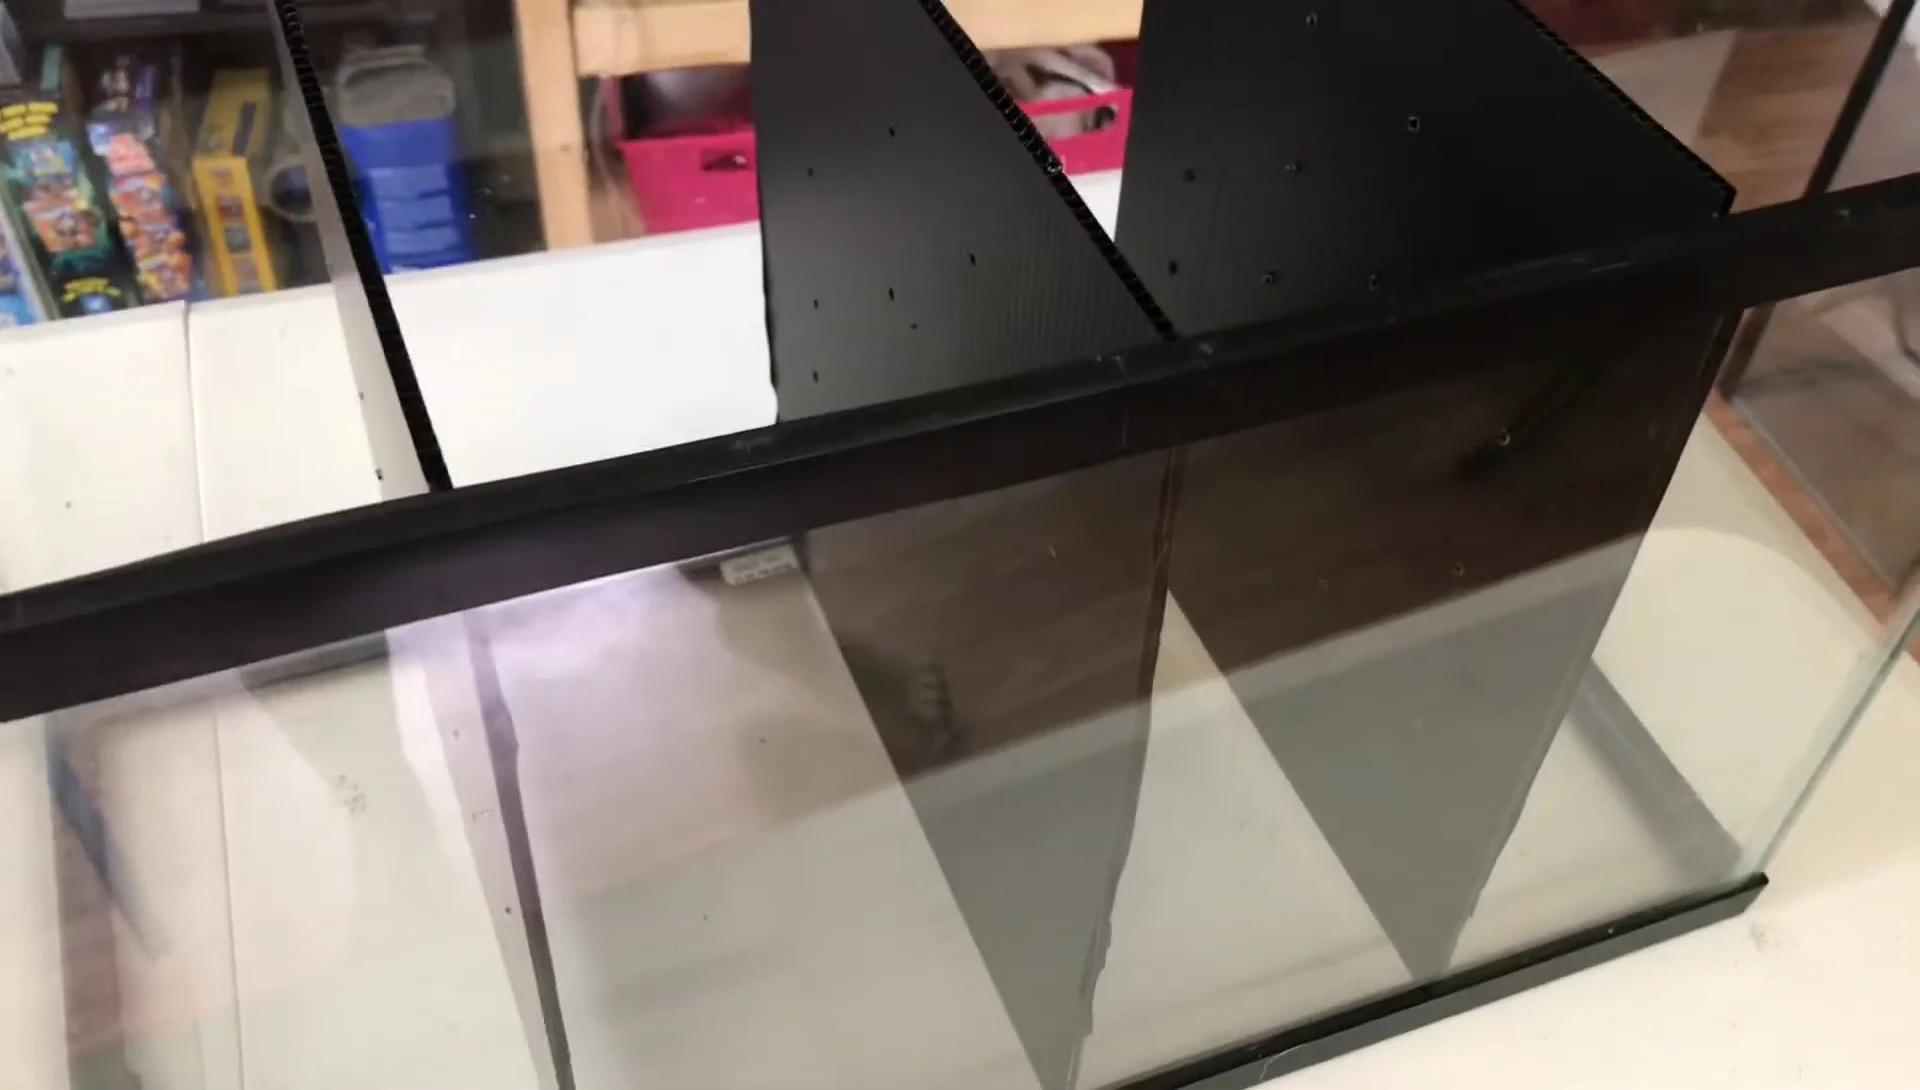
Installation and Finishing Touches
Precise placement of the dividers is key for optimal use of tank space. Use measurements to ensure even spacing between the dividers.
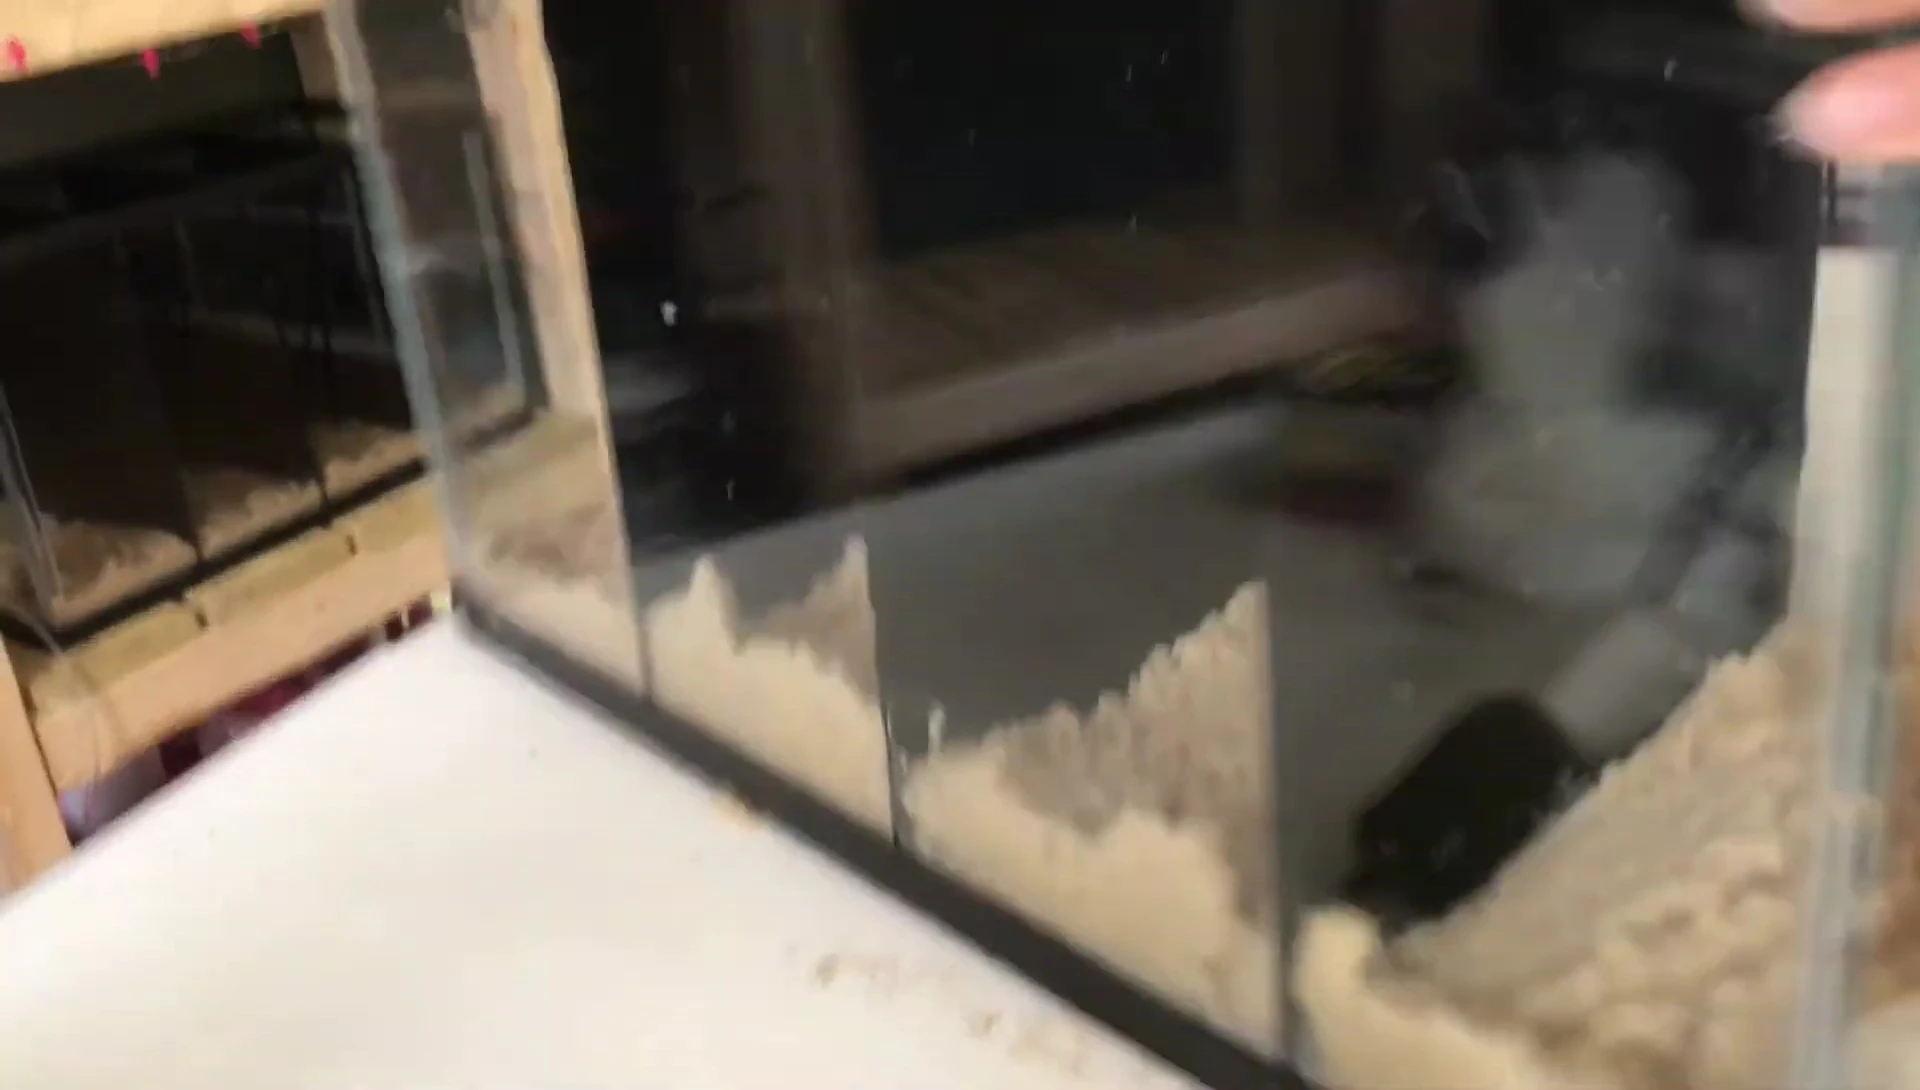
For added stability, fill the bottom of the dividers with sand or aquarium gravel. This creates a weighted base, preventing shifting or movement of the dividers once the tank is filled with water.
Finish by adding your filter, substrate, plants, and water. Always allow for proper water flow and avoid disturbing your dividers while placing the items in the tank.
Conclusion
Creating DIY betta dividers is a cost-effective and rewarding project. The process allows for customization to perfectly fit your tank size and betta's needs. This method provides a more secure and natural-looking division compared to pre-made plastic ones.
By following these steps and using easily accessible materials, you can create a beautiful and functional multi-betta setup without breaking the bank. Remember to always prioritize your bettas' safety and well-being.