This step-by-step guide details the creation of a stunning DIY island aquascape within a 44-inch tank. Forget expensive pre-made designs; this project showcases how readily available materials can be transformed into a breathtaking underwater landscape. We'll walk you through the process of building a central island using recycled styrofoam, cleverly disguised with river rocks for a naturally textured and visually appealing base. Learn how to achieve structural integrity using readily available materials like cotton balls and silicone, creating a stable foundation for your aquatic paradise. This guide emphasizes creativity and resourcefulness, proving that stunning results are achievable without breaking the bank or requiring specialized skills.Part 1 focuses on constructing the island's base, a crucial first step in creating a realistic and visually striking underwater world. From careful rock placement and gap-filling techniques to the meticulous layering of silica sand, every detail is covered. This detailed account highlights the challenges and triumphs encountered during the construction phase, offering valuable insights and practical advice for aspiring aquascapers. Despite a minor setback (a foot injury!), the project progresses towards a visually stunning and unique aquascape. Stay tuned for Part 2, where we'll explore the exciting next steps: filling the tank, planting, and bringing this aquatic island to life.
Pros And Cons
- Sufficient quantity to cover the tank bottom
- Excess available for future projects
- Cool textures
- Amazing colors and variants
- Initially unappreciated when dry
Read more: 5 Amazing Lava Rock Aquarium Caves
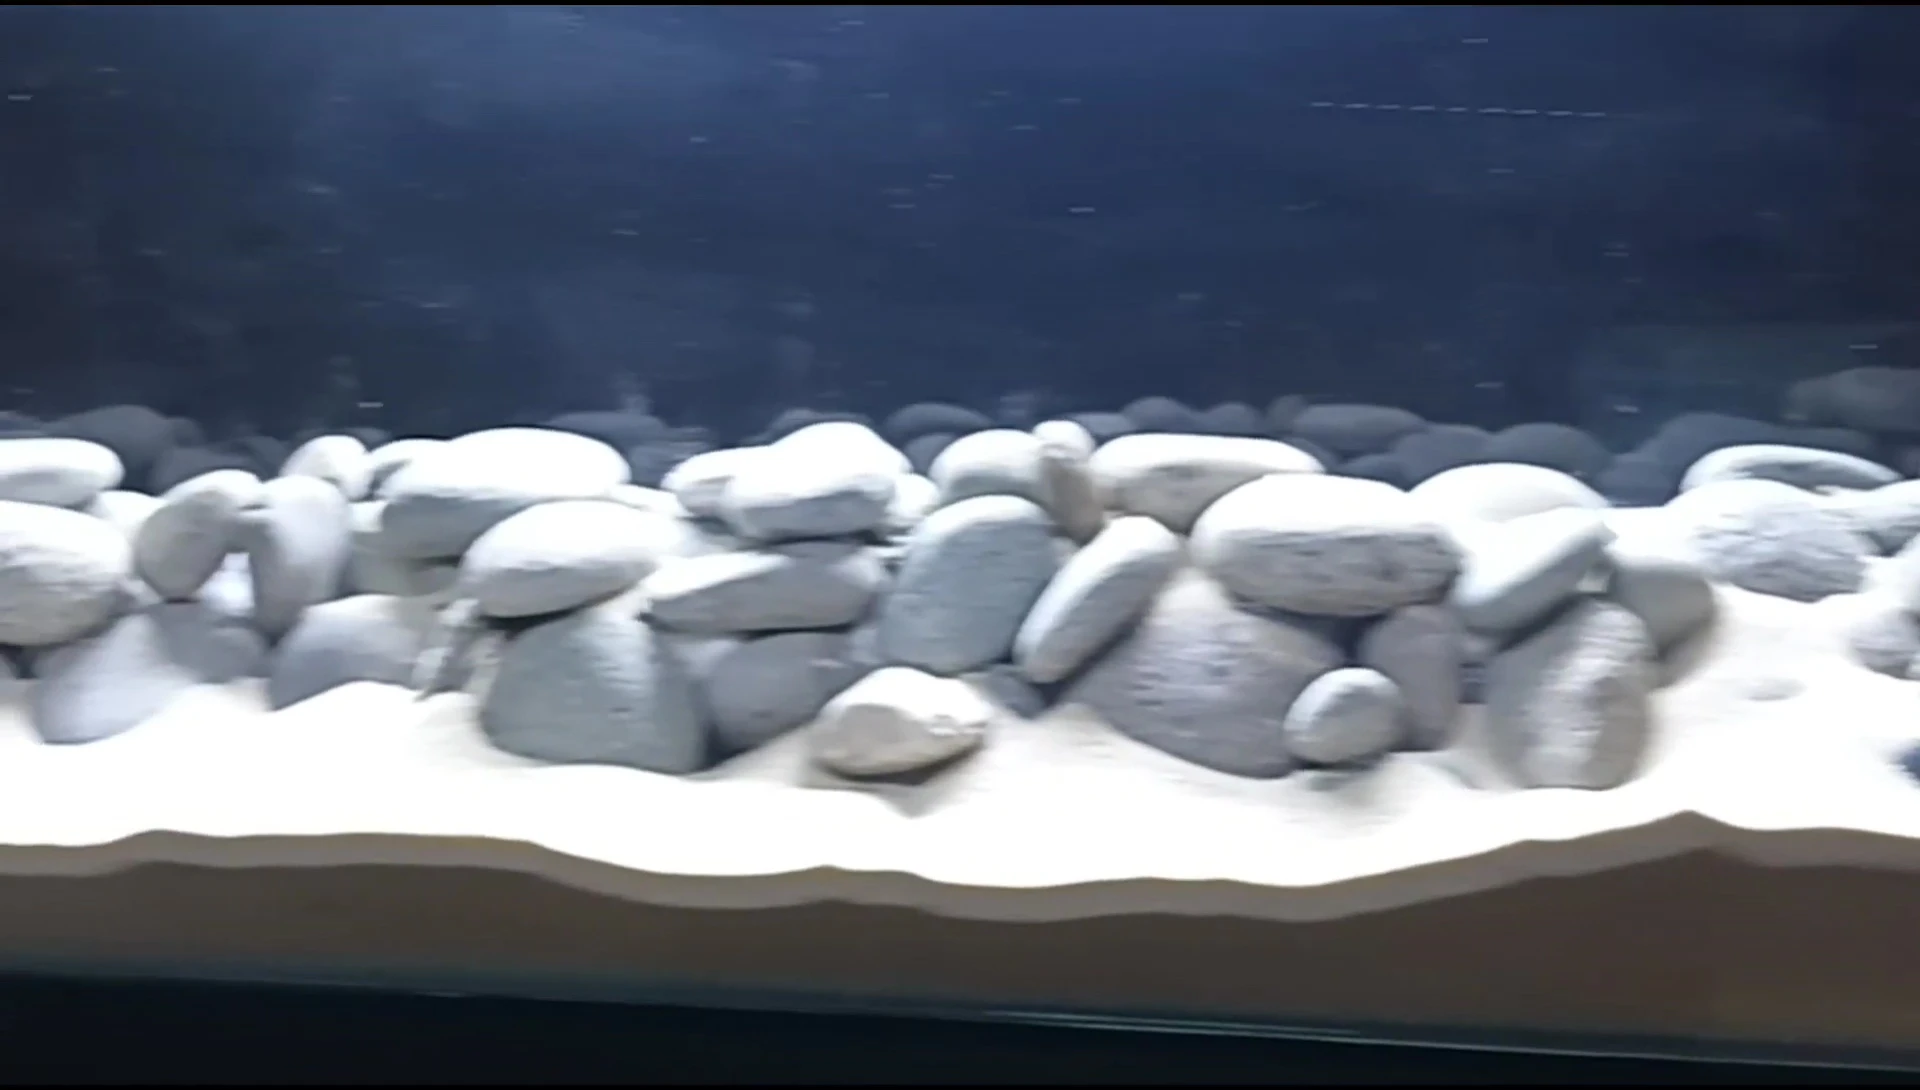
Building the Foundation: Styrofoam and River Rocks
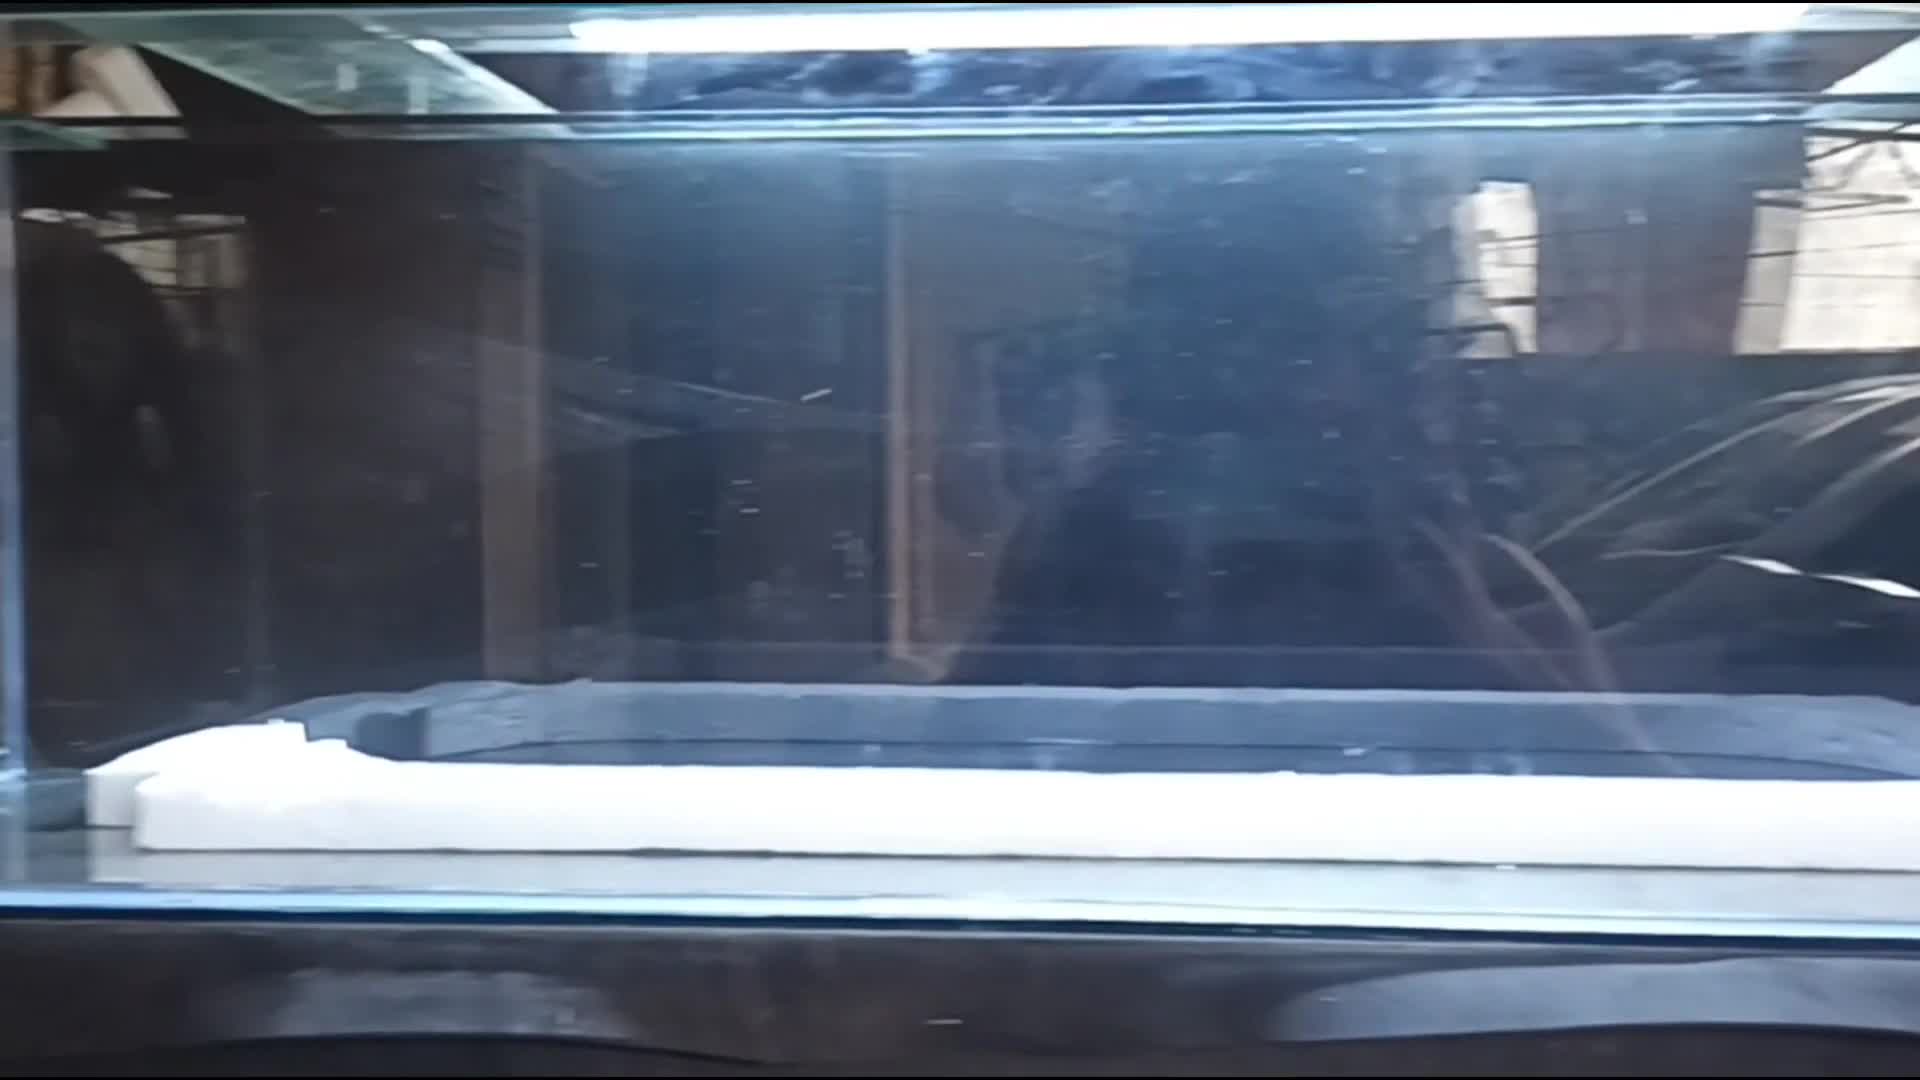
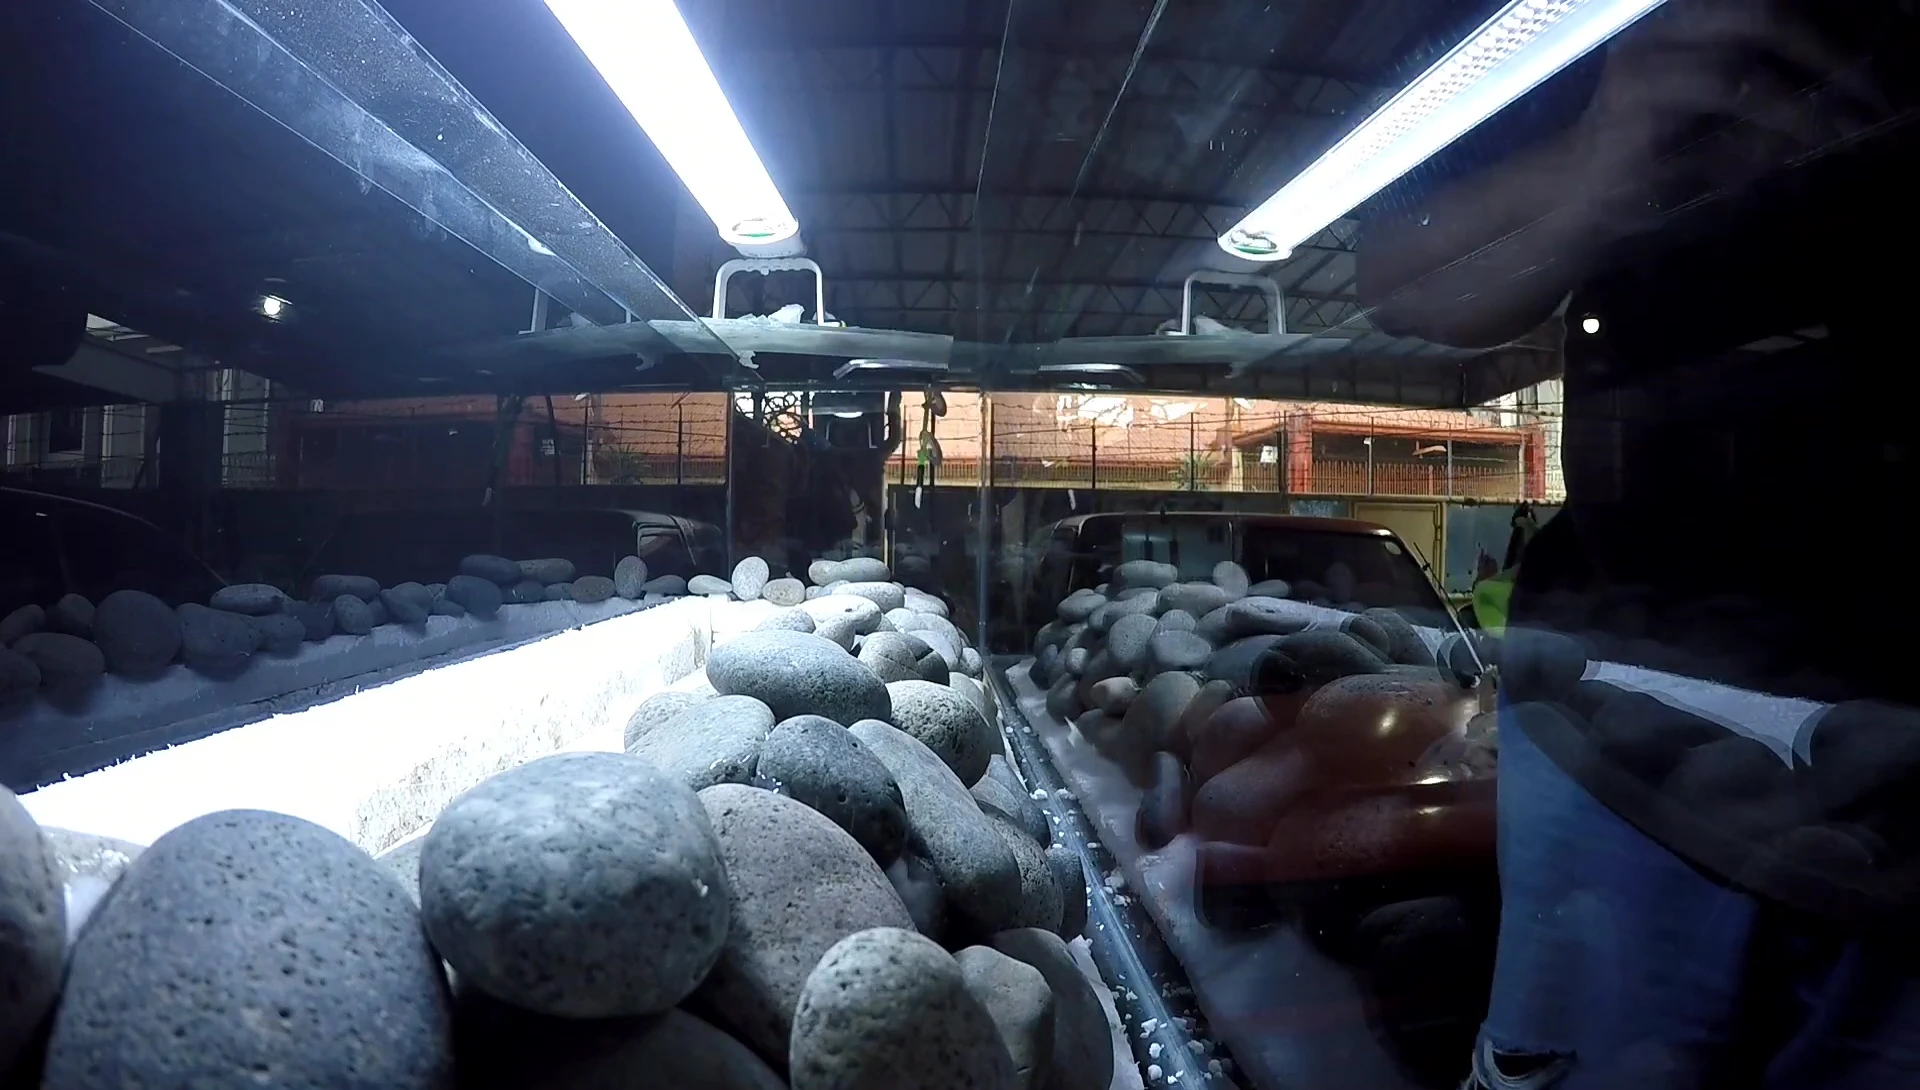
This project centers around creating an island-style aquascape in a 44-inch tank. The initial phase involves constructing a central island platform using styrofoam. This platform will provide elevation for the plants, reducing the need for extremely powerful aquarium lighting.
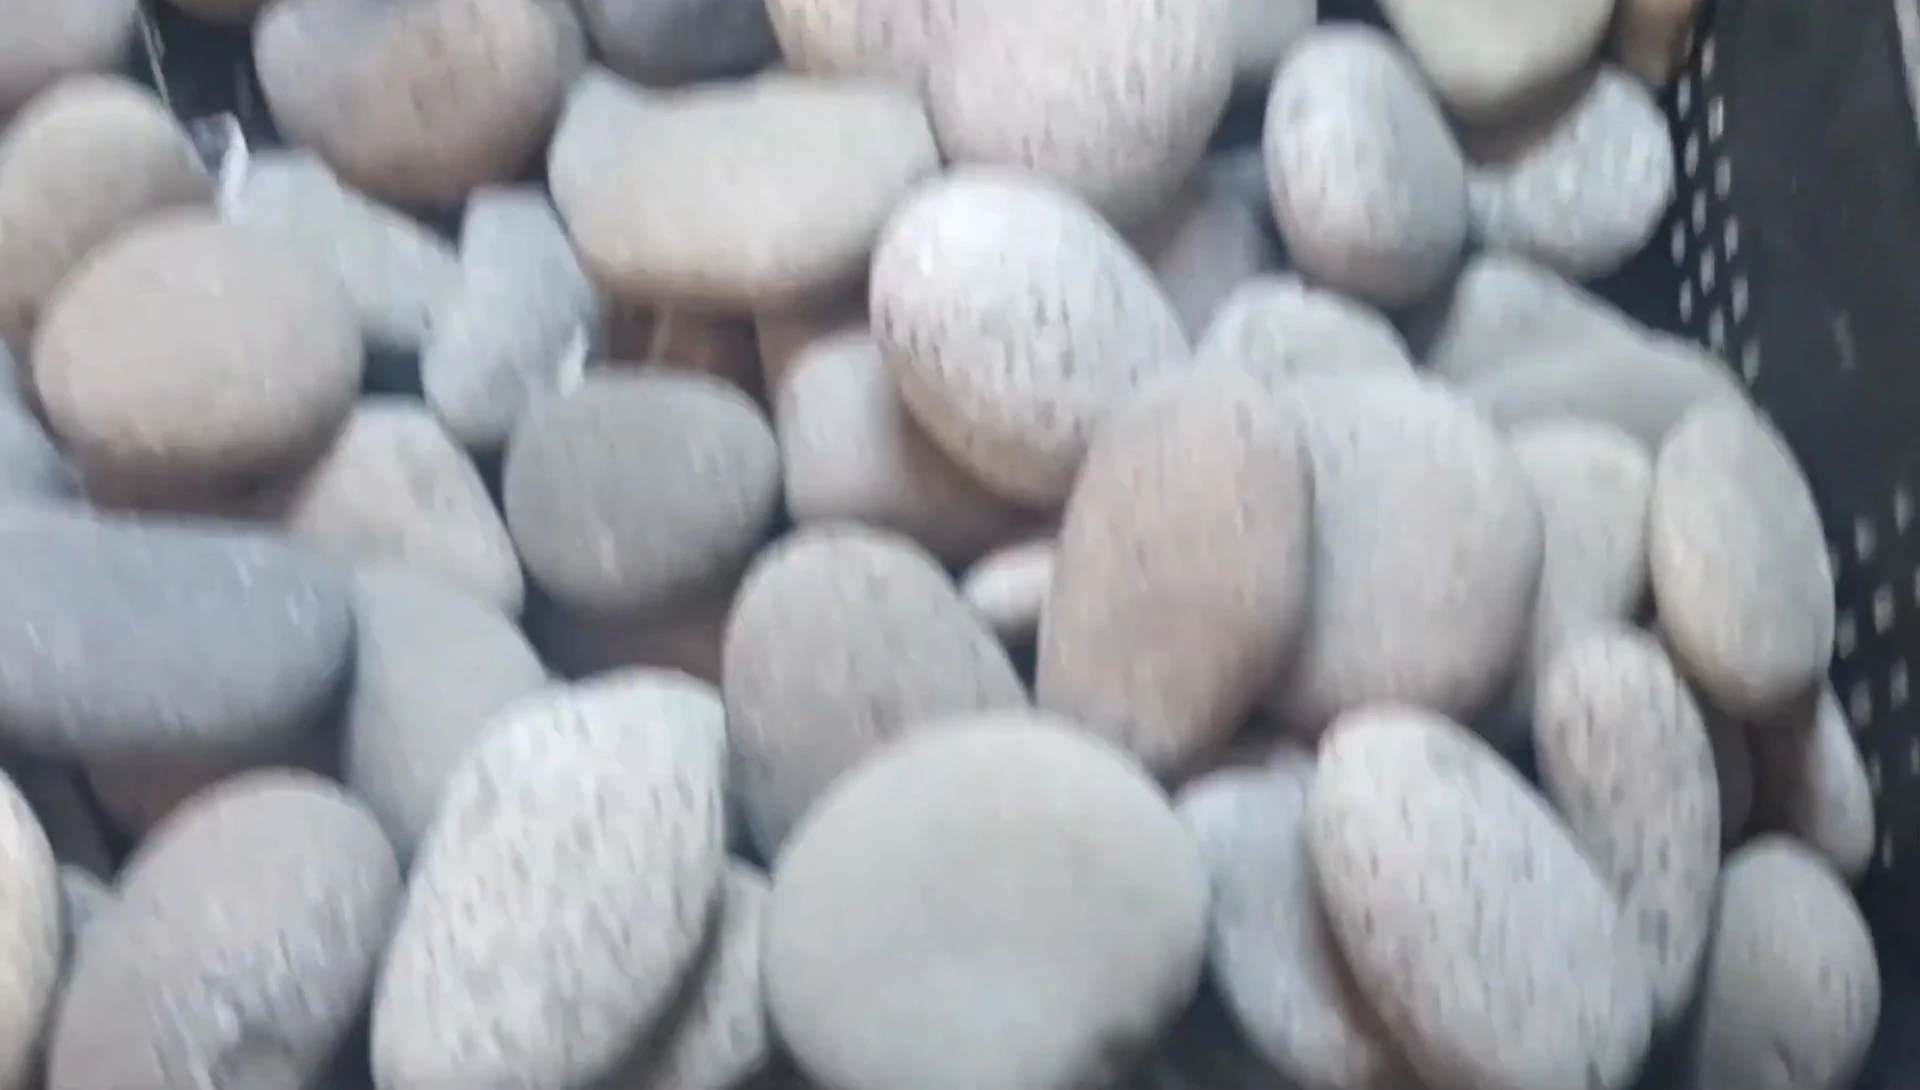
River rocks, previously overlooked, are now repurposed to create a natural, textured base for the island. Their varying colors and textures add visual interest to the project. The rocks are arranged on the styrofoam base to create a naturally asymmetrical, yet balanced aesthetic.
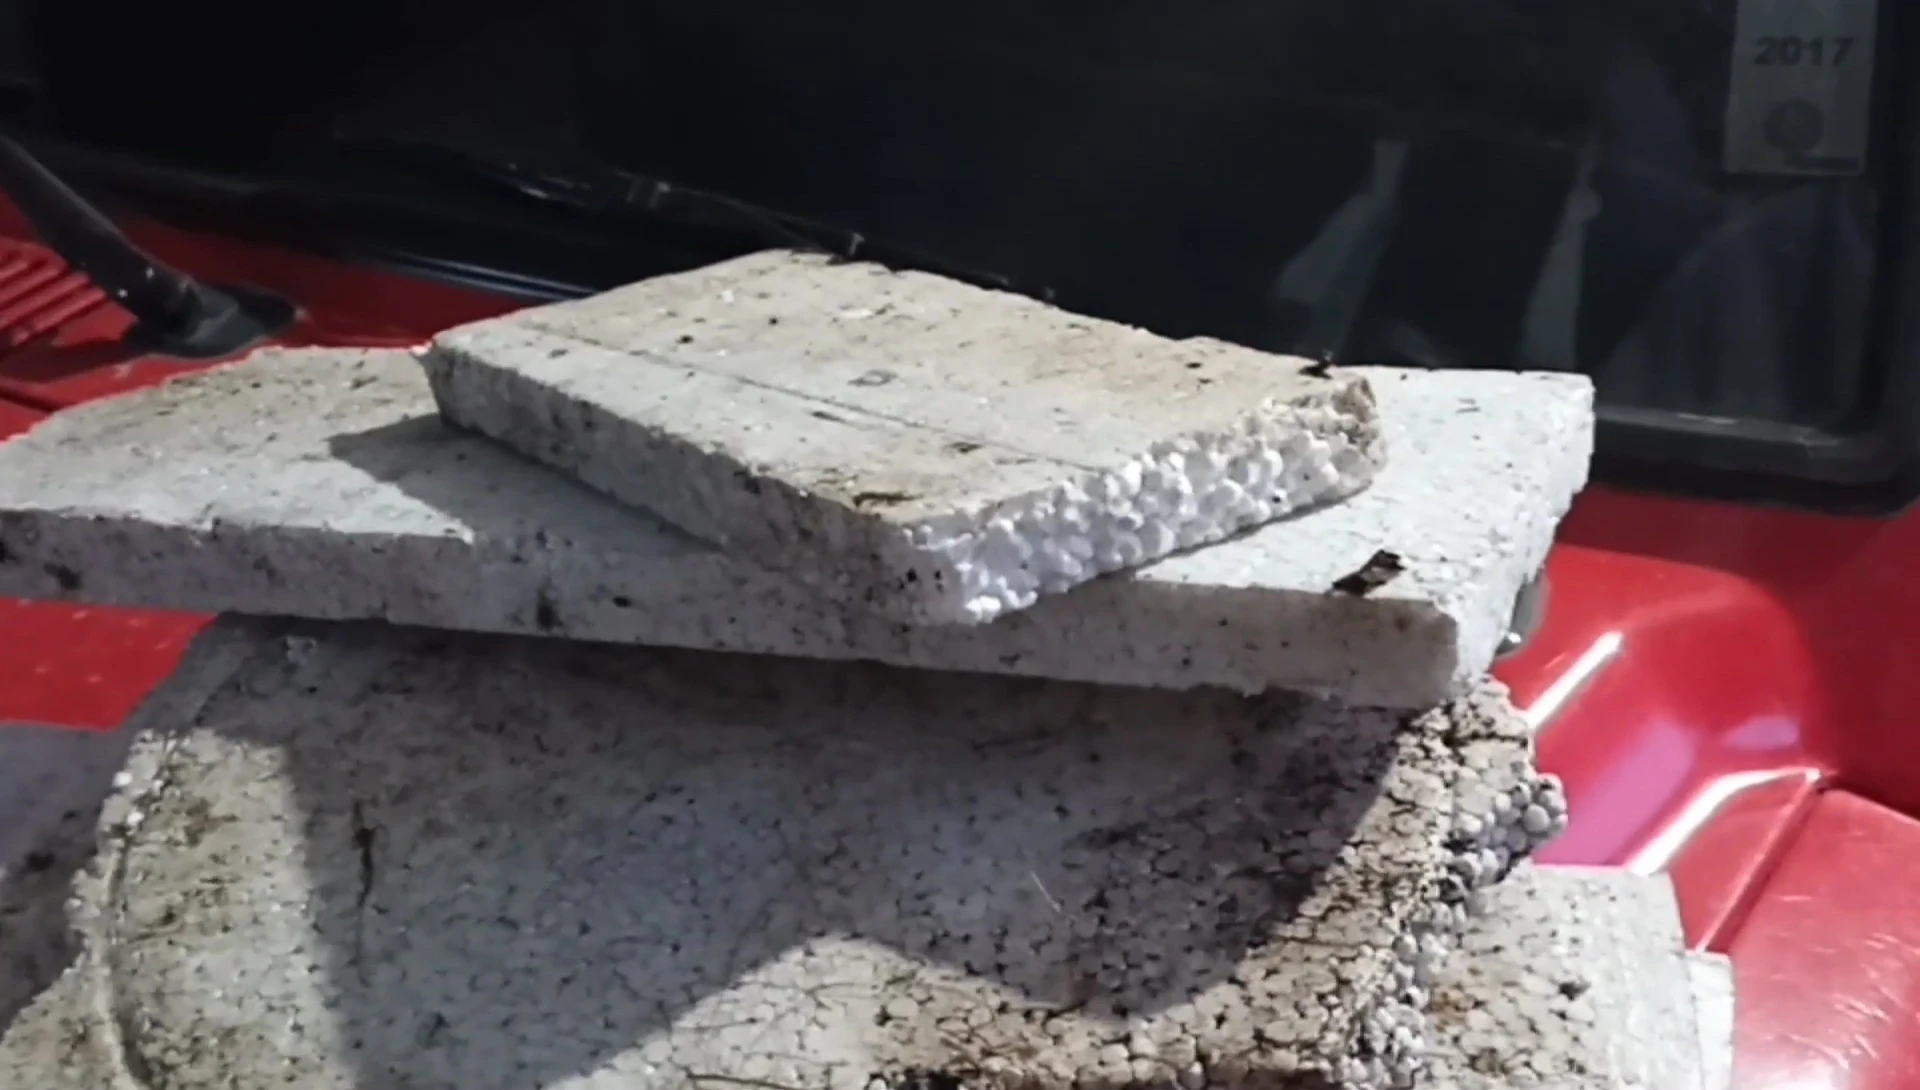
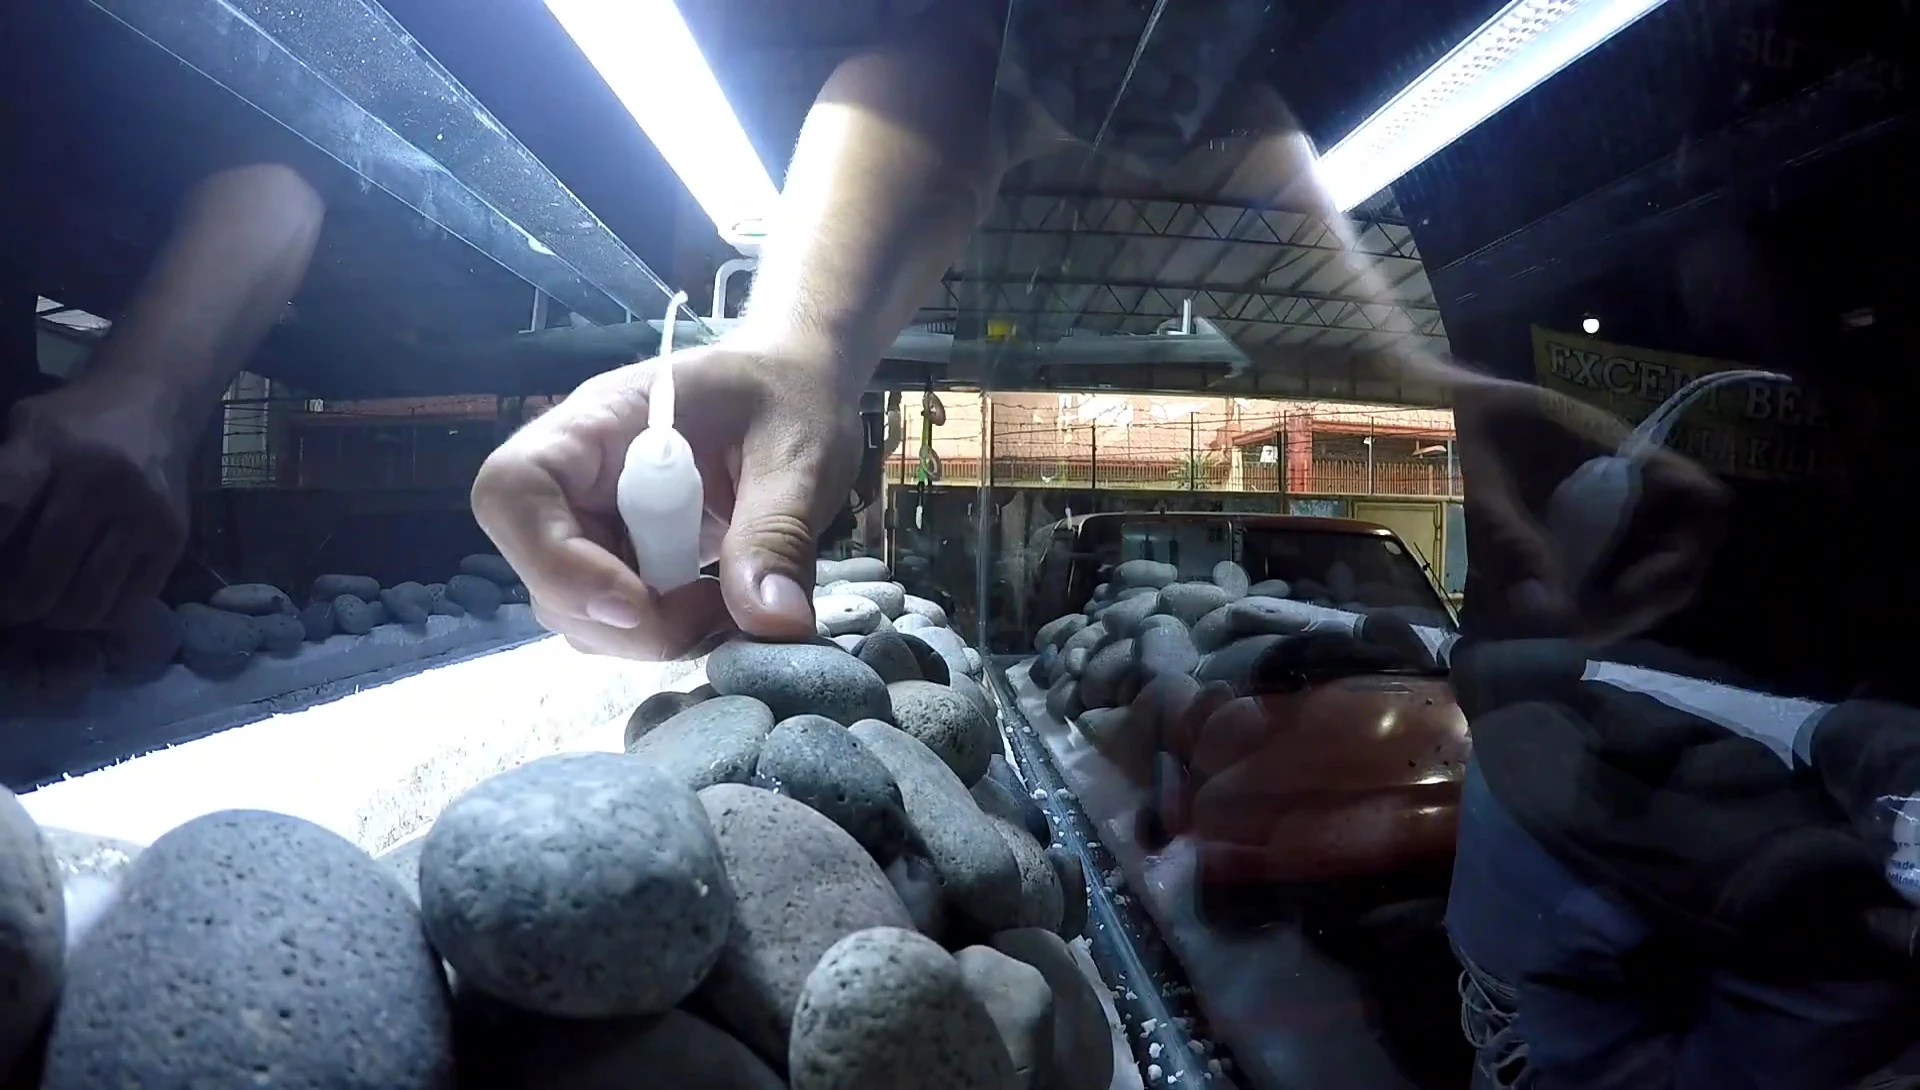
The construction of the island involved careful placement of the rocks on the styrofoam structure. The process was challenging, as the rocks tended to slide and required additional glue. I added more glue for additional support for the rocks.
Reinforcing and Filling Gaps
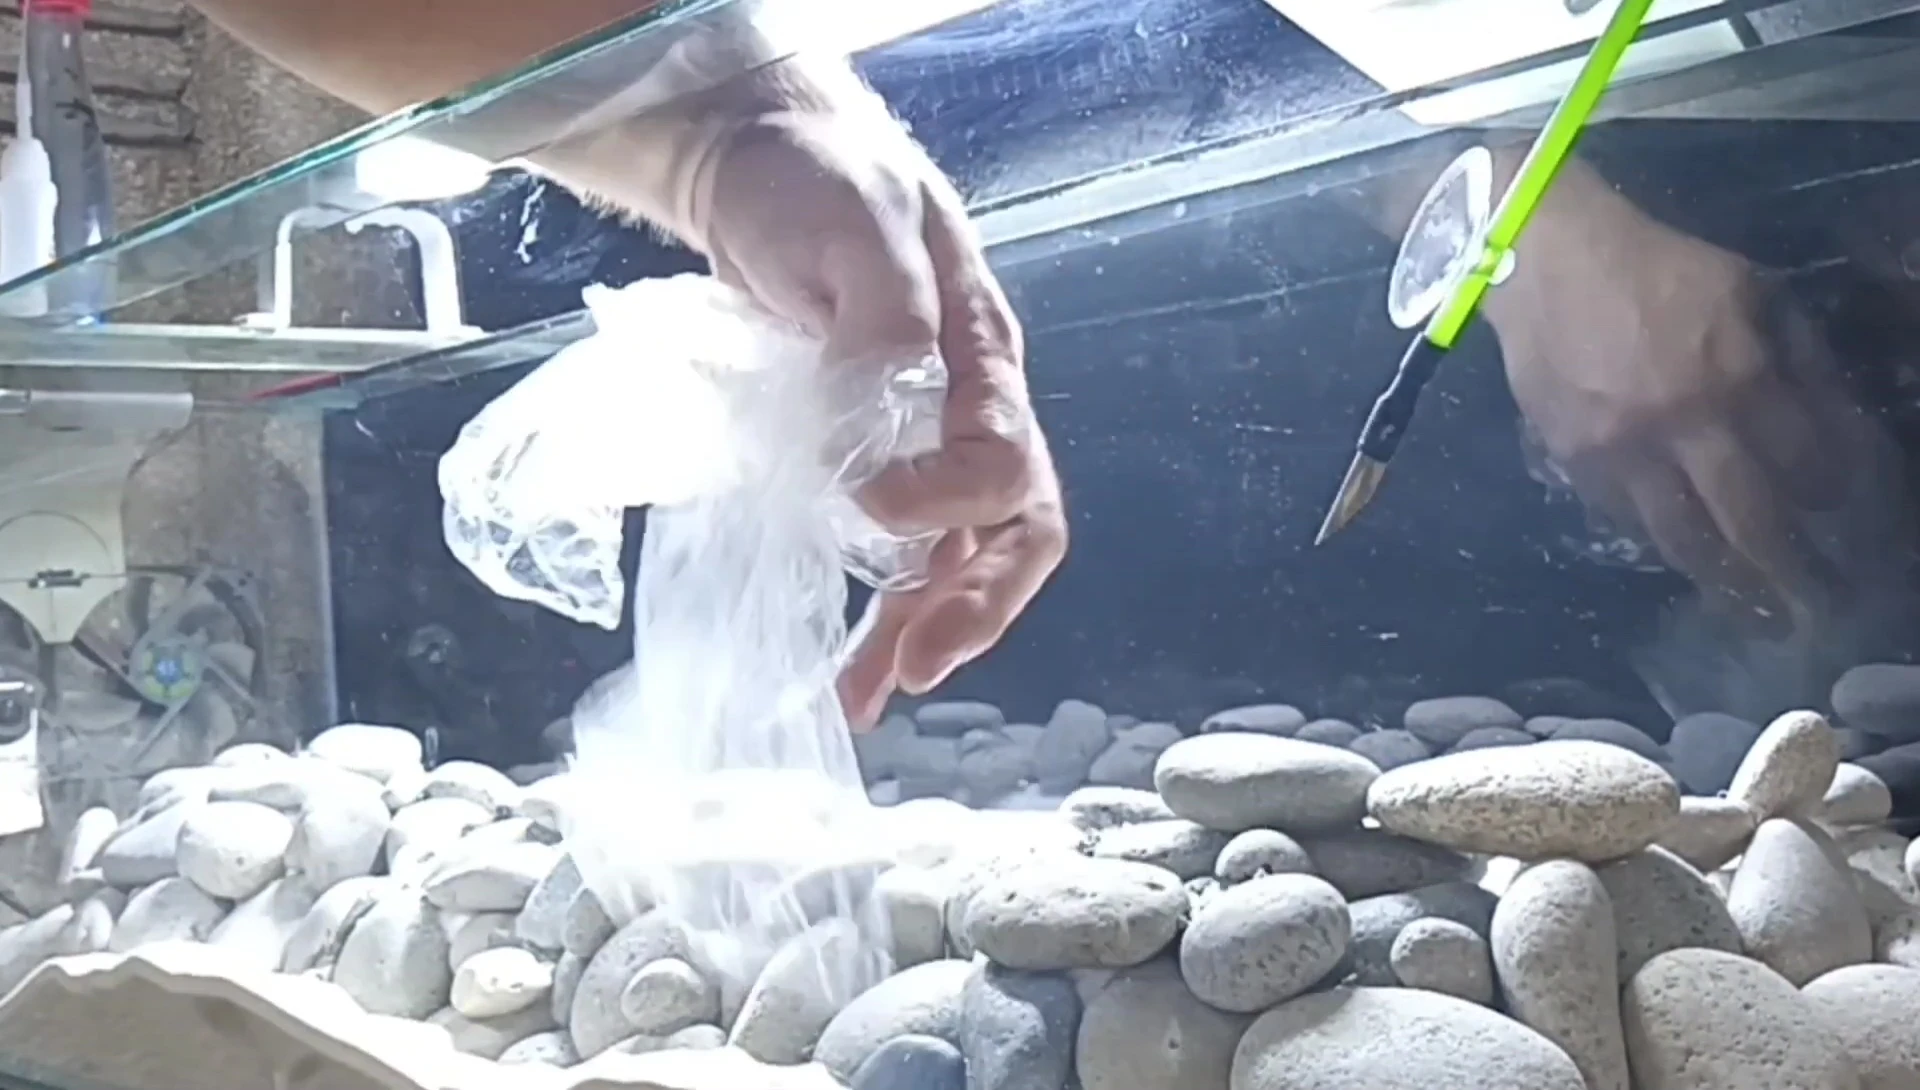
To ensure structural integrity, significant gaps and crevices in the rock structure are filled with cotton balls and cyanoacrylate adhesive. This significantly increases the stability of the rock arrangement.
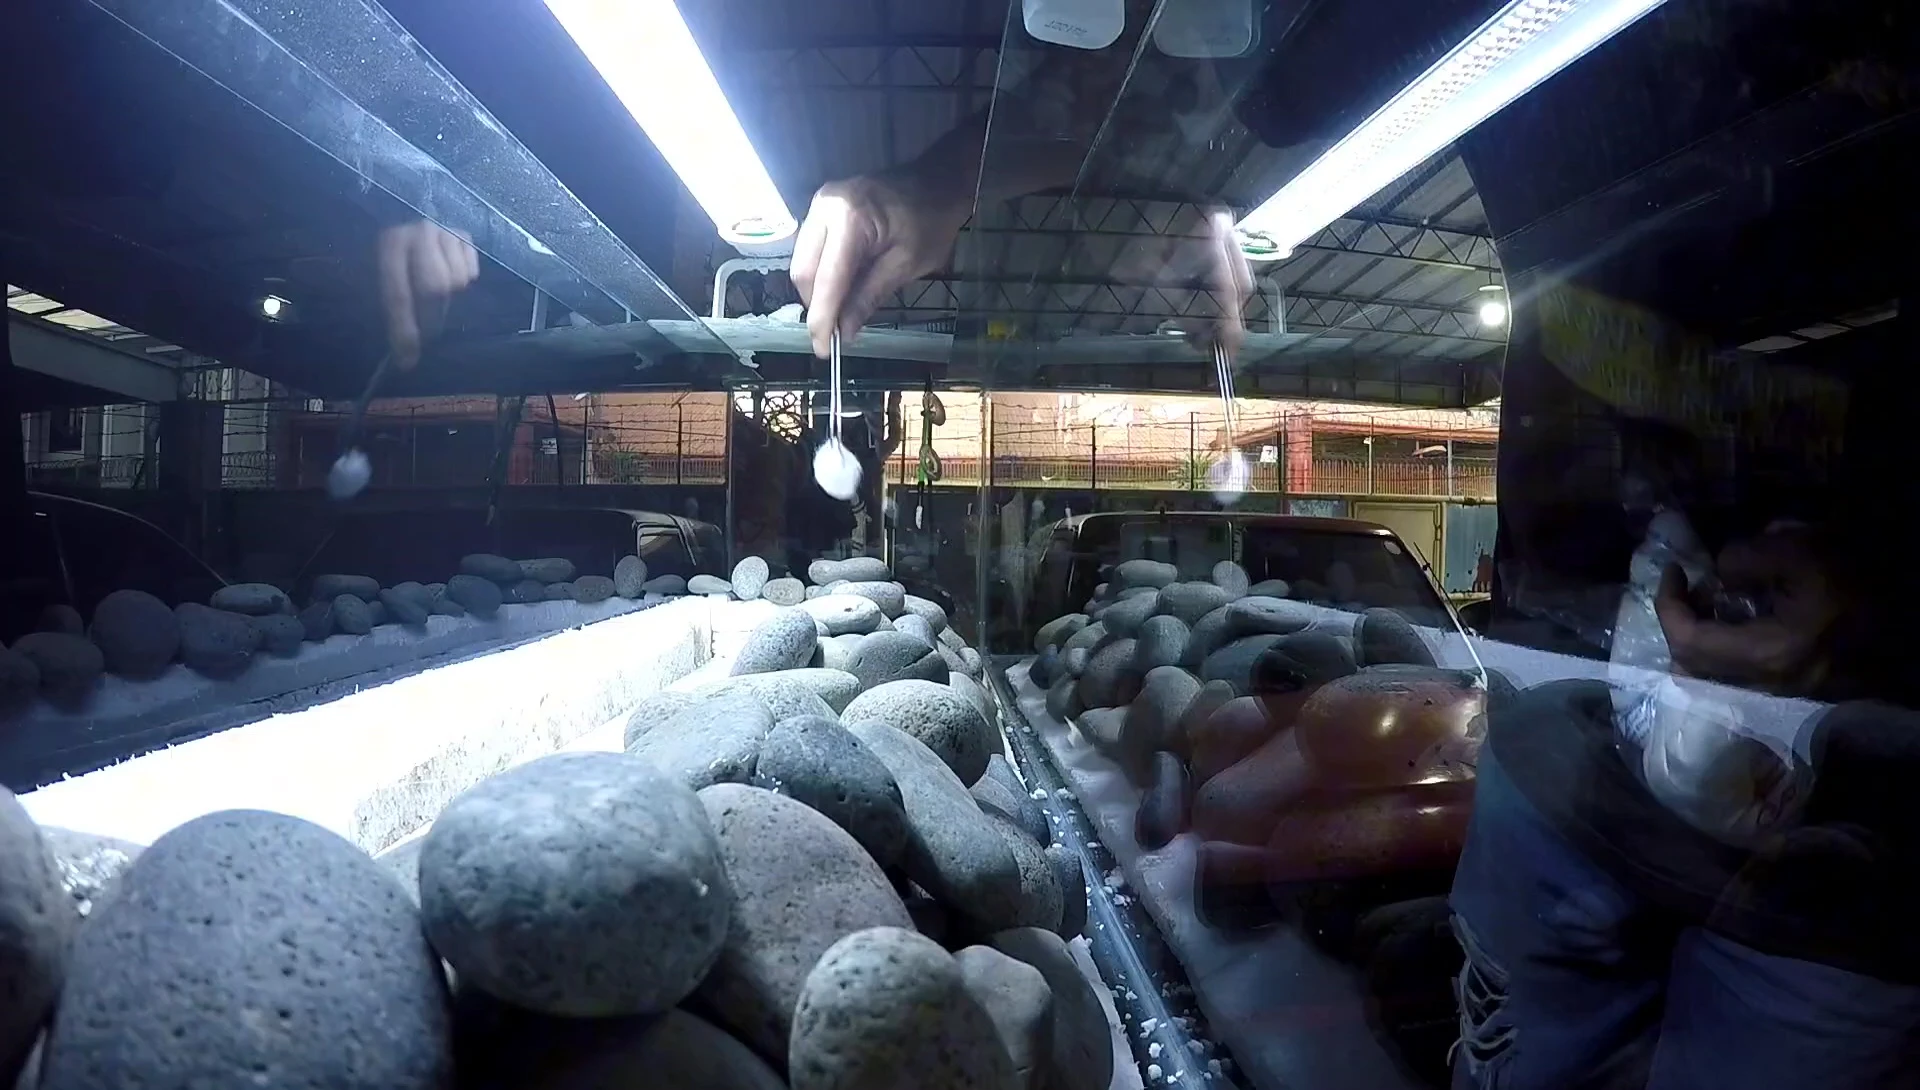
Larger voids are filled with black silicone adhesive to prevent soil from seeping through the gaps and into the sand. This step also helps to maintain a clean and refined look for the final product.
After the silicone application, excess glue was covered with sand to create a smooth, natural finish. The entire process involved careful attention to detail and a substantial amount of cleanup.
Adding the Silica Sand
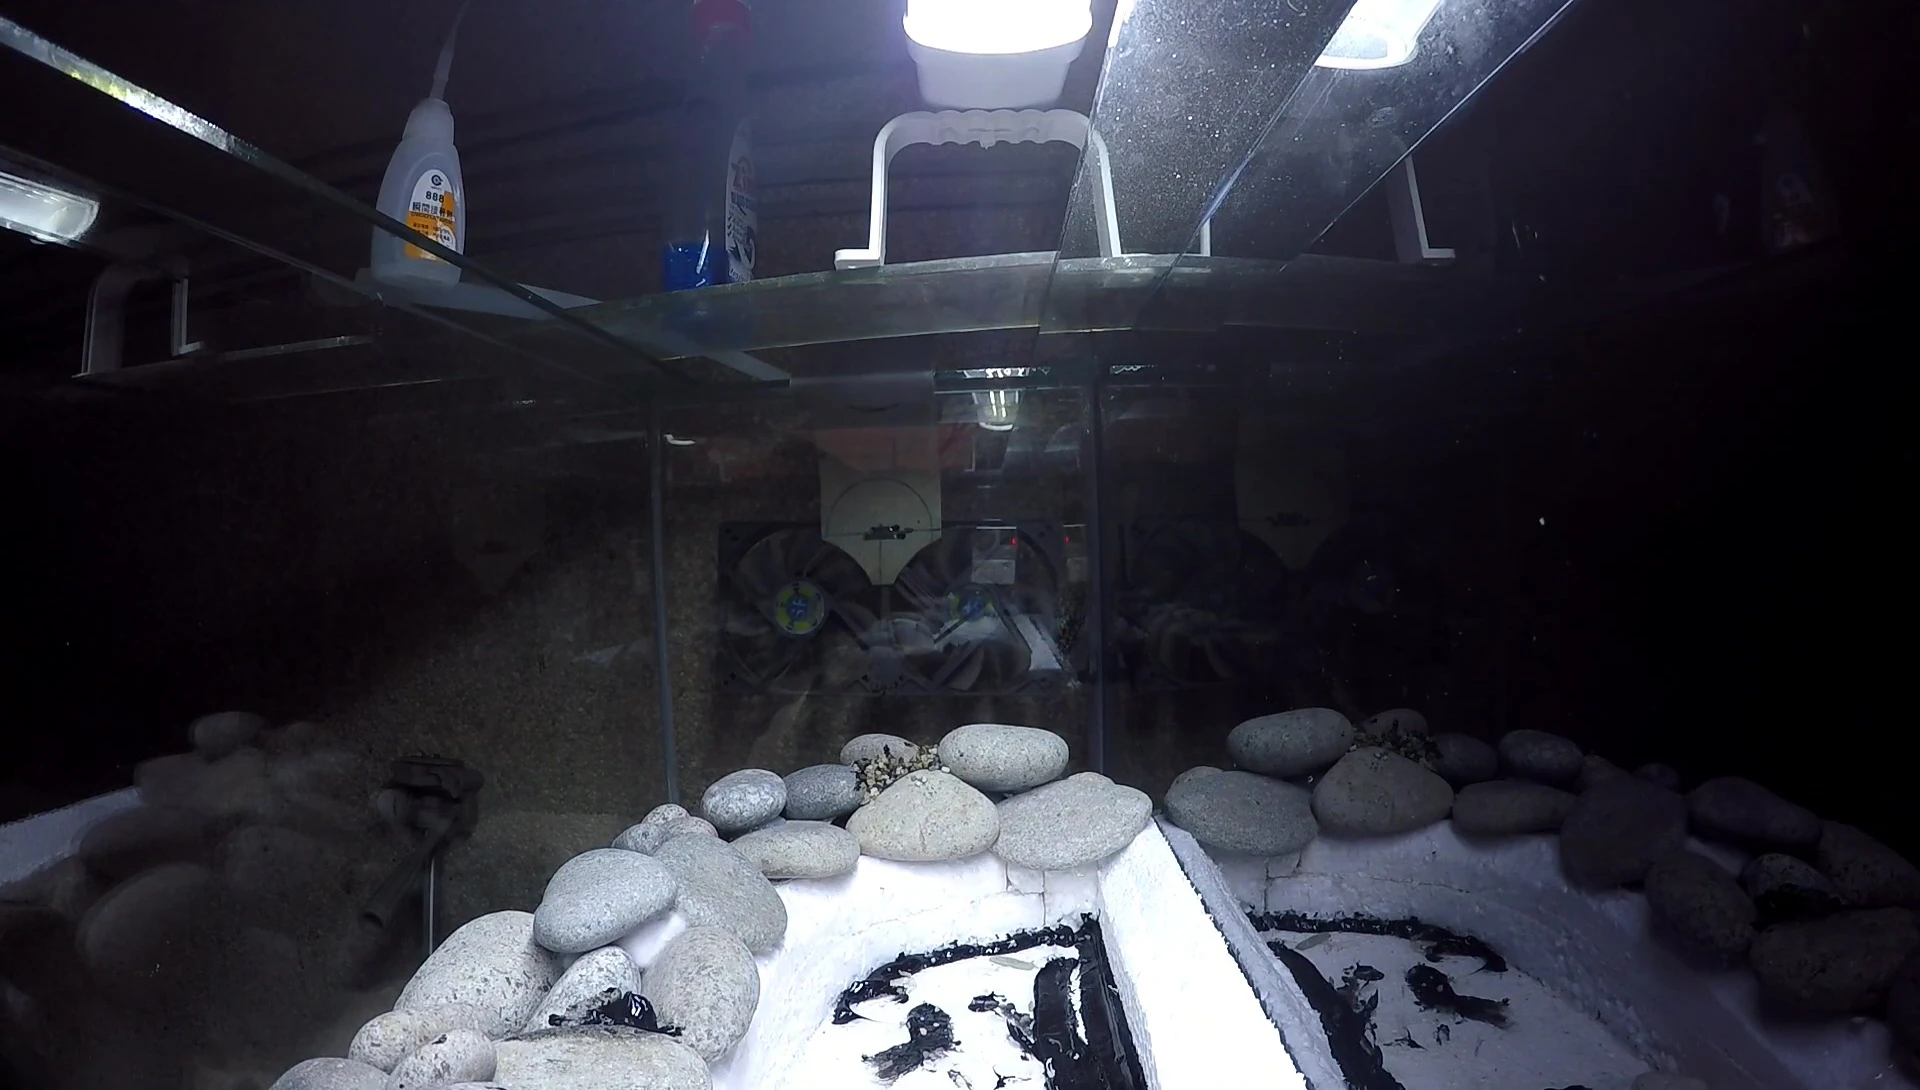
Approximately 14 kilos of silica sand were used to cover the base layer of styrofoam and create a natural-looking beach around the island. This step proved to be remarkably efficient, requiring only about 5.5 kilos to cover the entire area.
The remaining sand can be used for future projects. The final result is a clean, even layer of sand that completely conceals the underlying styrofoam.
The process is completed, although a foot injury interrupts the work temporarily. The project will be resumed in part 2.
Conclusion
This first part of the project details the construction of the island base. The creation of a stable and visually appealing foundation was the primary goal. While challenging at times, the creative process and the results were satisfying.
The use of recycled materials (styrofoam) and readily available resources (river rocks, sand) shows that unique and aesthetically pleasing projects can be undertaken using common materials.
Part 2 will focus on filling the tank with water, planting the aquatic plants, and completing the aquascape. A foot injury caused a temporary interruption.