This article details the creation of a unique lifted aquascape, using a combination of old and new Marco Rocks to construct a striking pillar structure reminiscent of a tree formation. The design prioritizes optimal water flow and light penetration for thriving SPS coral growth, a key focus of the build. This innovative approach contrasts with traditional, densely packed rock formations, maximizing space and minimizing dead zones. Learn how a carefully planned arrangement of rocks, coupled with a two-layer cementing technique, creates a visually stunning and biologically efficient reef environment.This step-by-step guide explores the materials and methods employed, highlighting the advantages of using both pound-based Marco Rocks and the specialized foundation rocks for building strong, stable pillars and platforms. Discover how the strategic combination of old live rock and new Marco Rocks contributes to the aquascape's aesthetic appeal and biological functionality. We'll examine the cementing process, revealing the secrets to achieving a robust and natural-looking structure ideal for supporting vibrant coral colonies.
Pros And Cons
- Large, flat pieces available (good for aquascaping)
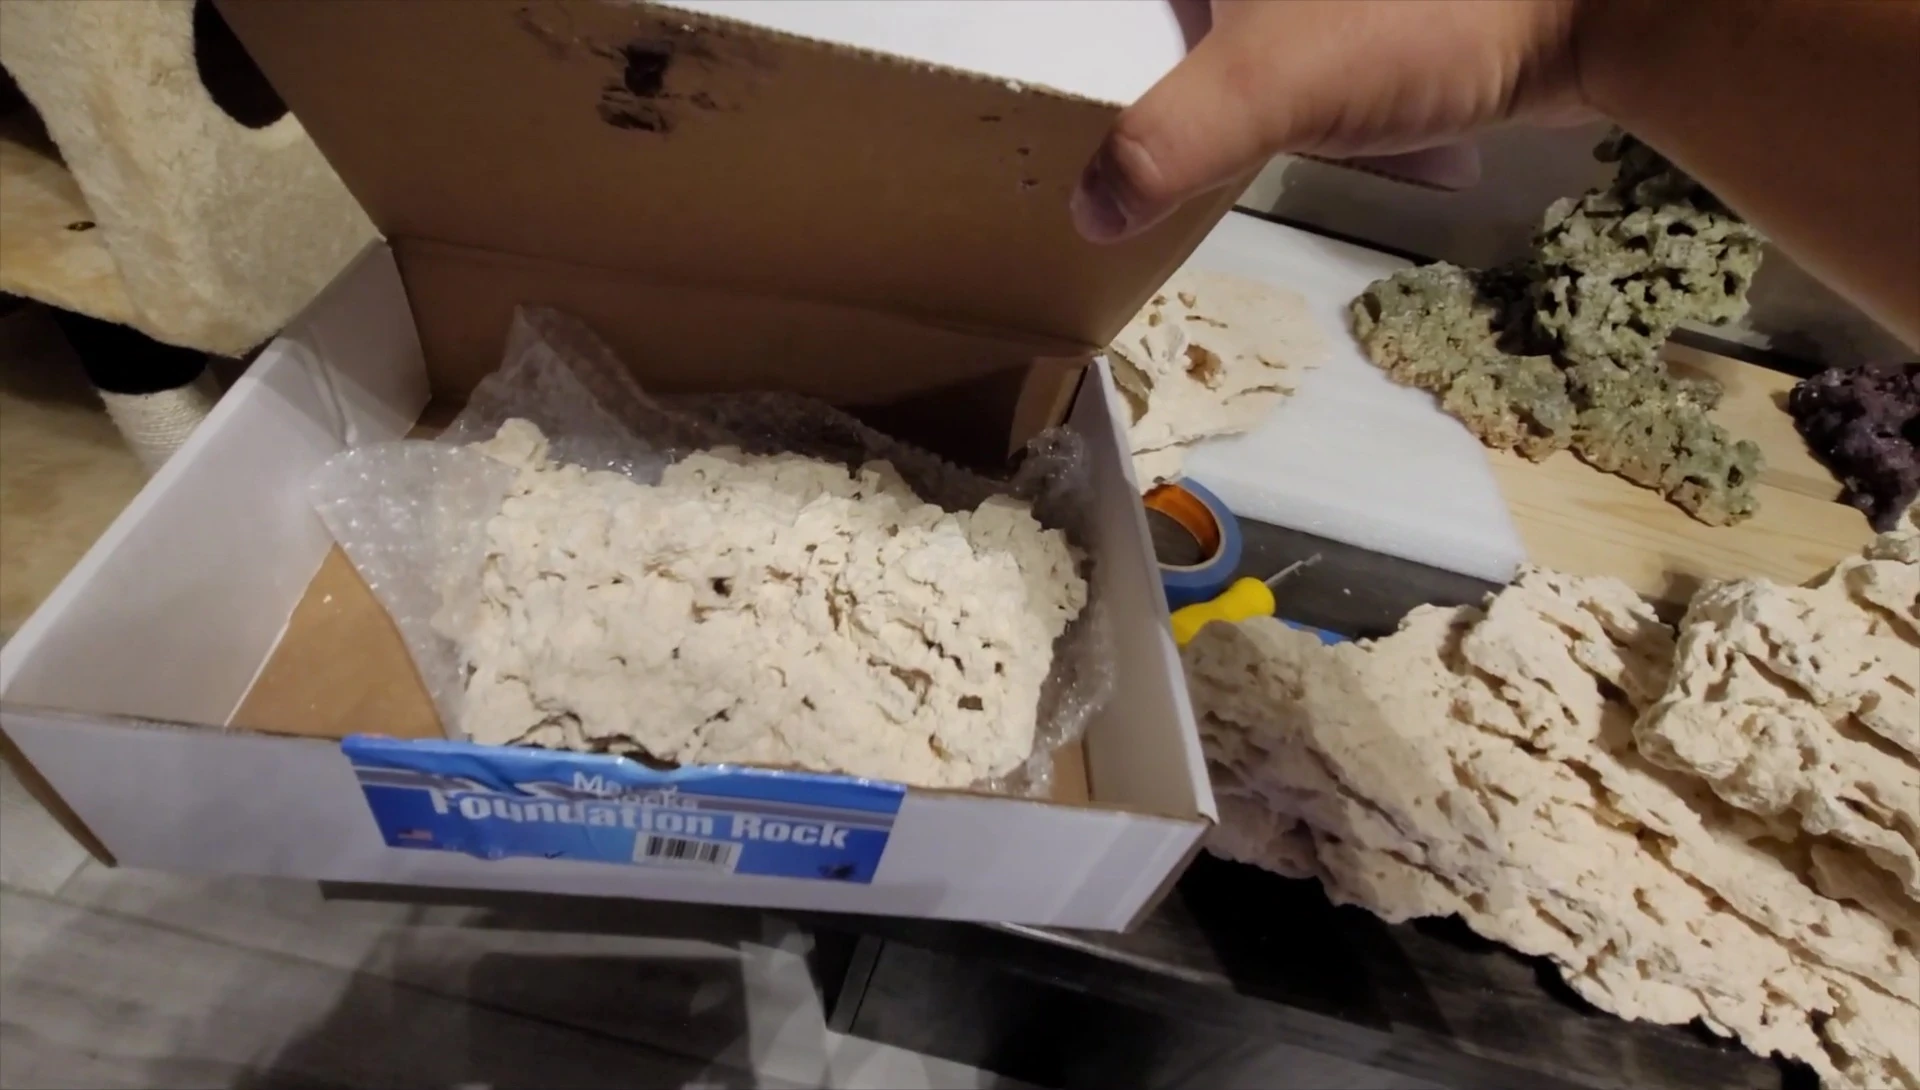
- Foundation rocks with one flat side for base support
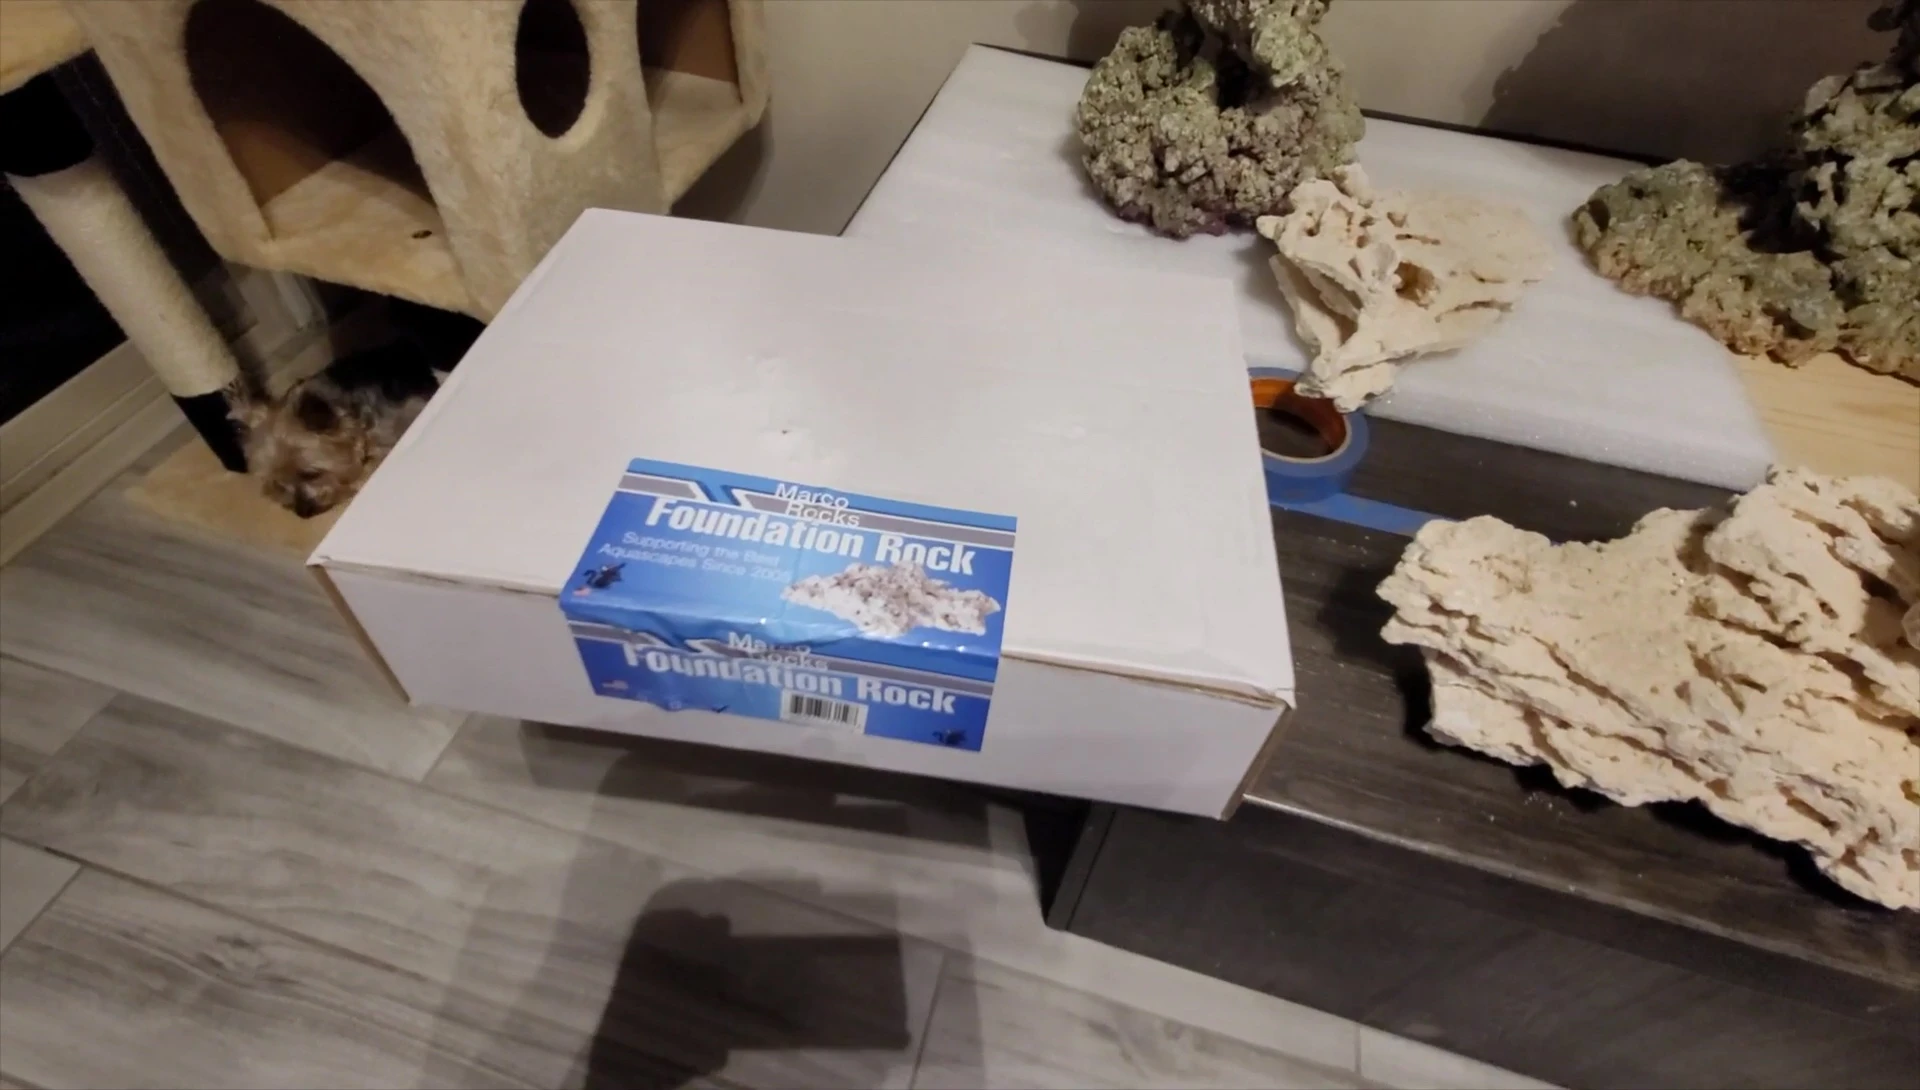
- Rocks come packaged individually in boxes (unlike other options)
- Regular Marco Rocks sold by the pound, no specific rock selection
Read more: 5 Amazing Lava Rock Aquarium Caves
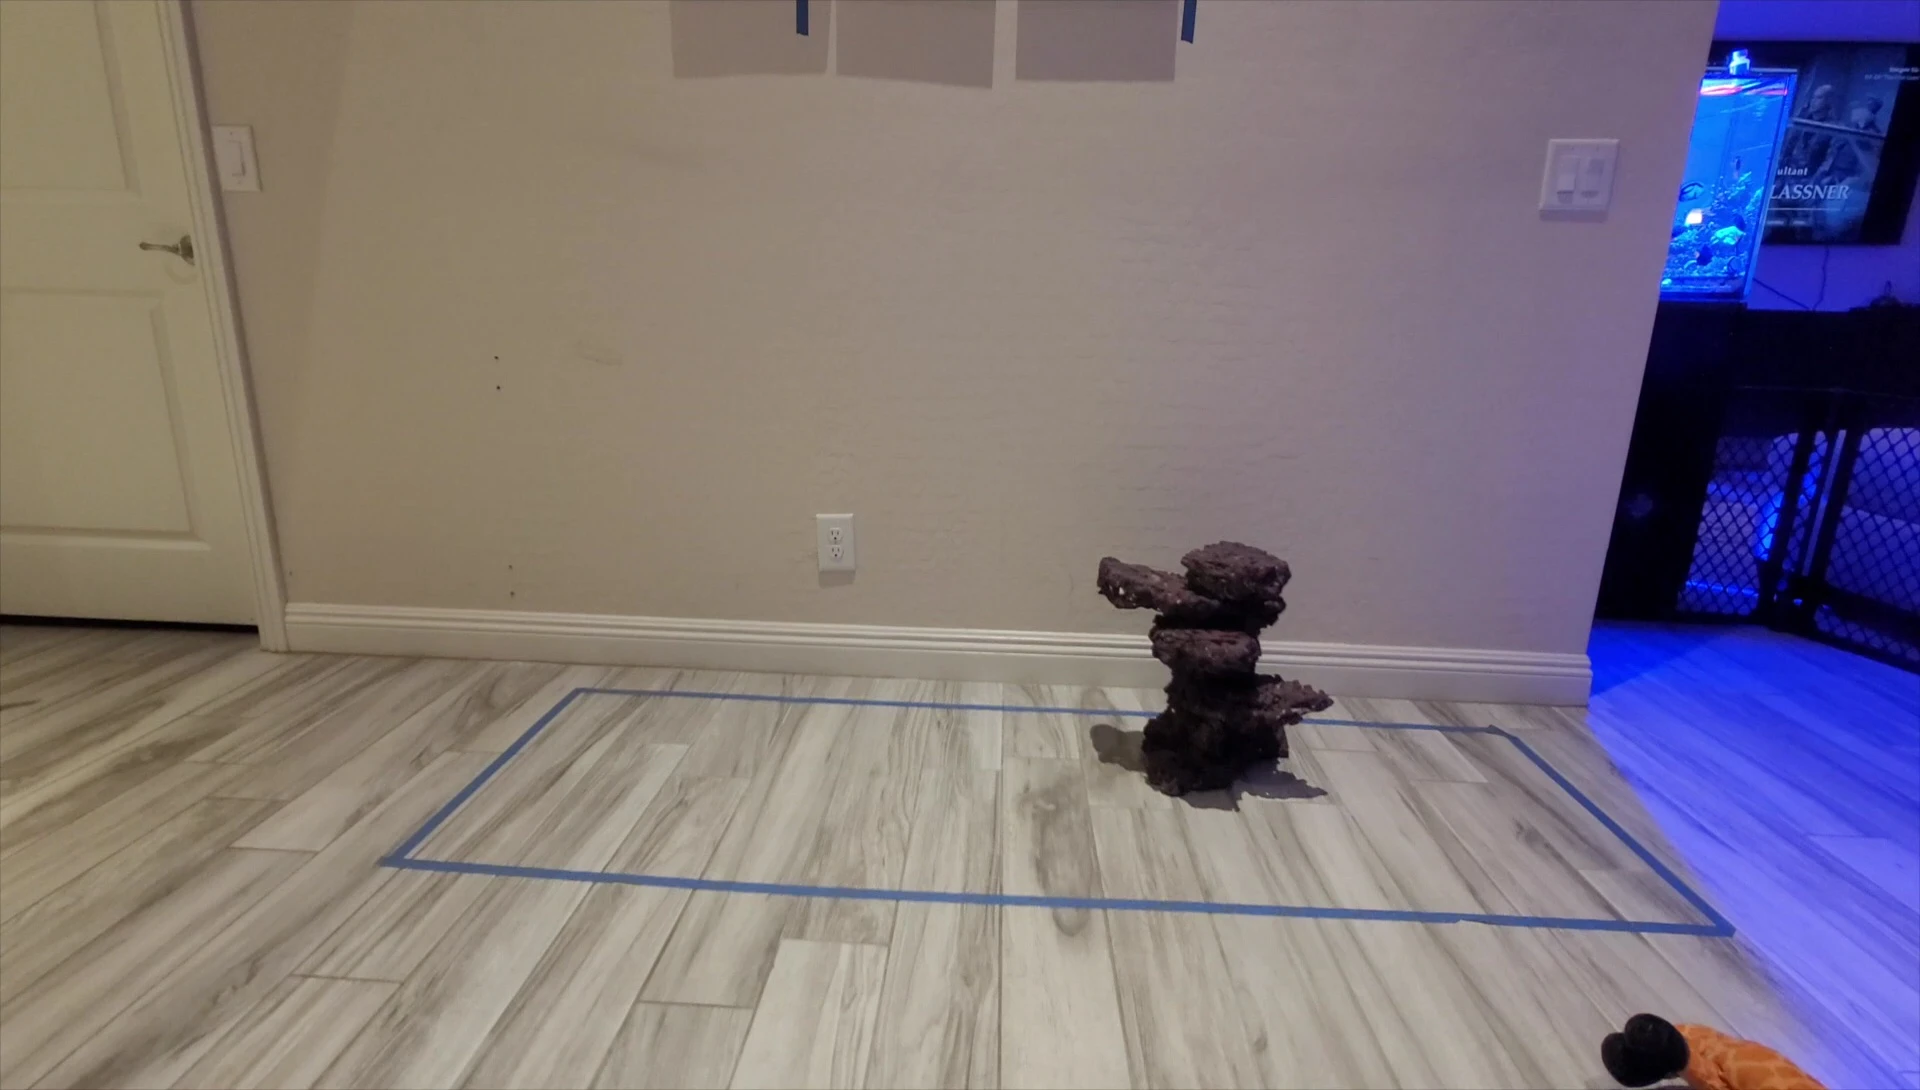
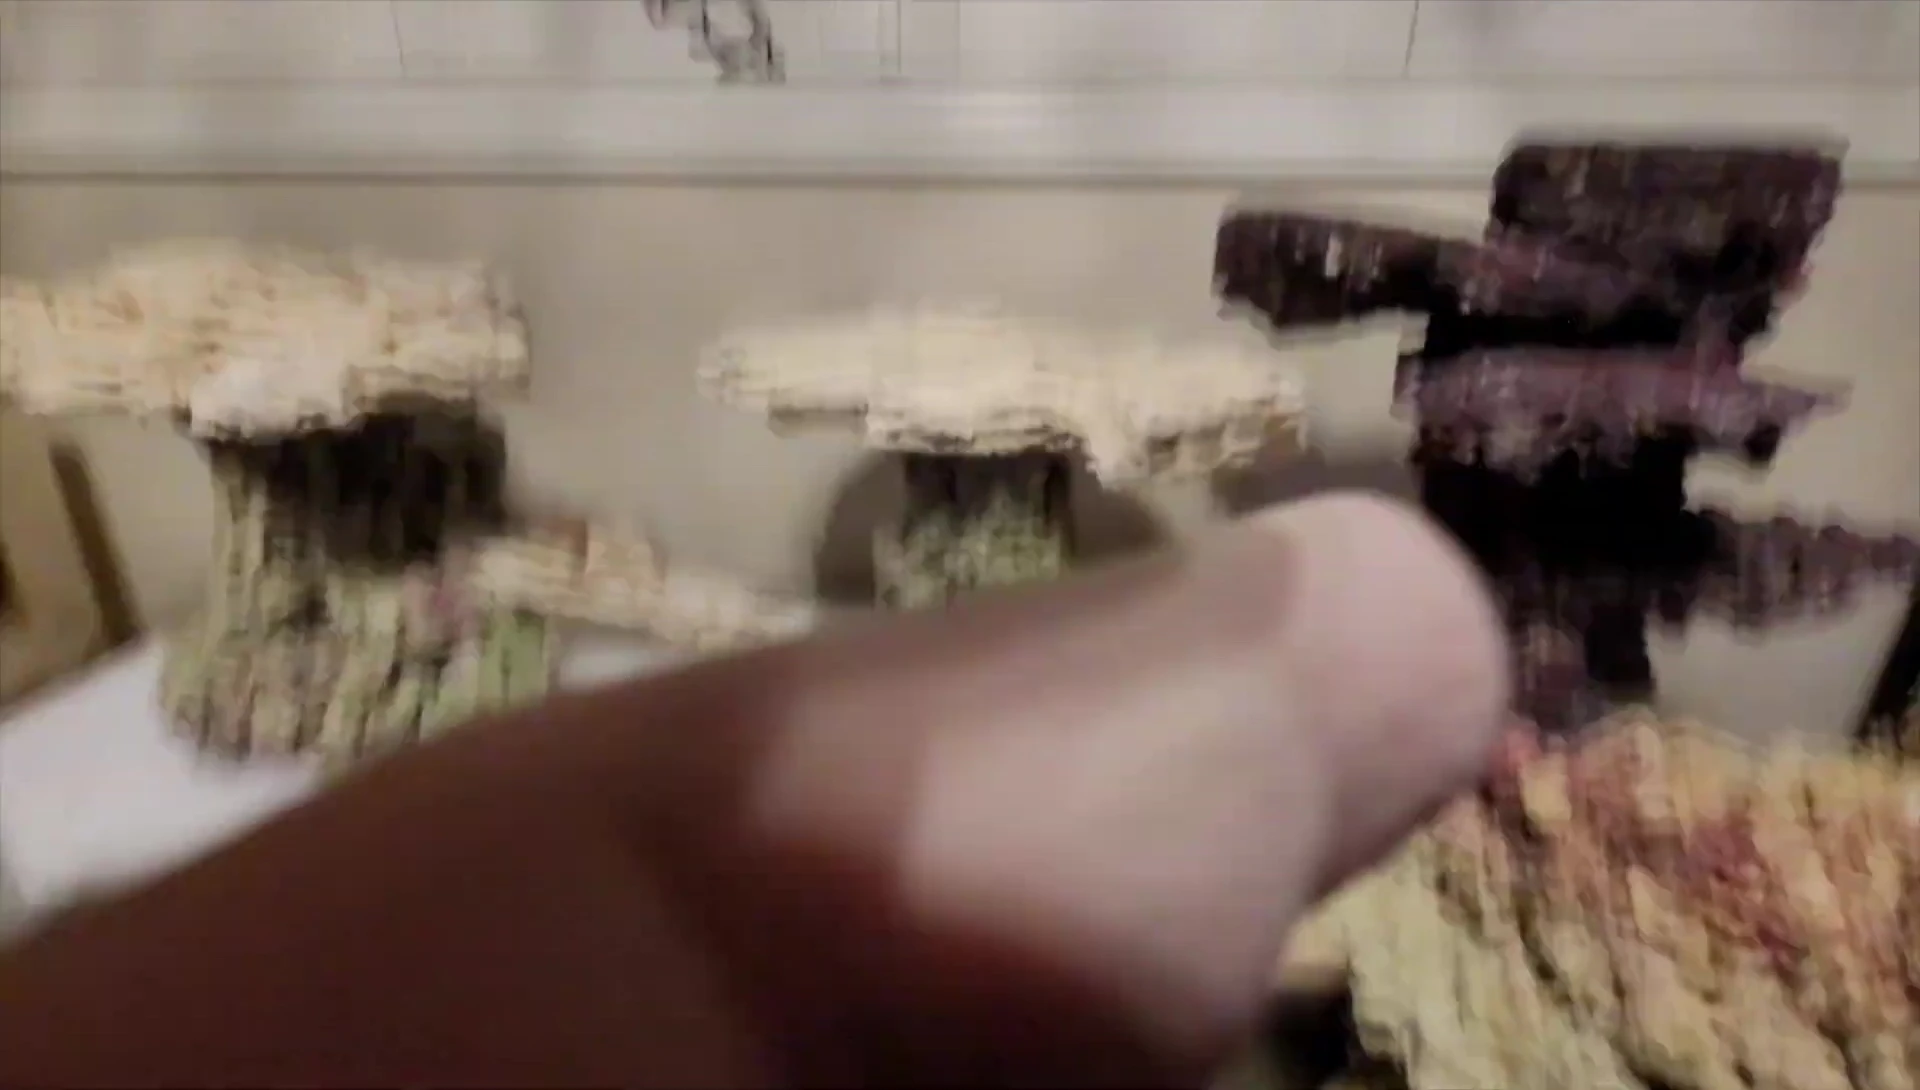
Aquascape Design: The Pillar Concept
This aquascape design centers around a unique pillar structure, mimicking a tree formation. The base will feature minimal coral, acting as the trunk, while the upper sections, resembling branches, will be densely populated with SPS coral.
This design maximizes water flow and light penetration for optimal coral growth. The open structure minimizes dead spots often found in densely packed rock formations. Placement of the SPS corals higher in the structure ensures they receive ample light and current.
The choice to use pillars offers a distinct aesthetic and functional advantage, promoting healthy coral growth through improved water circulation and light distribution. The overall effect is a visually appealing and biologically efficient reef environment.
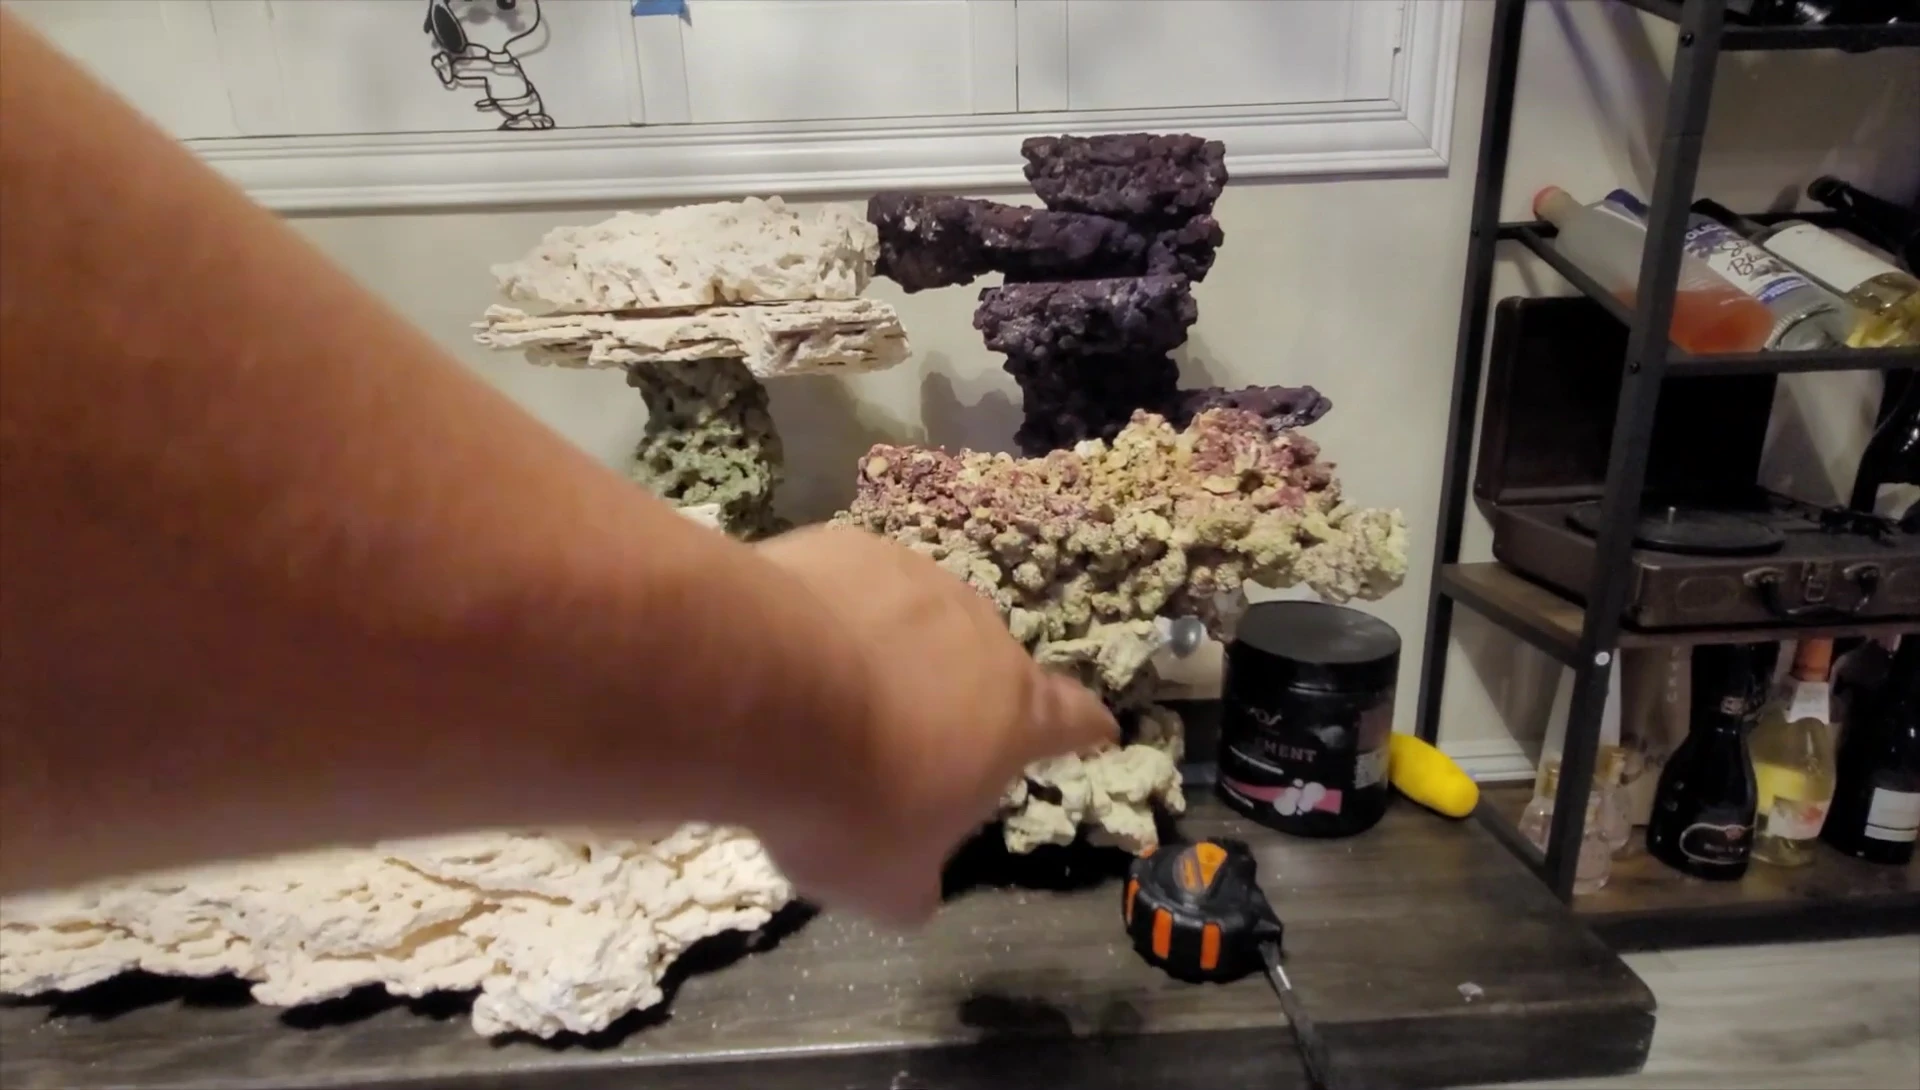
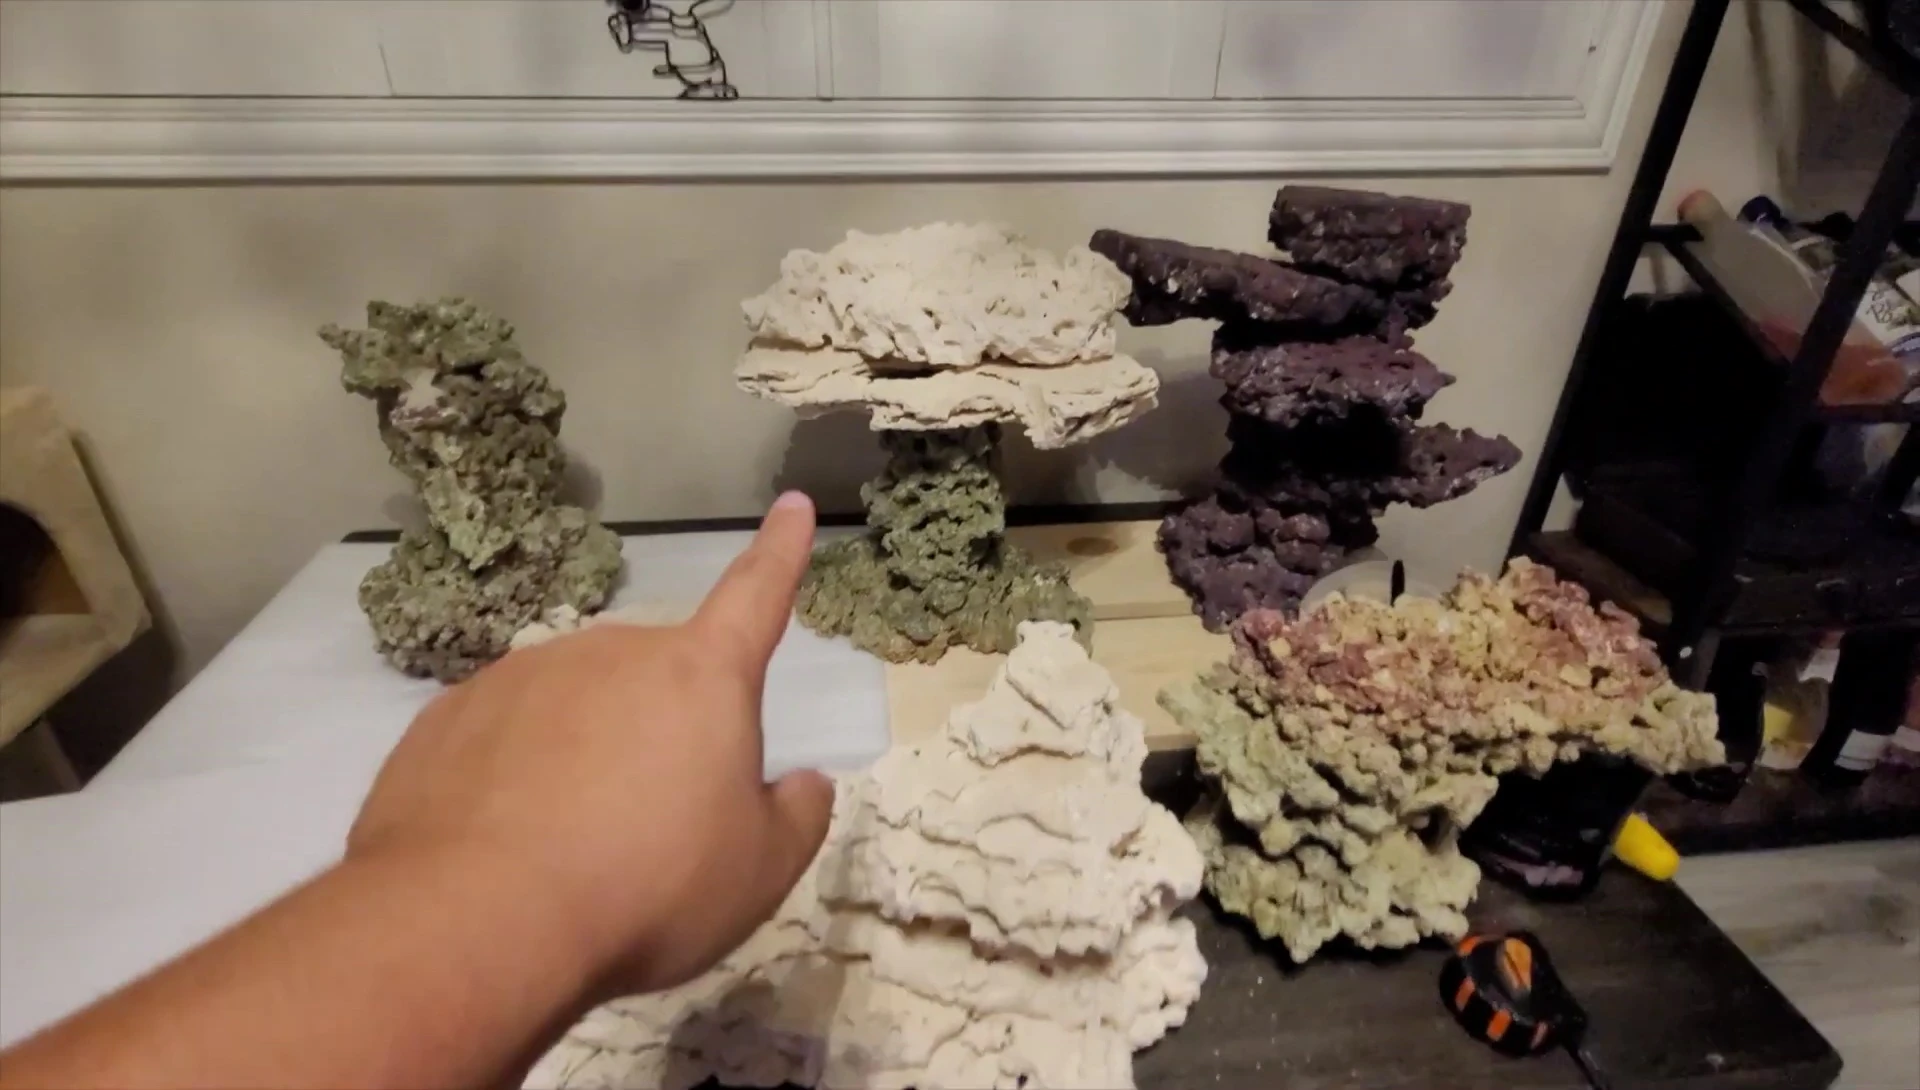
Rock Selection and Placement: Marco Rocks and Foundation Rocks
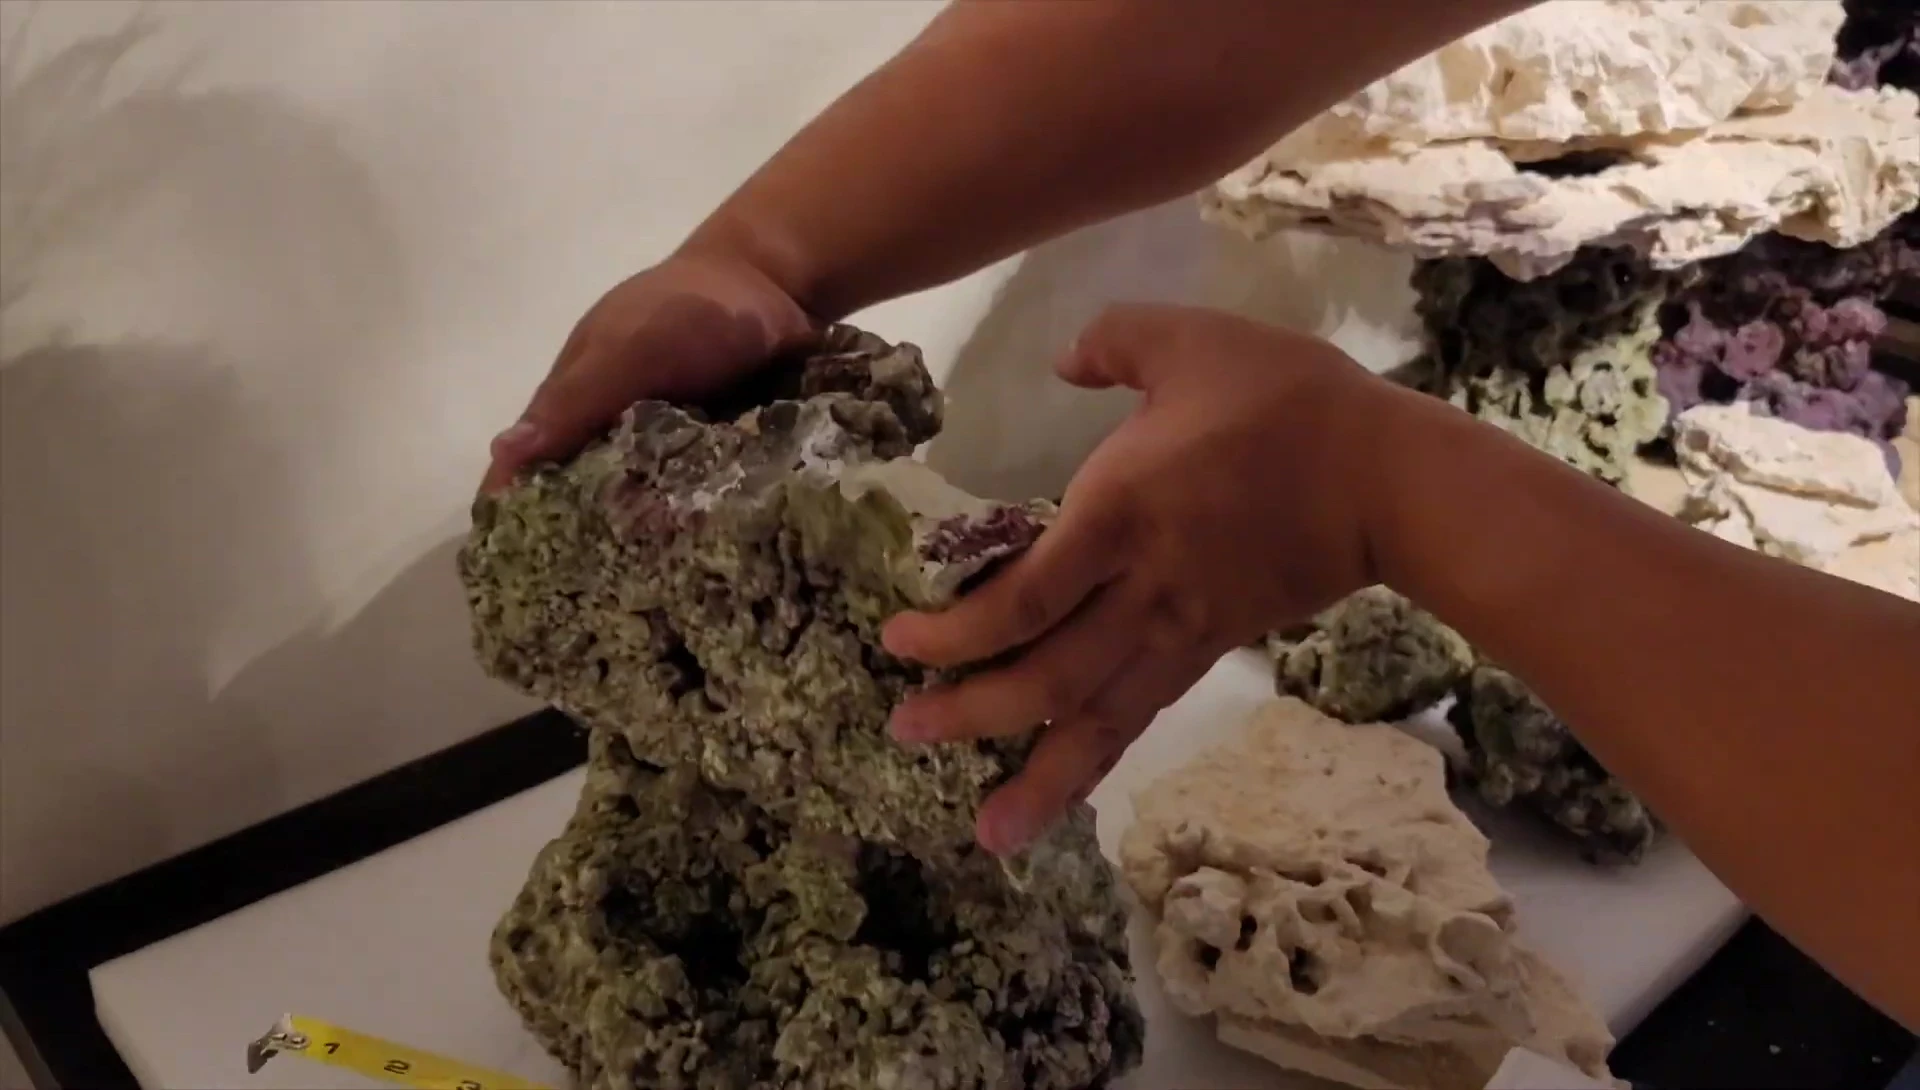
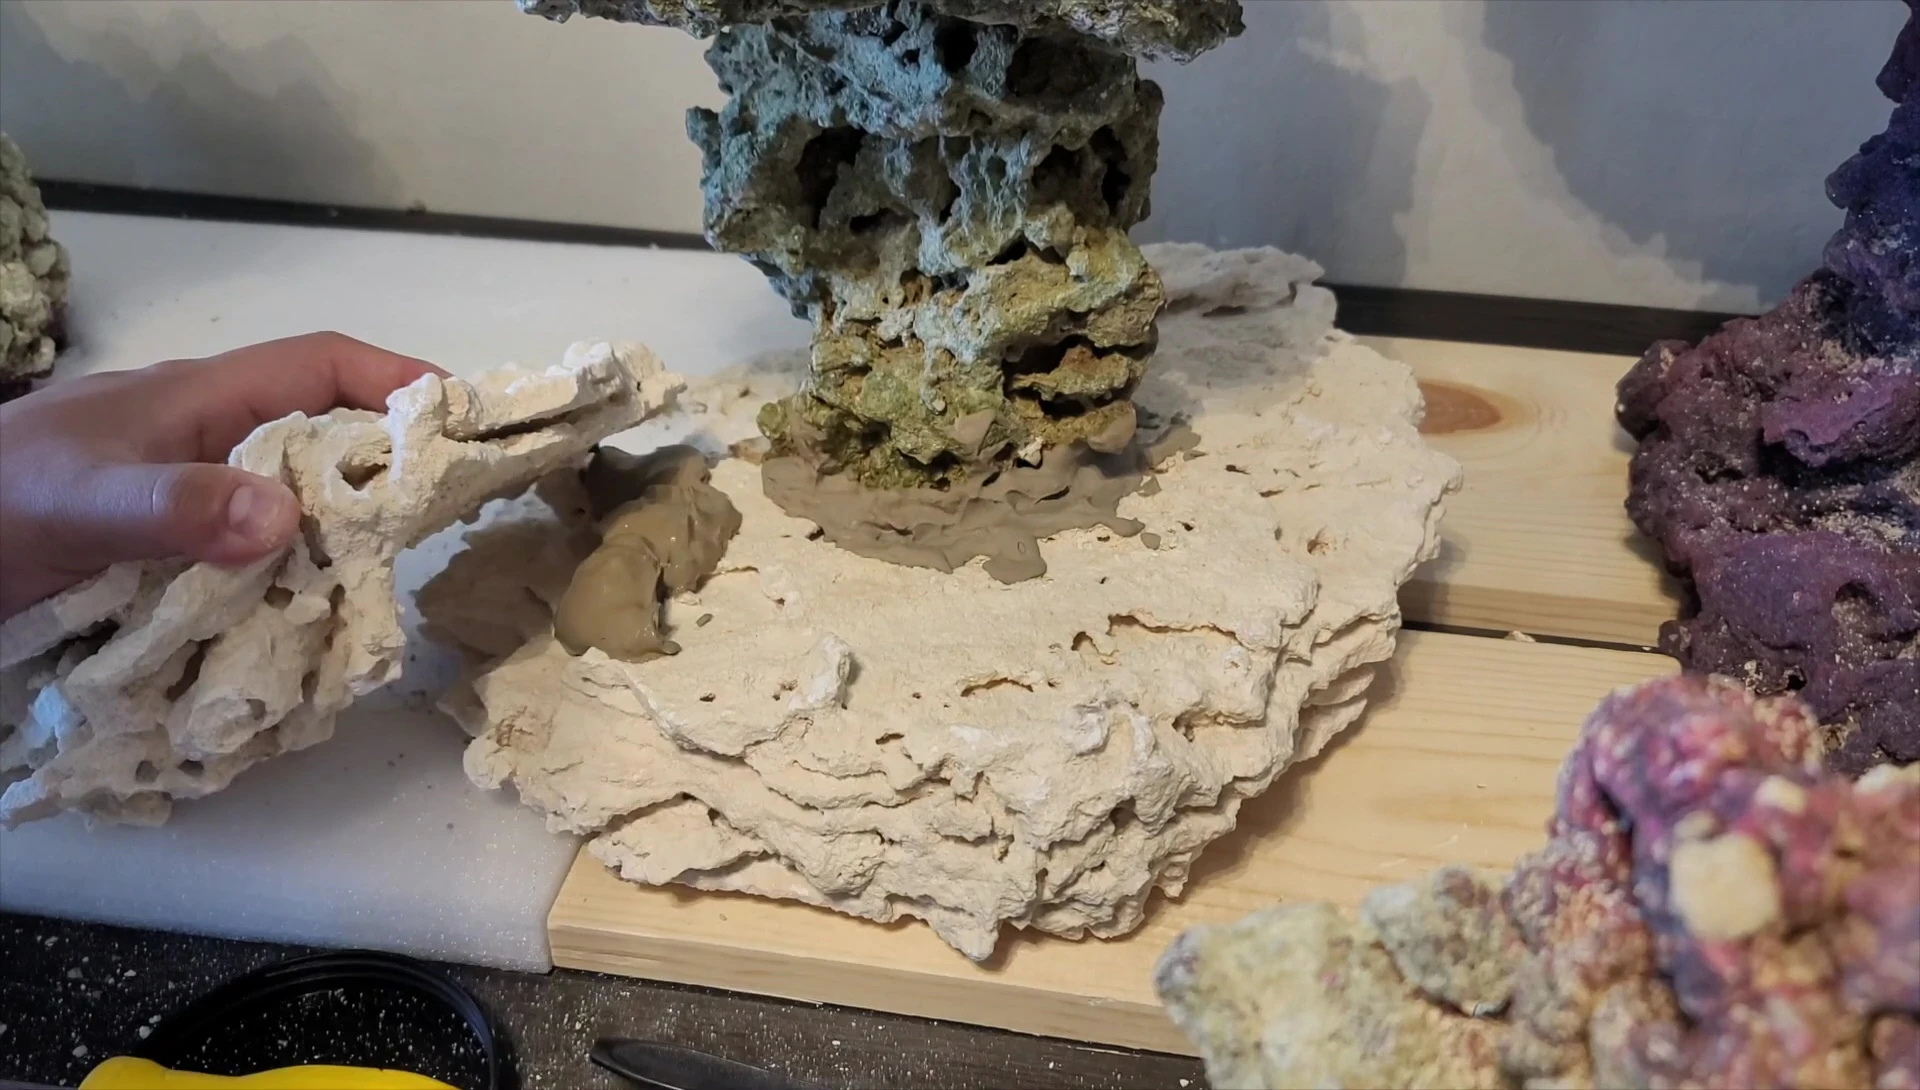
The aquascape utilizes a combination of old live rock (grayish) and new Marco Rocks (white). The older rock, while providing established beneficial bacteria, has been dried out and re-purposed for this project.

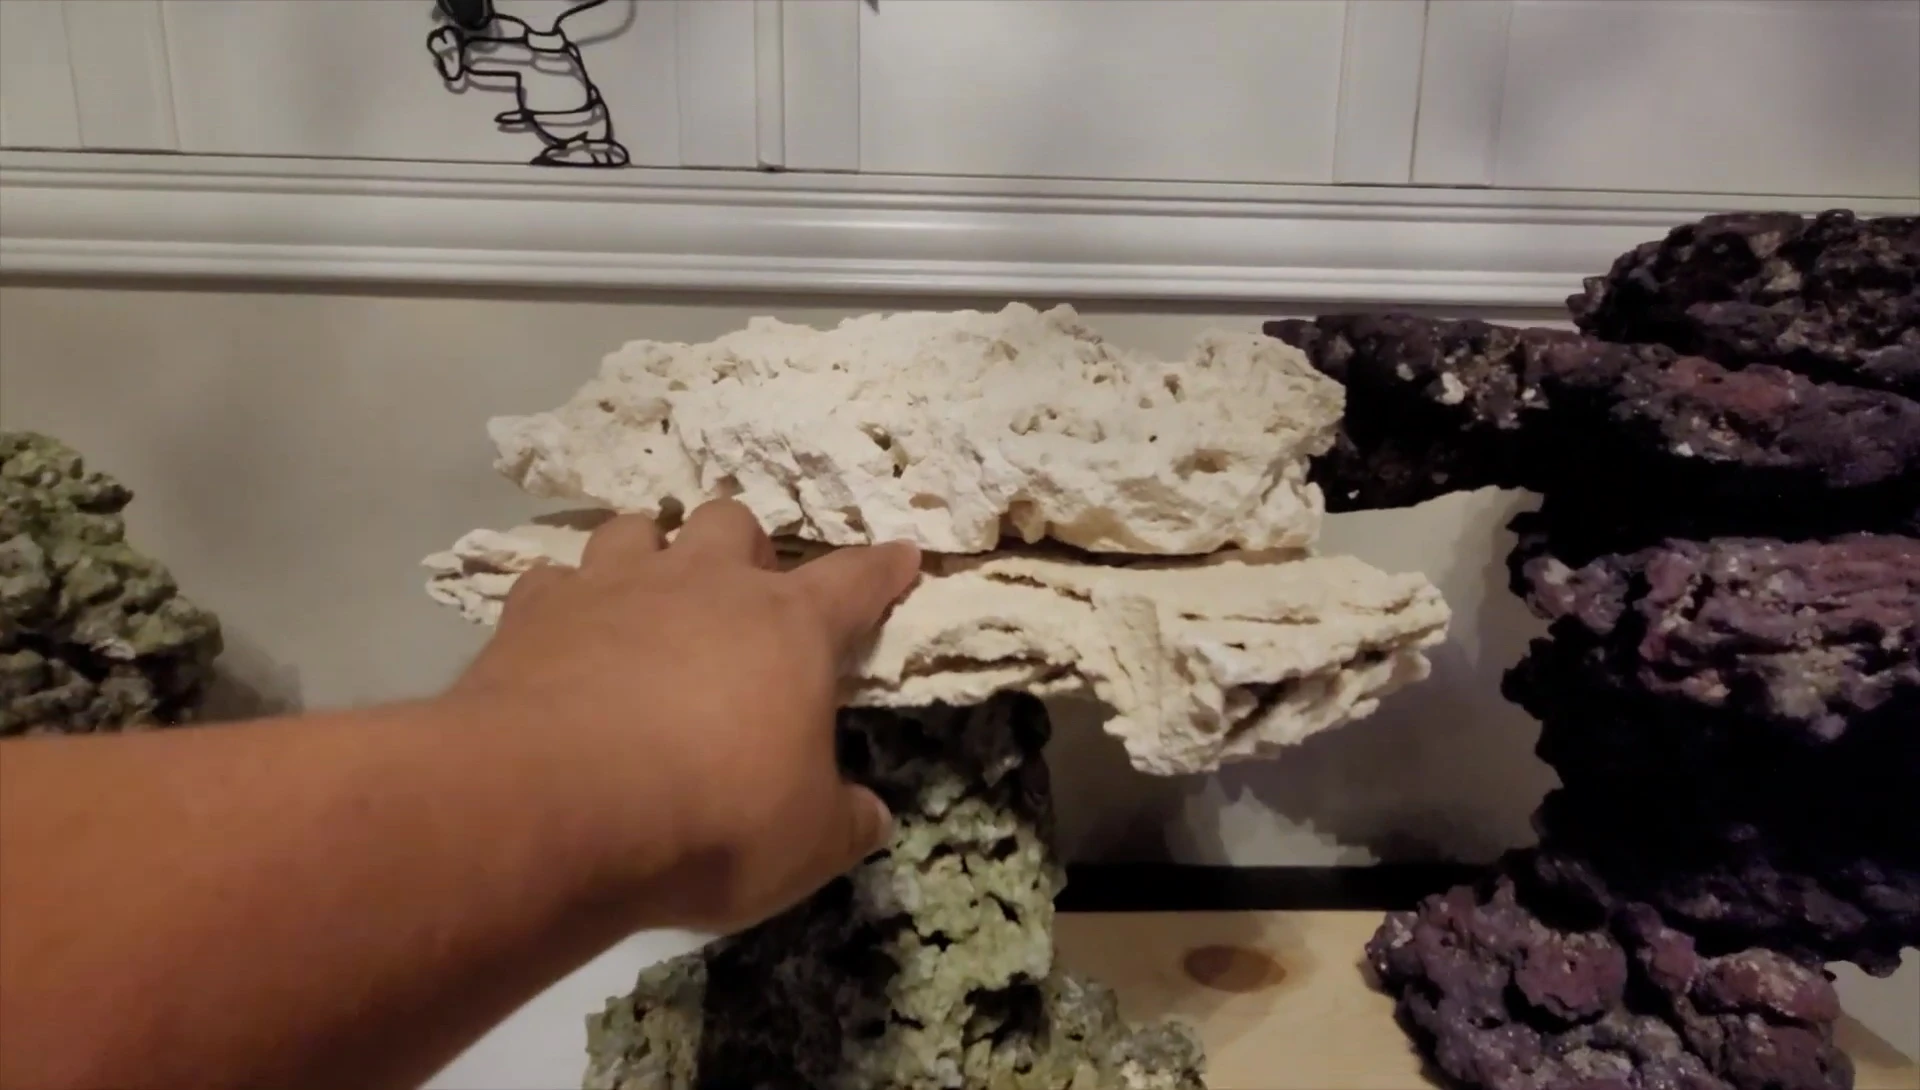
The new Marco Rocks provide excellent flat pieces for creating the main pillar structures, and the foundation rocks offer a stable base with their flat underside. Marco rocks come in different styles, and I purchased both the pound-based rock and the foundation rocks.
The foundation rocks are particularly useful for creating stable platforms on top of the pillars, providing an ideal spot for placing corals. Their flat surface allows for secure placement and provides a solid, level area for coral attachment.
Construction and Cementing: Reef Cement Application
Reef cement was chosen for its familiarity and ease of use in creating the pillar structures. A two-layer application technique was used for optimal bonding and filling gaps.
The first layer provides initial structural integrity, allowing the pieces to firmly bind together. After a day of drying, a second, more watery layer is applied to fill in all the cracks and crevices.
This two-step process creates a strong, aesthetically pleasing bond between the rock pieces. The final result is a solid, natural-looking structure for coral placement.
Final Aquascape and Conclusion
The final aquascape showcases three main pillars, with a smaller, isolated rock structure serving as a unique island feature. This design allows for diversified coral placement and growth patterns.
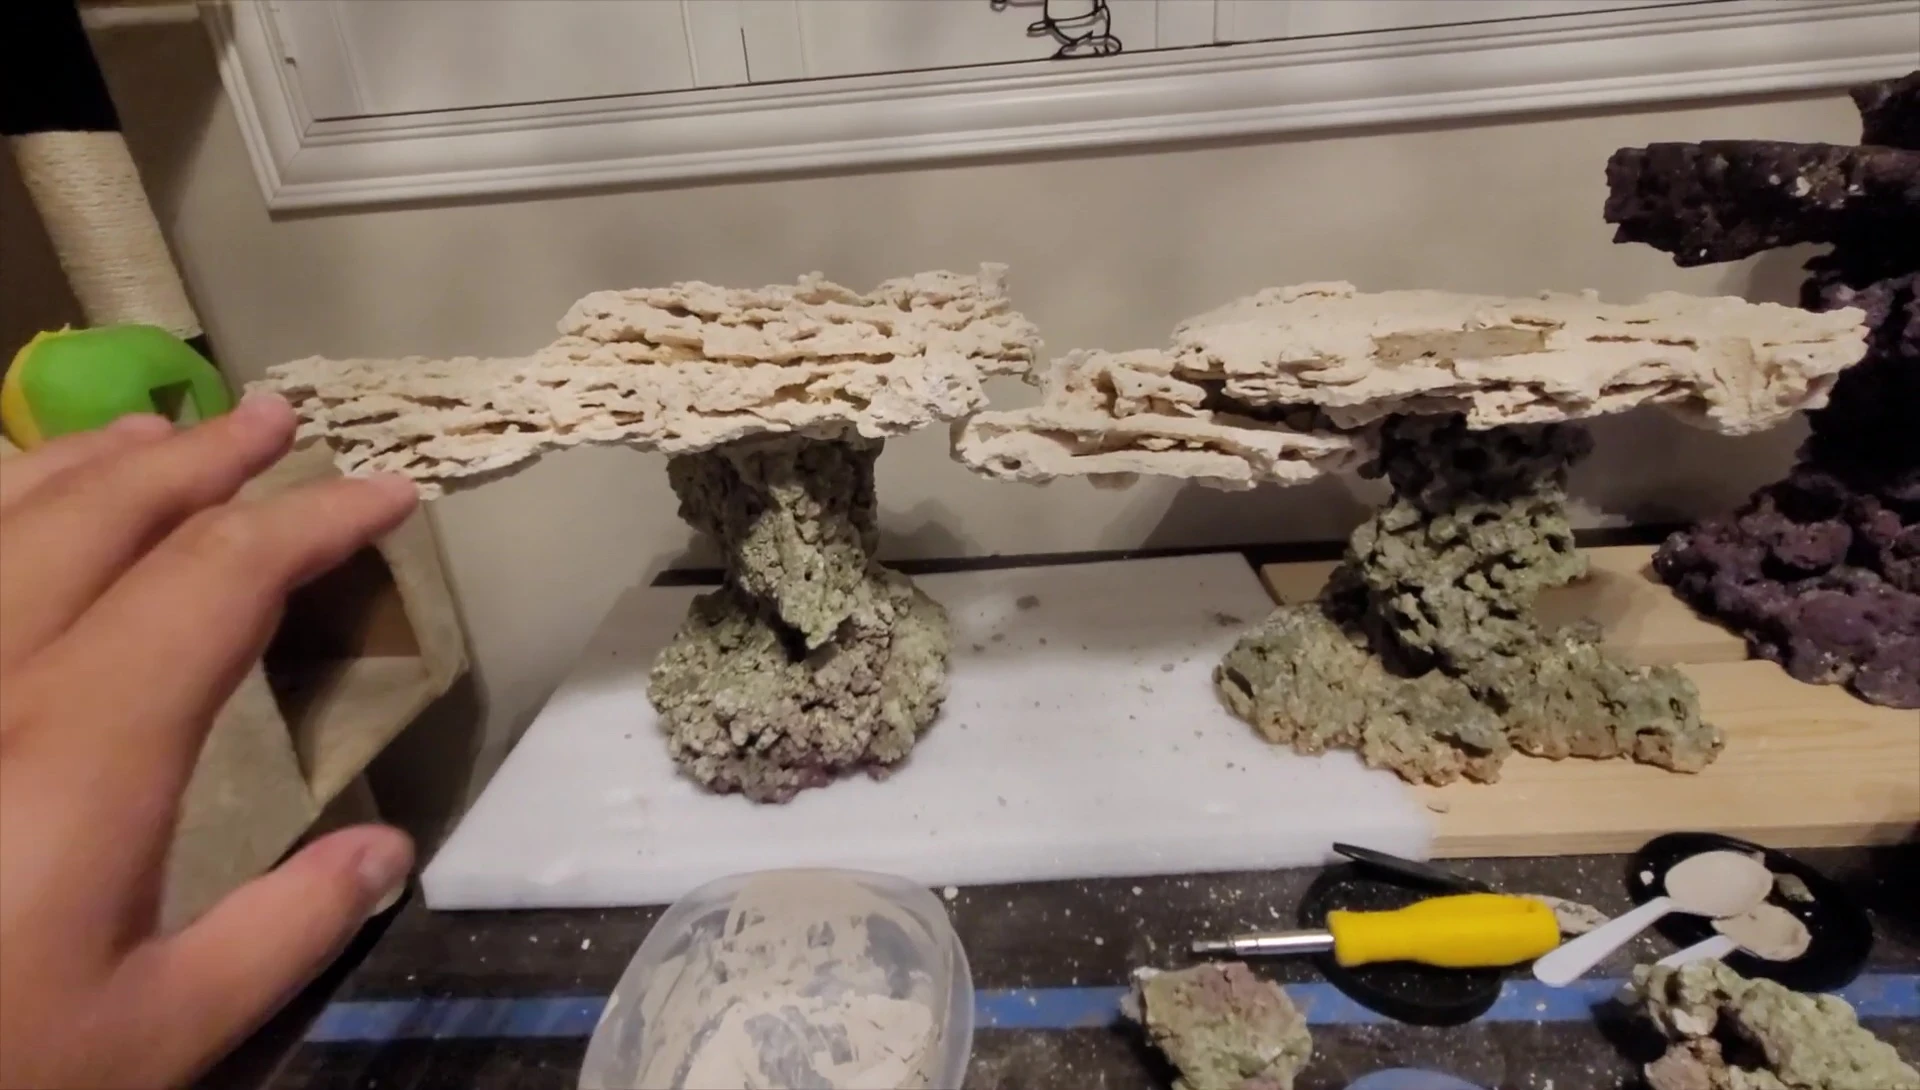
The overall effect aims for a natural, organic look, mimicking the rock formations found in certain island environments. This arrangement ensures optimal water flow and light distribution for thriving coral colonies.

The use of Marco Rocks, particularly the foundation rocks, provided a significant advantage in creating the stable pillar structure. The two-layered cementing technique ensured a robust bond and a pleasing aesthetic.