Dive into a captivating nail art tutorial that guides you through creating stunning vertical ombre and marble goldfish nails. This step-by-step guide will transform your nails into a miniature aquarium, showcasing a playful and elegant design perfect for any occasion. We'll combine the soft gradients of an ombre effect with the whimsical charm of marbled goldfish, resulting in a manicure that's both intricate and surprisingly achievable.Using readily available gel polishes and simple tools, you'll learn how to achieve a professional-looking finish. From preparing your nails with a pristine base coat to perfecting the delicate details of the goldfish, this tutorial provides clear instructions and helpful tips to ensure your goldfish nail art is vibrant, long-lasting, and uniquely yours. Get ready to unleash your creativity and make a splash with this fun and fashionable manicure!
Read more: Red Tile Starfish Care Guide: A Comprehensive Overview
Nail Preparation and Base Coat
Starting with clean, long almond-shaped nails, apply a base coat. This protects the nail and provides a smooth surface for the polish.

A white base coat is crucial for making the subsequent colors pop, especially if your natural nails are light or nude. This creates a vibrant contrast.
Apply two coats of the white base, ensuring each coat is completely dry before applying the next. This prevents smudging and ensures a clean finish.
Mixing and Applying Ombre Colors
For an ombre effect, use two different nail polish brands. This can enhance the color blending. Removing the dispersion layer from the polish before mixing improves the results.

I'm using Kira Sky polishes in 'High Maintenance' and 'Sky's the Limit', applying them vertically in an ombre style. This creates a soft, gradient effect.
Blend the colors smoothly on the brush before applying to the nail to create a seamless transition between colors. Clean your brush after each application to prevent color mixing.
Creating the Goldfish Design
For the goldfish, use orange, white, and a touch of black nail polish. This combination allows for realistic fish-like detail.
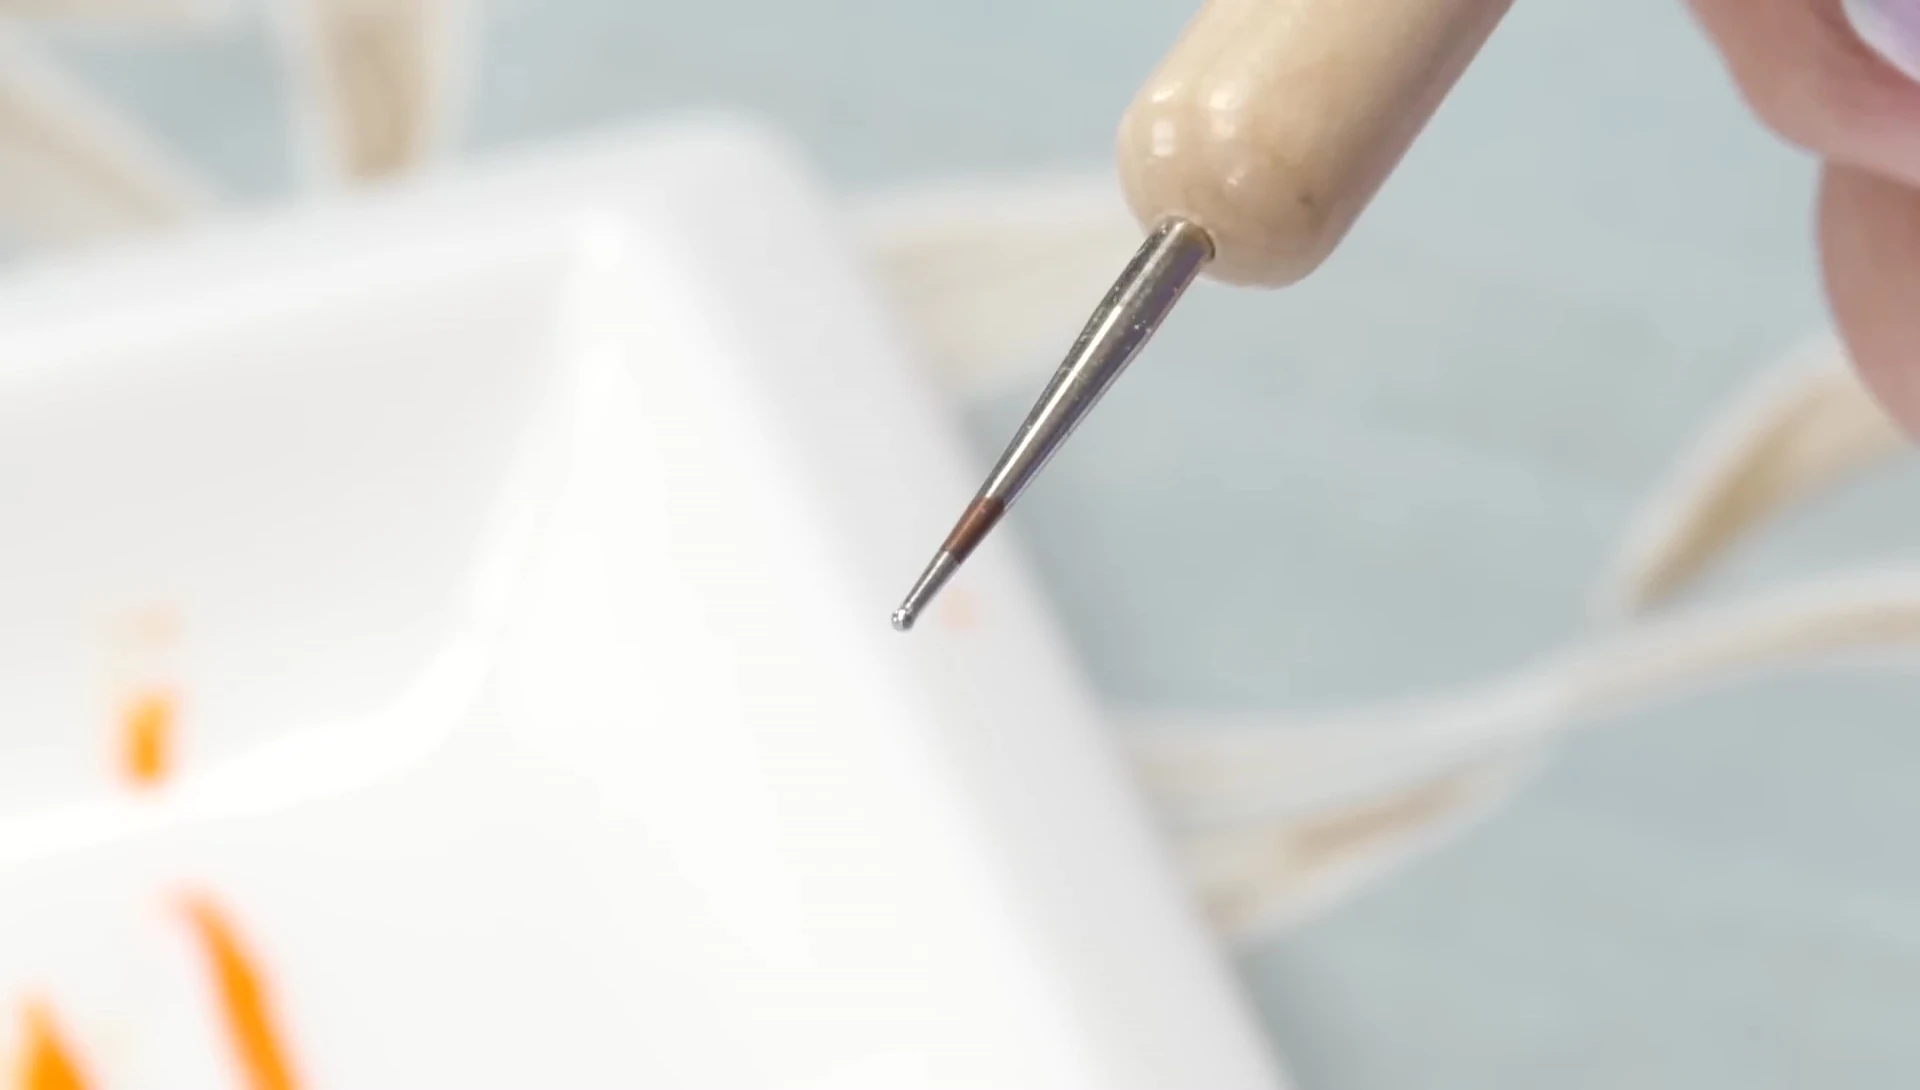
Apply thin lines of orange and white gel across the nail in a marbled pattern, using a small tool or toothpick to blend the colors. This creates the goldfish's body.
Using a fine brush, gently draw the goldfish’s features: eyes, fins, and tail. This will help distinguish the marble design as a goldfish.
Adhesion and Finishing Touches
Buff the nail surface lightly to improve adhesion between different nail polish brands and ensure long-lasting wear. This removes the sticky layer and helps the polish adhere better.
Once the goldfish design is complete, add fine white lines to accentuate the fins and tail. Use a small black dot for the eyes to add definition.
Apply a top coat to seal the design and add shine. This protects the manicure and adds a professional finish.
Conclusion
This tutorial demonstrates a creative nail art technique to create a goldfish design using an ombre and marbling method.
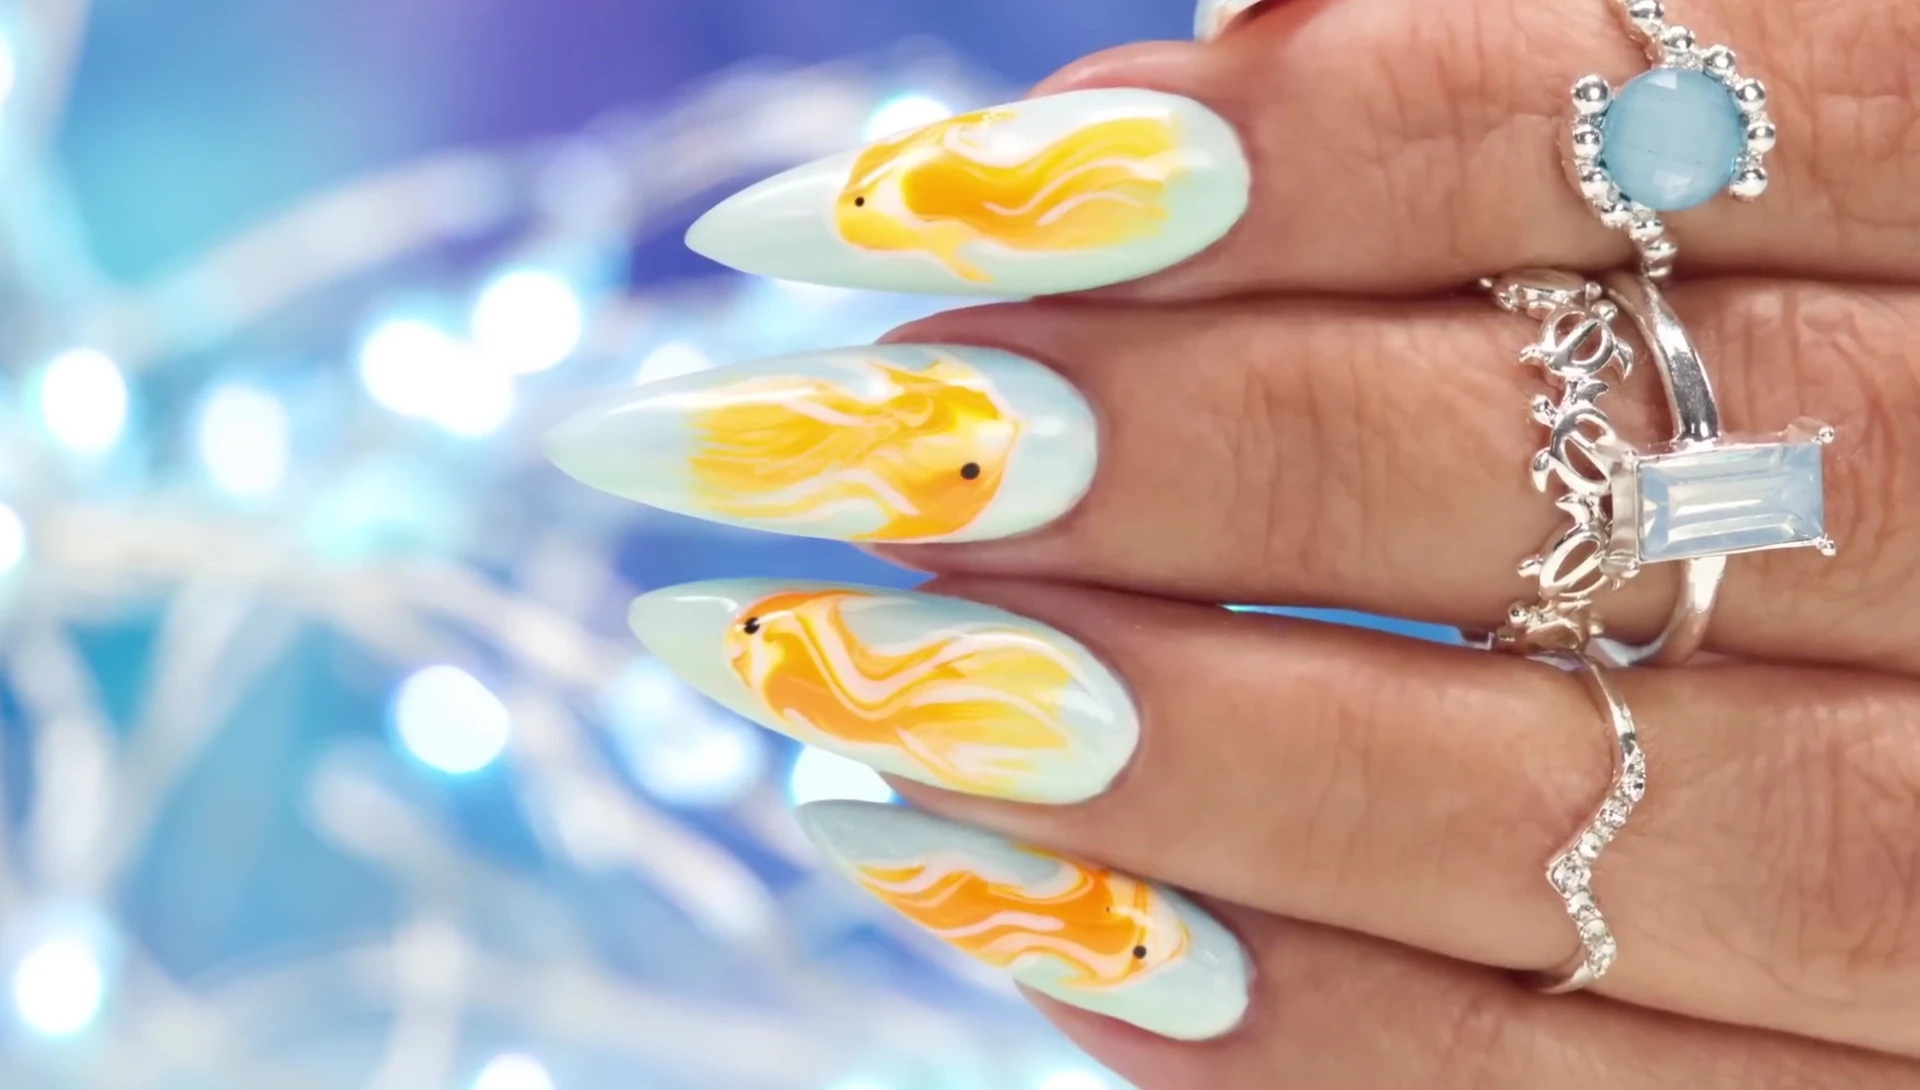
The key is achieving a smooth ombre effect and then delicately adding the fish's details, showcasing the combination of different brands of gel polish.
Remember, practice makes perfect, and this technique can be adapted to create various other designs with different colors and patterns.