This video documents a captivating upgrade to a Fluval Spec V aquarium, transforming its underwater landscape with the addition of new wood, plants, and a redesigned substrate. The project begins with the removal of an existing piece of wood, revealing a before-and-after comparison that highlights the impact of the change. A detailed cleaning process for the new, significantly messier wood piece is then undertaken, preparing it for the meticulous planting phase.The centerpiece of the upgrade involves the careful attachment of flame moss and brown piglia to the wood, creating a visually stunning effect that promises to develop over time. The substrate is reshaped to complement the new wood, and strategically placed Java fern rocks complete the natural, open feel of the redesigned aquarium. The final result is a dramatically improved, more spacious, and aesthetically pleasing underwater environment that showcases the power of thoughtful aquarium design.
Read more: Top 5 Driftwood Aquariums for Betta Fish
Removing the Old Wood
The first step in this aquarium upgrade was removing a piece of wood that had been in the tank for a long time. It was a visually appealing piece with a unique V-shaped groove. The removal process itself wasn't shown in detail due to a lack of tripod, but it's clear that some glue and debris would require cleaning afterward.
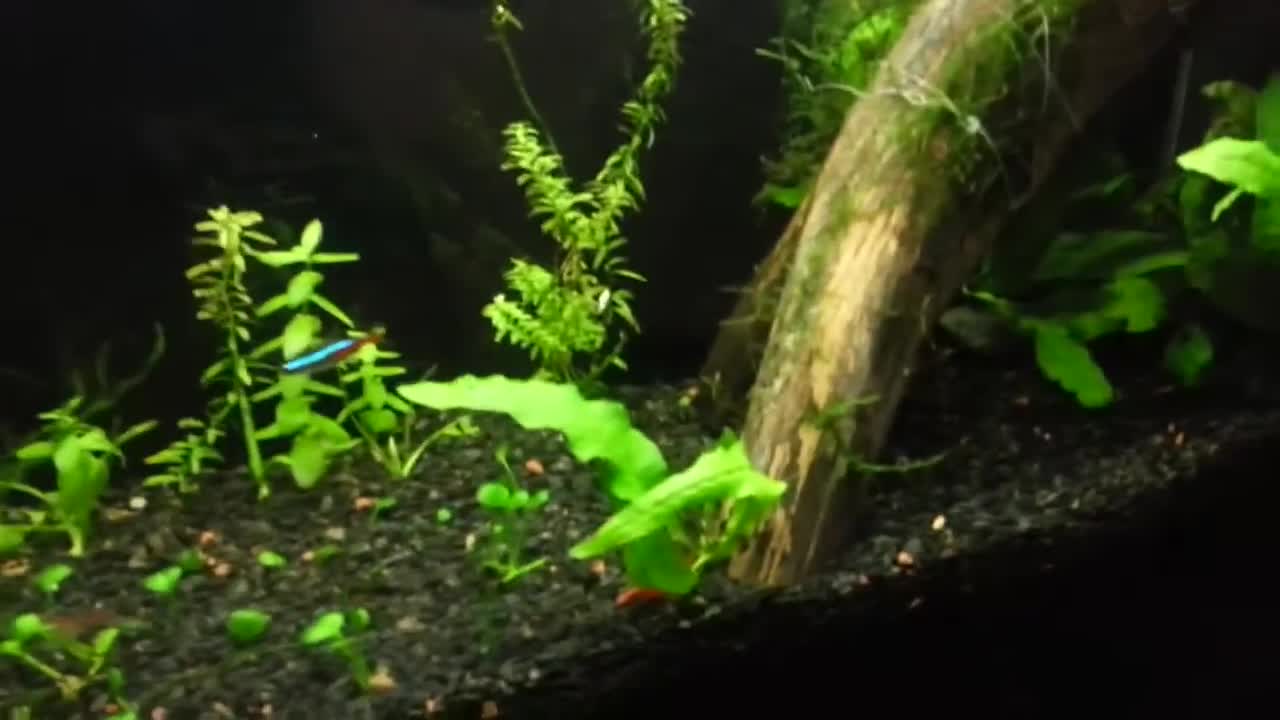
Before removing the wood, a quick overview is given, highlighting its aesthetic contribution to the tank's layout. This showcases the before and after impact of the wood piece.
Preparing the New Wood Piece
The new wood piece was initially quite messy. It required a thorough cleaning process to remove any remaining glue and other debris. The presenter mentions plans to sand and clean the wood to prepare it for the new setup.
After cleaning, the wood was ready to be placed in the aquarium. The process of attaching plants is explained in the following section.

Planting and Placement
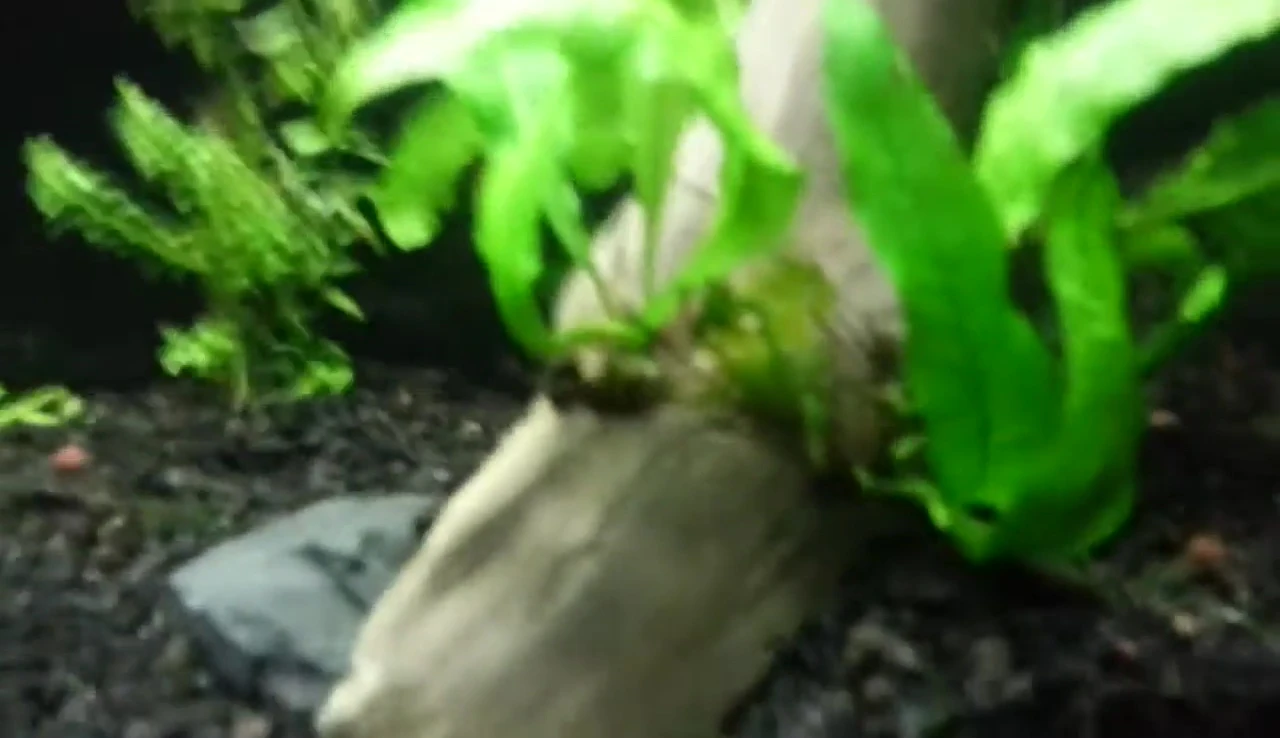
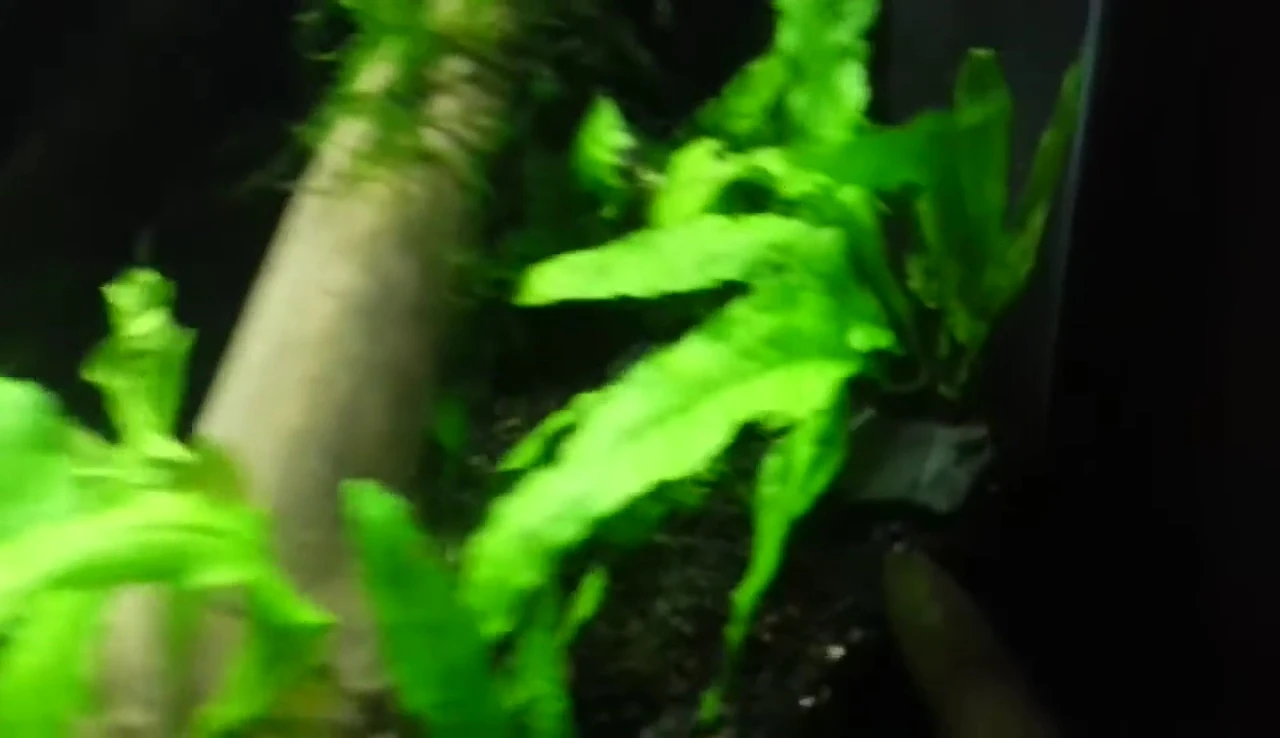
Flame moss was carefully removed from a mousepad and attached to the new wood. This would create a visually stunning effect as it grows, covering the wood entirely.
In addition to the flame moss, brown piglia (possibly misidentified) was also added, tied to the wood in strategically placed holes. The speaker mentions challenges in ensuring proper placement due to the hole sizes and the nature of these plants.
Substrate Reshaping and Final Placement
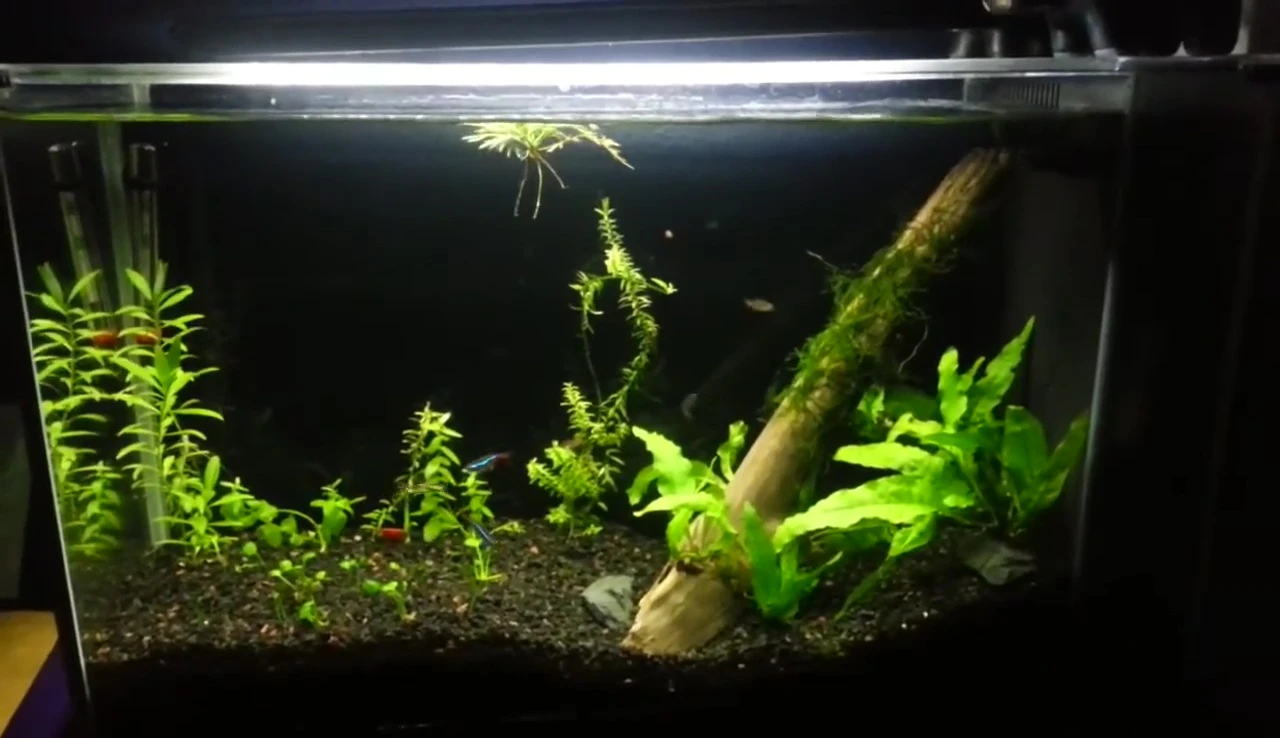
The substrate was reshaped to create a more visually appealing slope, complementing the new wood piece. This involved lowering the substrate level in certain areas to improve the overall look of the tank.
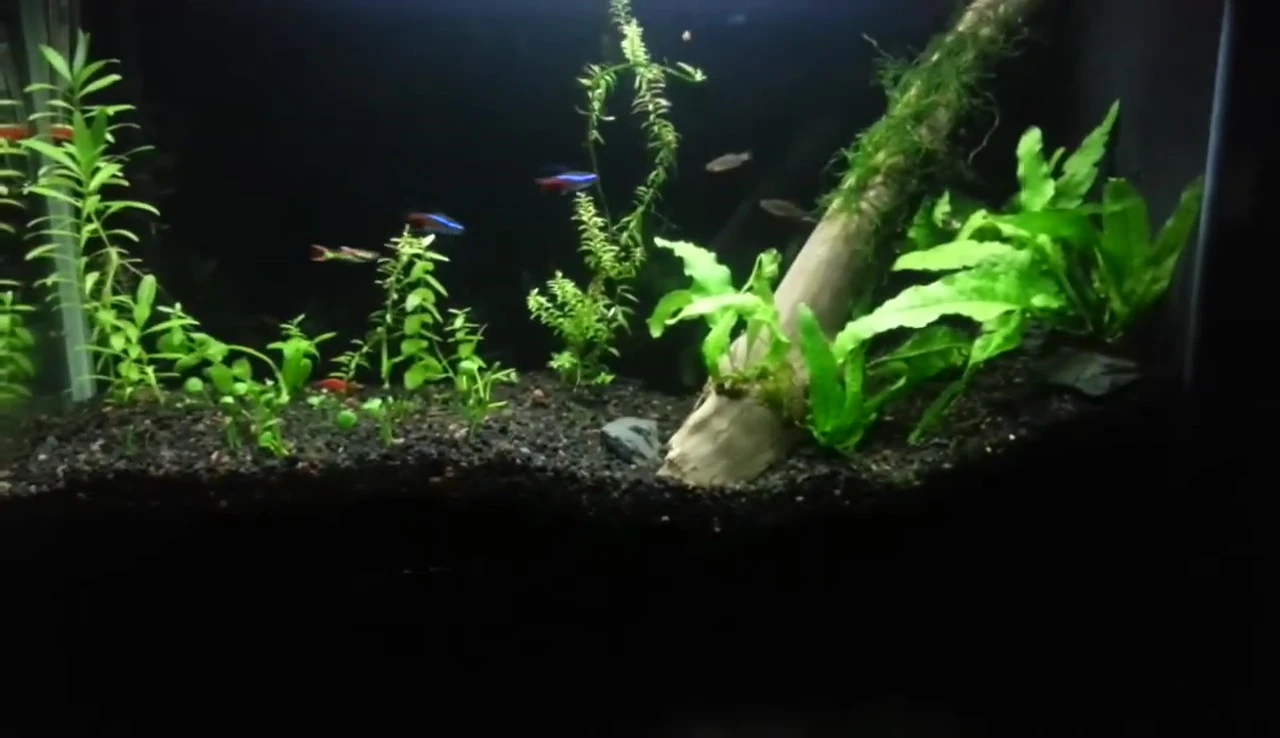
The presenter placed two Java fern rocks to complete the aesthetic. The final look showcases a revamped aquarium with a more open and natural feel.
Conclusion and Review
The overall result is a significant upgrade to the aquarium. The new wood piece dramatically opens up the tank, creating a more spacious and natural environment. The combination of flame moss and brown piglia is expected to create a captivating look as the plants grow.
While the video lacks detailed instructions due to technical limitations, the presenter expresses satisfaction with the outcome. The updated design creates a visually appealing underwater landscape that enhances the aquarium's overall aesthetic.