Transform your aquarium from ordinary to extraordinary with this easy DIY background solution! Using readily available window tint, you can create a stunning, professional-looking backdrop for your aquatic inhabitants, all without breaking the bank or requiring advanced skills. This comprehensive guide walks you through each step, from preparation and material gathering to application and drying, ensuring a seamless and beautiful result. Whether you prefer a sleek black or a subtly frosted finish, this method offers a customizable and effective way to enhance your aquarium's visual appeal.This simple technique offers a superior alternative to more messy and time-consuming methods like painting. We'll show you how to achieve a clean, bubble-free application for a long-lasting, professional finish. Perfect for empty tanks, applying the tint is a straightforward process, but we also address the challenges of working with a filled tank. Get ready to elevate your aquarium's aesthetic with this affordable and surprisingly easy DIY project!
Pros And Cons
- Easy to apply
- Provides a clean, nice-looking background
- Easy to find
- Relatively quick installation (if applied to an empty tank)
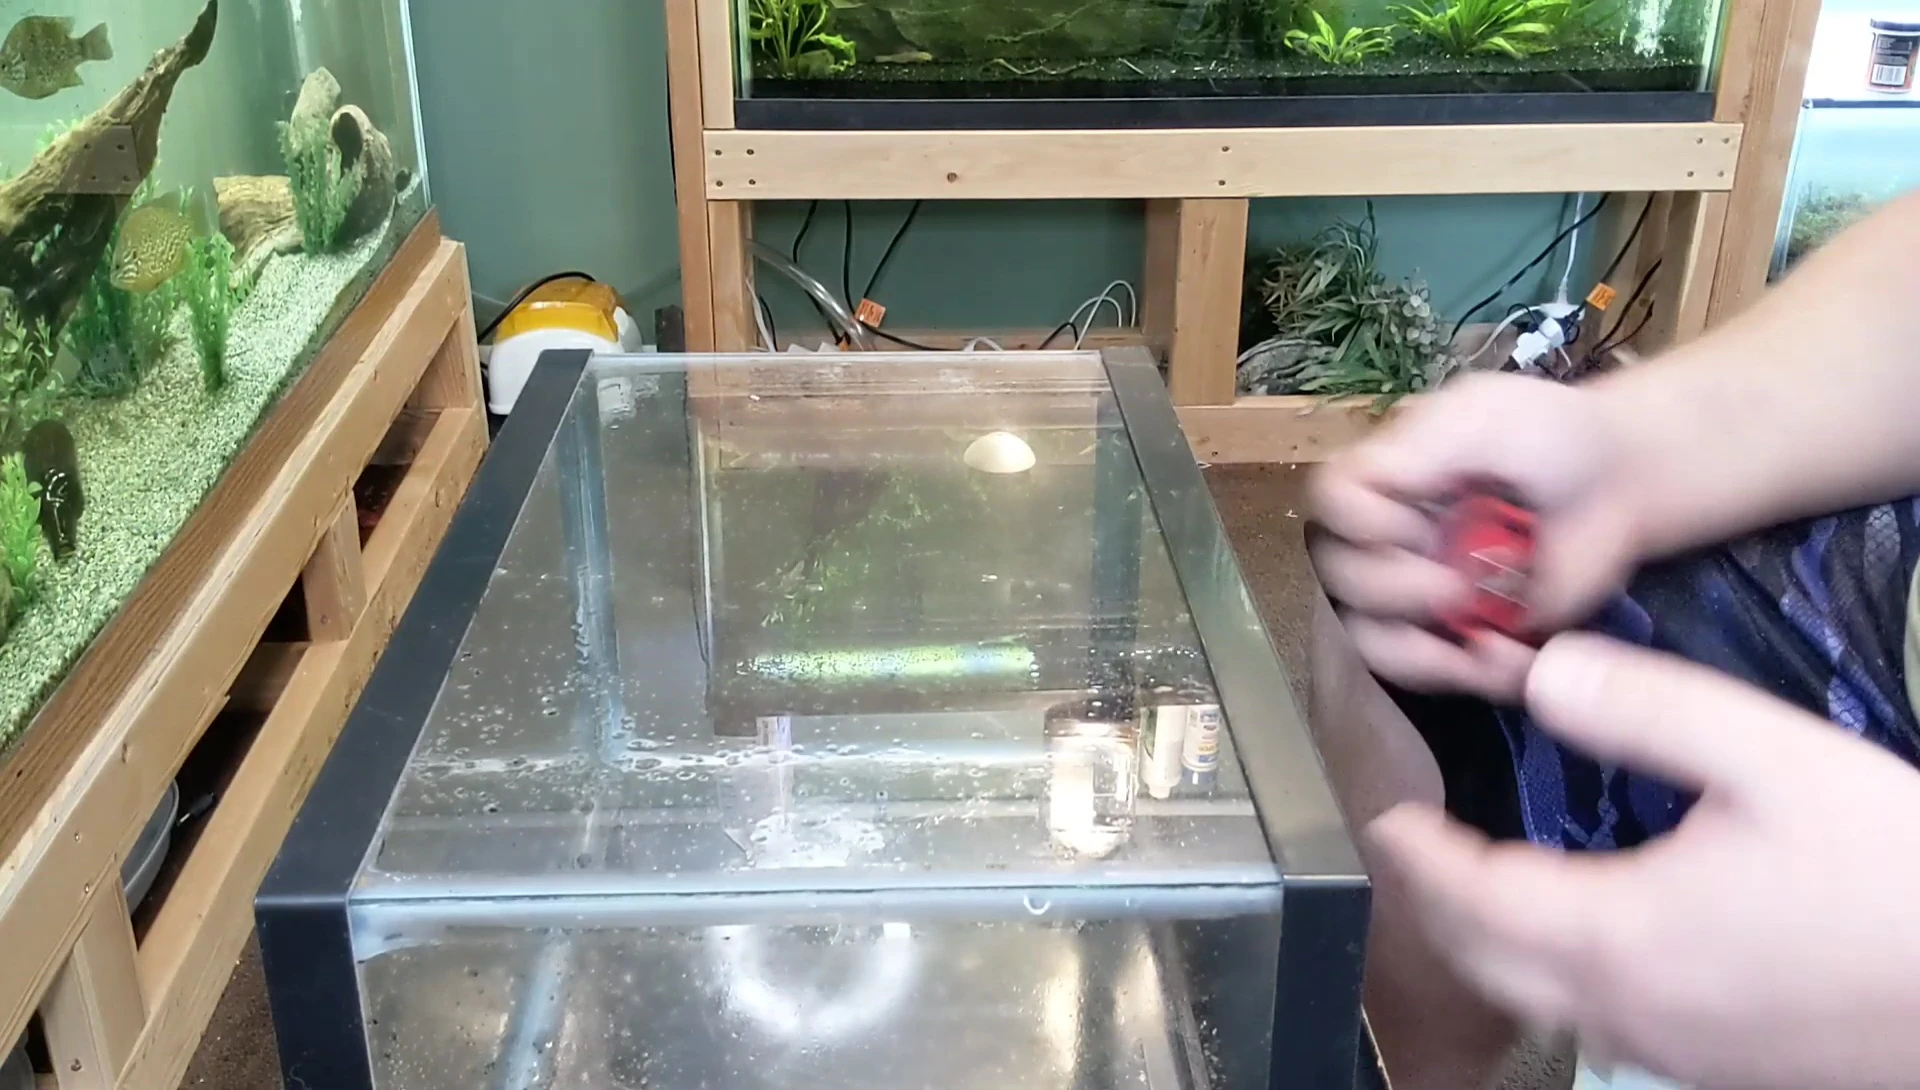
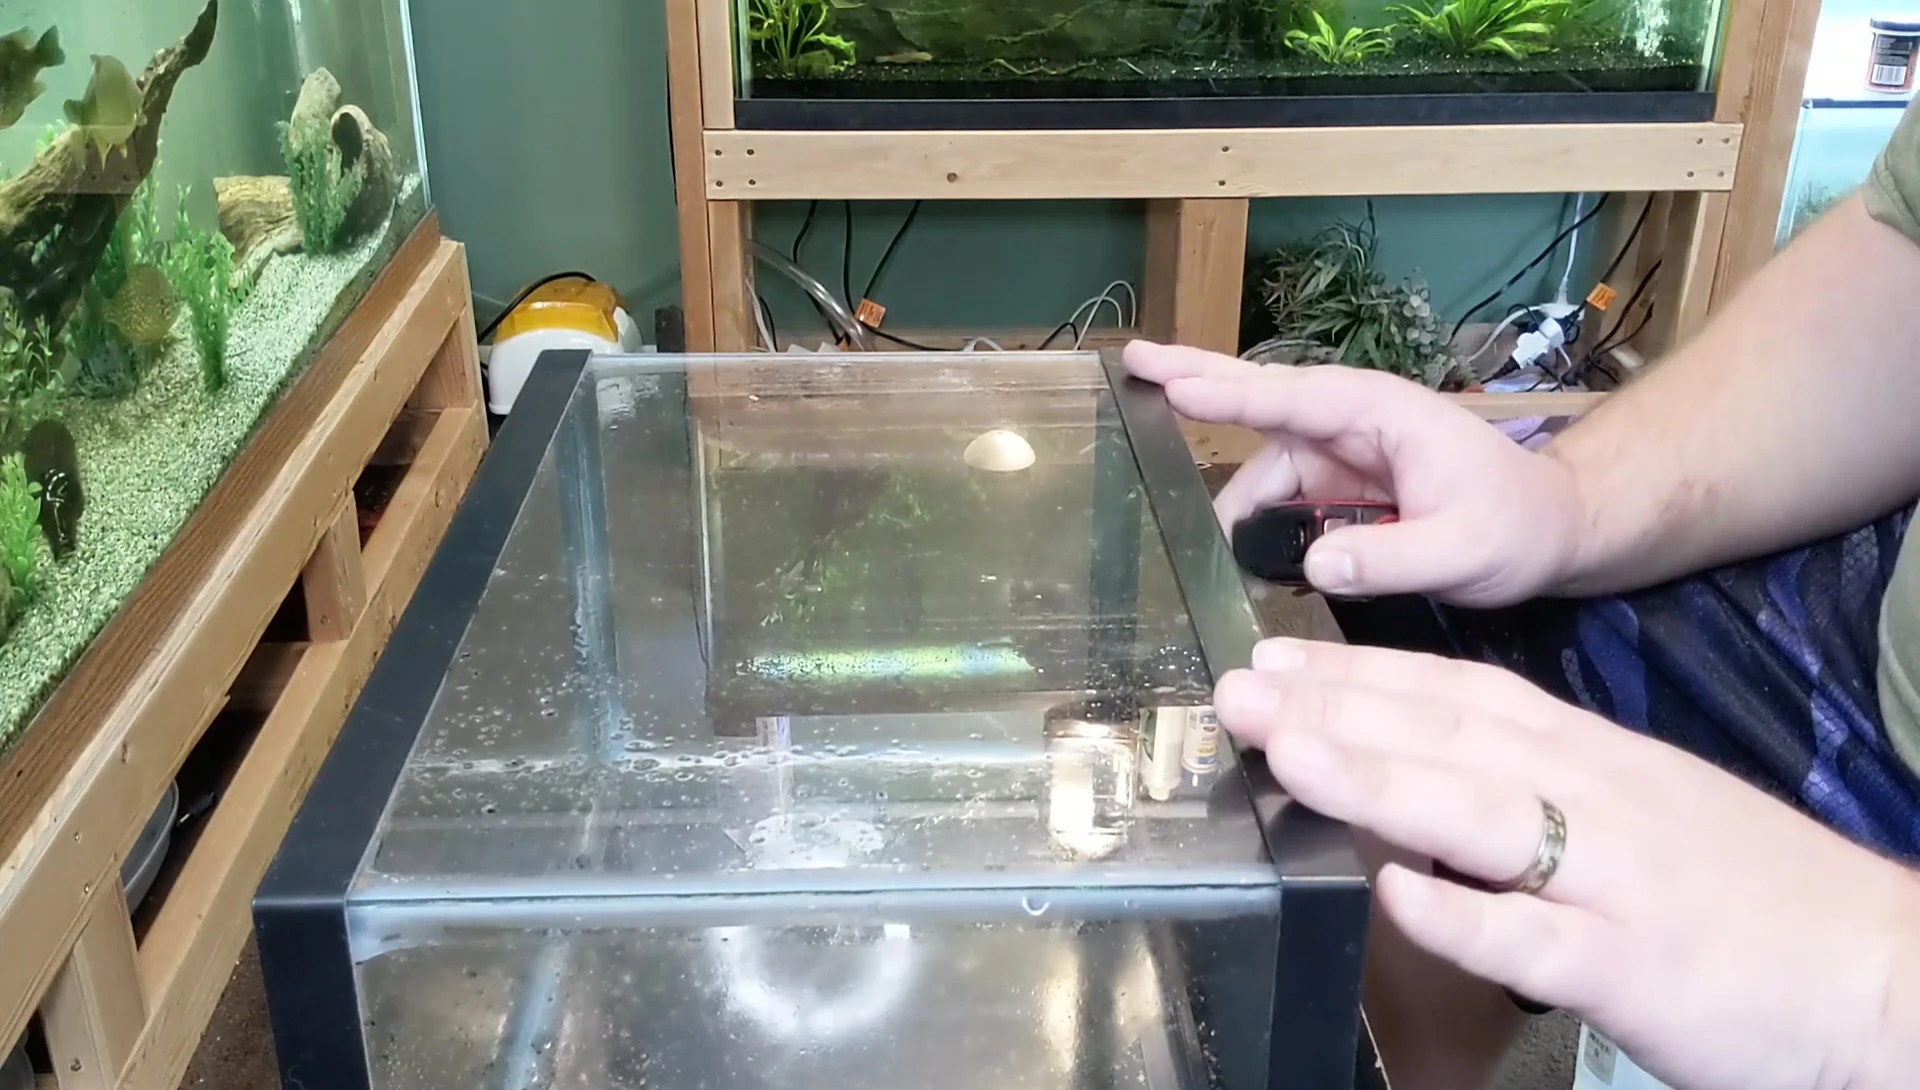
- Difficult to apply to an already set up tank
- Can slip around a lot during application on a wet surface
Read more: Top 5 Freshwater Aquarium Backgrounds
Material Preparation and Tank Cleaning
Before you begin, ensure your aquarium is thoroughly cleaned. This is crucial for optimal adhesion of the window tint. Use a glass cleaner like Windex, ensuring no cleaner gets inside the tank.
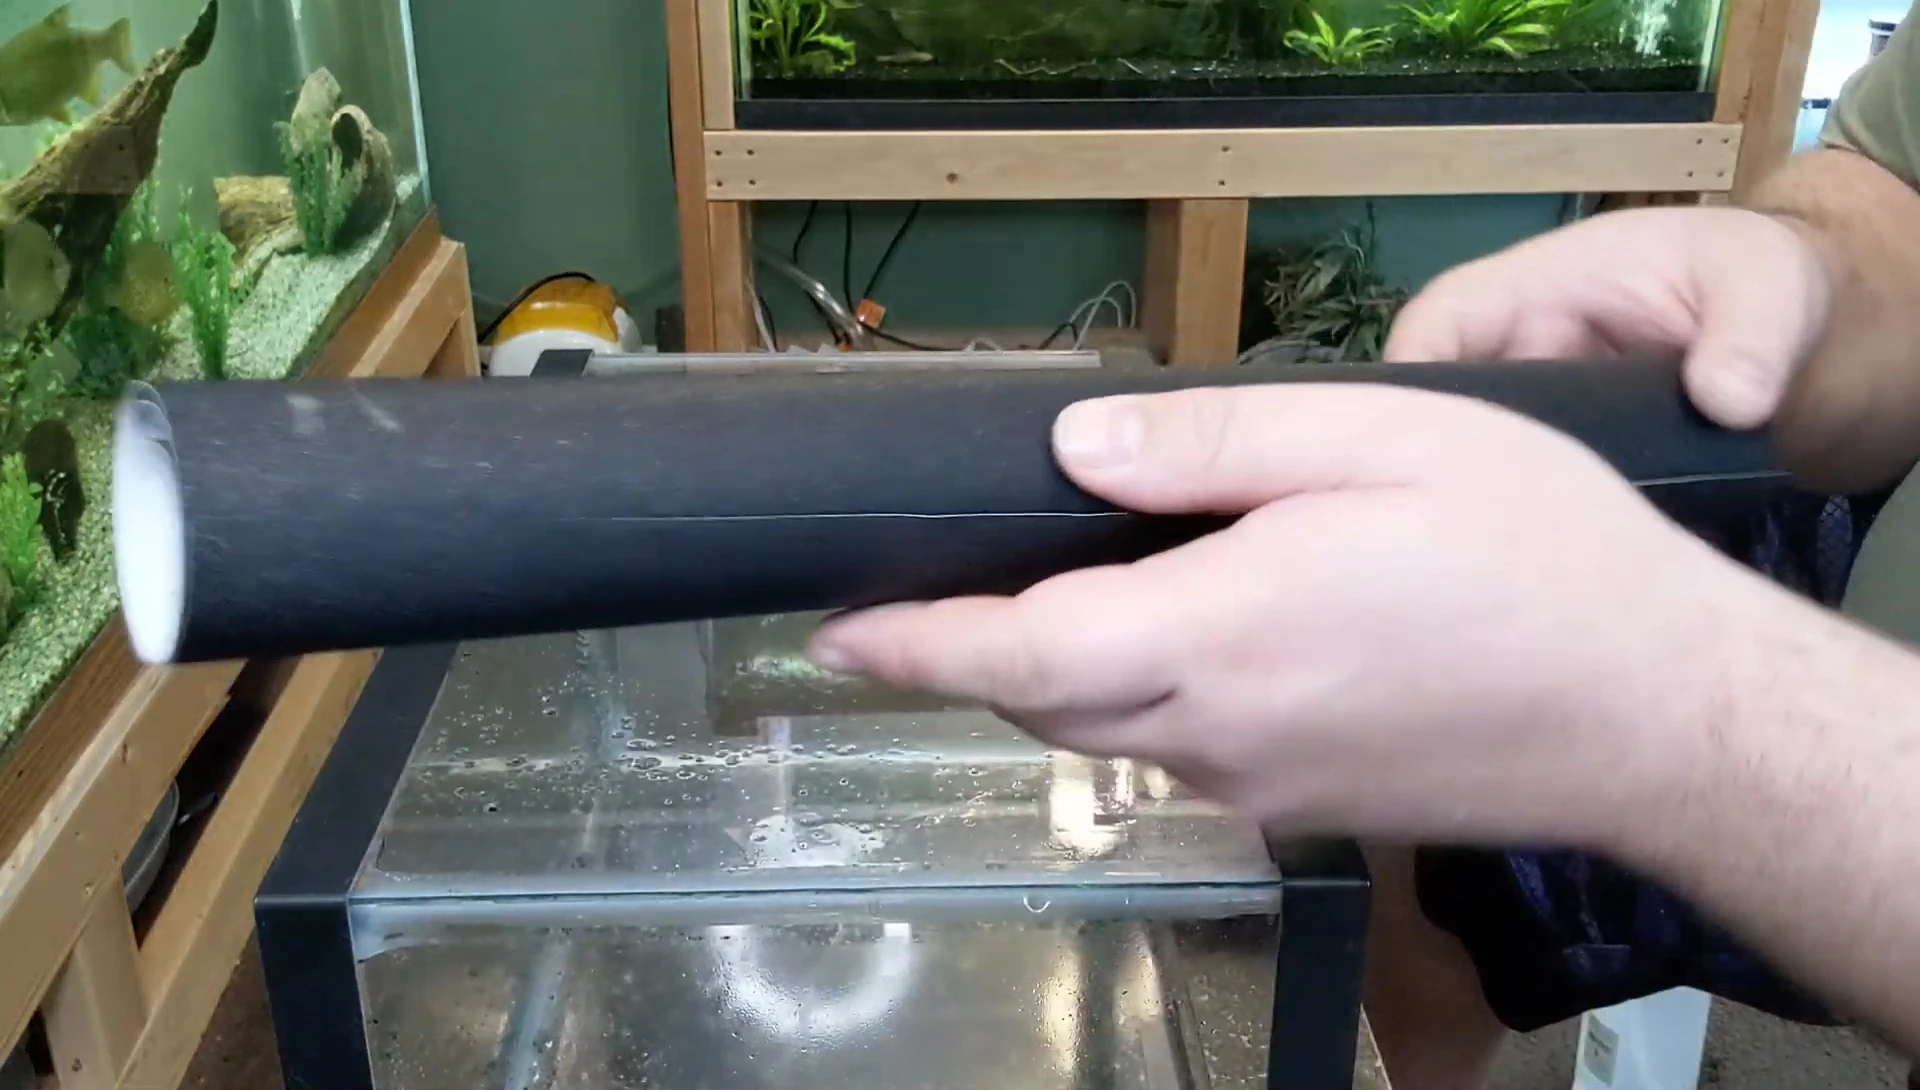
Next, gather your materials: window tint (black or frosted, depending on your preference), a spray bottle filled with water, and a sharp tool like scissors or a razor blade for precise cutting.
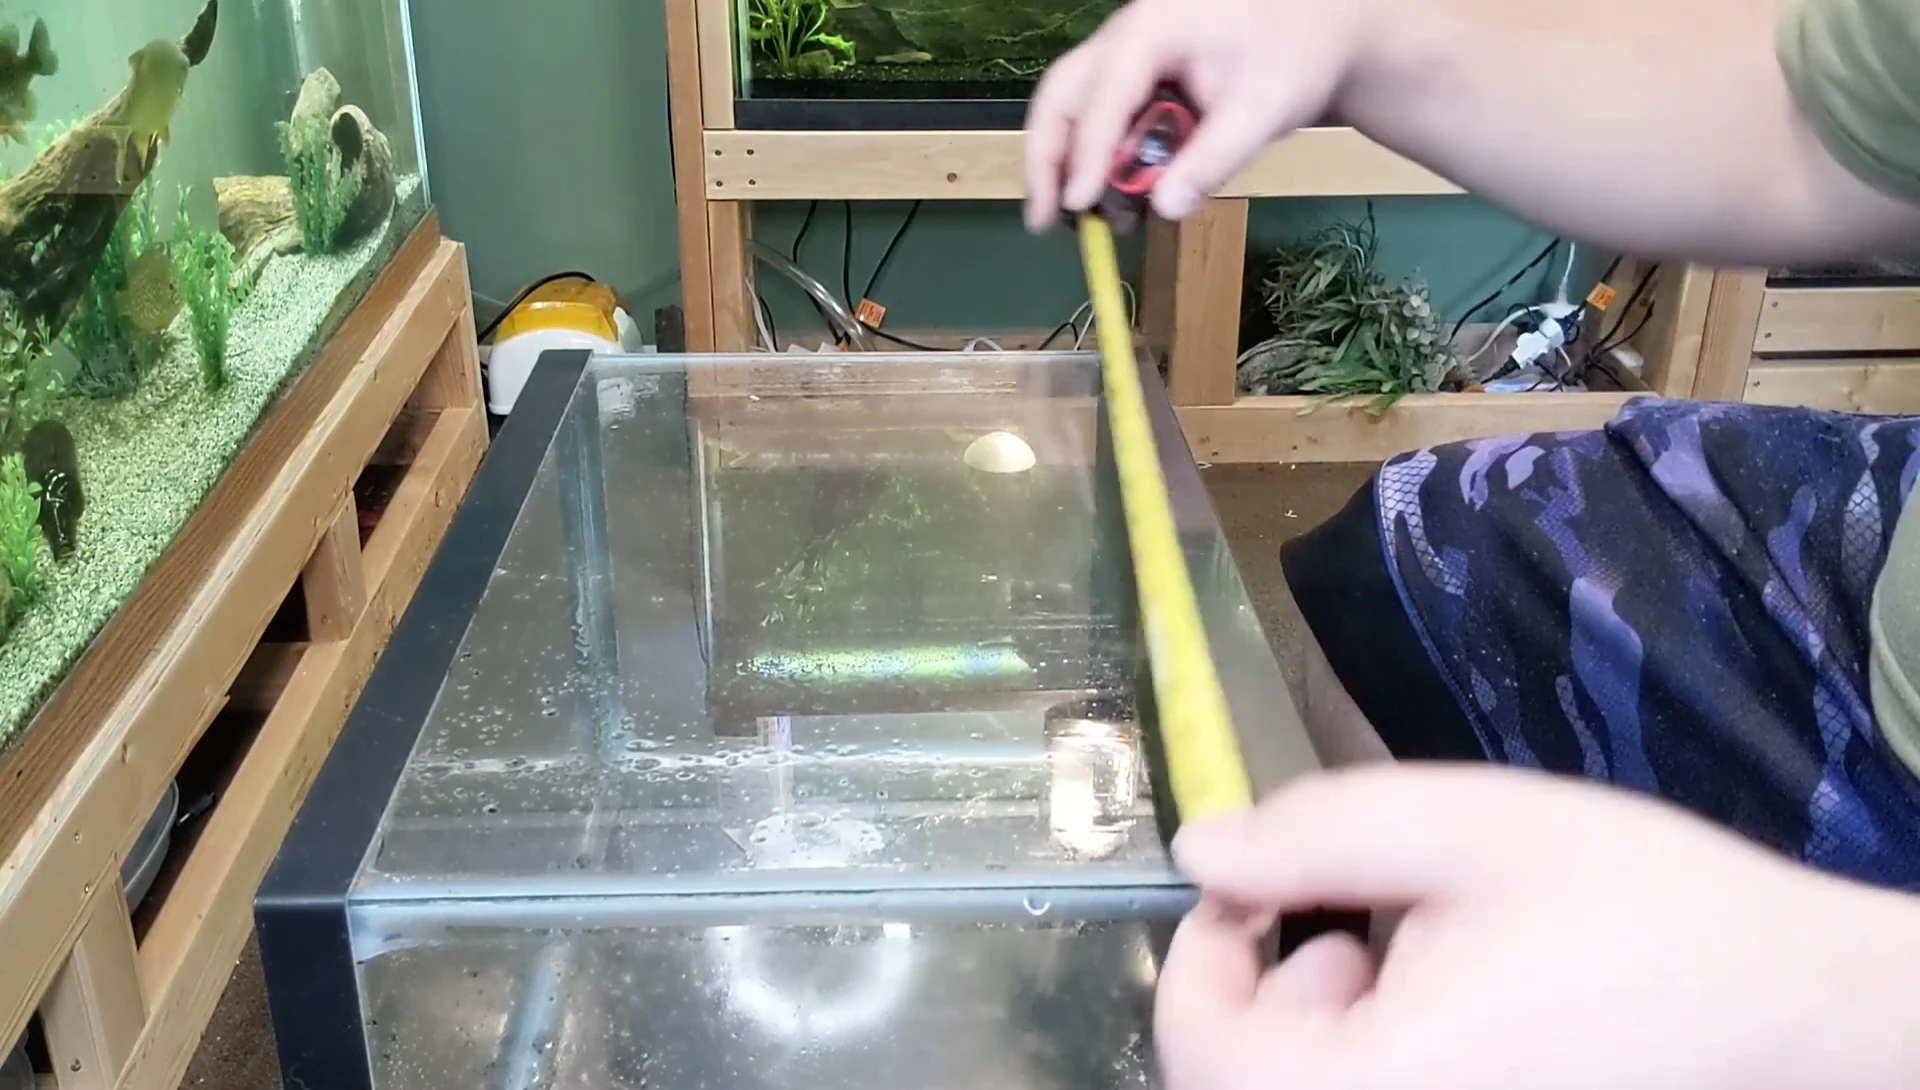
Measure your aquarium's back panel carefully to determine the exact dimensions needed for your window tint. Accuracy is key for a seamless look.
Cutting and Applying the Window Tint
Cut the window tint to the precise measurements you obtained earlier. The grid lines on the backing make this process easier.
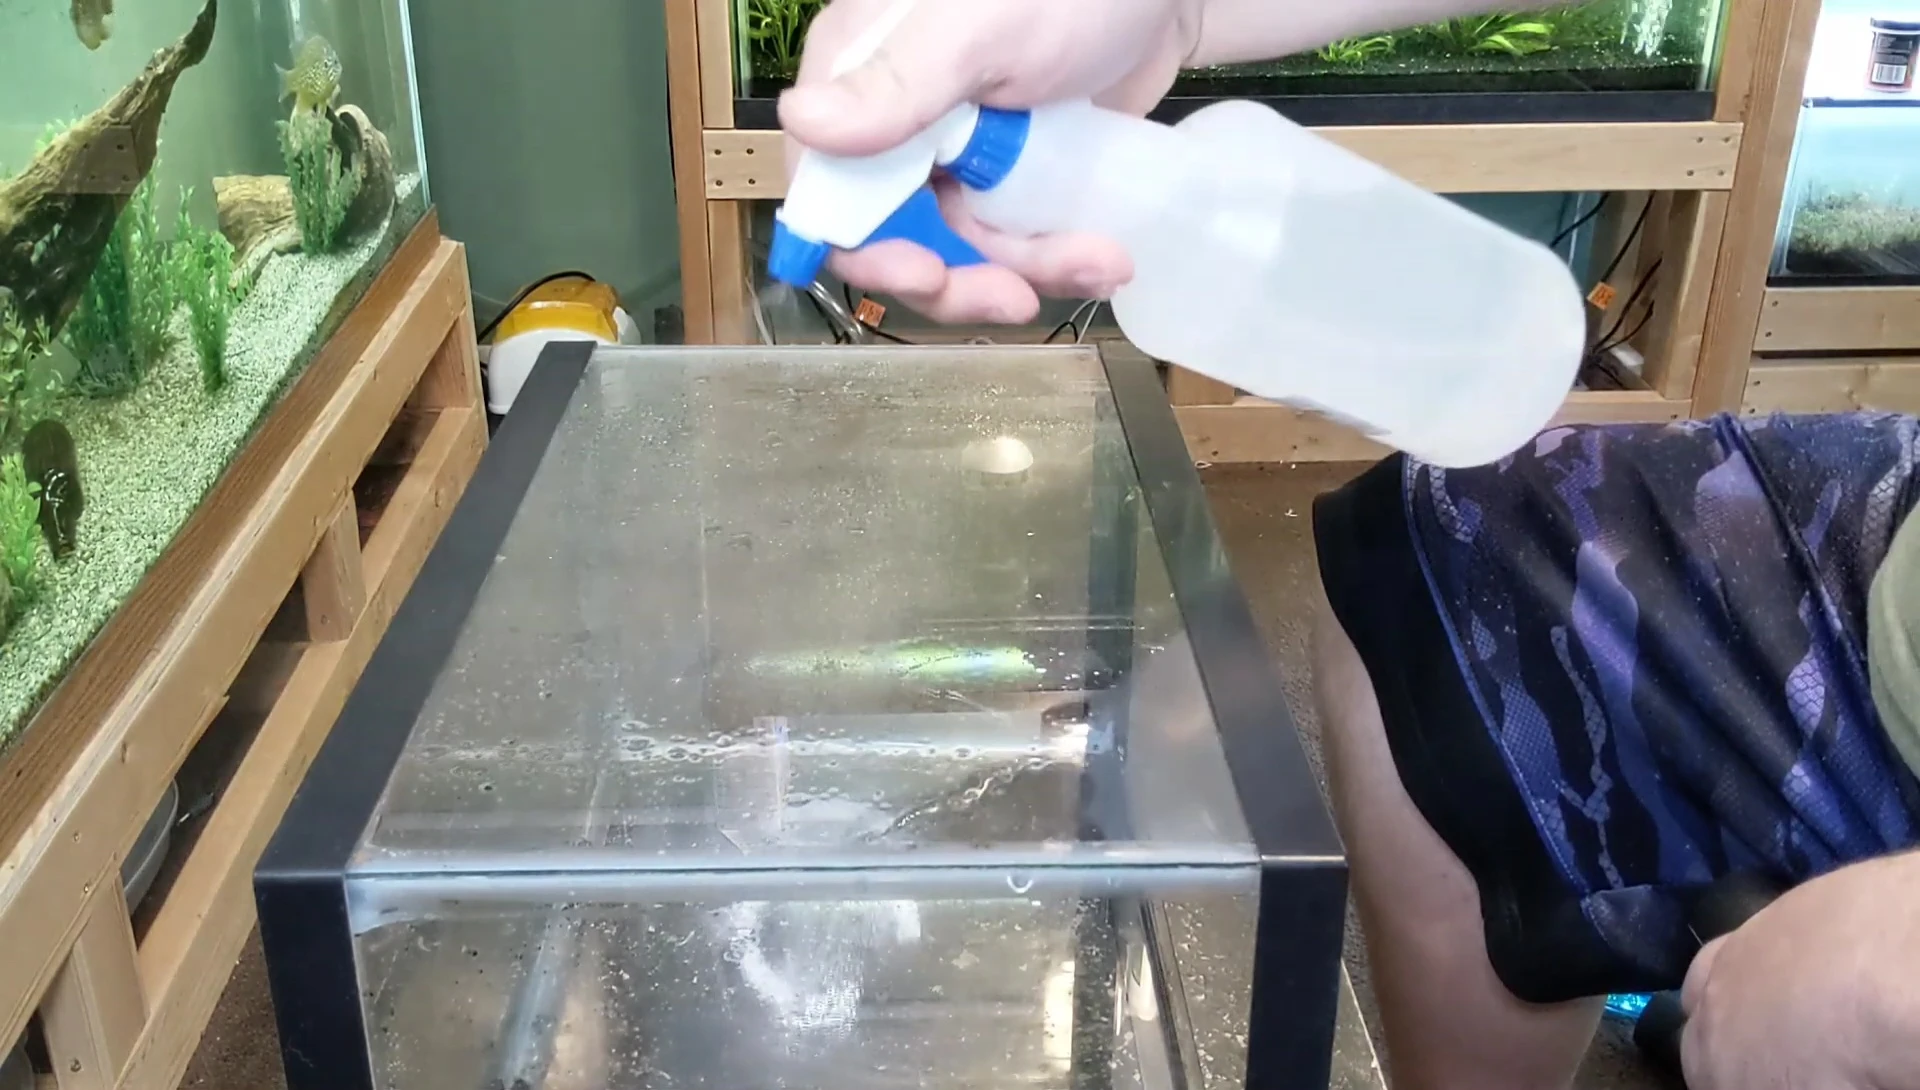
Wet the back panel of your aquarium thoroughly with water. This helps with positioning and prevents air bubbles.
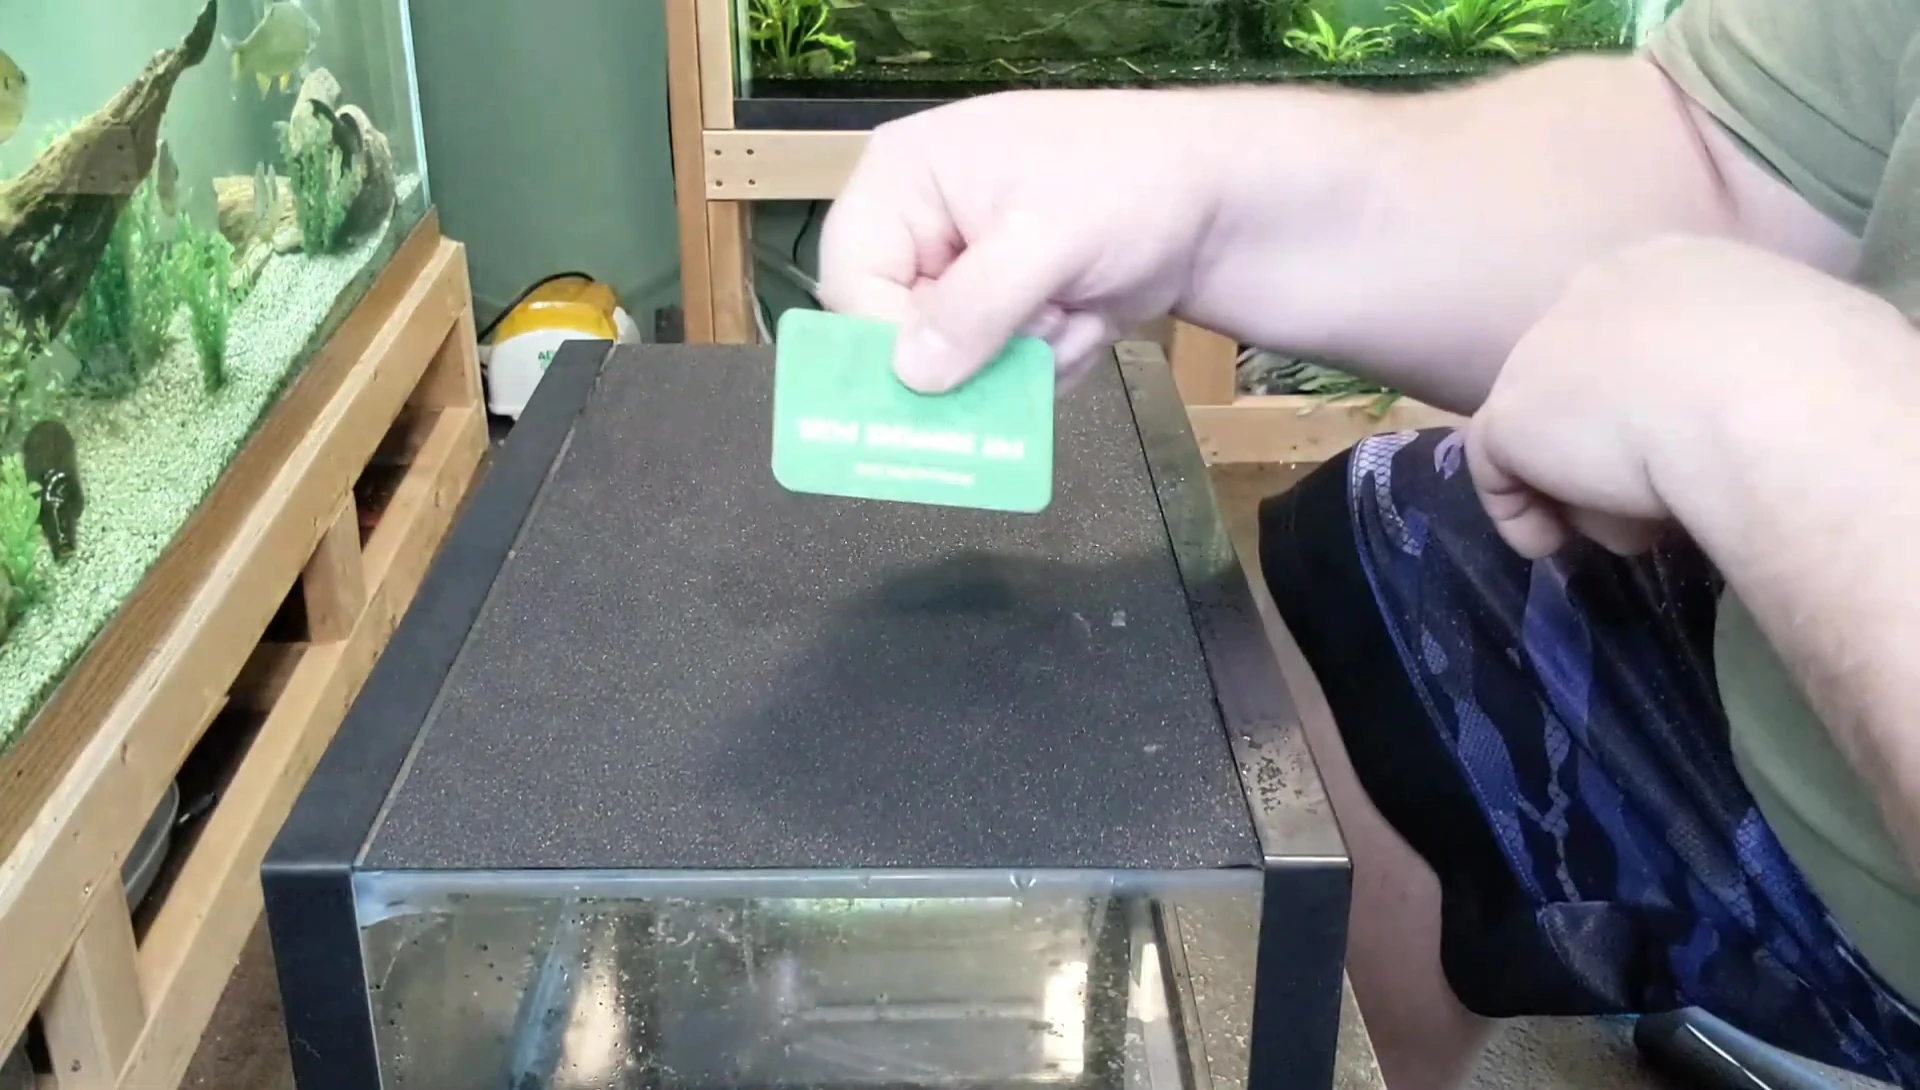
Peel the backing from the window tint and carefully apply it to the wet glass. Smooth out any air bubbles using a credit card or similar tool, working from the center outwards.
Finishing Touches and Results
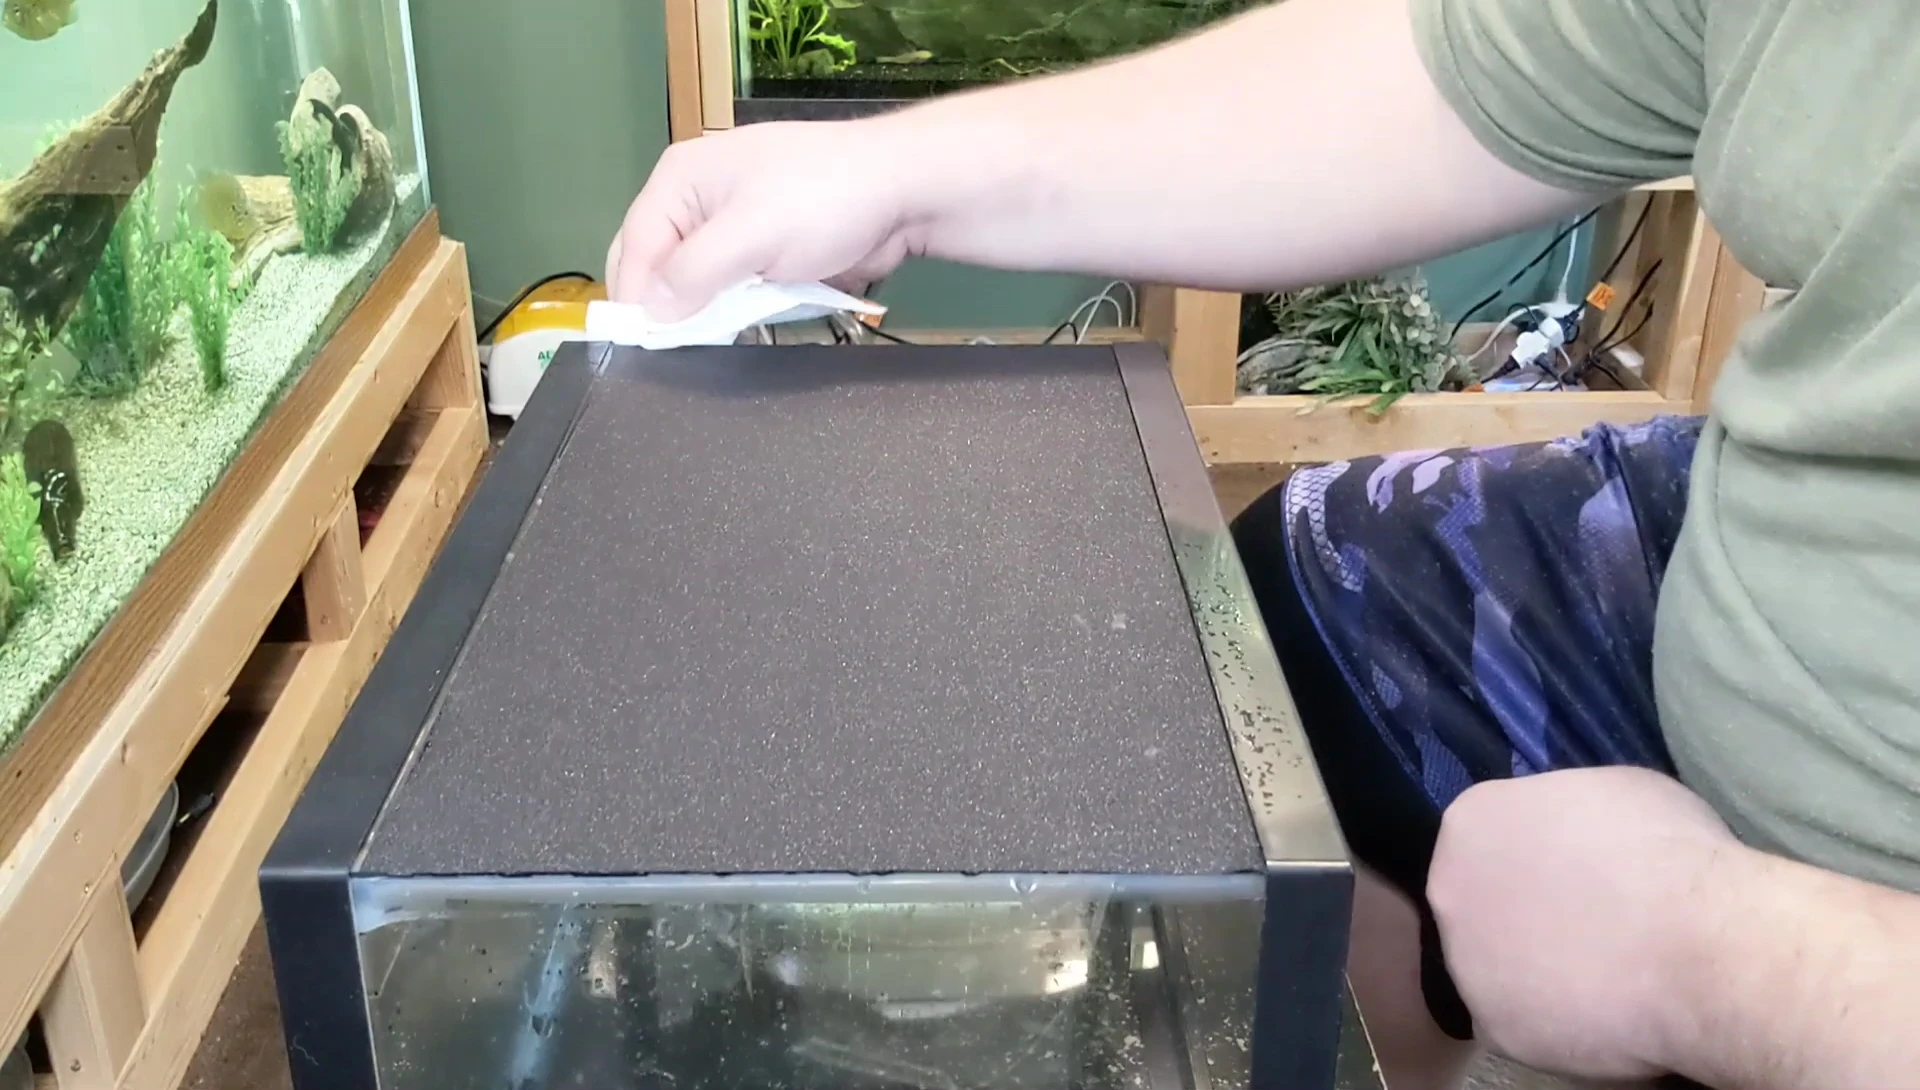
Once the tint is applied and smoothed, dry any excess water around the edges to prevent water seeping under the film and creating air pockets.
Allow the tint to dry completely before refilling your aquarium. This ensures a secure and long-lasting bond.

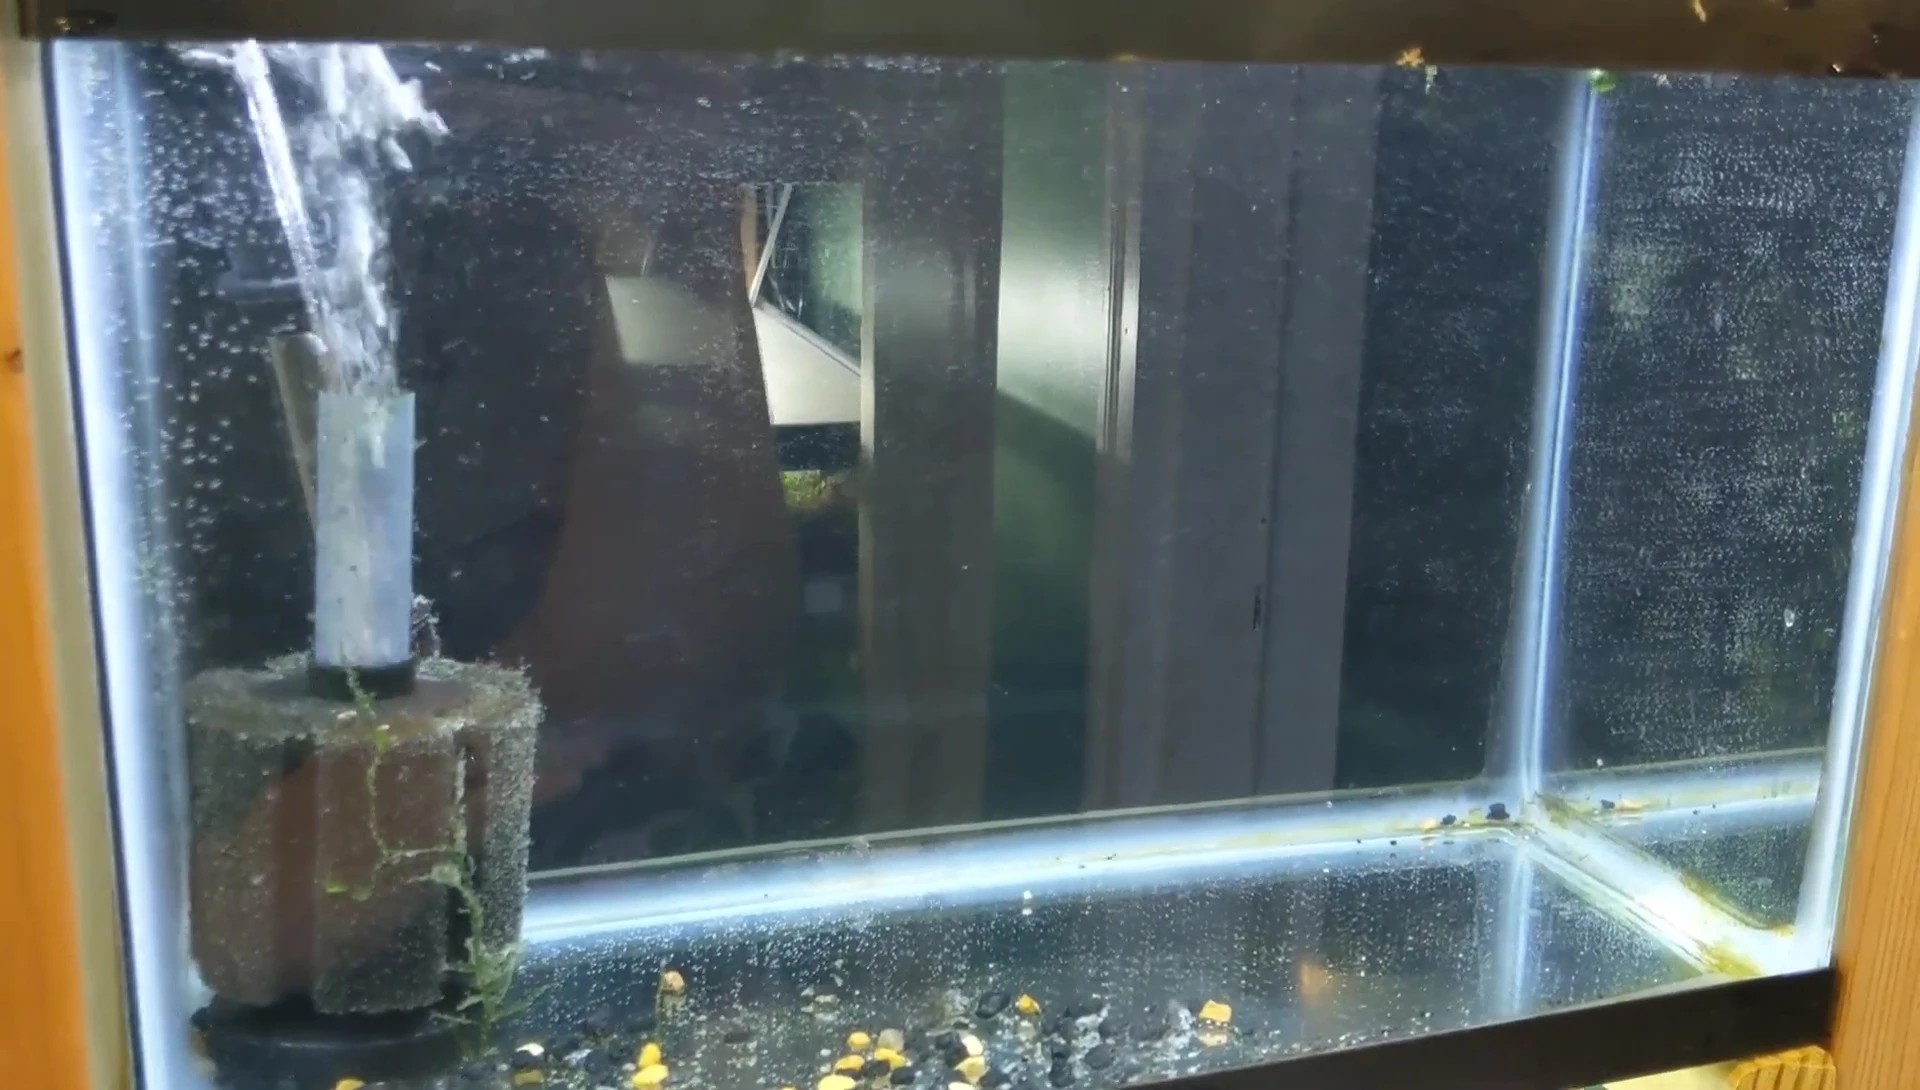
Enjoy the improved look of your aquarium! The black or frosted background enhances the overall aesthetic and creates a professional look.
Important Considerations and Alternatives
Applying the tint to an already established tank is significantly more challenging. It's highly recommended to apply it to an empty tank.
This method provides a clean and professional look without the mess and effort of painting. It is easily customizable with various tint colors.
For other background options, consider plastidip, a rubberized coating that can be sprayed onto the back of your aquarium, as demonstrated in another video (link provided).
Conclusion
Applying window tint to create a DIY aquarium background is a simple, affordable, and effective method for enhancing the aesthetics of your aquarium.
The process is relatively quick and easy when done on an empty tank, yielding a professional-looking result.
While challenging on a full tank, it offers a superior alternative to painting, providing a clean and customizable background option.