Transform your aquarium into a captivating underwater world without breaking the bank! This DIY guide shows you how to create a stunning aquarium background using readily available and inexpensive foam poster board. Forget expensive custom-made backdrops; this project utilizes simple materials and tools you likely already own, making it a perfect weekend project for any aquarium enthusiast. We'll walk you through each step, from accurate measurements and precise cutting to secure installation, ensuring a professional-looking result that will enhance your aquarium's aesthetic appeal.This affordable alternative to traditional aquarium backgrounds offers unparalleled flexibility. Easily customize the color and design to perfectly complement your tank’s inhabitants and décor. Unlike more complex methods involving paint or adhesive film, this technique is simple, clean, and easily removable, allowing for quick and effortless changes whenever you desire a new look. Get ready to unleash your creativity and create a breathtaking backdrop that will transform your aquarium into a truly mesmerizing underwater paradise.
Read more: Top 5 Freshwater Aquarium Backgrounds
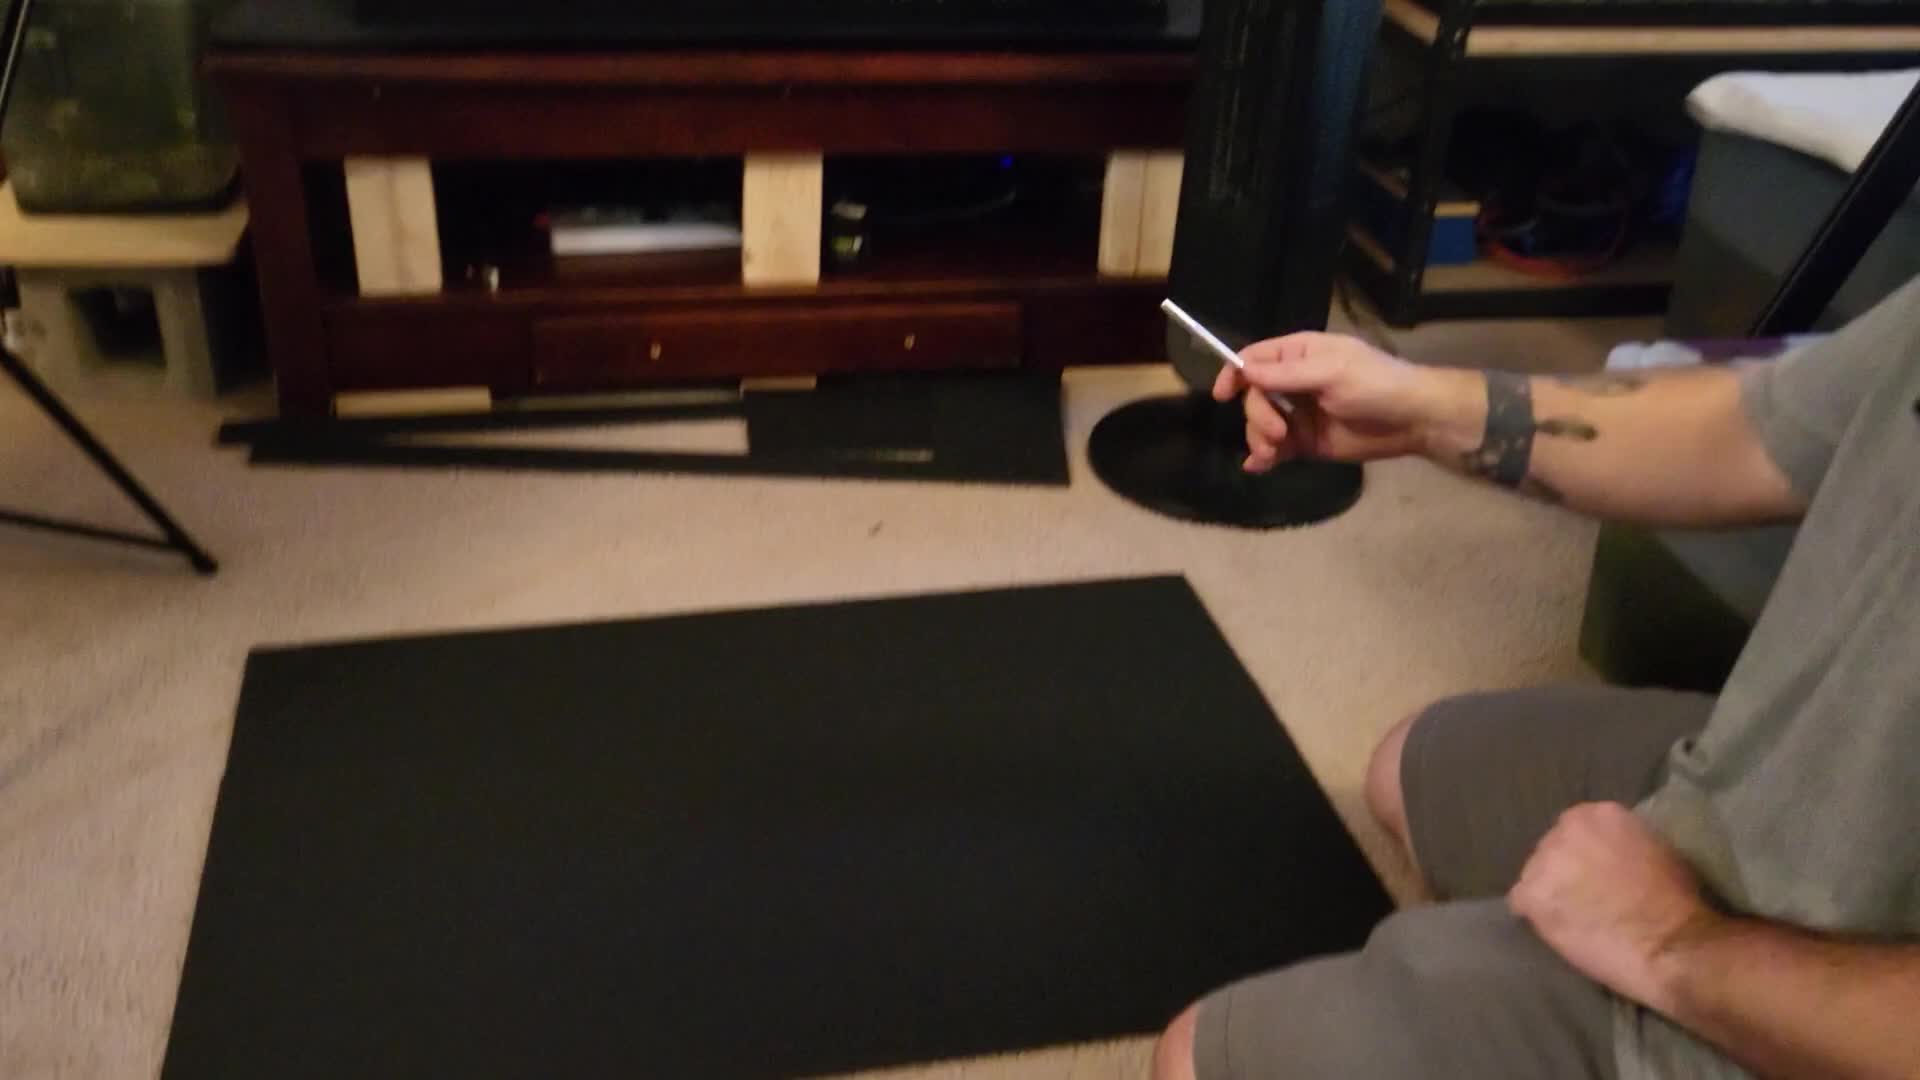
Materials and Preparation
Creating a stunning aquarium backdrop doesn't require expensive materials. This project utilizes readily available foam poster board, an affordable and versatile option. You'll also need basic tools: an exacto knife for precise cutting, a ruler or yardstick for accurate measurements, and scissors.

Before you begin, carefully measure your aquarium. This step is crucial to ensuring a perfect fit for your new background. Mark the measurements on the foam poster board using a ruler and pen. Remember to account for any existing aquarium features that might affect placement.
Cutting the Foam Poster Board
Using your exacto knife, carefully cut the foam poster board along the marked lines. Take your time to ensure clean, straight cuts. Protect your work surface; cutting on carpet necessitates placing a protective layer underneath to avoid damage.
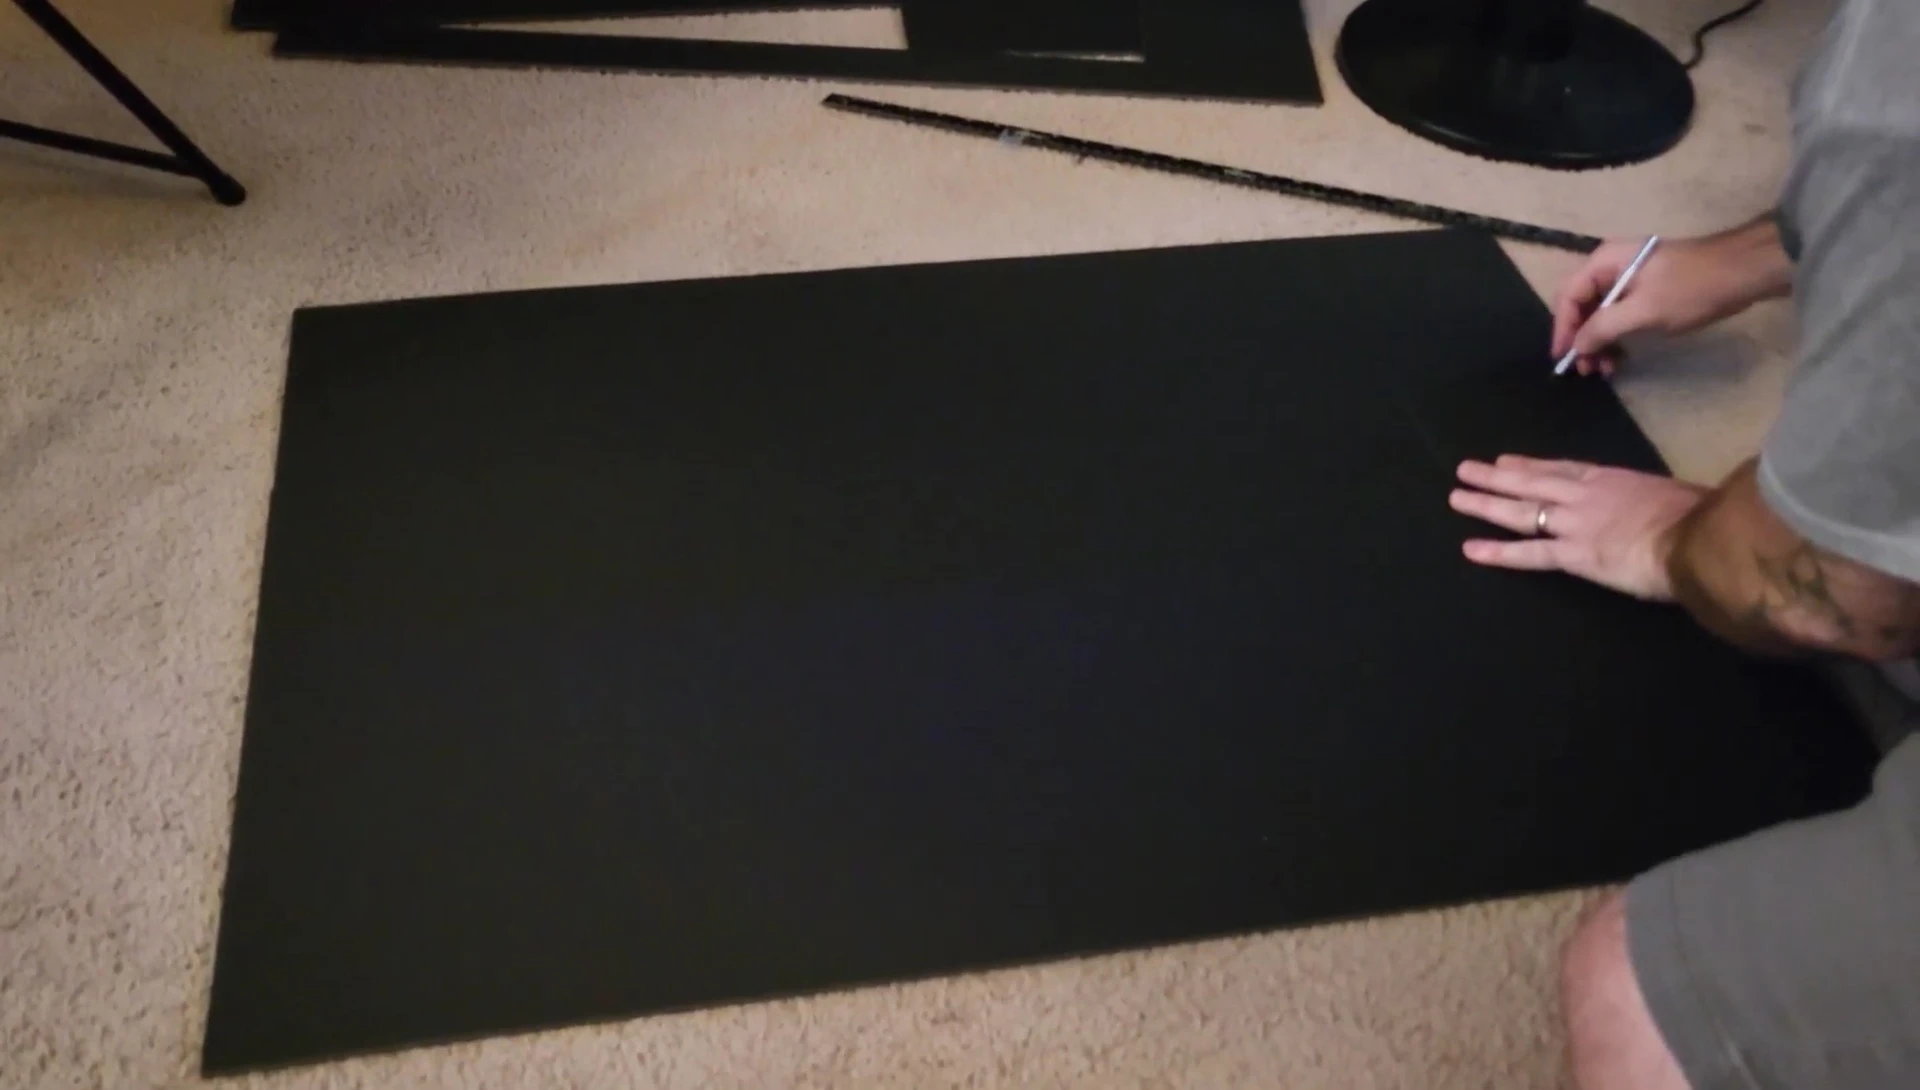
Cut the board to the precise dimensions of your aquarium. Consider any curves or unusual shapes of your tank and cut accordingly. Ensure accurate sizing for a perfect and seamless fit.
Applying the Background
You'll need double-sided tape, preferably clear to avoid visible adhesive. Cut small pieces of tape to secure each corner of the foam board to the back of your aquarium. This method provides a secure and clean finish.
If possible, it's easiest to apply the background before adding water and decorations to the aquarium. If applying after setup, proceed carefully to avoid disturbing any fish or plants within the tank.
Alternatives and Conclusion
This foam poster board method offers advantages over other techniques such as acrylic paint or adhesive window film. Paint requires more effort and is harder to remove if you decide to change your background color. Adhesive window film can be difficult to apply without bubbles or wrinkles.
This DIY aquarium background is inexpensive, easy to implement, and allows for easy color changes. The foam poster board method provides a clean, professional-looking result, easily adaptable to any aquarium size and shape. The flexibility to change the color whenever desired is a significant advantage.