Transform your reptile terrarium into a lush, vibrant habitat without breaking the bank! This DIY project guides you through creating realistic-looking reptile plants for under $8, utilizing readily available and inexpensive materials. Forget pricey store-bought decorations; this tutorial empowers you to craft stunning, customized plants using artificial greenery, foam bases, and sphagnum moss. With just a hot glue gun and pliers (inexpensive one-time purchases), you can easily replicate the look of natural flora, adding a touch of realism to your reptile's environment.This affordable project is perfect for budget-conscious reptile keepers who want to enhance their terrarium's aesthetics. Learn how to cleverly utilize readily accessible craft store finds, transforming simple artificial plants into lifelike additions to your reptile's home. This step-by-step guide provides clear instructions, making it easy even for beginners to achieve impressive results. Get ready to create a beautiful and enriching environment for your reptile companion without exceeding your budget.
Pros And Cons
- Cheap to make (approximately $8-$10 depending on materials owned)
- Simple to make
- Customizable
- Foam base is fragile and not suitable for terrestrial reptiles.
- Sphagnum moss may fall off in the first few weeks.
- Moss may eventually lose its color.
Read more: Best 3 Plastic Anubias Aquarium Plants
Materials and Costs
Creating realistic-looking reptile plants doesn't have to break the bank. This project primarily uses inexpensive materials readily available at most craft and hobby stores, and a few basic household tools.
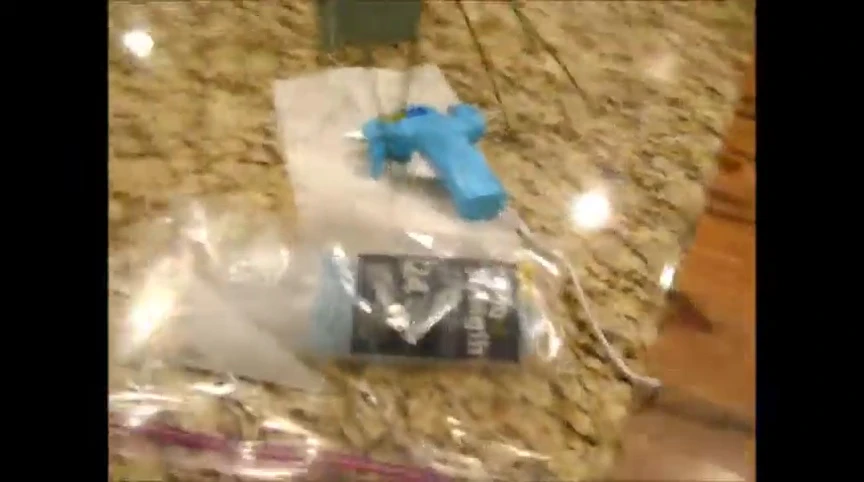
The core components include artificial plants (often found on sale!), foam bases, and sphagnum moss. The additional tools needed are a hot glue gun and pliers, which are inexpensive one-time purchases if you don't already own them.
I managed to complete this project for around $8, including the cost of the hot glue gun and pliers, making it a very affordable DIY option. Depending on sales and pre-existing tools, the total cost could easily be even lower.

Plant Preparation and Assembly
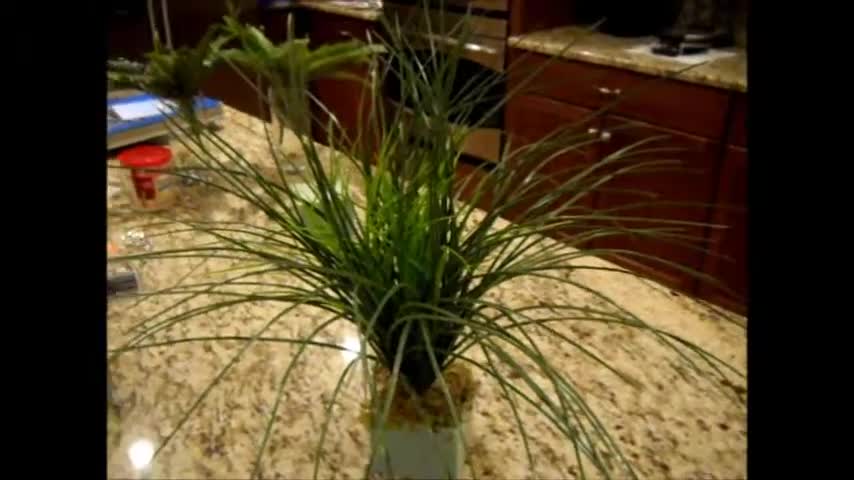
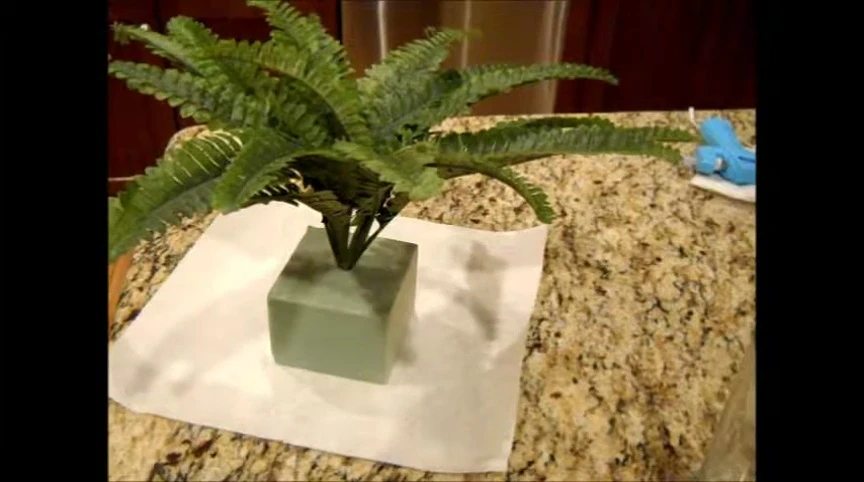
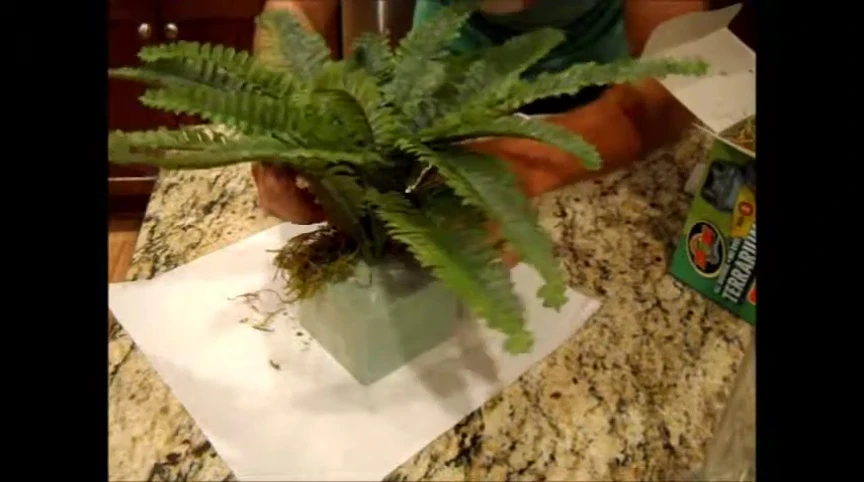
Begin by selecting your artificial plants. I opted for a tall grass and a couple of ferns, purchased on sale at Hobby Lobby for significant savings.
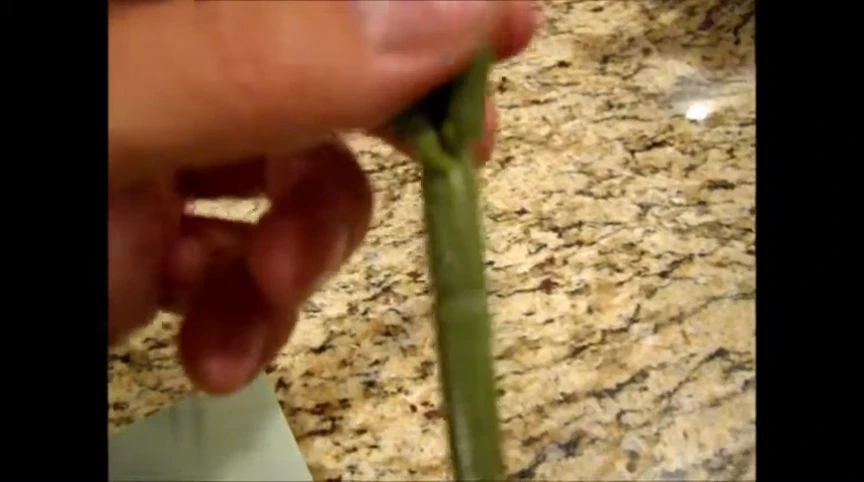
The artificial plants often have a small metal base. Use pliers to carefully trim the metal stem to the desired height, ensuring no excess base is visible.
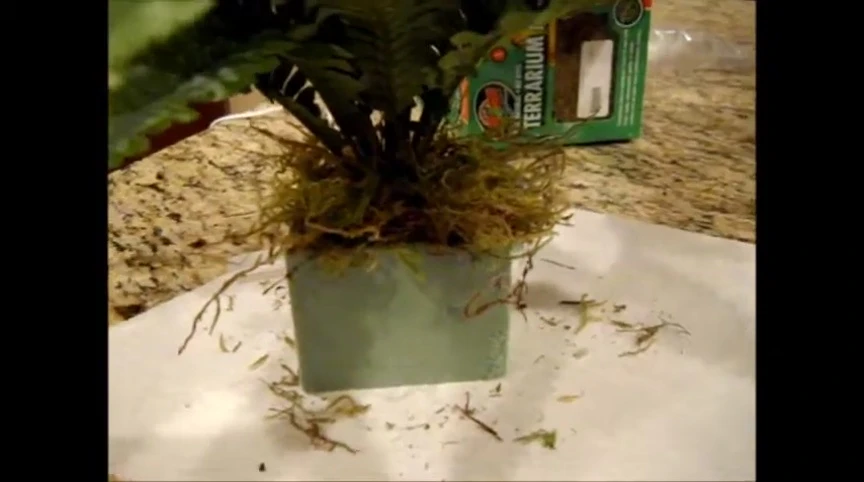
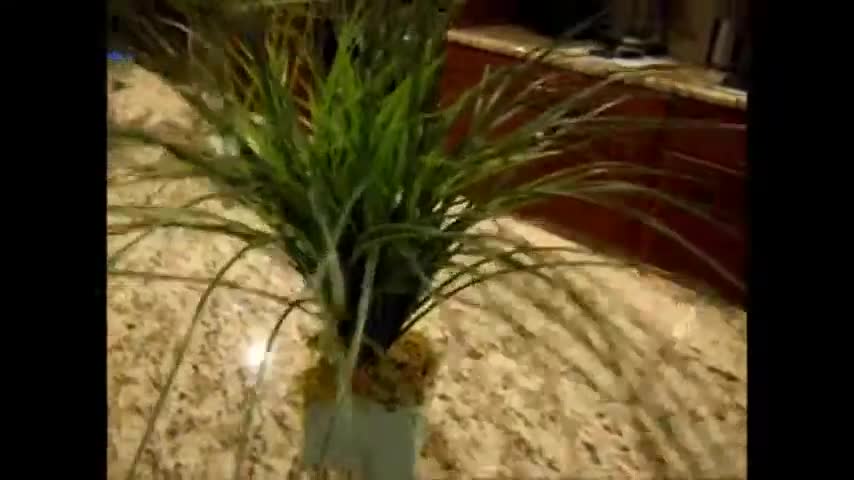
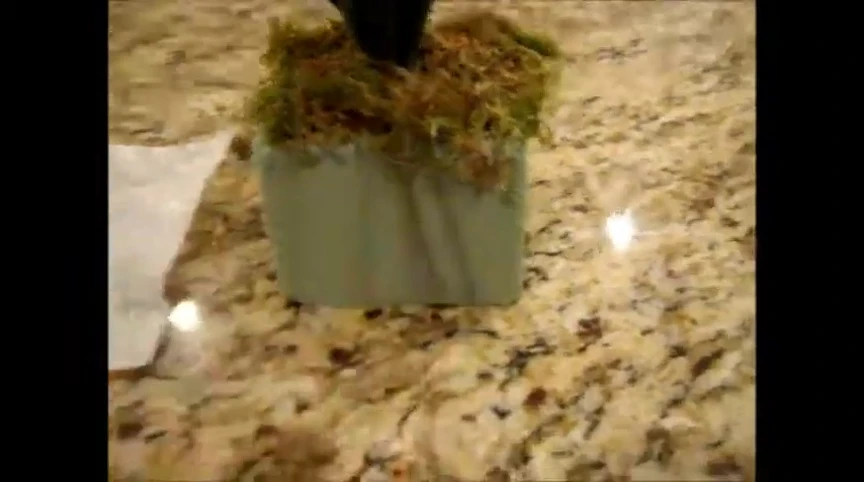
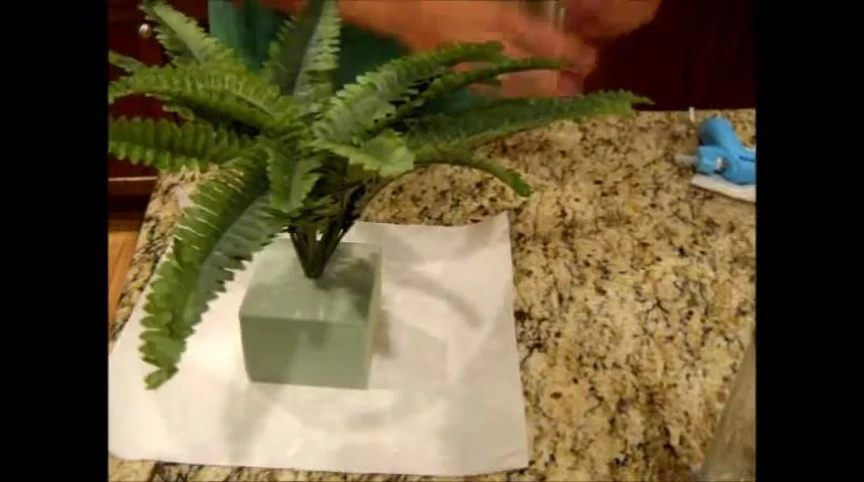
Next, insert the prepared plant into the foam base at the desired depth and angle. Secure the plant in place with hot glue to ensure stability and prevent shifting.

Adding Moss and Finishing Touches
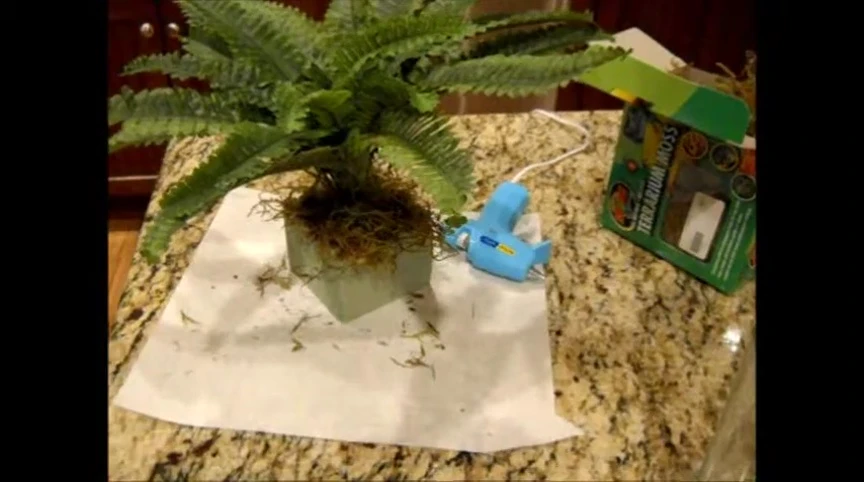
To enhance the realism and conceal the foam base, apply sphagnum moss around the plant using hot glue. This step is optional but recommended for a more natural aesthetic.
A significant layer of moss may initially be used; however, some will fall off in the first few weeks. This is normal as the glue bonds more firmly with the moss over time.
Remember, this is a DIY project. Feel free to experiment with other materials and approaches to personalize your reptile plant creations.
Conclusion and Considerations
These DIY reptile plants are a cost-effective alternative to commercially available options. They are ideal for arboreal animals that are unlikely to damage the foam base.
The total cost per plant is approximately $2.75, excluding initial tool purchases. The affordability increases with the number of plants created.
While foam bases are fragile, they are suitable for visual enhancement and provide a realistic look for your terrarium. For terrestrial animals, consider alternative, more durable bases.