This article details the setup of a 90-gallon aquarium, focusing on the meticulous process of creating a thriving and aesthetically pleasing environment for future inhabitants. From the installation of a flexible rock background that seamlessly integrates with the tank's center brace, to the careful selection and placement of a budget-friendly yet effective Aquatop CF500 UV canister filter, each step is documented with precision. The article explores the importance of substrate depth, highlighting the benefits of a thin layer of fine sand to prevent anaerobic conditions. Clever solutions to circulation and heater placement, along with modifications to the glass lid, demonstrate a commitment to both functionality and visual appeal.The setup includes the strategic arrangement of driftwood to create a captivating hardscape and the crucial implementation of a quarantine system utilizing cycled media from an established tank. This proactive approach to disease prevention underscores the author's dedication to the well-being of the future fish. The article concludes with a promise of a "mystery fish reveal" next week, leaving readers eagerly anticipating the final stage of this detailed and impressive aquarium project.
Pros And Cons
- Cheaper than Eheim or Fluval
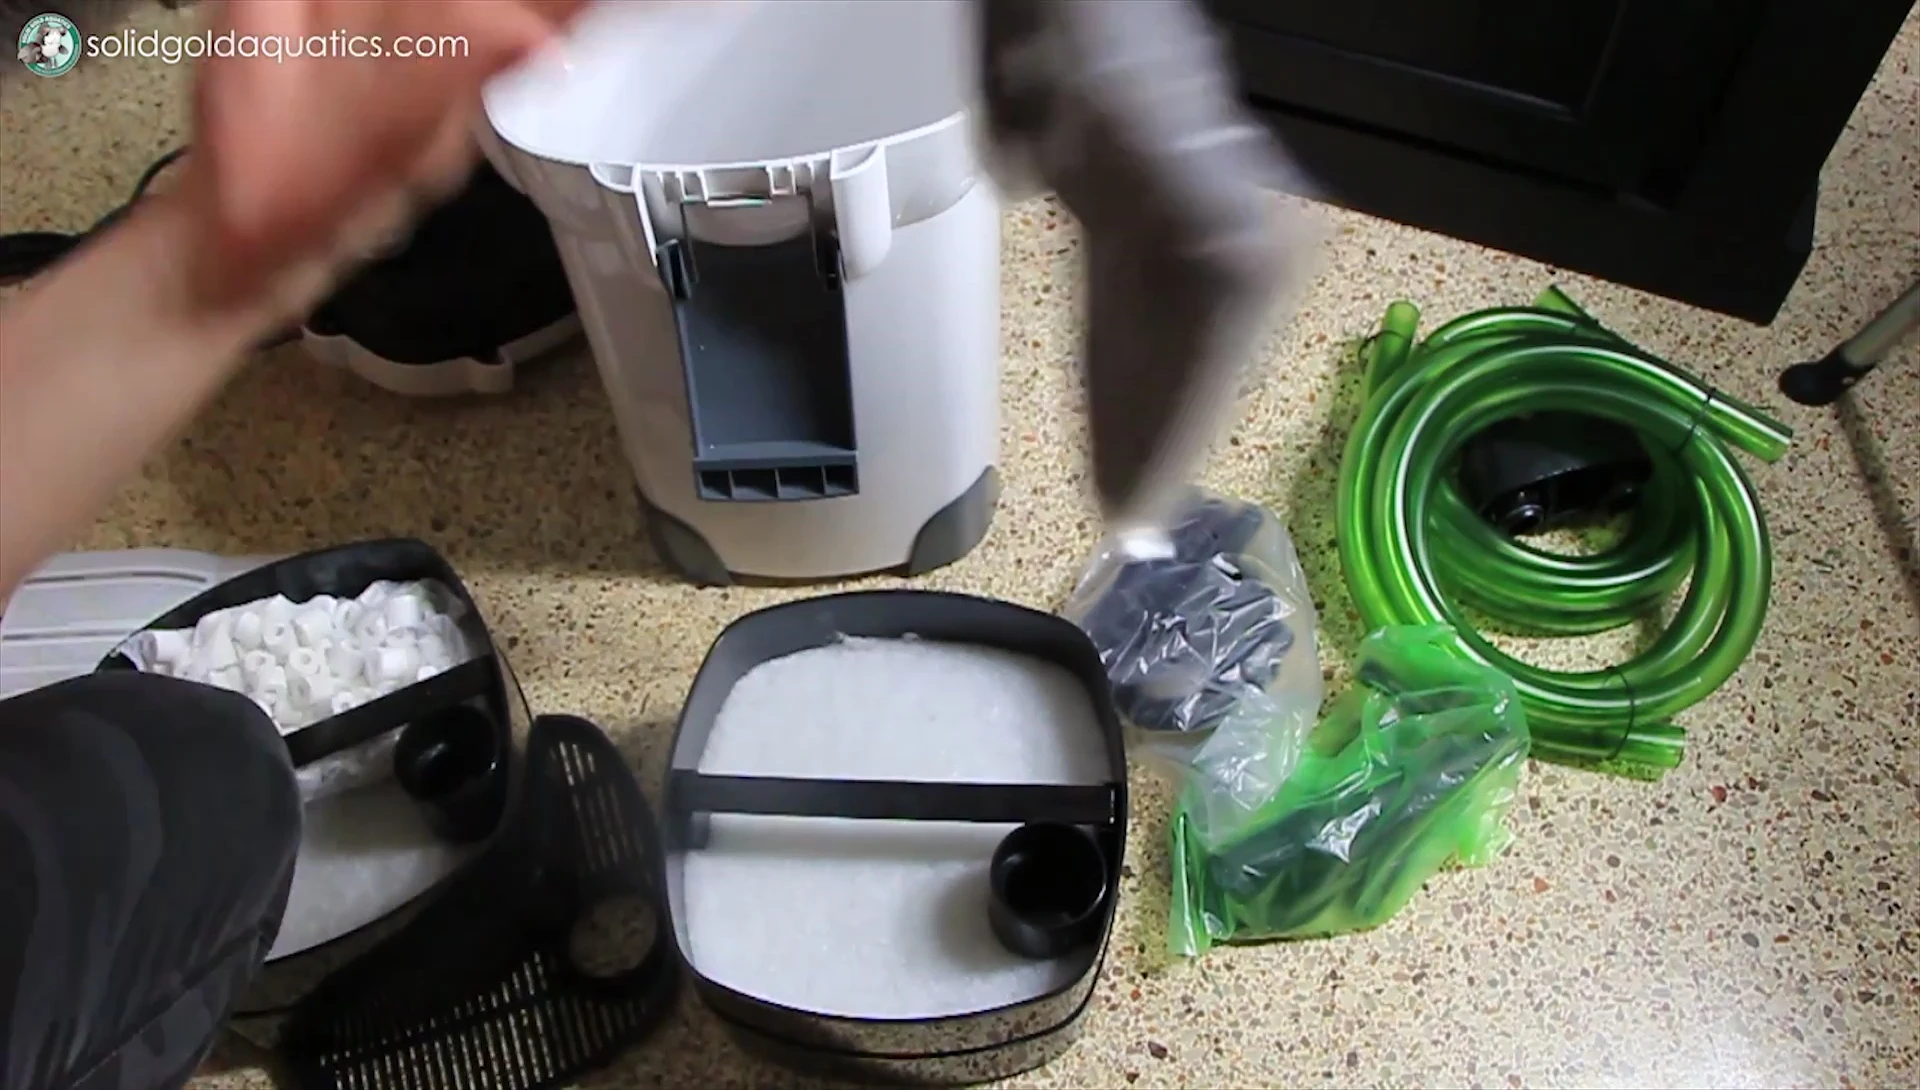
- Five separate media trays for customization
- Includes coarse and fine sponges, ceramic rings, and activated carbon (although carbon is deemed largely unnecessary by the reviewer).
- Includes a UV light
- Activated carbon is considered largely useless and quickly needs replacement.
- Suction cup clips for intake tube and spray bar placement could be challenging.
Read more: Top 5 Driftwood Aquariums for Betta Fish
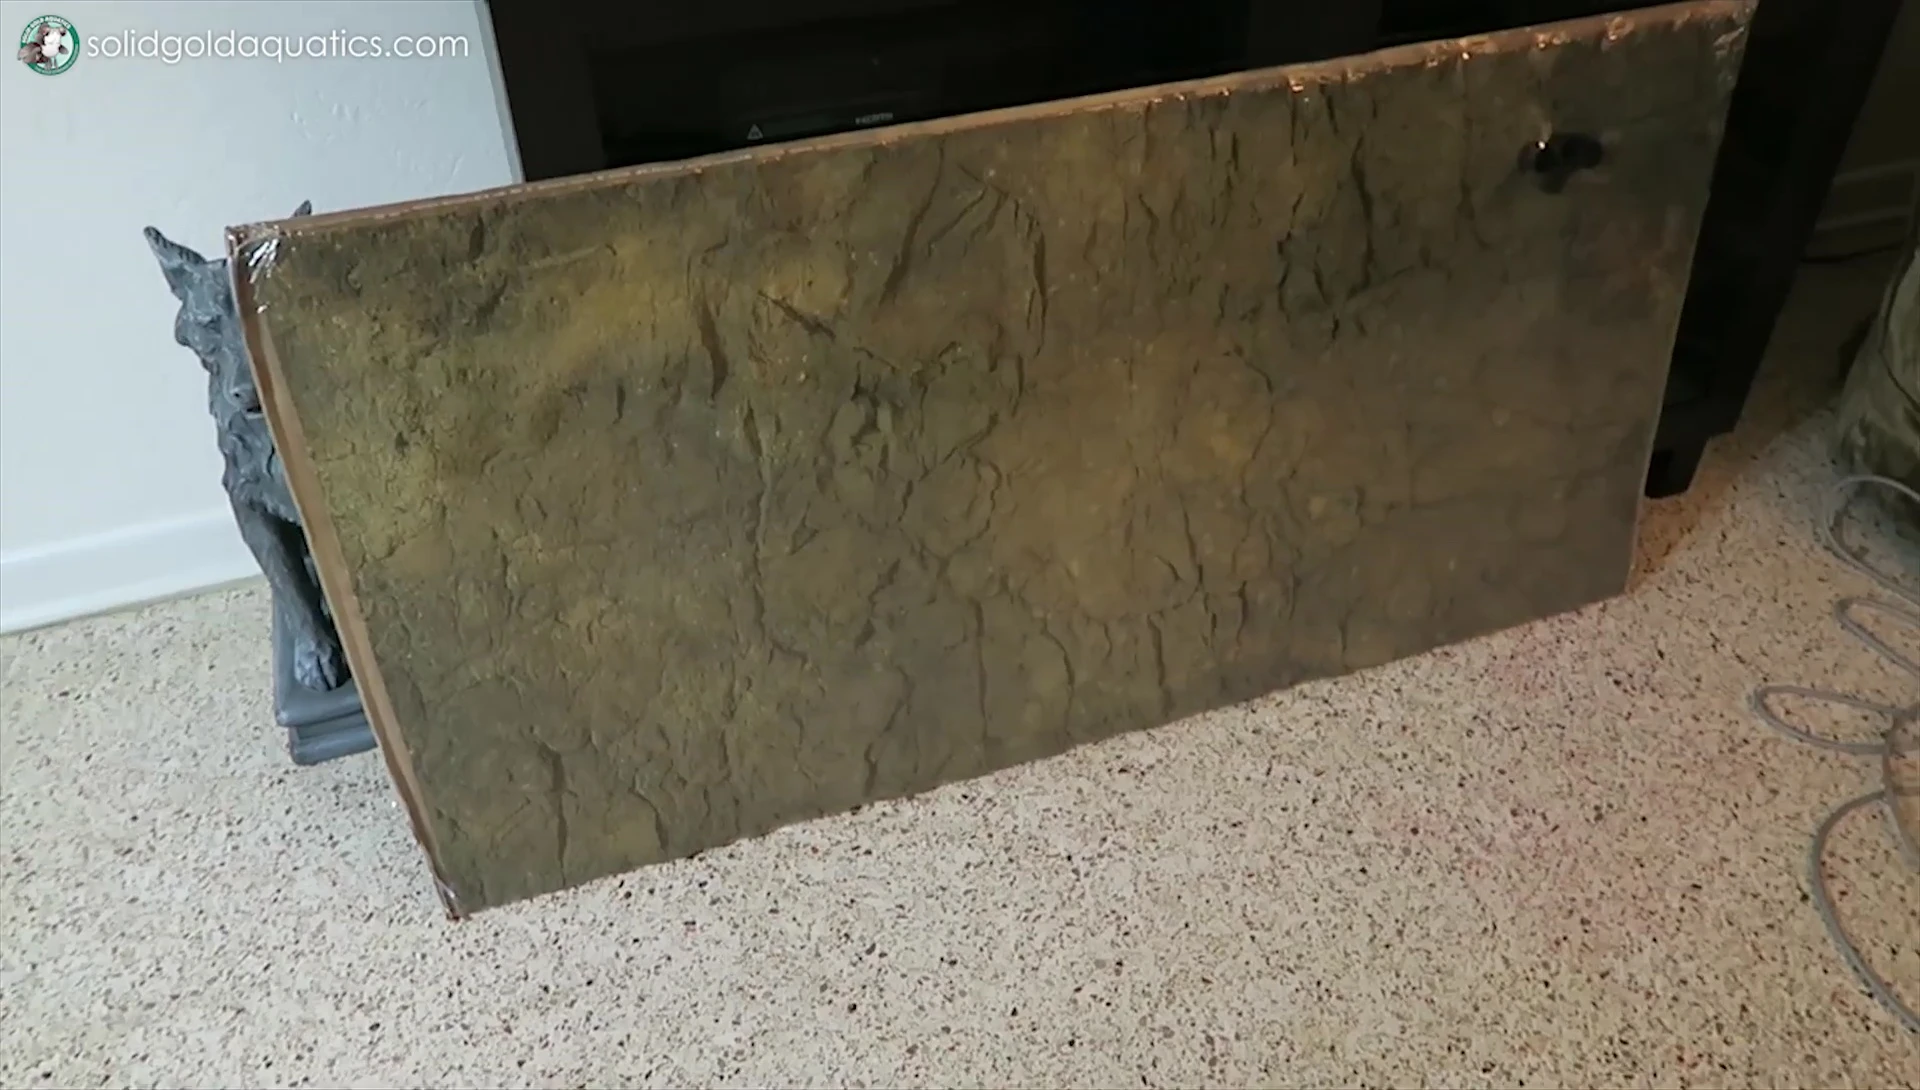
Aquarium Background Installation
Installing the flexible rock background was surprisingly easy despite the aquarium's center brace. The background's flexibility allowed it to conform to the tank's shape. The included clips worked better than expected, securing the background firmly in place. Overall, it was a straightforward process that significantly enhanced the tank's aesthetic appeal.
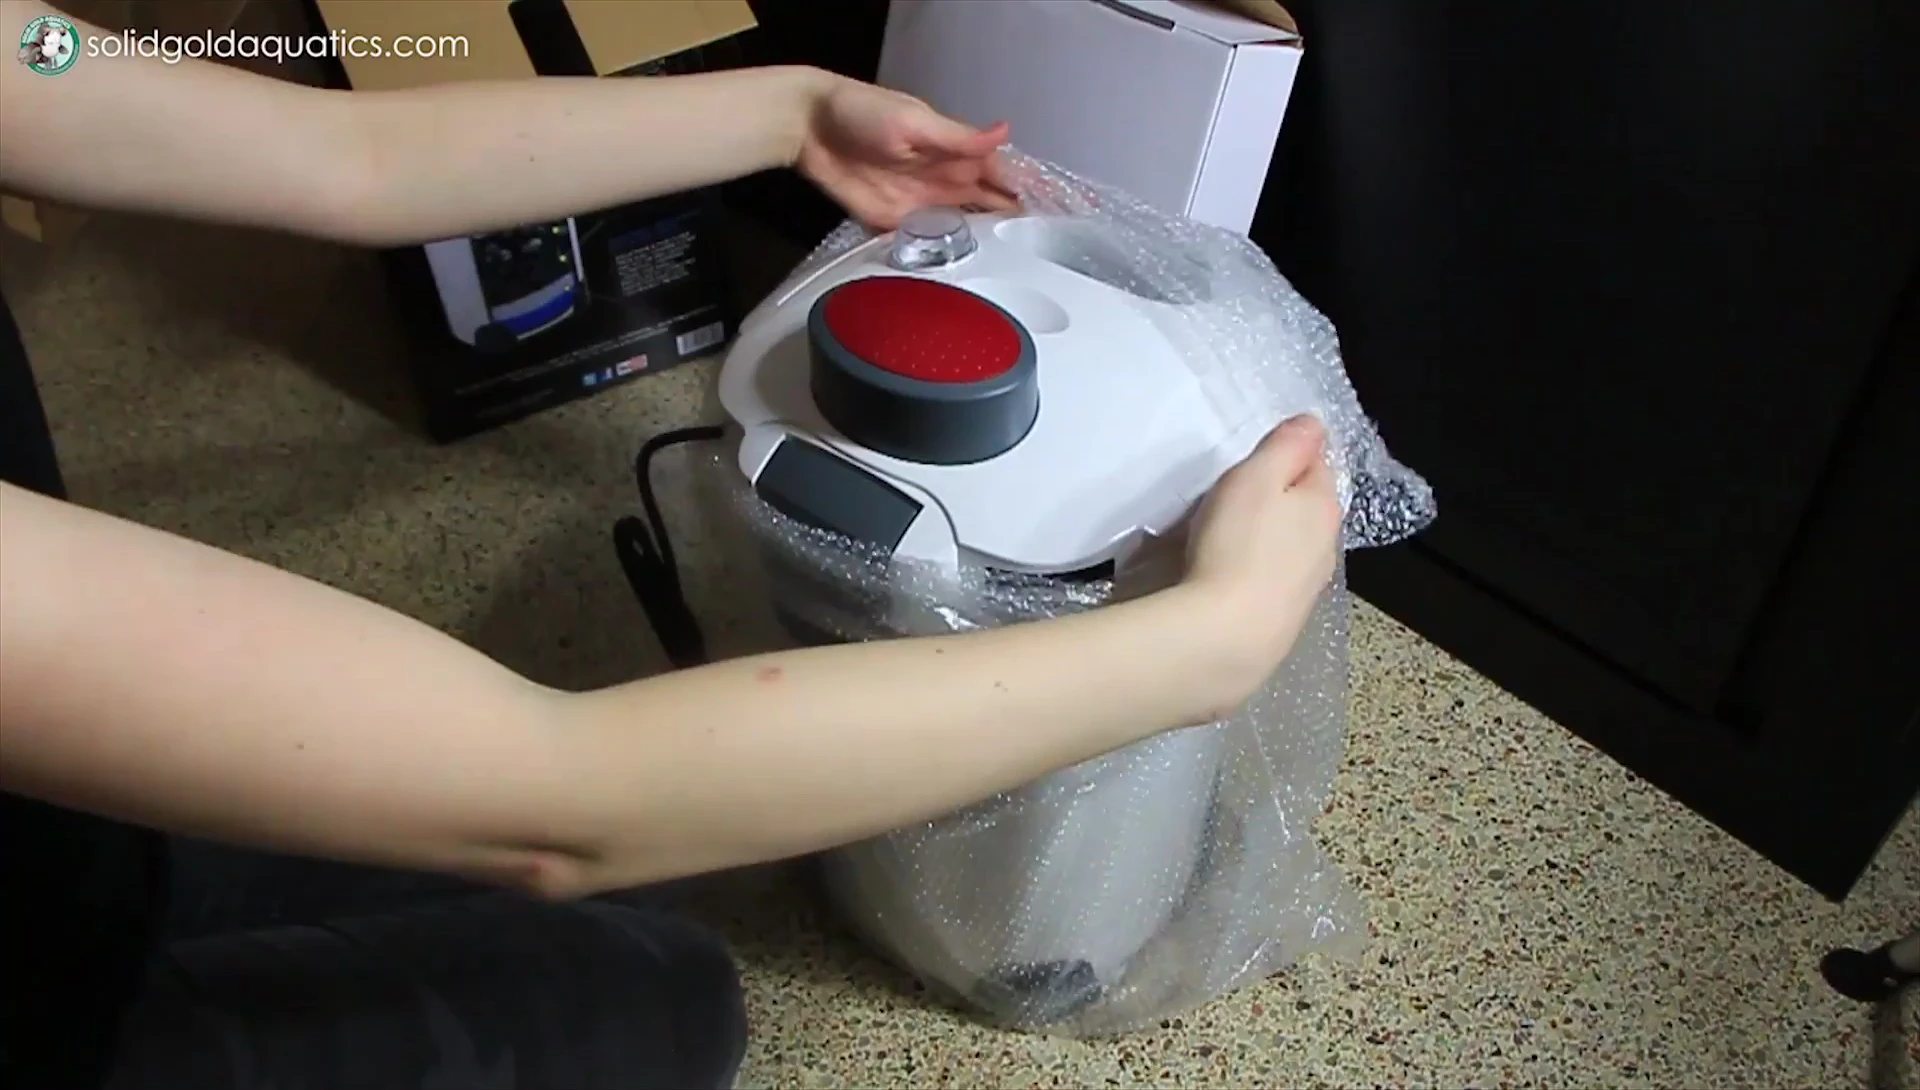
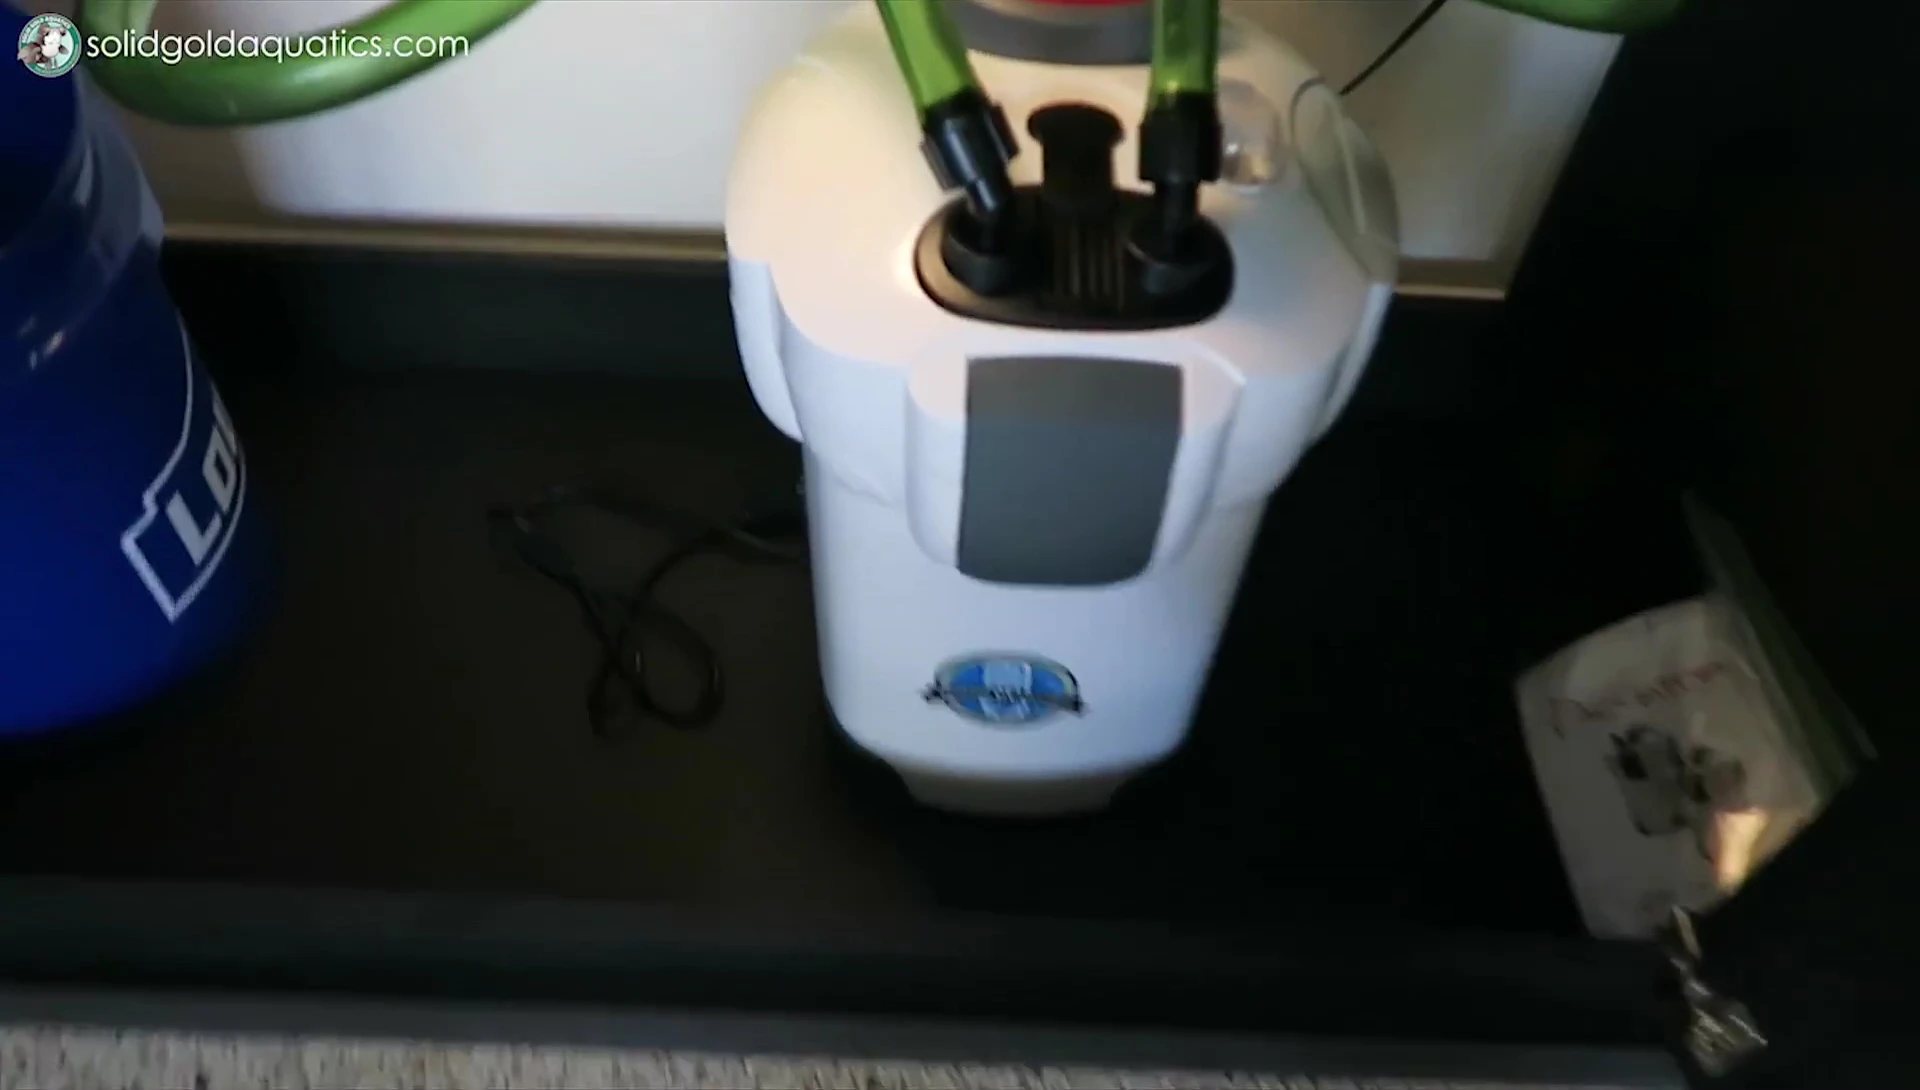
Canister Filter Setup and Review: Aquatop CF500 UV
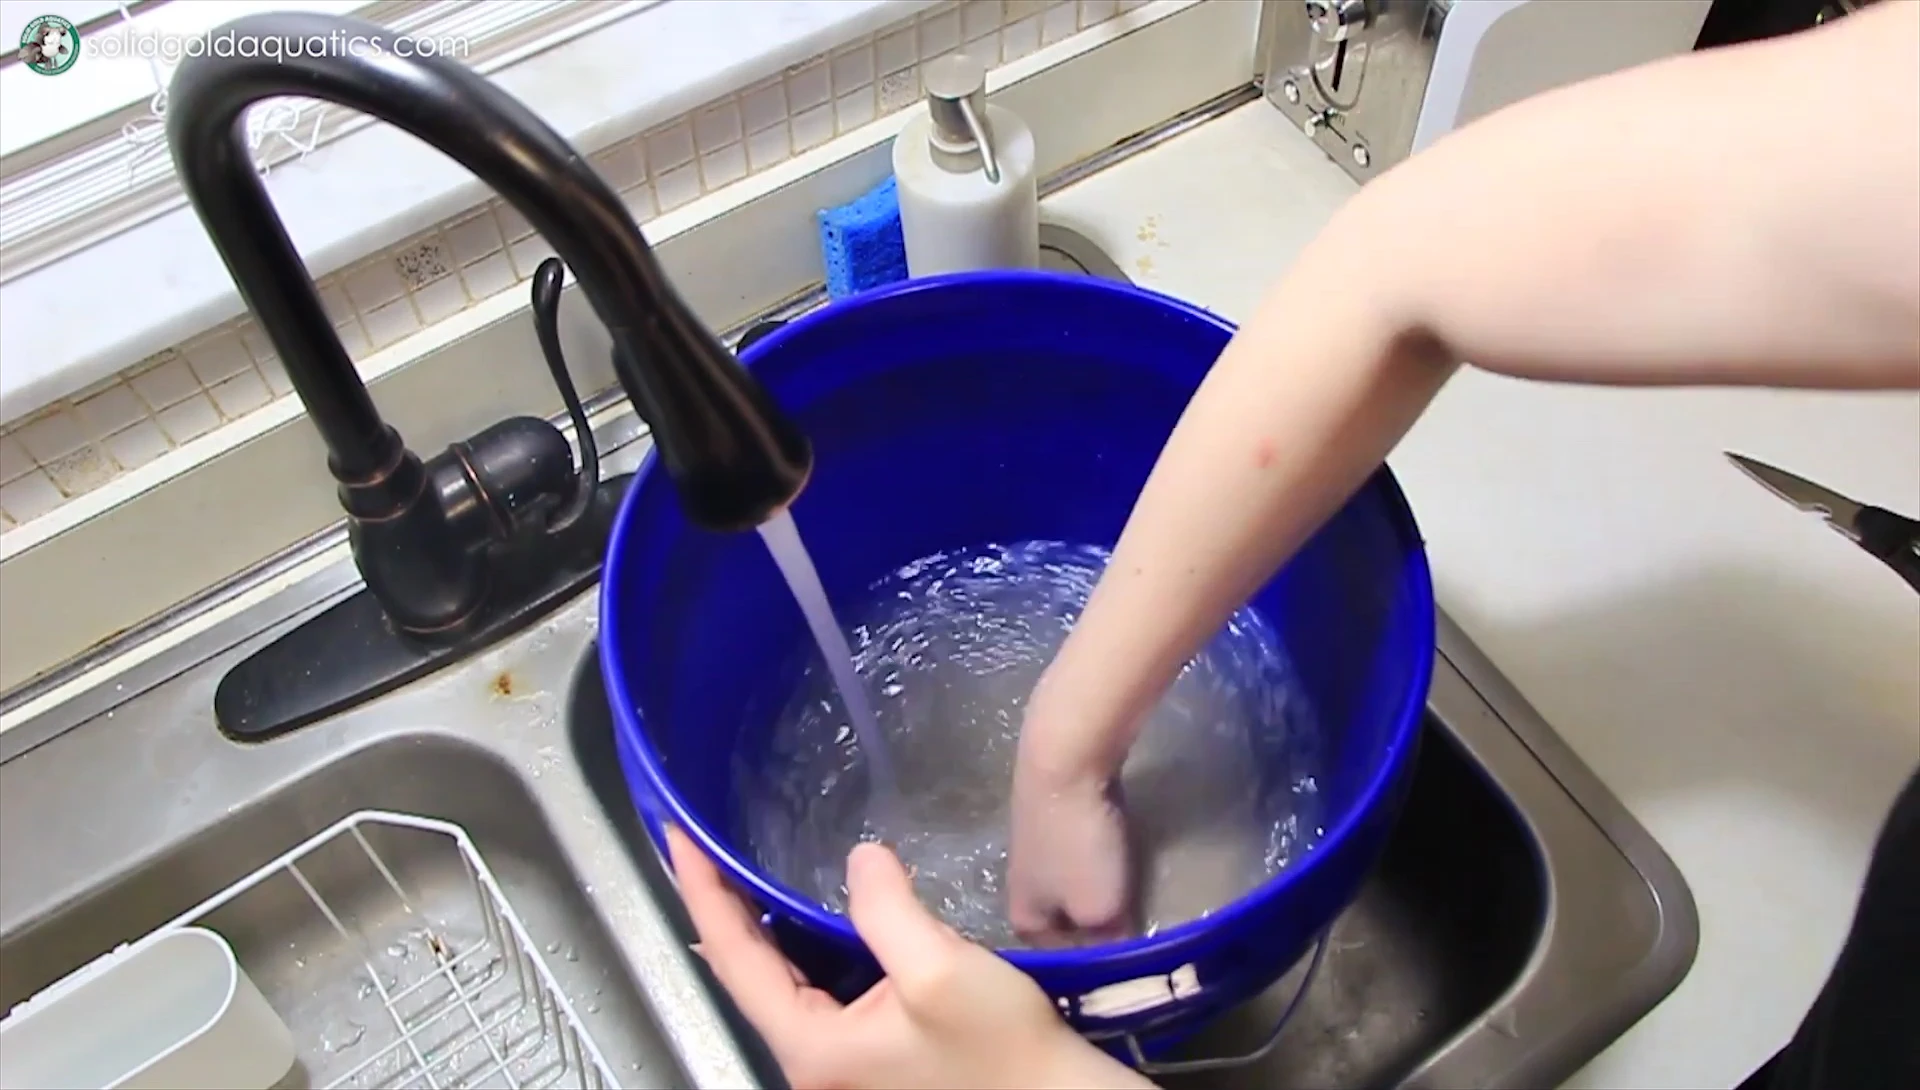
I opted for the Aquatop CF500 UV canister filter, balancing cost and performance. While not as premium as Eheim or Fluval, this filter provides excellent functionality with five separate media trays for customization. The inclusion of various filter media (sponges, ceramic rings, activated carbon) offers flexibility. However, I found the activated carbon mostly unnecessary and discarded it due to its quick saturation and potential for contaminant release.
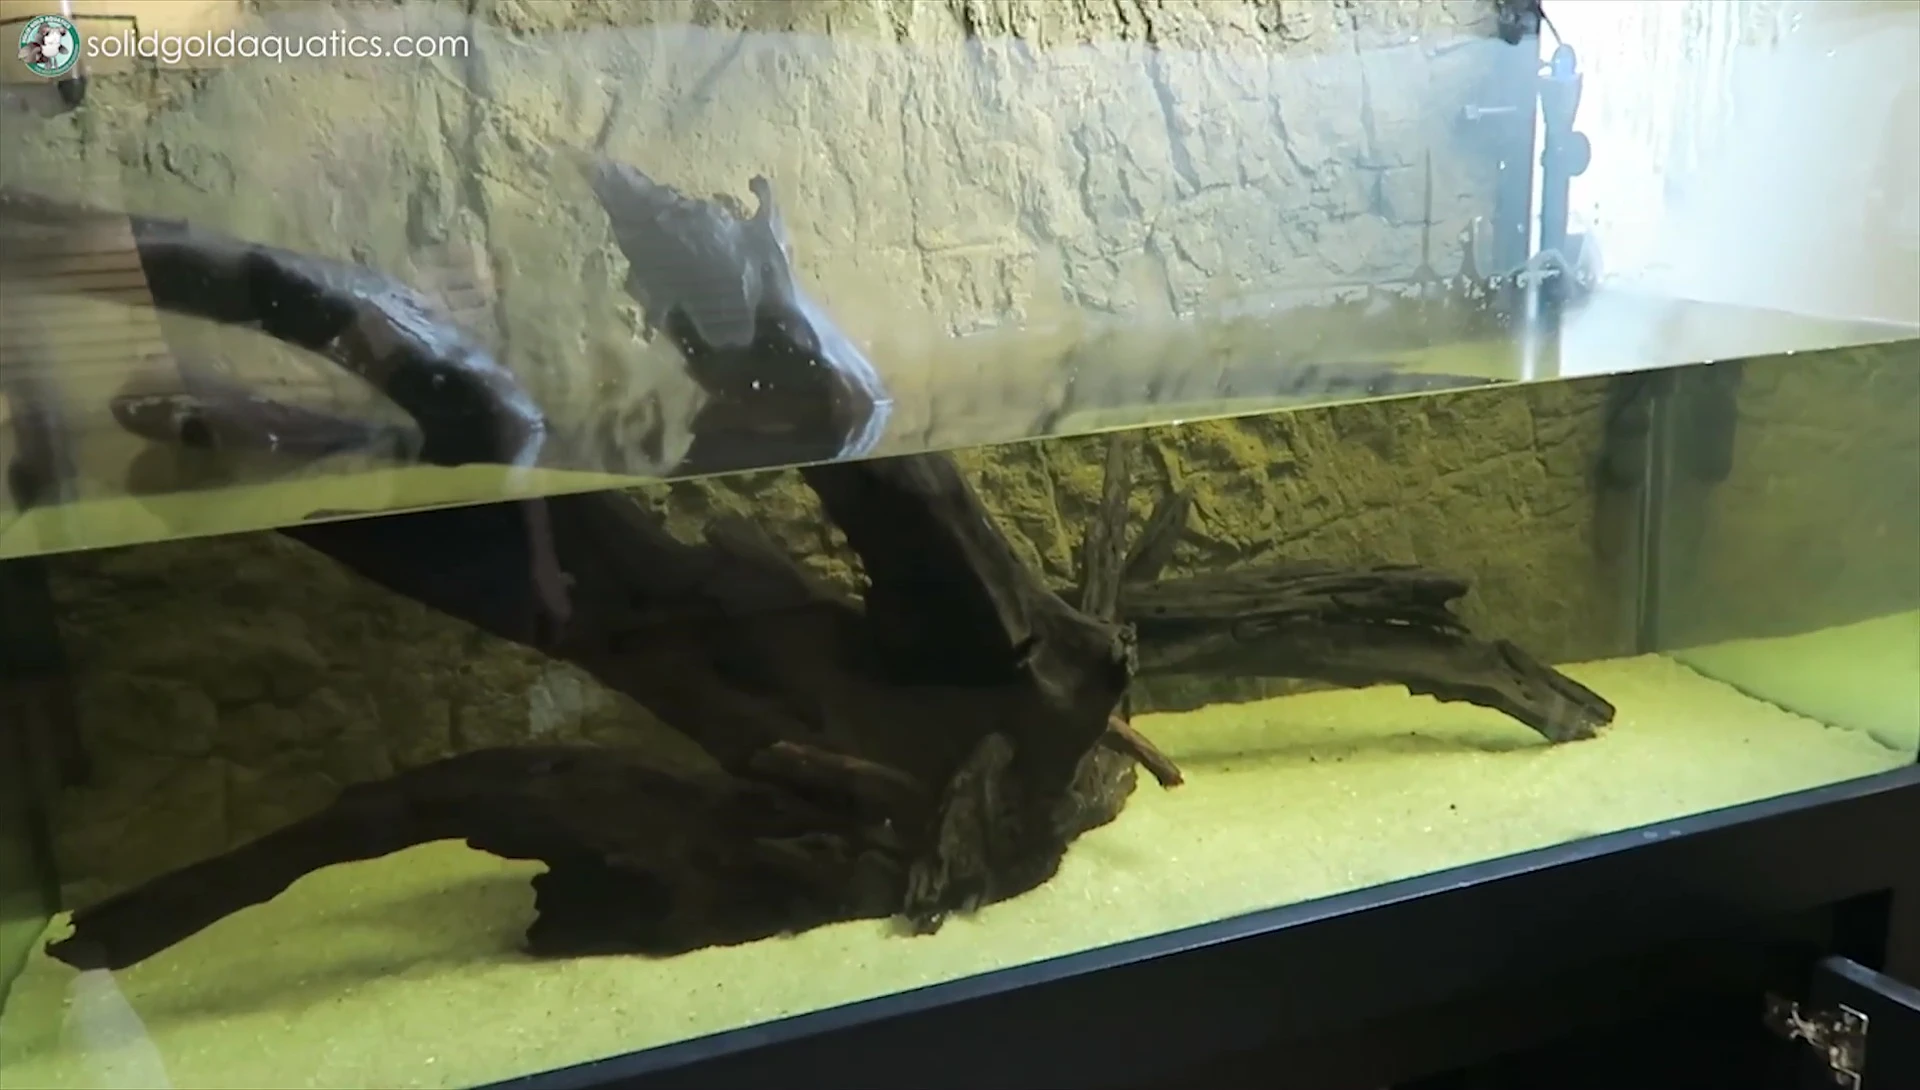
Substrate Selection and Placement
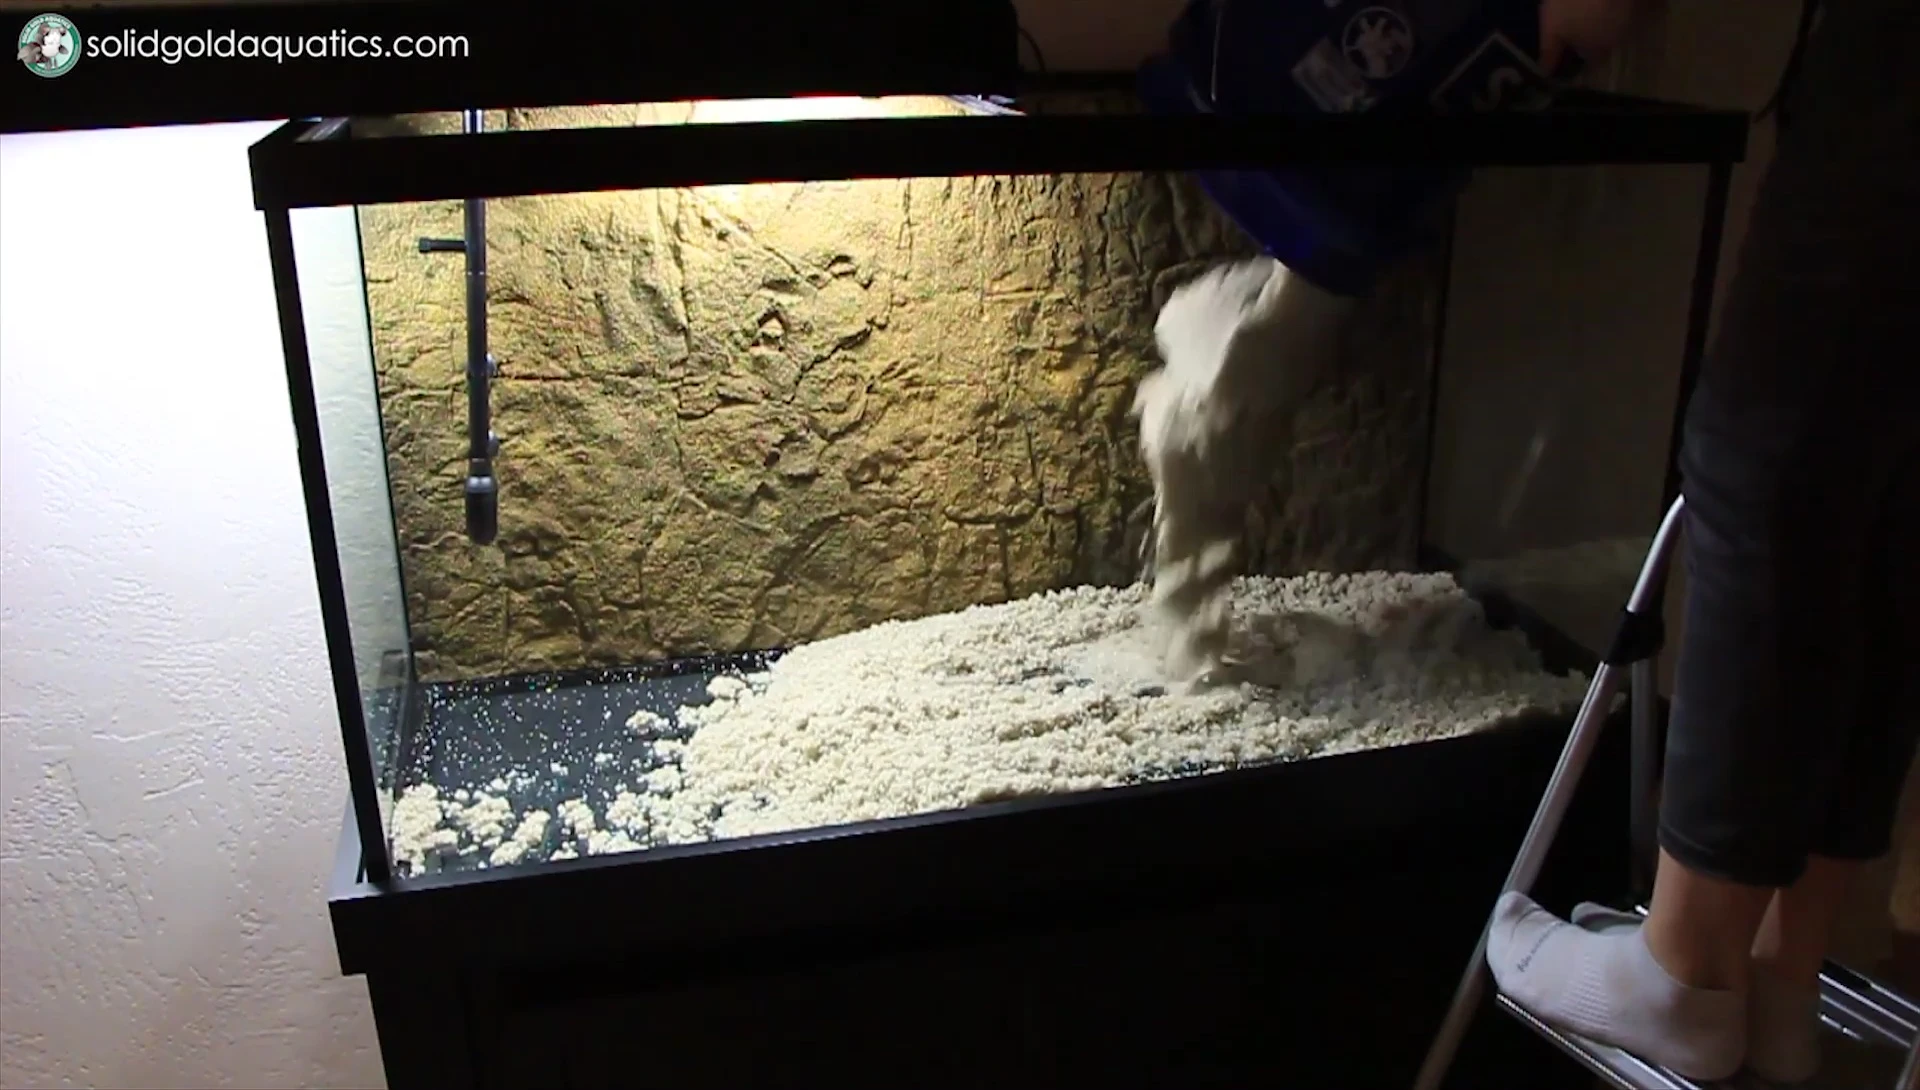
For this aquarium, I opted for a thin layer of fine sand to prevent anaerobic conditions at the bottom. Deeper substrate can lead to oxygen deprivation, encouraging harmful anaerobic bacteria. Two 20lb bags were sufficient for a shallow, aesthetically pleasing, and healthy layer. Adding more would have been risky to the fish’s health.
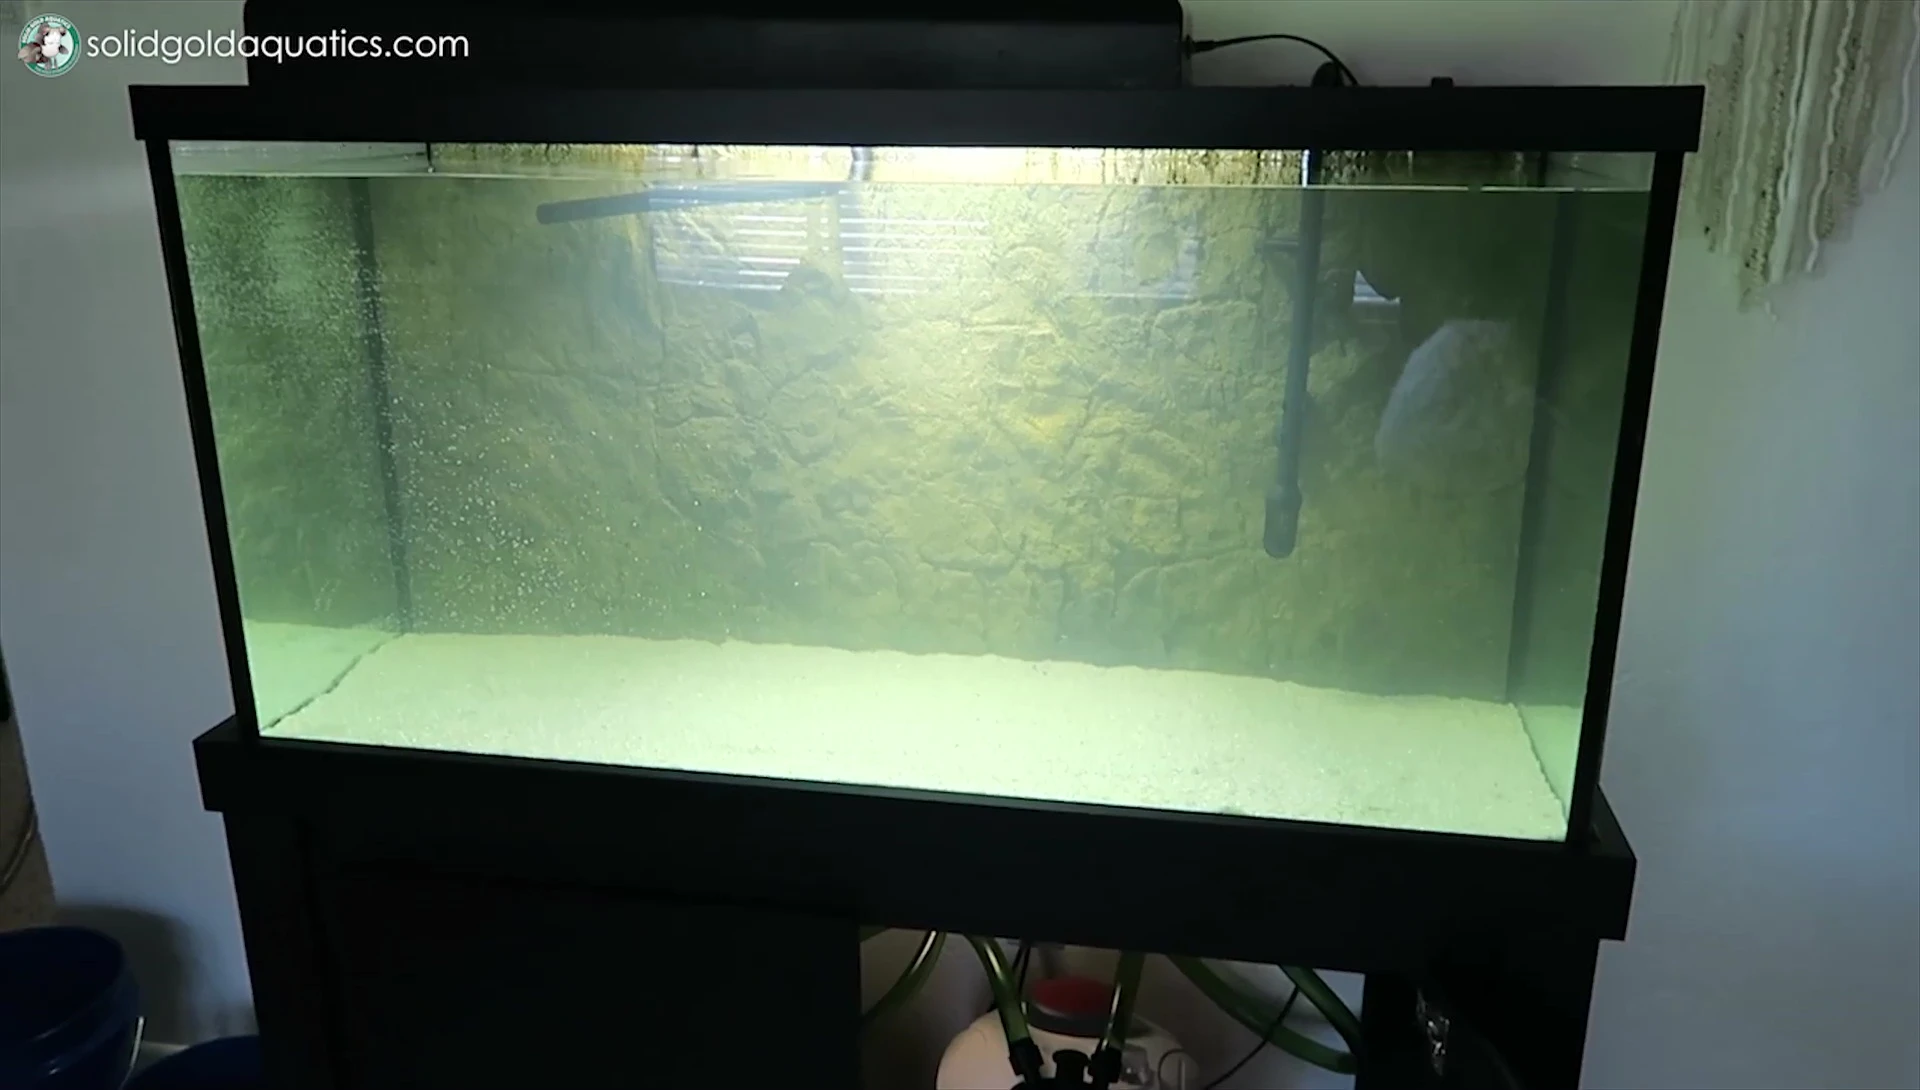
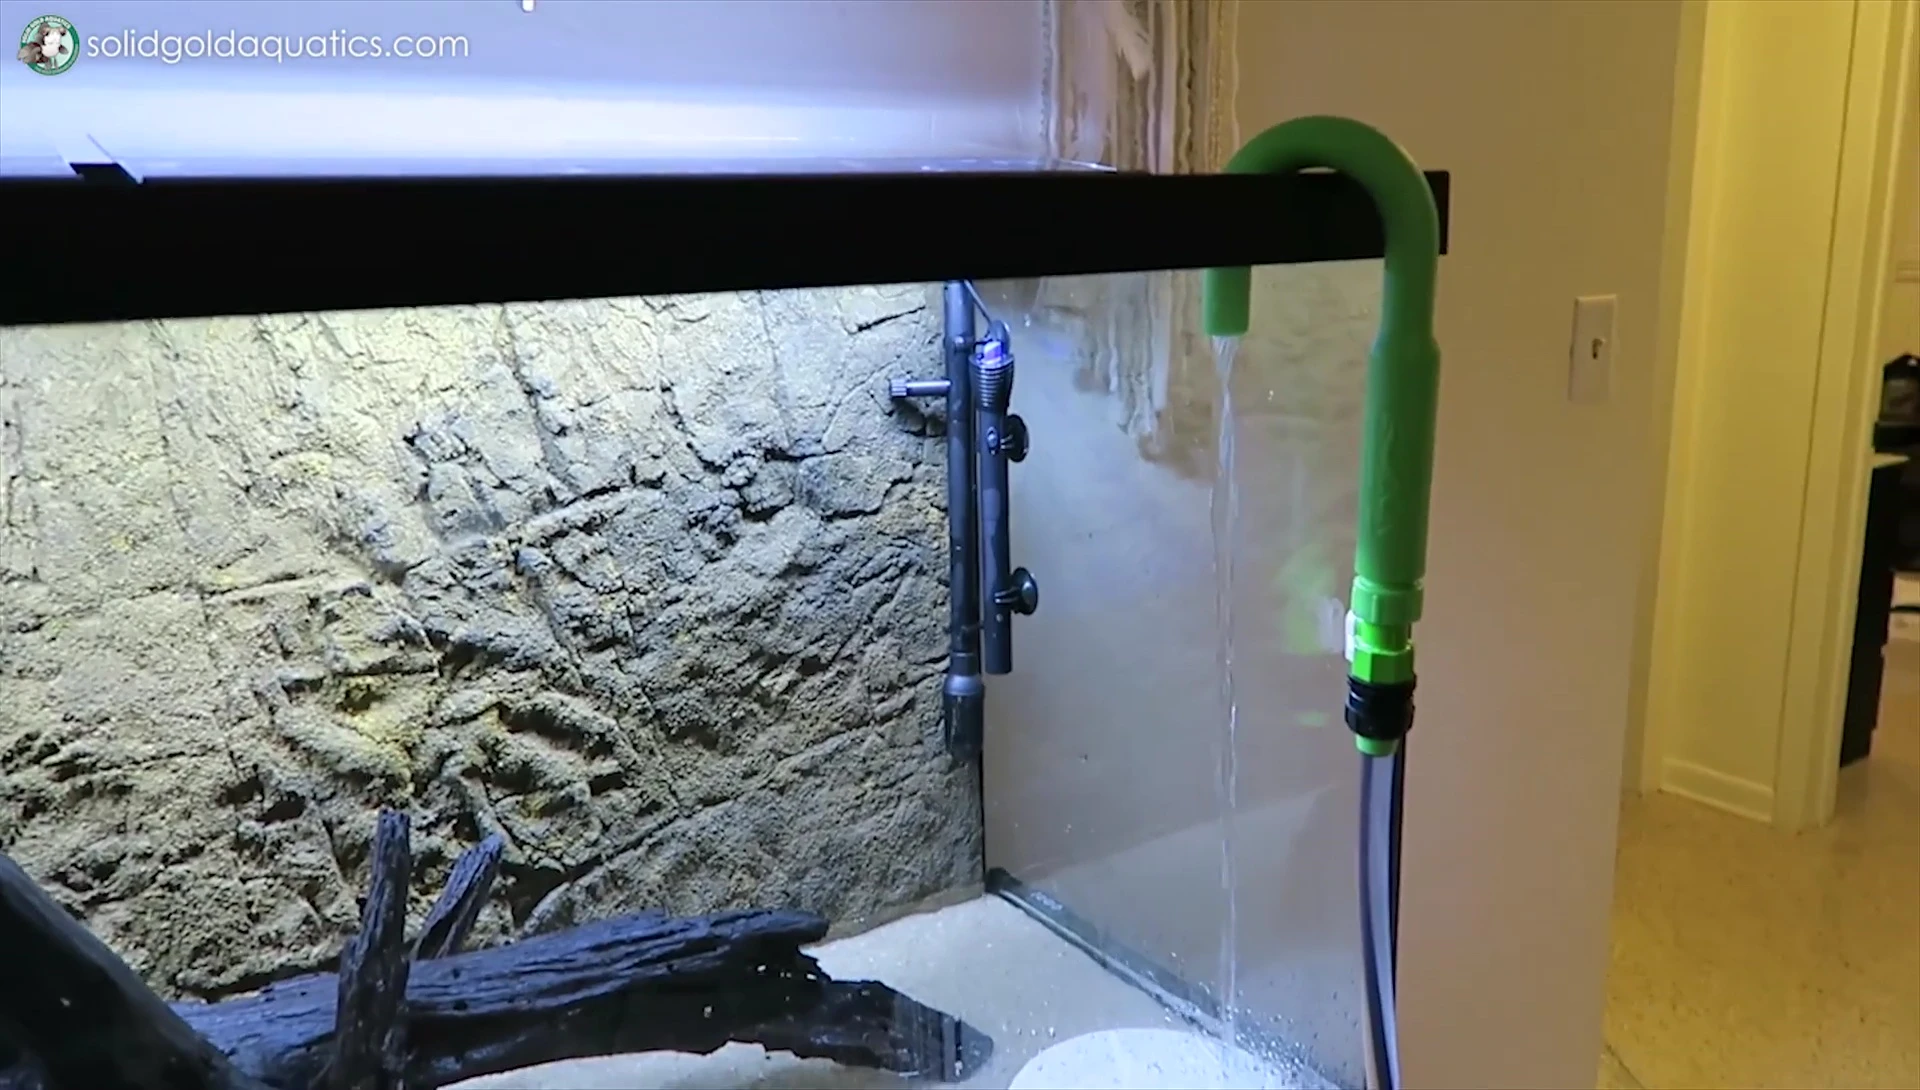
Tank Filling and Equipment Integration
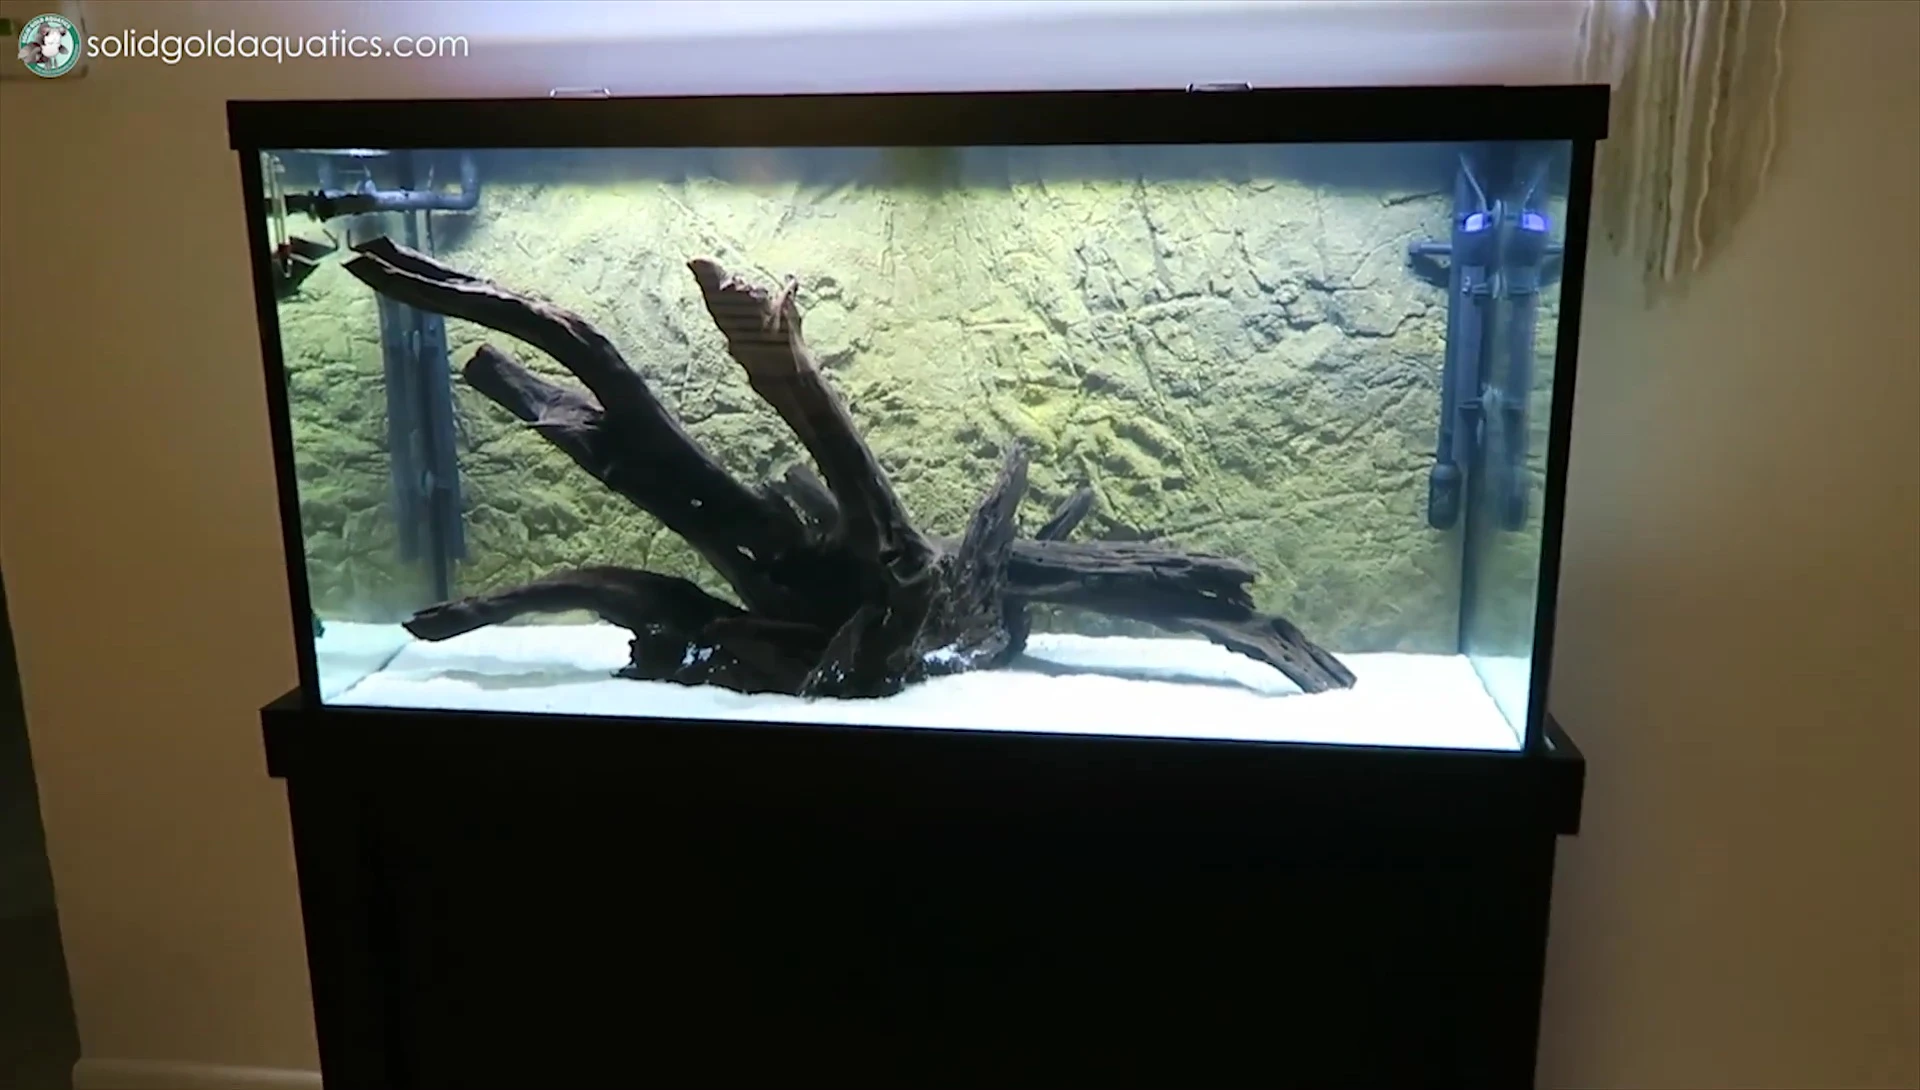
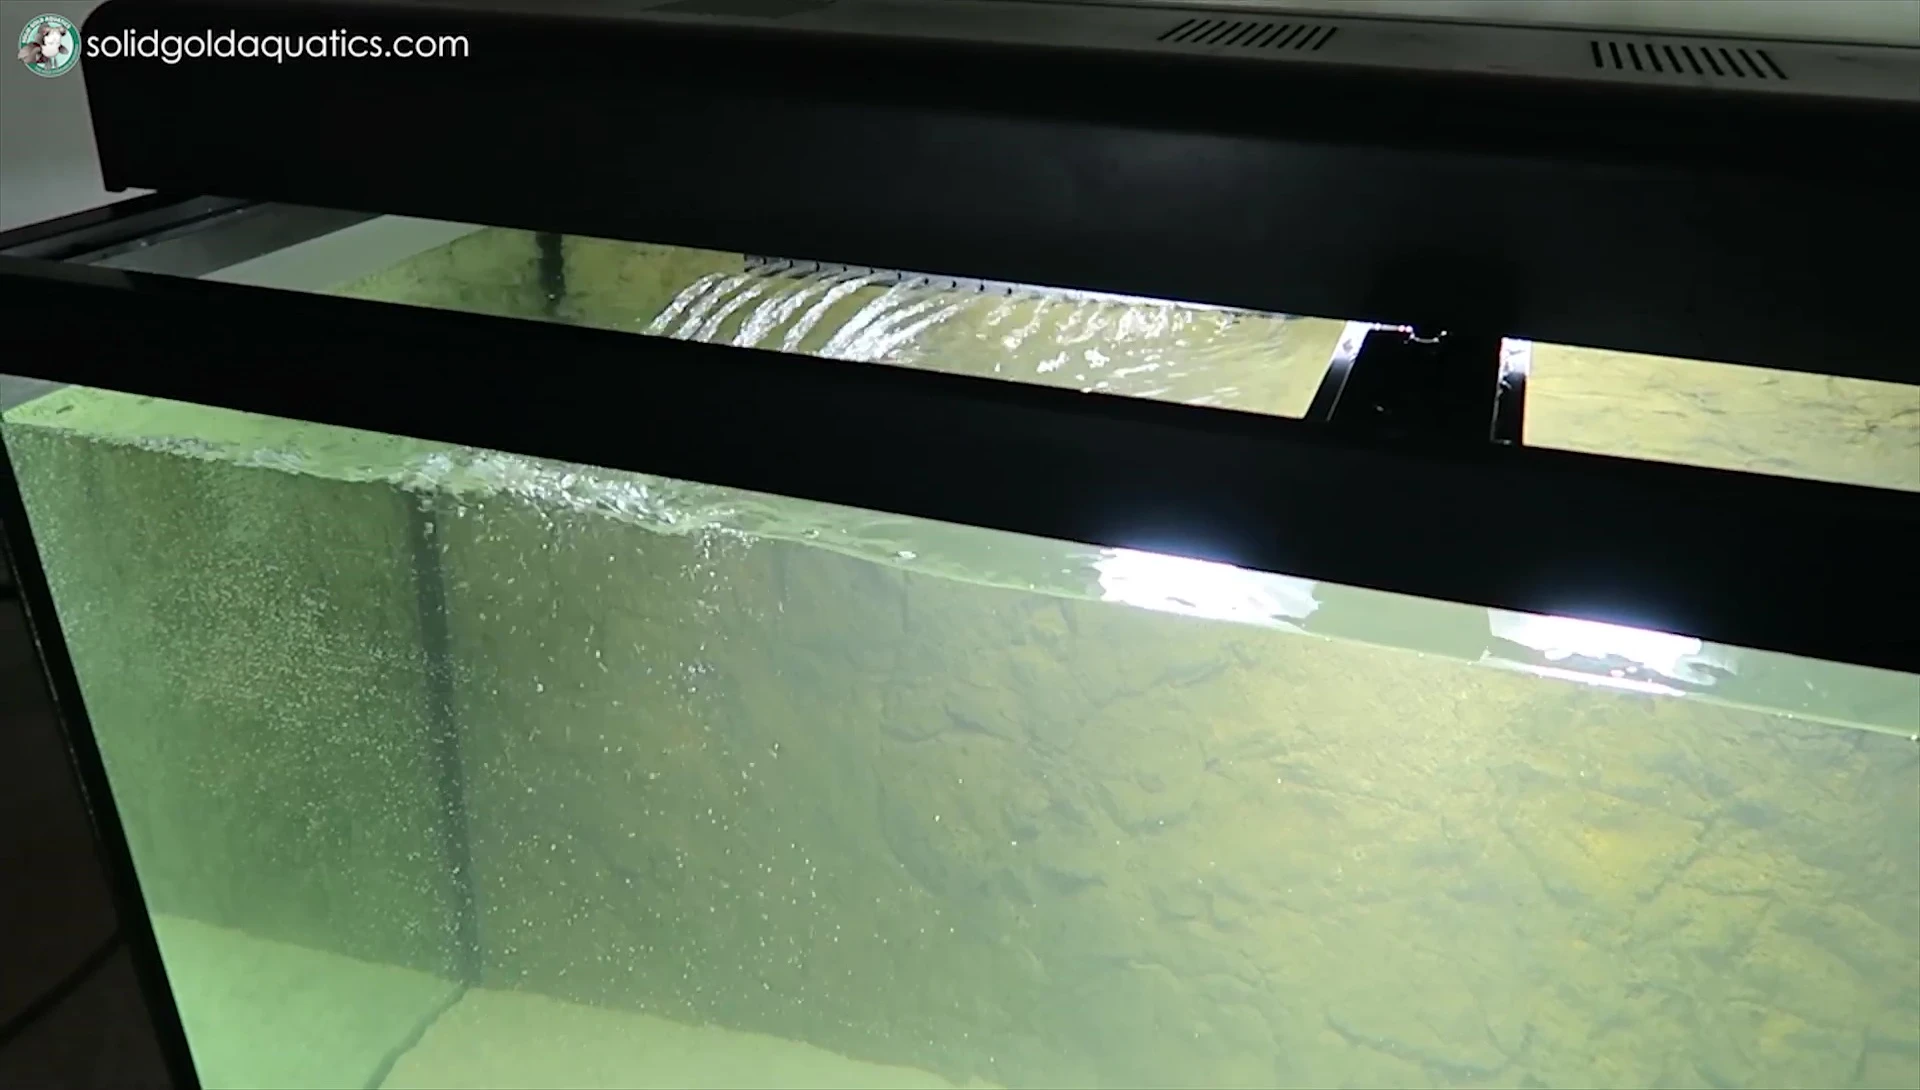
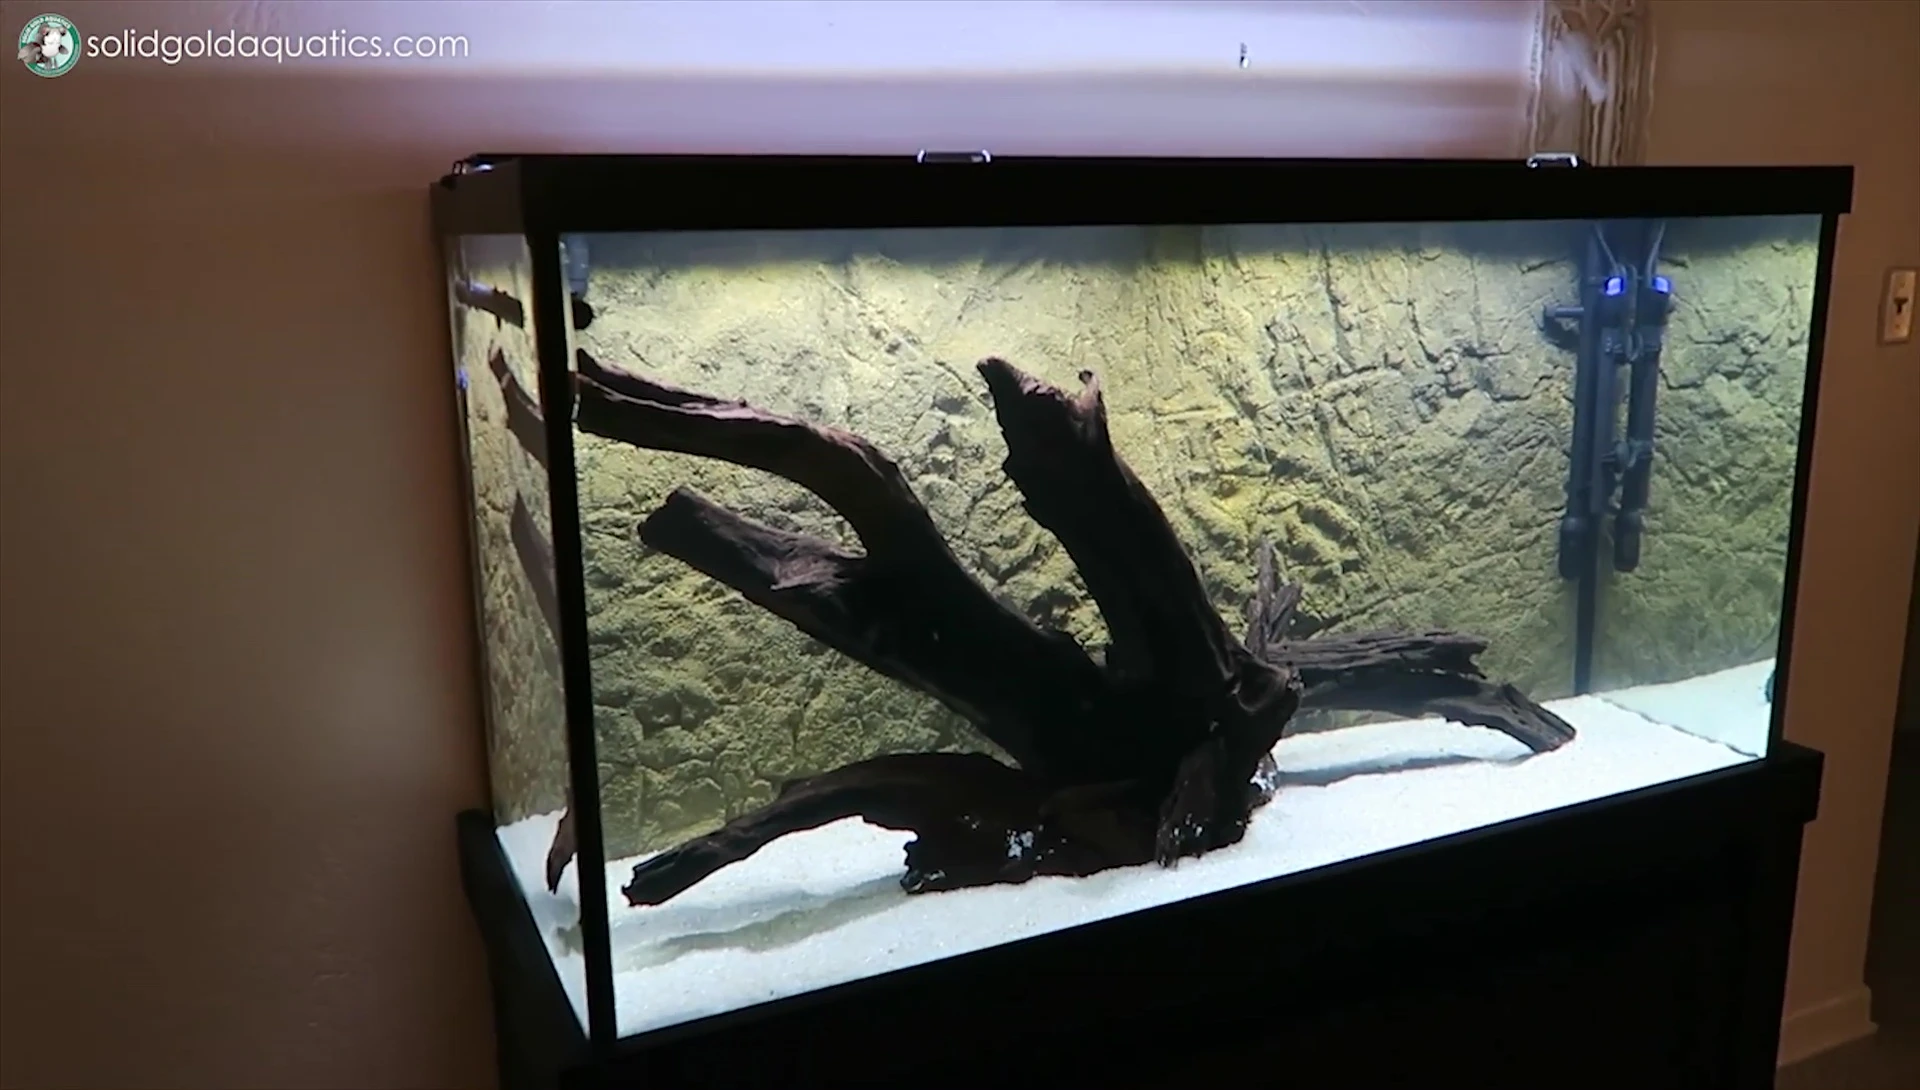
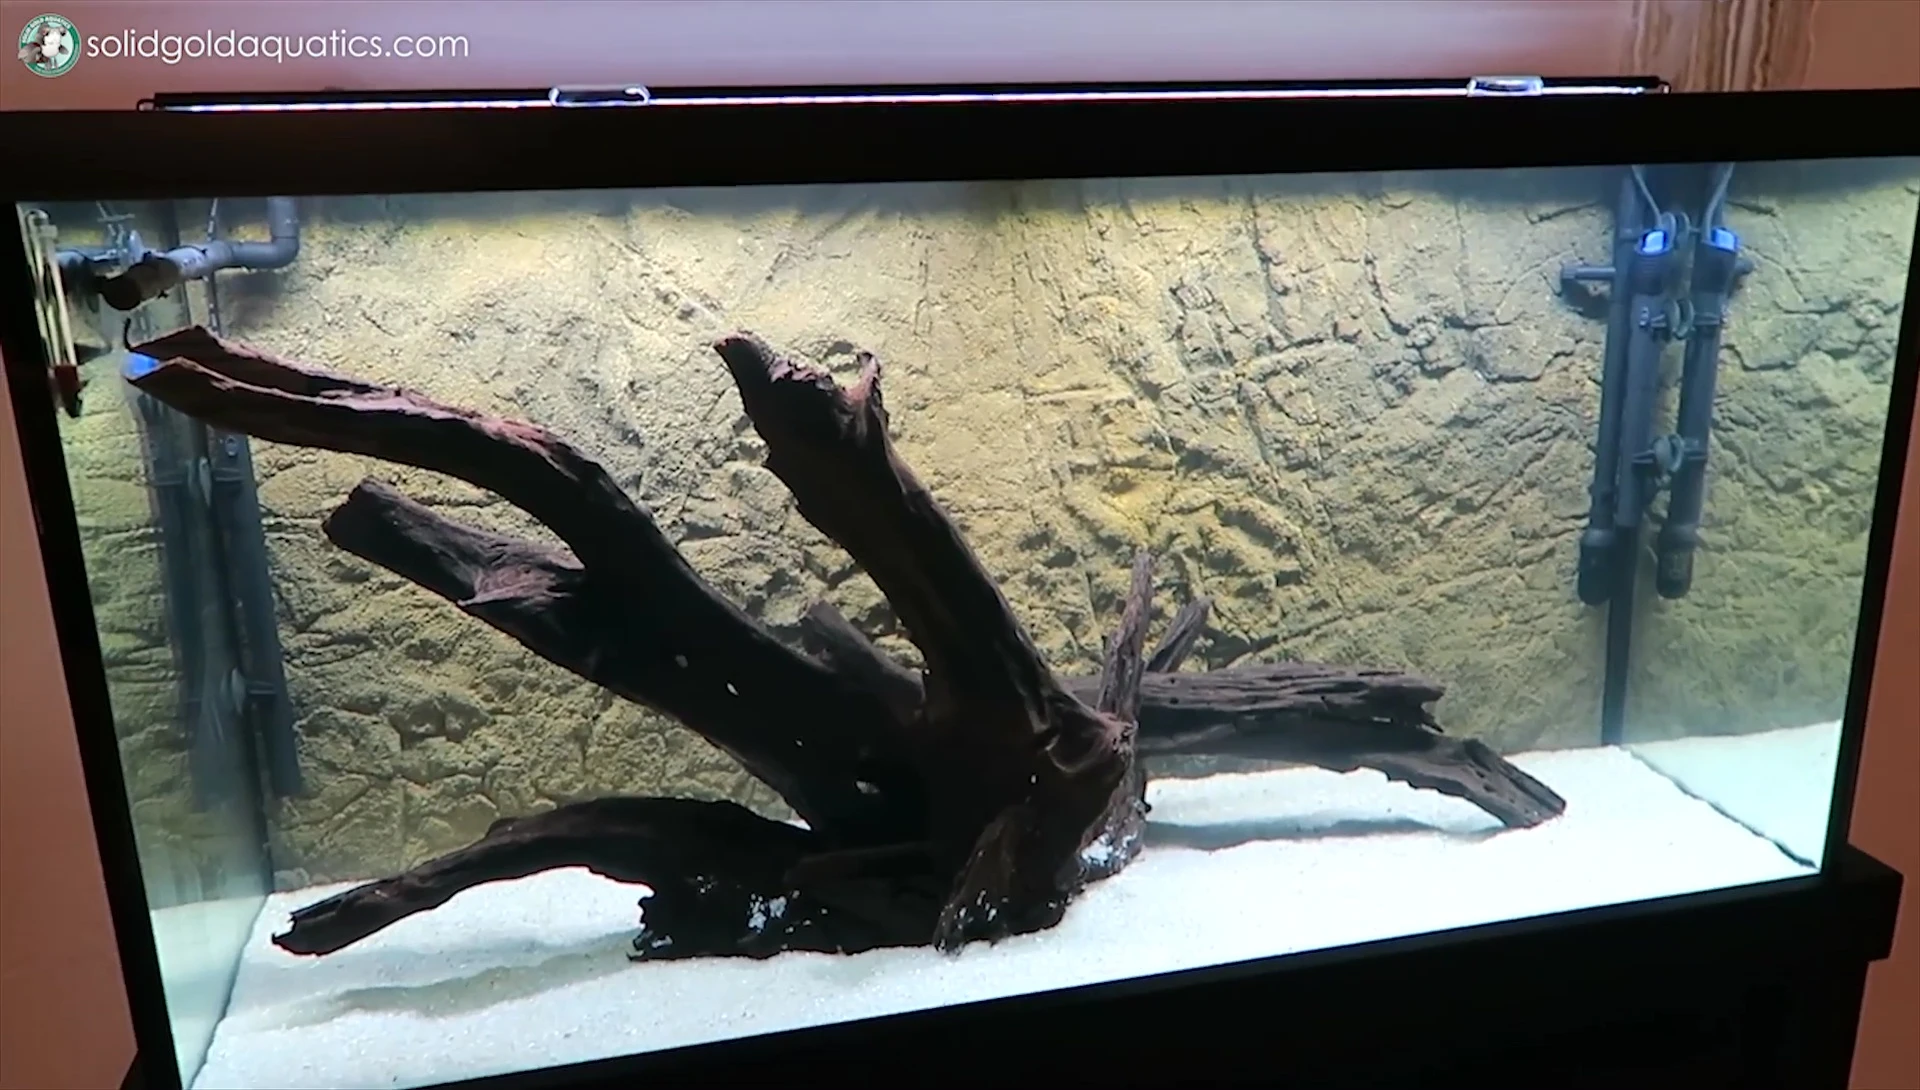
After priming the filter, I filled the tank with water. The filter's UV sterilizer is a welcome addition for maintaining crystal-clear water and preventing algae. While it helps with bacterial control, it's crucial to prioritize regular water changes. I utilized two smaller heaters for redundancy and placed the intake and spray bar strategically on the sides for better circulation, negating the need to drill through the background.
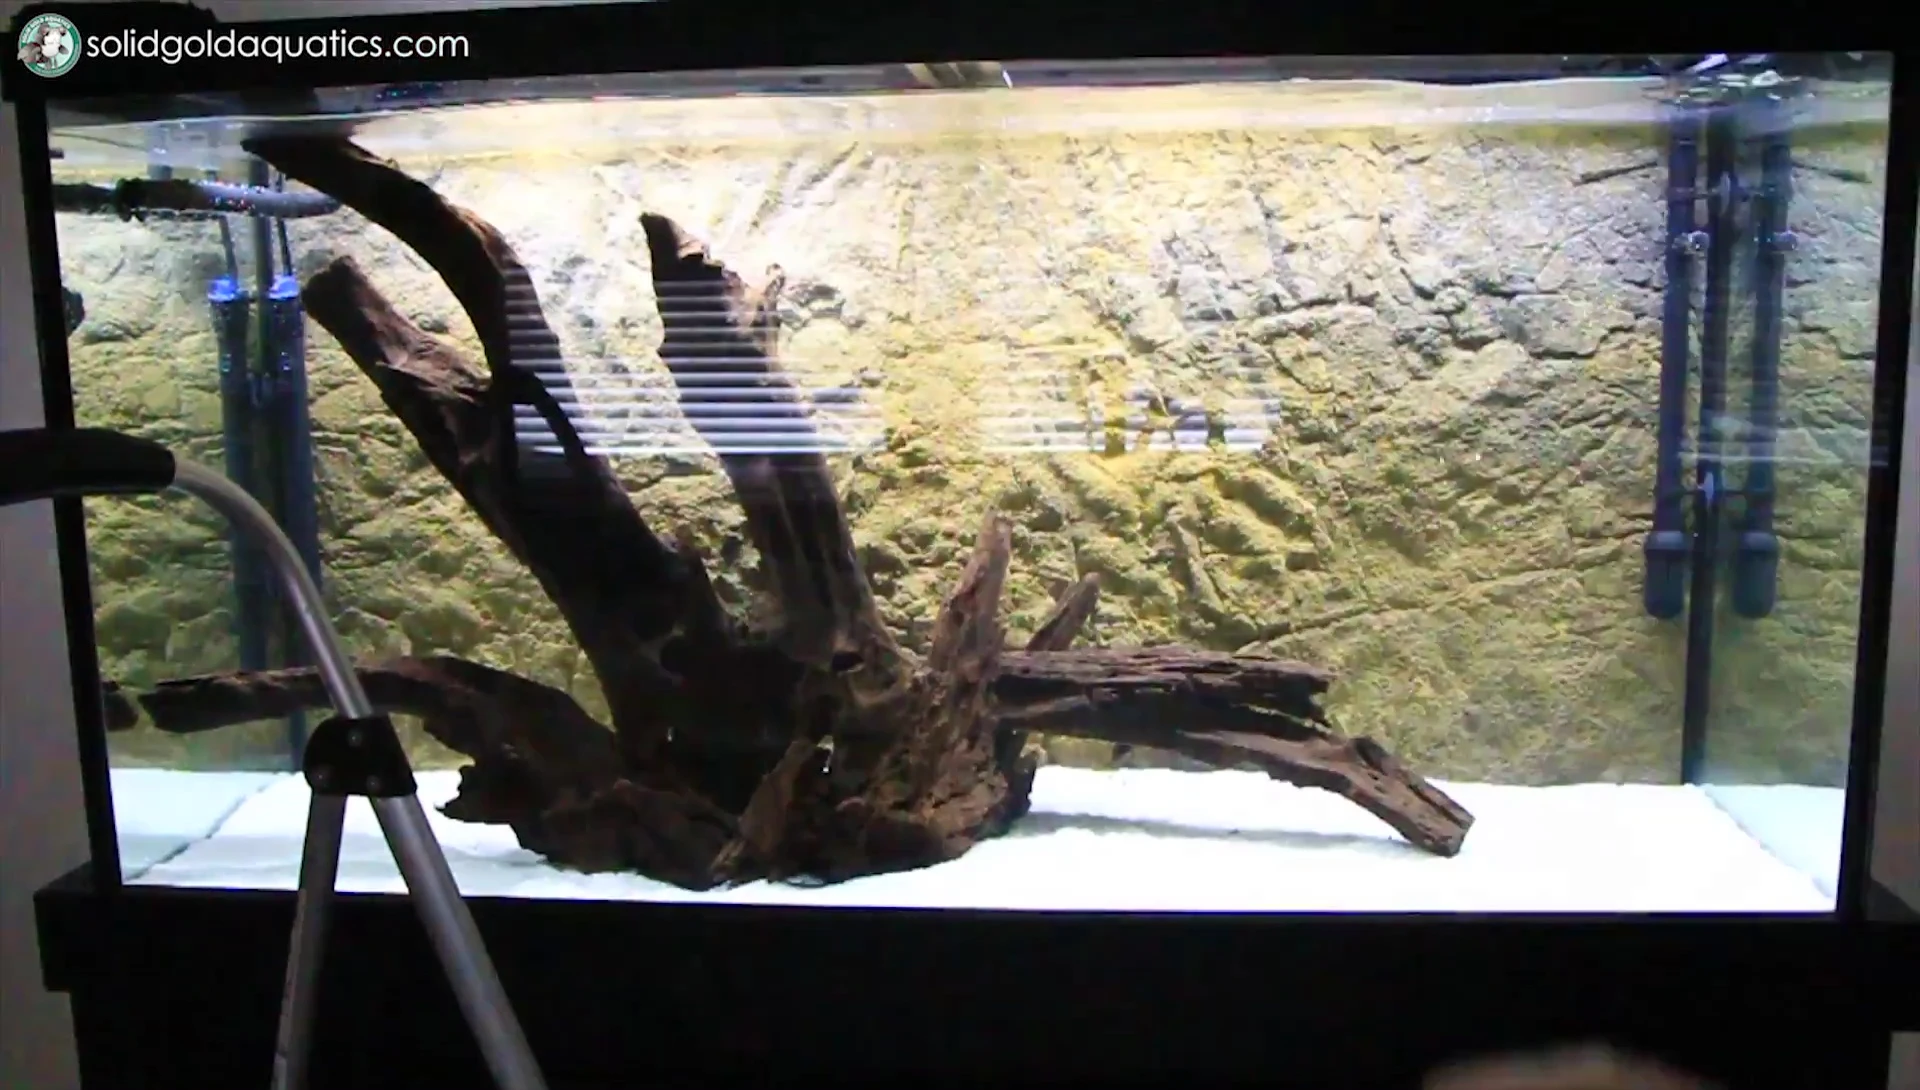
Hardscape Arrangement and Refinements
The Driftwood was arranged to create a visually appealing hardscape. Initially, I considered having it extend above the tank's rim, but ultimately decided against it due to the aquarium's design and the desire to use the glass lid. The water initially appeared brown due to tannins from the Driftwood; regular water changes will remedy this. Grooves were cut in the lid for filter tubes and background clips for a seamless finish.
Cycling and Quarantine Preparation
While the tank is new, I'll use cycled filter media from an established tank to jumpstart the nitrogen cycle. This tank will also serve as a quarantine tank for the new fish. Dedicated equipment prevents cross-contamination between the quarantine tank and established systems. Quarantine for at least four weeks is essential to protect existing fish from potential diseases.
Conclusion: A Comprehensive Aquarium Setup
This 90-gallon aquarium setup was a comprehensive undertaking, from choosing the right equipment to carefully creating the hardscape and prepping for the fish. The Aquatop CF500 UV filter proved effective and budget-friendly. The use of a thin layer of substrate ensured a healthy environment. Using a quarantine tank setup is also very important. The final result is a visually stunning and functional aquarium ready for its new inhabitants. The mystery fish reveal is coming next week!