Transform your 75-gallon aquarium from drab to fab with this comprehensive guide to a live rock rescape! This detailed account documents the exciting journey of revitalizing a sparsely decorated aquarium into a thriving underwater ecosystem. Witness the transformation as we meticulously craft a visually stunning and functional habitat, utilizing live rock sourced from a larger tank to maximize resourcefulness and create a dramatic improvement. Follow along as we carefully place each rock, constructing caves for shy inhabitants and strategically positioning corals for optimal growth.This rescape project isn't just about aesthetics; it's about creating a healthy and thriving environment for the aquarium's residents. We'll explore the challenges faced, from mitigating the impact of goby activity on coral placement to understanding the crucial role of light intensity in coral health. From initial planning and rock placement to the final touches and cleaning, this video offers valuable insights for both experienced aquarists and beginners looking to enhance their underwater worlds. Get ready to be inspired by the breathtaking results!
Read more: 5 Stunning Polished Aquarium Rocks for Your Tank
Source of Live Rock
The rescaping project began with live rock sourced from a larger 225-gallon aquarium. This larger tank had an abundance of live rock, more than necessary for its inhabitants. The excess rock provided the perfect material for enhancing the 75-gallon setup. Removing some rock improved the 225-gallon tank's environment, allowing for better water circulation and fish movement.
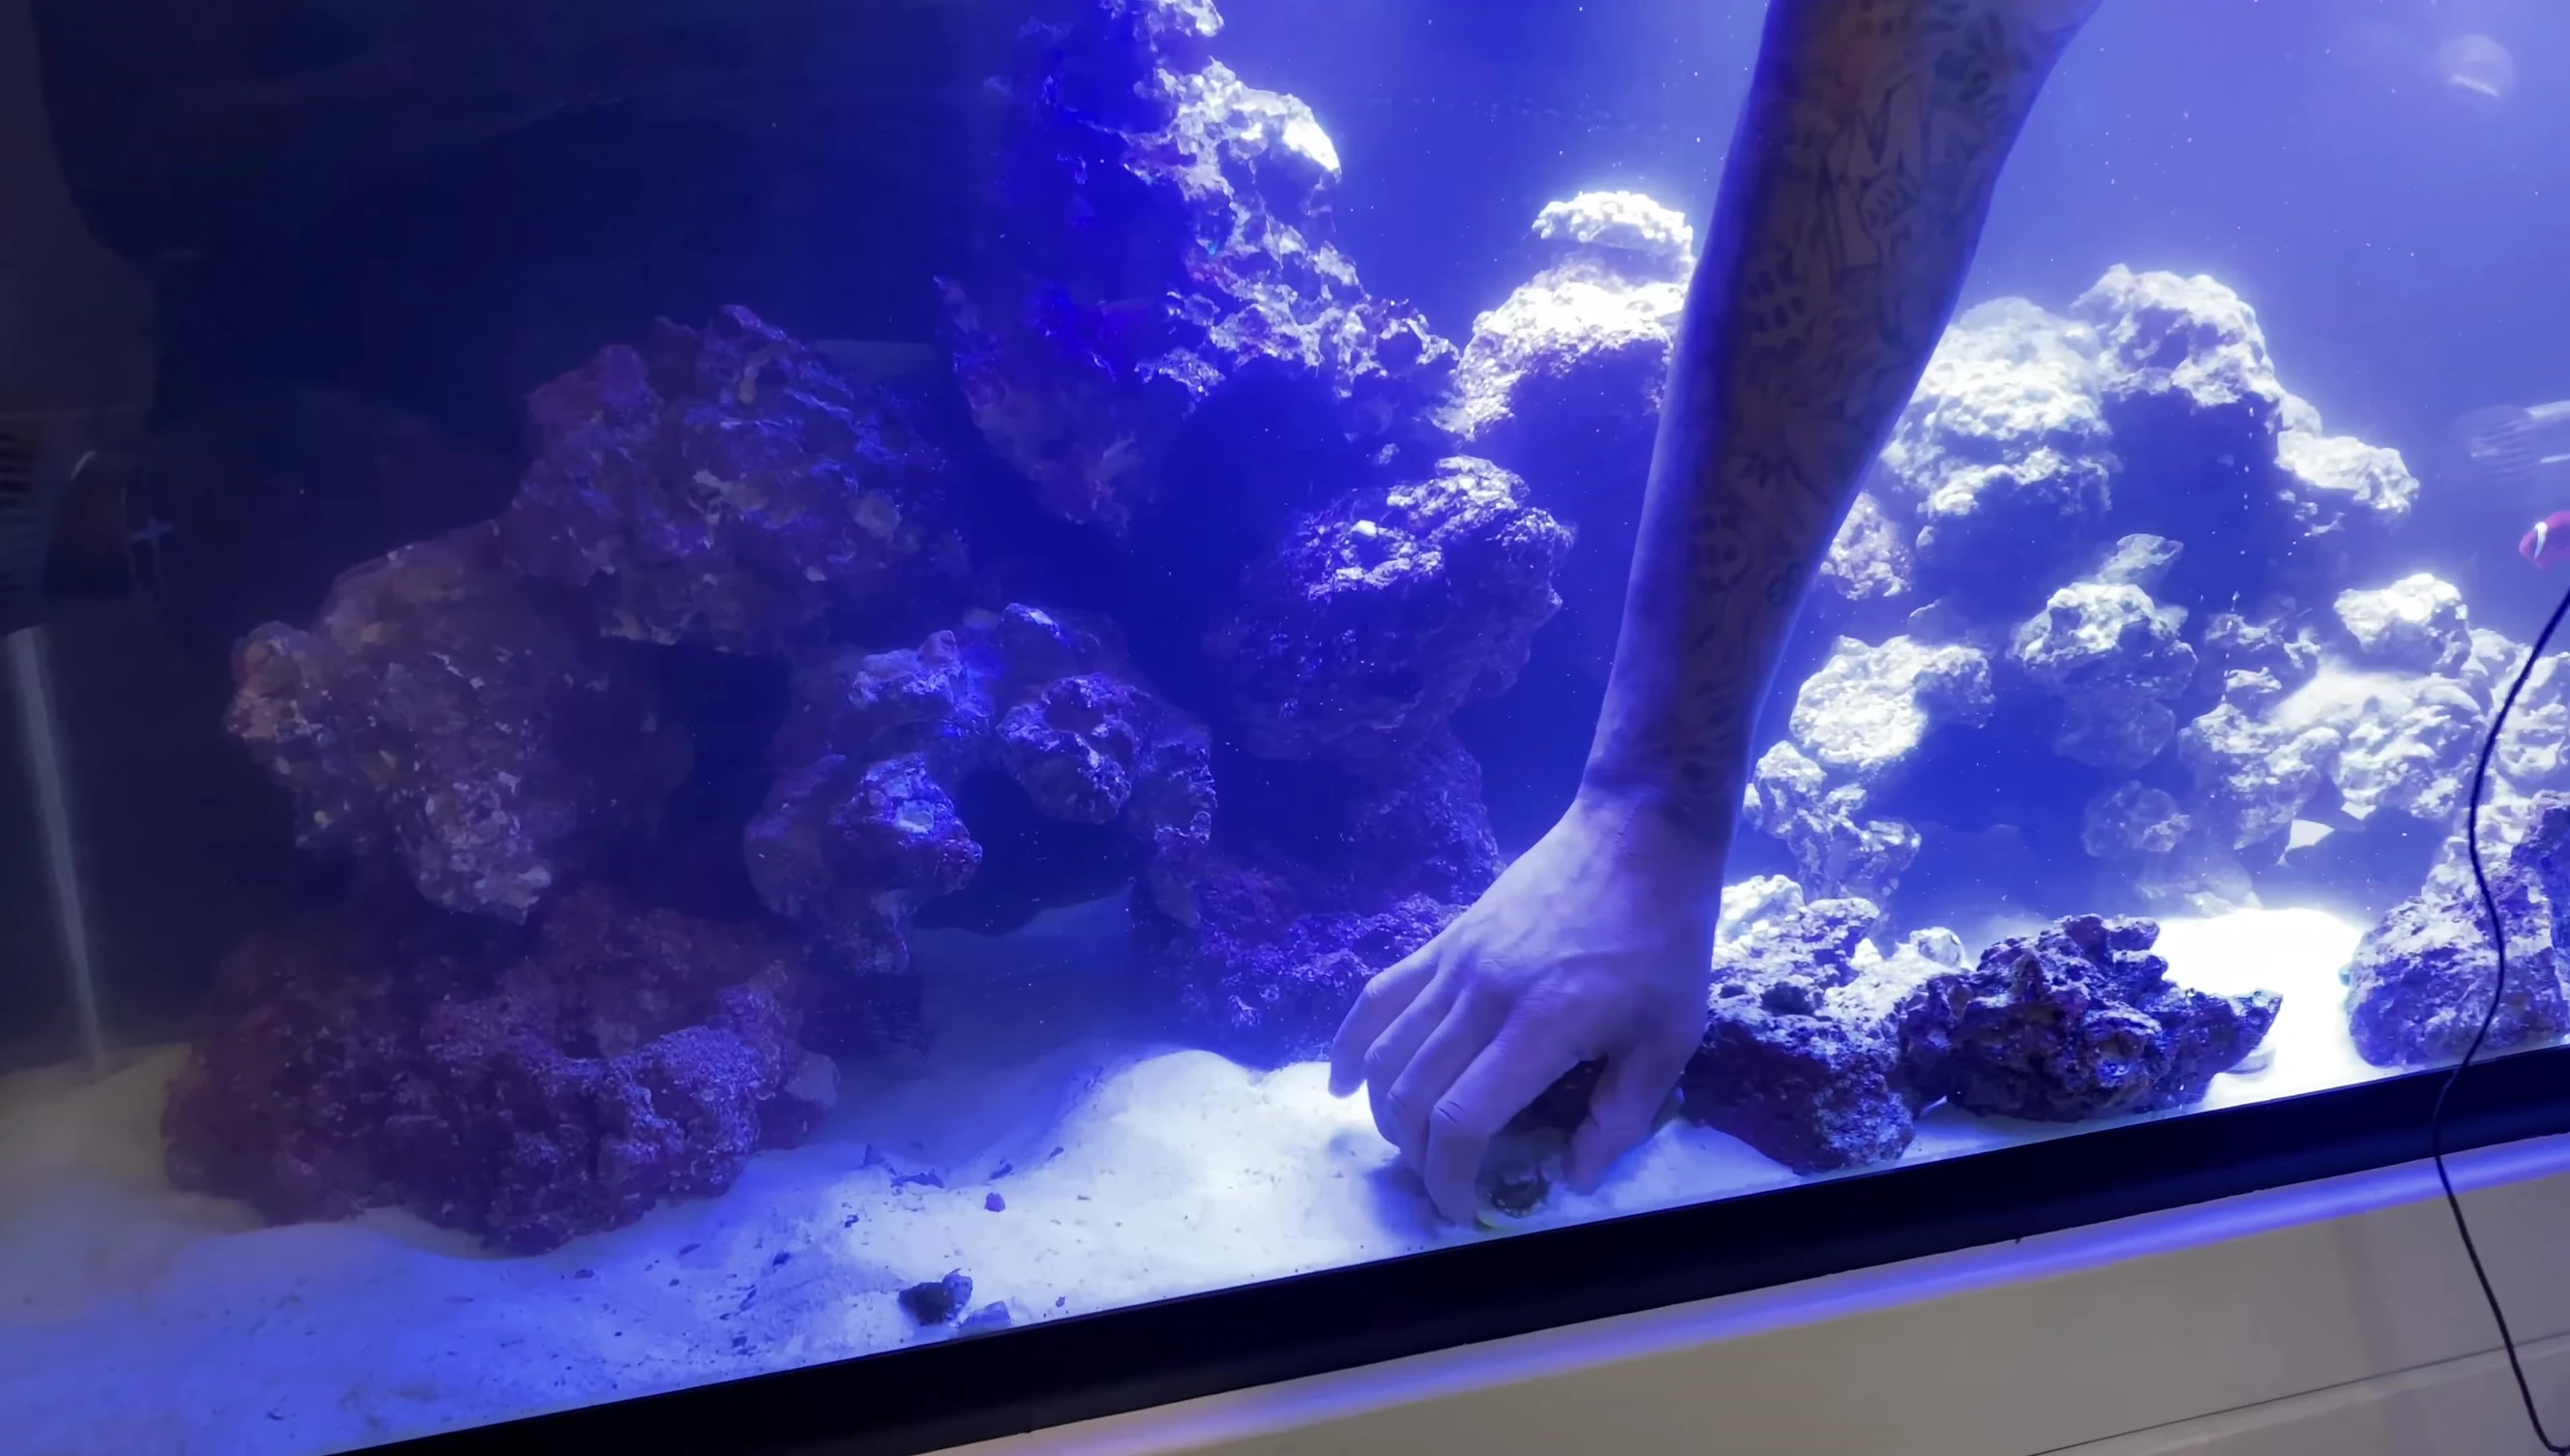
Initial Rescaping Process
The video shows the initial stages of the 75-gallon aquarium rescape. The existing setup was quite bare before the addition of the live rock. The process involved carefully placing and arranging the rocks to create a more natural and visually appealing environment. The goal was to create a visually striking and functional habitat.
Creating Hiding Places and Caves
Several strategically placed caves were incorporated into the design. These caves offer shelter and security for the gobies and other inhabitants, providing them with hiding places. The addition of these caves adds significant depth and complexity to the overall aquascape. The aquarist carefully selects and positions each cave to maximize its impact.
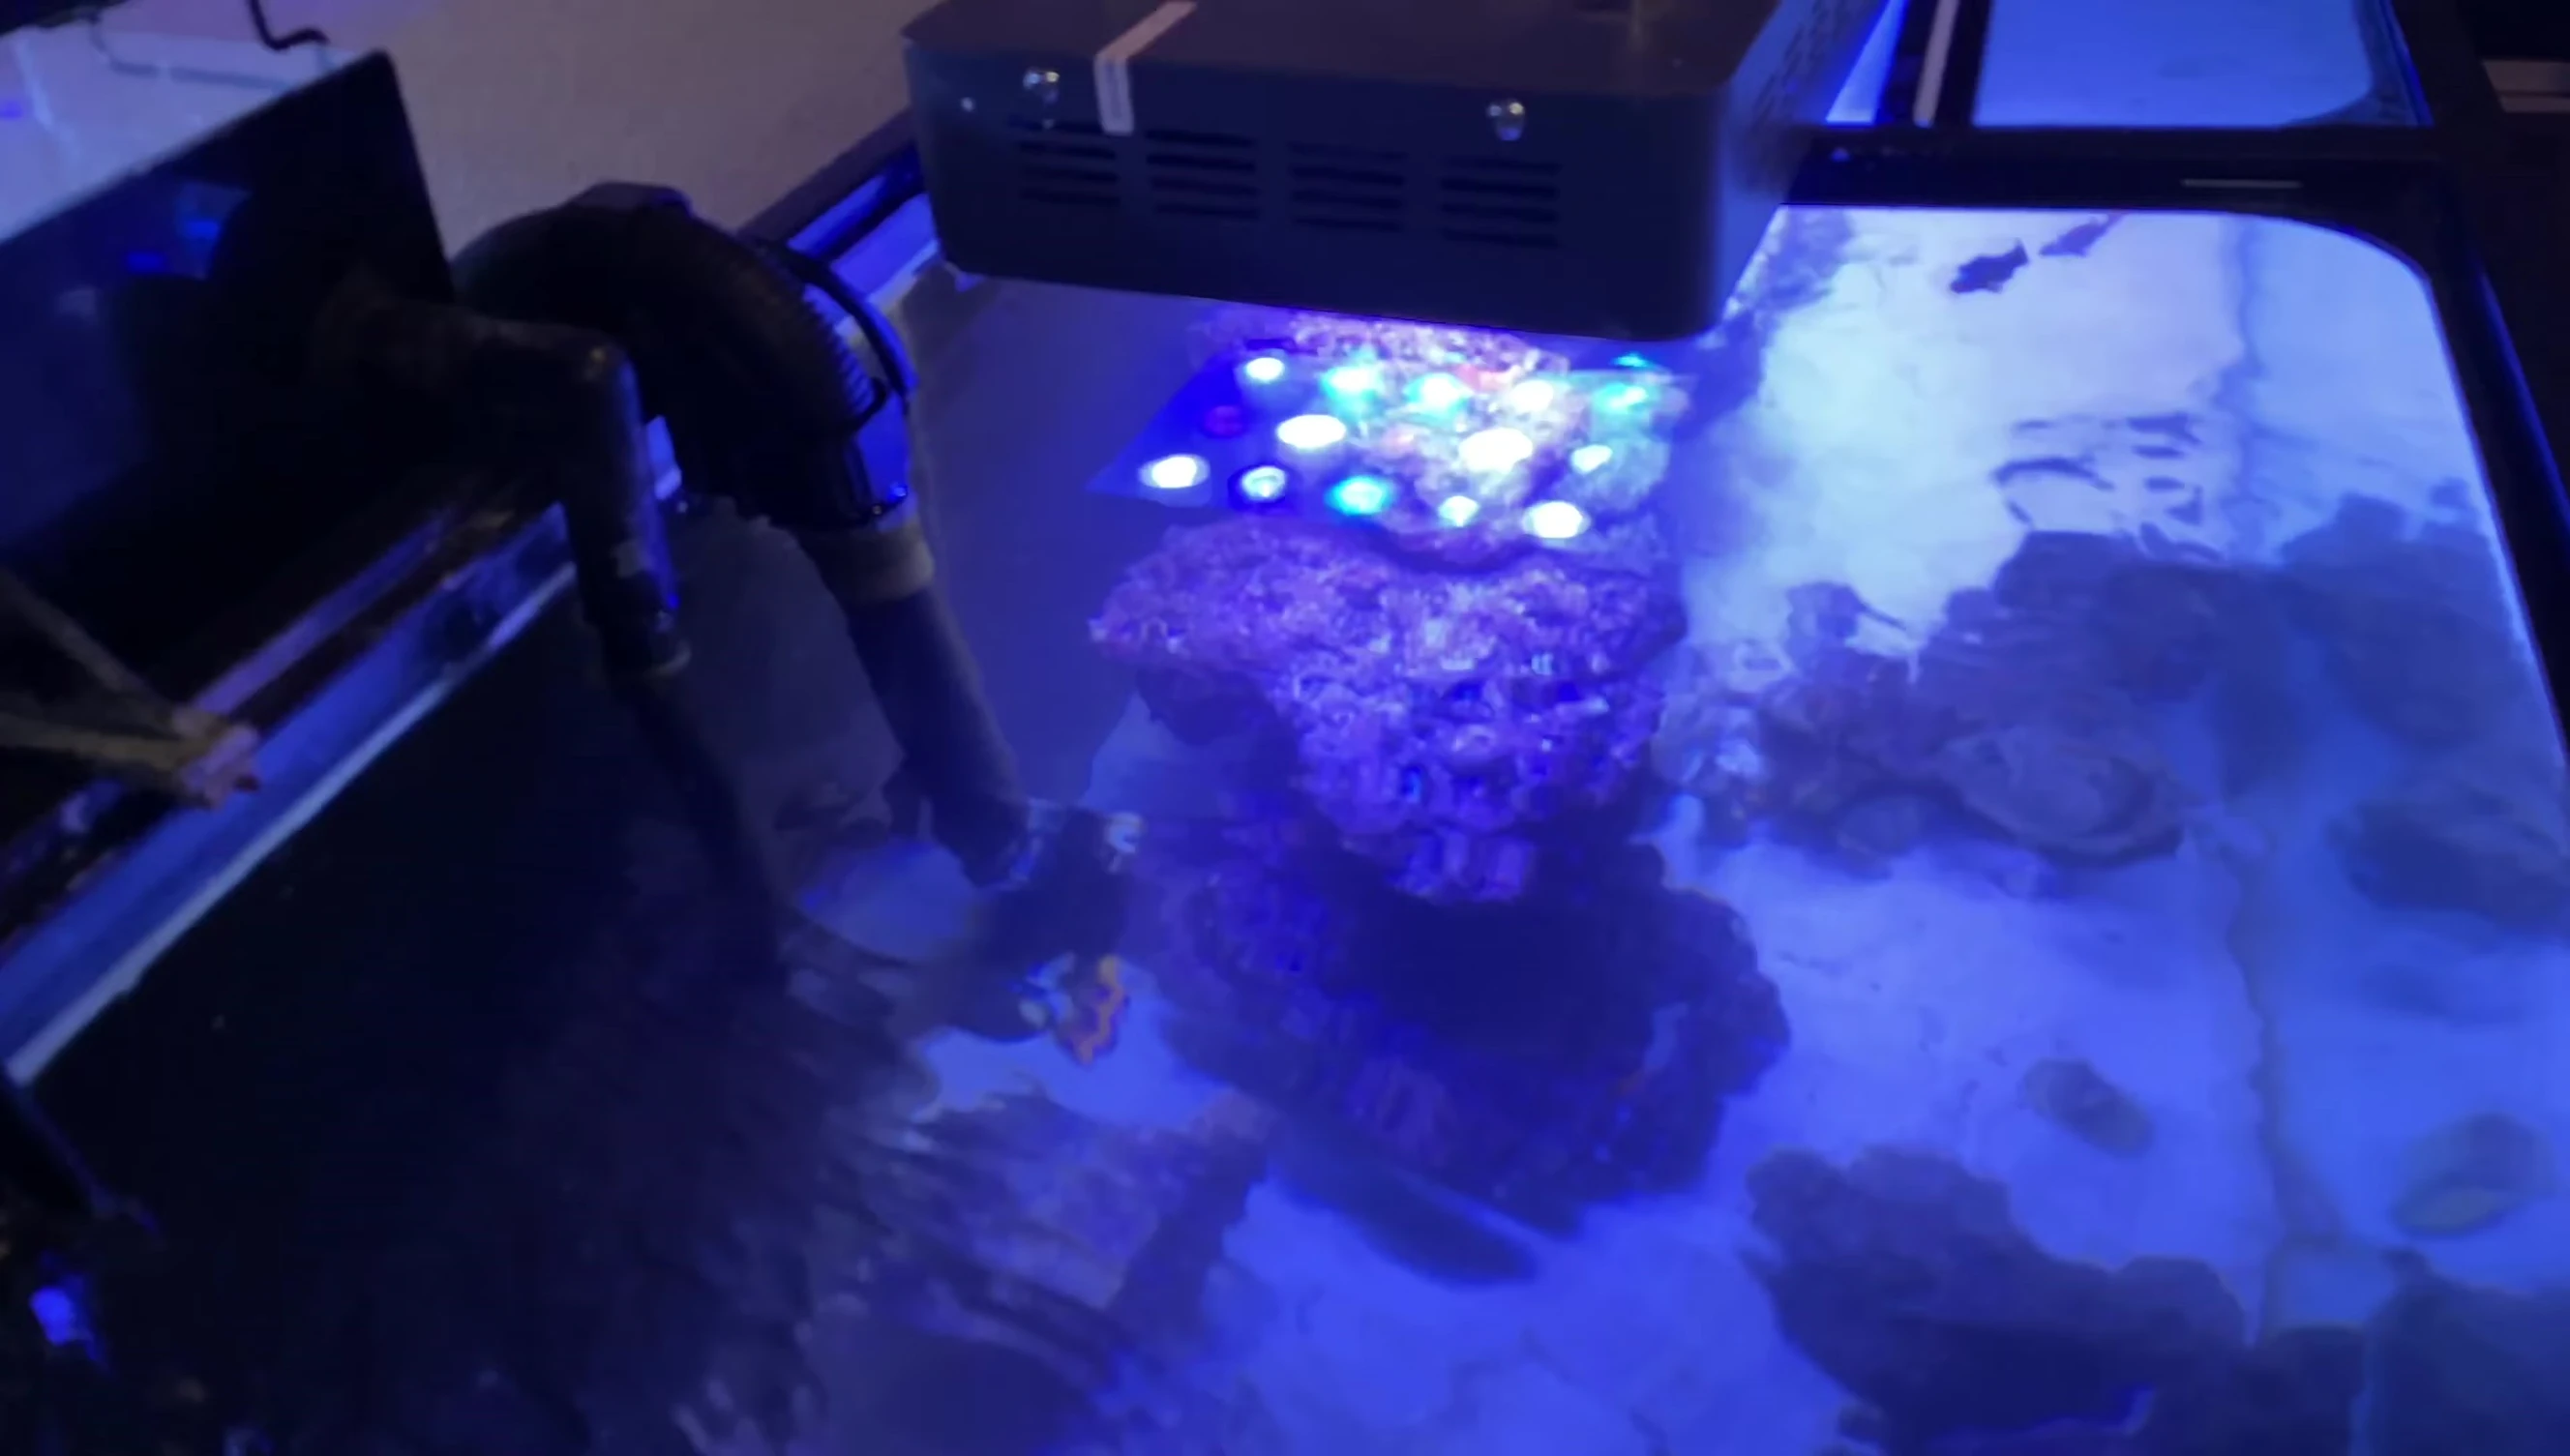

Addressing Coral Placement
The video discusses the challenges of coral placement and light requirements. Some corals, like the Zoe, were struggling due to sand being blown onto them by the gobies. The aquarist plans to adjust the coral's position to improve its health. The importance of understanding light intensity (PAR) is highlighted as a crucial aspect of coral care.
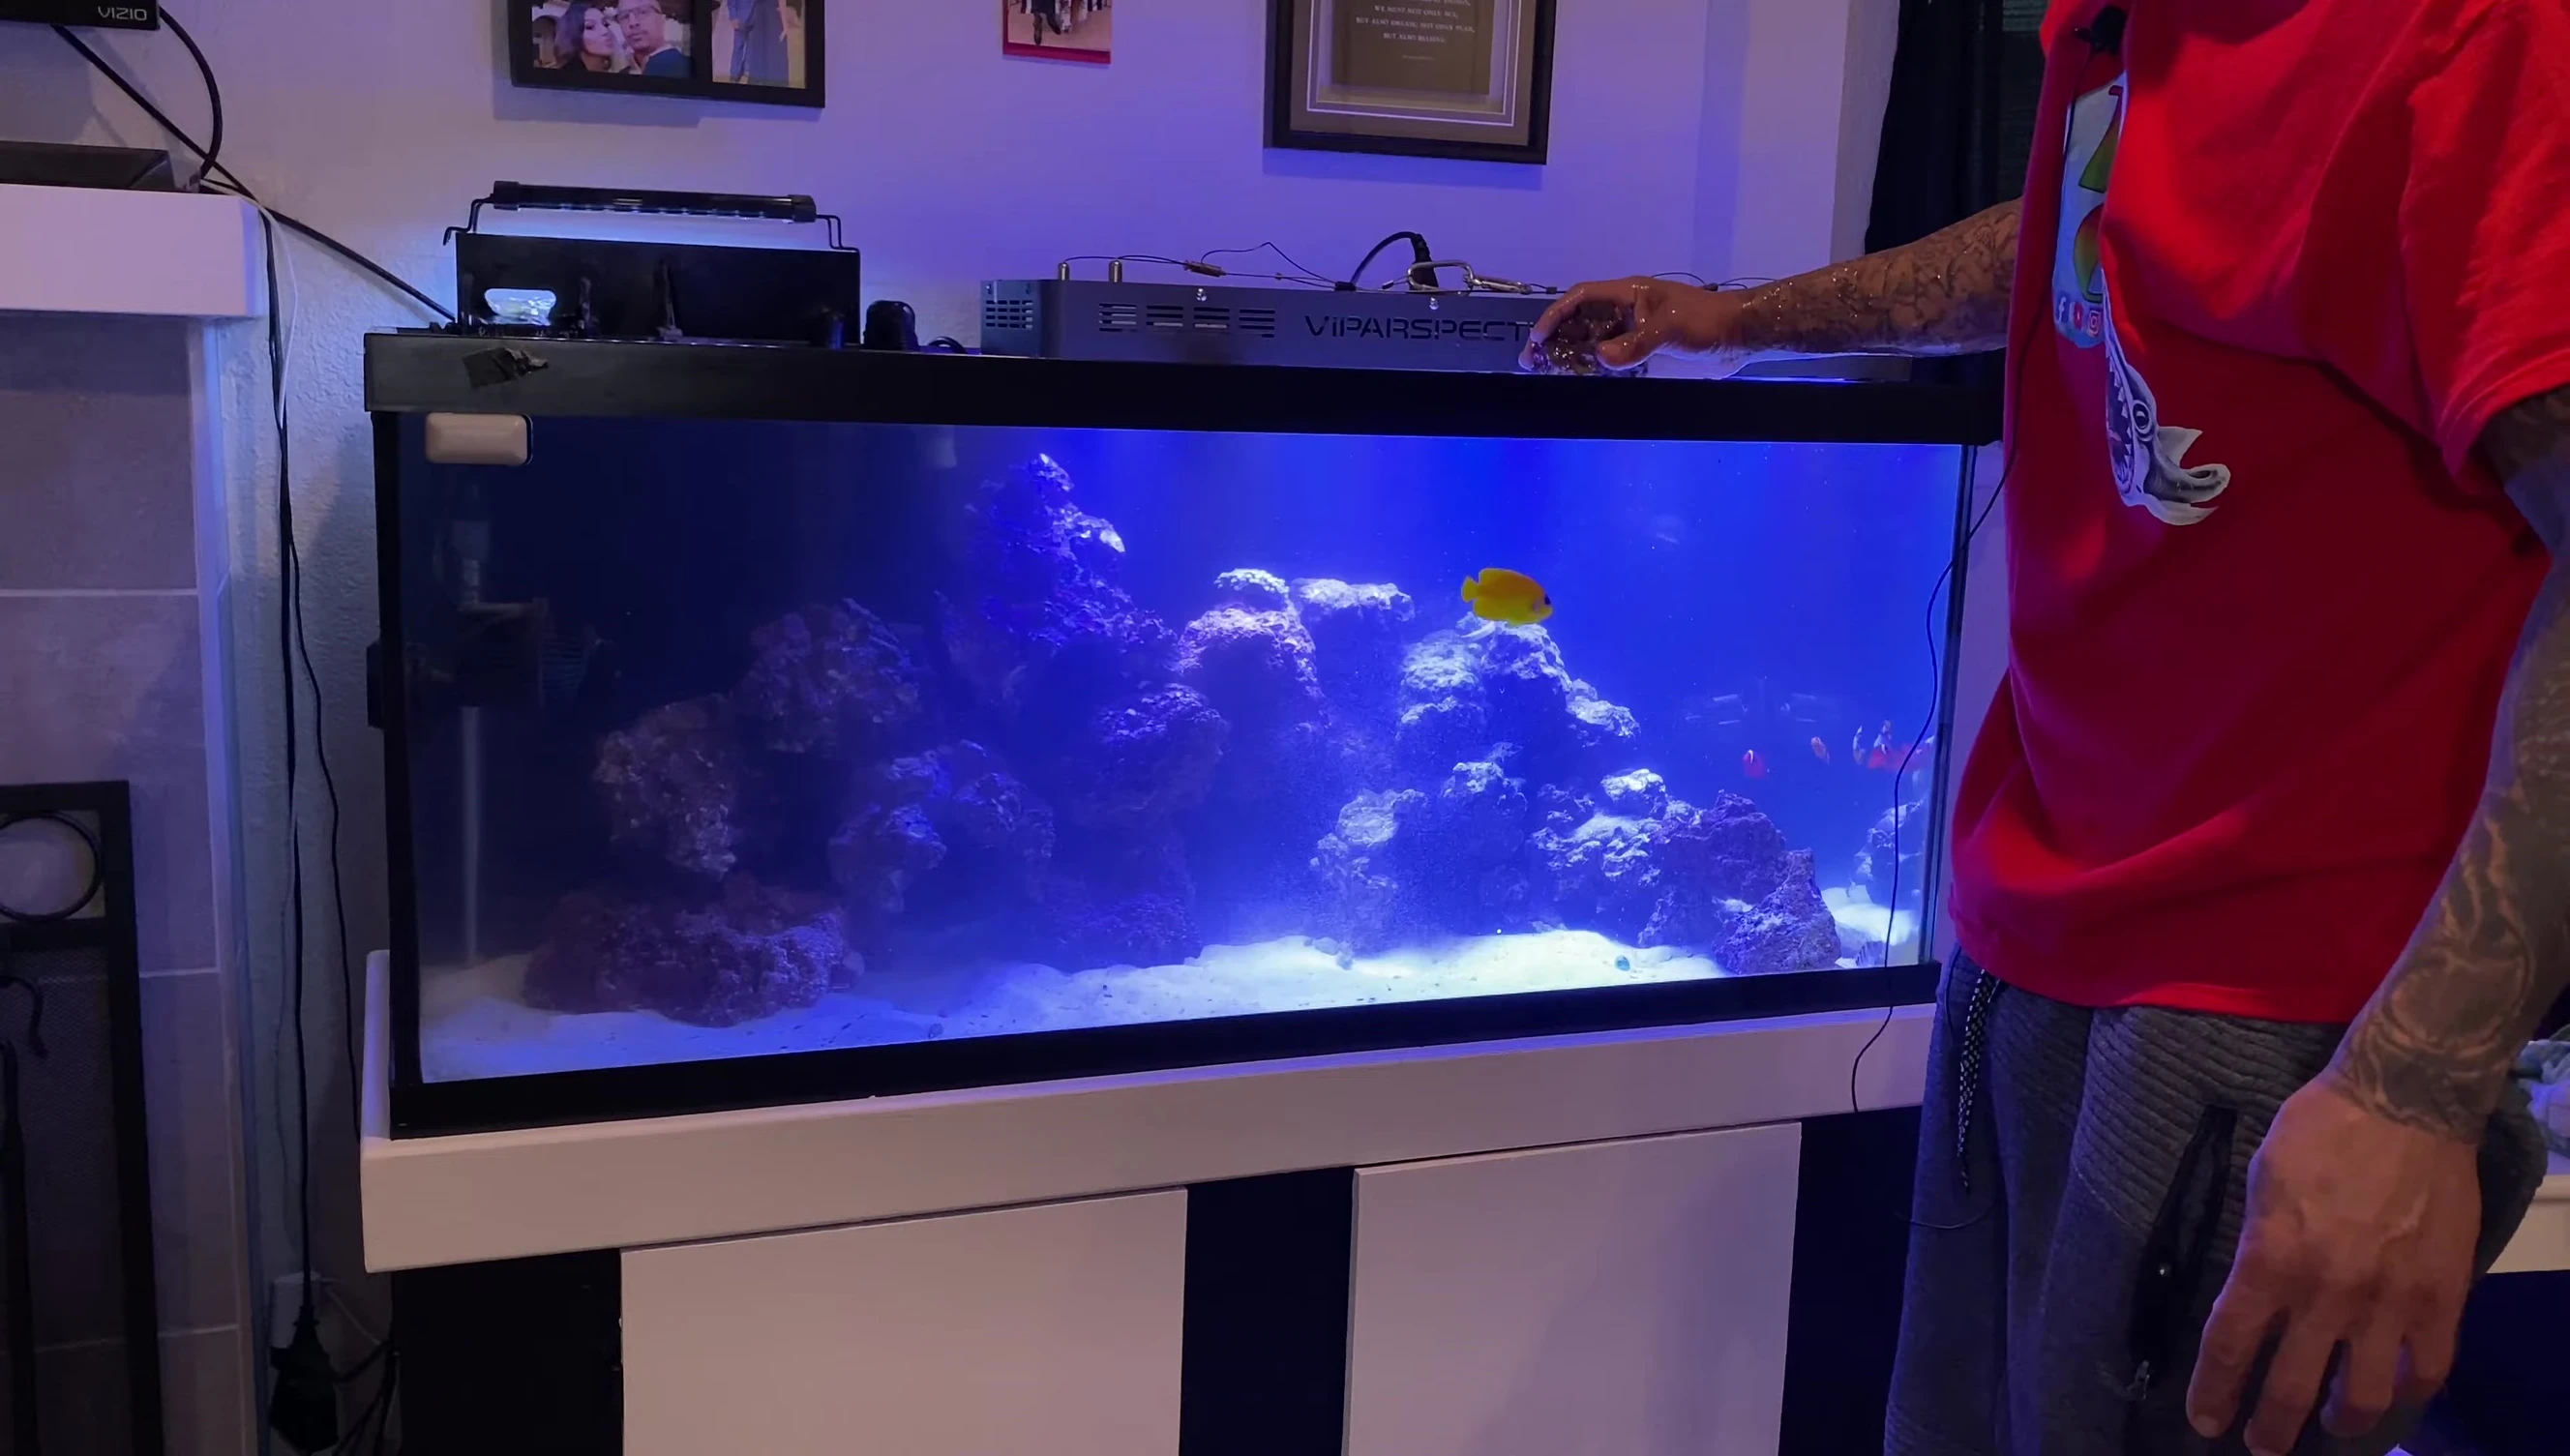
Final Aquascape and Cleanup
The final steps involve fine-tuning the rock placement, cleaning the tank, and adding final touches. The aquarist addresses minor adjustments to achieve the desired aesthetic. The video concludes with a focus on the improved look of the aquarium after the rescape.
Conclusion
This video demonstrates a successful aquarium rescaping project. The process showcased the importance of careful planning, understanding the needs of different inhabitants, and adapting to unforeseen challenges. The result is a visually stunning and functional aquarium that provides a thriving environment for its inhabitants. The use of live rock from another tank highlights a resourceful approach to aquarium maintenance.