Have you ever dreamt of owning a miniature landscape, a captivating world contained within a small space? The allure of miniature scenes, particularly those mimicking the dramatic beauty of nature, is undeniable. Creating realistic rock formations, however, can seem daunting. But what if I told you that crafting stunning miniature canyon walls is achievable, even for beginners? This guide will unlock the secrets to building breathtakingly realistic rock formations for your dioramas, model railways, or even as standalone artistic pieces. Forget expensive, pre-made kits – we'll be using readily available materials and simple techniques.
This step-by-step guide will walk you through the process, from initial material selection and preparation to the final texturing and detailing, ensuring your miniature canyon walls are as awe-inspiring as their real-life counterparts. Prepare to transform your creative vision into a tangible, miniature masterpiece, with remarkably realistic results that will amaze you. Let’s get started!
Safety Guidelines
- Always wear safety glasses when using tools like knives or sculpting tools to avoid eye injuries from flying debris.
- Use appropriate ventilation when working with paints and adhesives to prevent inhalation of harmful fumes.
- Handle sharp tools and hot glue with extreme care to avoid cuts and burns.
Methods: Creating Realistic Rock Formations with Foam and Sand
Tools Needed
- Styrofoam
- Hot glue gun
- Hot wire cutter
- Play sand
- Mod Podge
- Chip brush
- Heat gun
Step-by-Step Instructions
Foam Shaping and Assembly
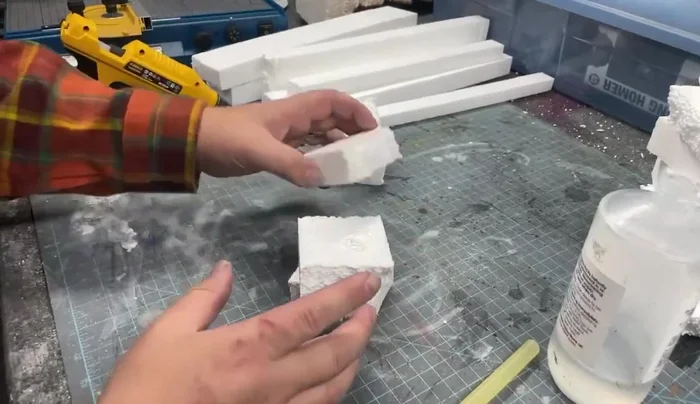
- Cut styrofoam into random shapes using a hot wire cutter.
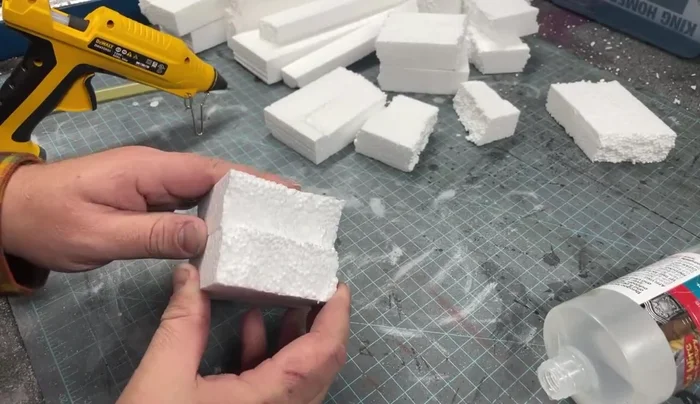
- Glue the styrofoam pieces together to form columns or walls.
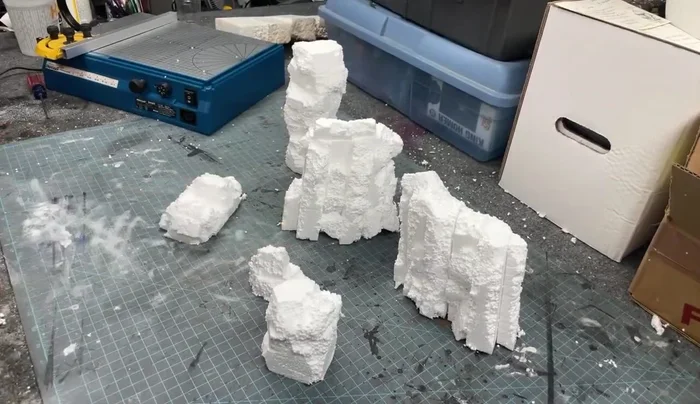
- Use a heat gun to slightly melt and blend the foam pieces together, creating a more realistic texture.

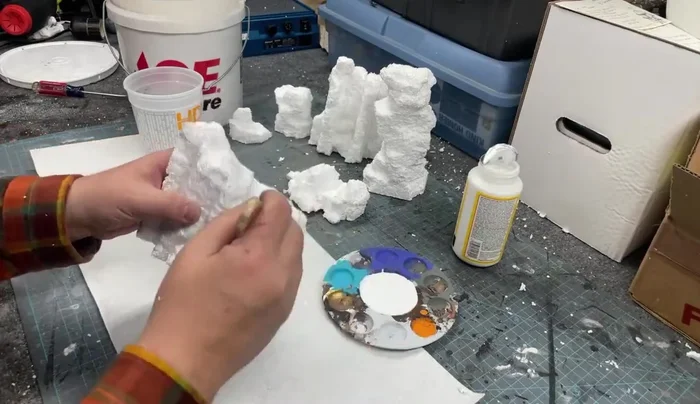
Foam Shaping and Assembly Preparing for Sand Application
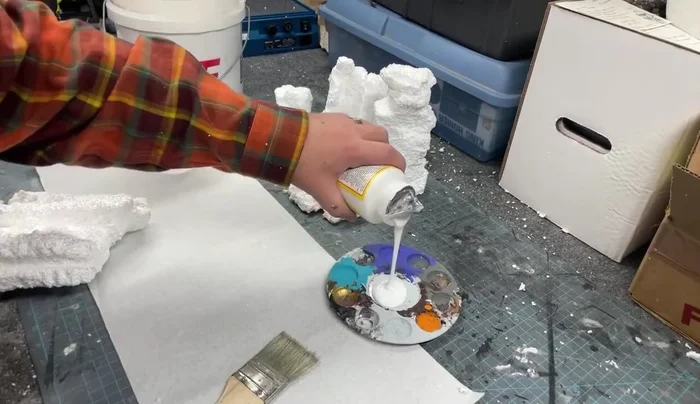
- Apply Mod Podge to the foam structures.
Preparing for Sand Application Sand Application and Texturing
- Press play sand onto the Mod Podge, coating the foam to resemble rocks.
- Use a wet brush to smooth and blend the sand, creating a more natural texture.
Sand Application and Texturing

Tips
- Use a cheap glue stick for gluing, as it provides good texture.
- For painting, start with a dark undercoat (e.g., burnt umber), followed by mid-tones (e.g., nutmeg or French beige), and then dry brushing with lighter colors to achieve a realistic rock appearance.
Read more: Aquascaping Made Easy: 3 Efficient Methods to Attach Plants to Driftwood & Rocks